Steps to set up Metamask Wallet for Ethereum and BSC network
Decentralized finance is a growing segment in cryptocurrency and the best part is that in this we get full control of our funds because it is backed by a decentralized wallet and Metamask is a well-known name. There are many platforms for decentralized finance and yield forming where we can deposit our Crypto holdings and earn a significant return depending upon overall locked value and pool performance. I have recently joined the robiniaswap platform.
Today in this post I am sharing the steps to set up a metamask wallet. This is one of the most popular wallets. Earlier it was working for ethereum wallet but after the introduction of binance smart Chain, it has also been upgraded with BSC network, and now we can use it for ethereum as well as Binance based decentralized finance platforms. We get control of our key and that is what makes it more secure and we can use it as per convenience without worrying about losing control.
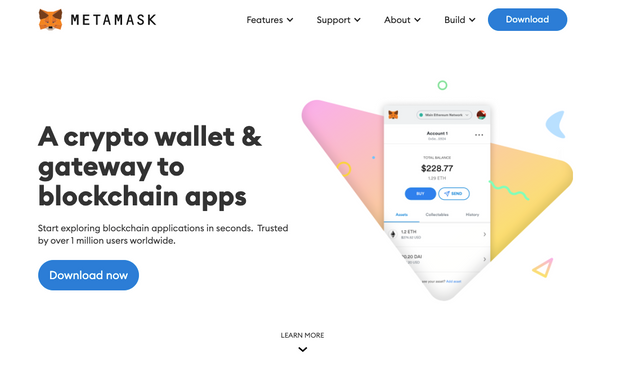
Open URL- https://metamask.io and you will land on the home showing below the page.
Click on the download button and it will show various options that we can choose as per our requirements like phone or PC.
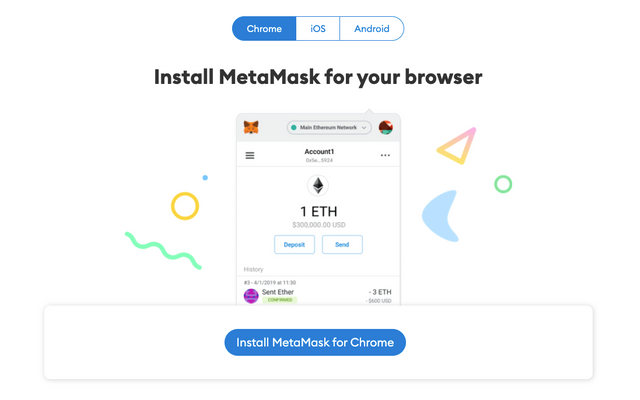
I have chosen chrome as I prefer to use moe on browser however you can choose as per your preference. There is an option to add the extension in chrome and you can also refer below link to open the chrome webstore page-
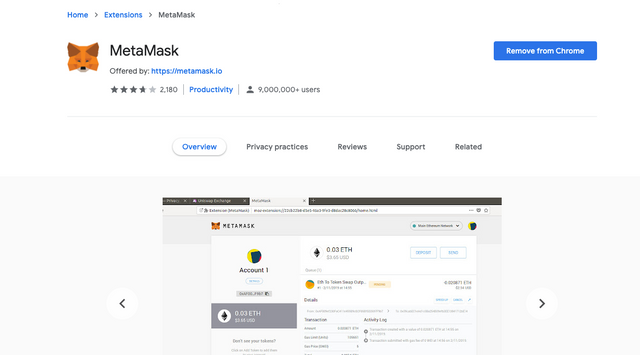
https://chrome.google.com/webstore/detail/metamask/nkbihfbeogaeaoehlefnkodbefgpgknn
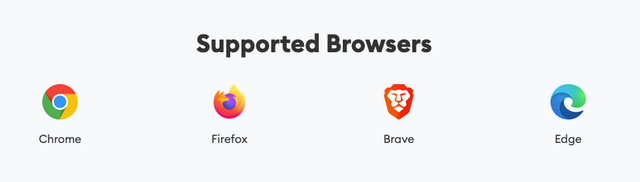
Metamask is supported on 4 leading browsers and is available on Windows and Mac OS both. The mobile app is also available on android and iOS platforms.
After I click on add to chrome then this pop-up window gets open for confirmation and once I click add then its added in the browser.

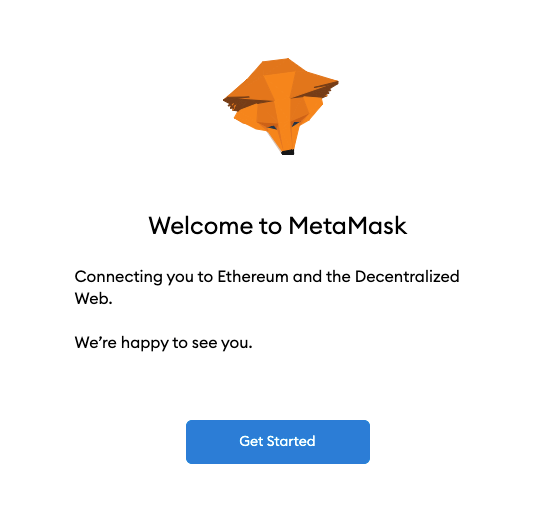
In the next page, we can either create or import the existing wallet. I will continue with the new wallet set up and chosen to create a wallet option.

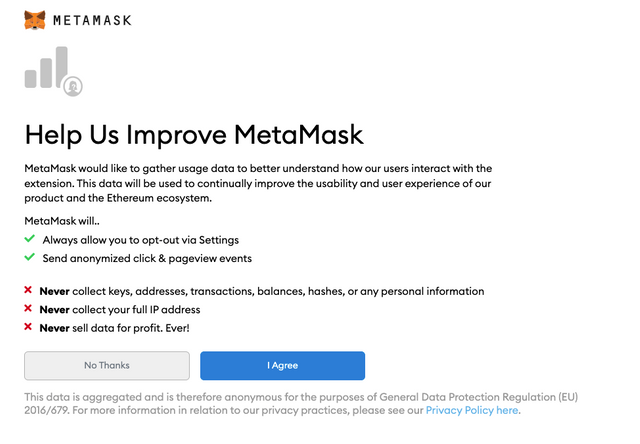
In this page, we need to agree with the terms of the metamask wallet.
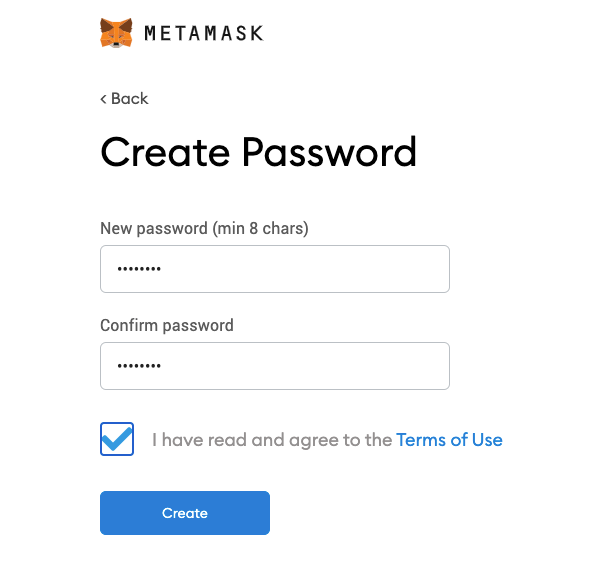
We need to create a password for additional security of the wallet.
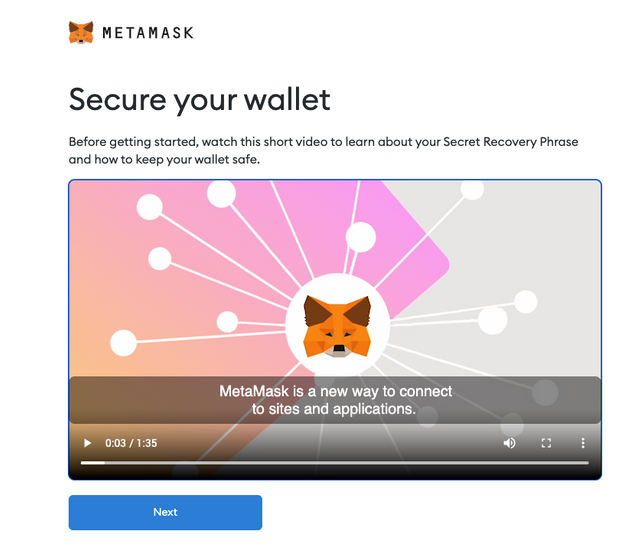
This is a tutorial video that is helpful to learn and understand more about metamask wallet.
In this page make sure to write down the secret code and its helpful when we need to recover the wallet.

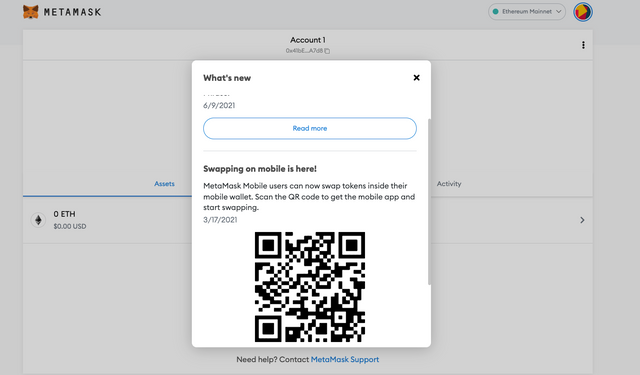
Now wallet is set up and ready to use. There is also an option to swap on mobile and this functionality has been added recently.
Now wallet is setup for ethereum wallet by default however I need to set up the same for Binance smart chain so here the step we need to follow-

Now its done and my netmask is all set to work with the BSC network.

Now let open https://robiniaswap.com/ and see how can we connect the wallet and perform the transactions. I click on the connect button and follow the instruction in the meta mask wallet.

I have followed the instructions and ow its connected as you can my wallet address is at the right top corner of the page.

So friends, this is how we can connect the wallet, and now its all set to use. Enjoy the world of Defi now and explore all the possibilities.
Thank you so much
(images are taken from metamask)
Hi @alokkumar121
I liked your explanation.
Very simple and easy to understand.
Thank you very much.
Have a great a day!
thank you so much