TUTORIAL: HOW TO USE EDIT YOUR IMAGES AND GIVE IT A PROFESSIONAL's TOUCH
This is also my entry for the #1000daysofsteem by @steemitblog and the steemit team. For the purpose of this challenge i was inducted into the 6th team from Nigeria @team6-nigeria.
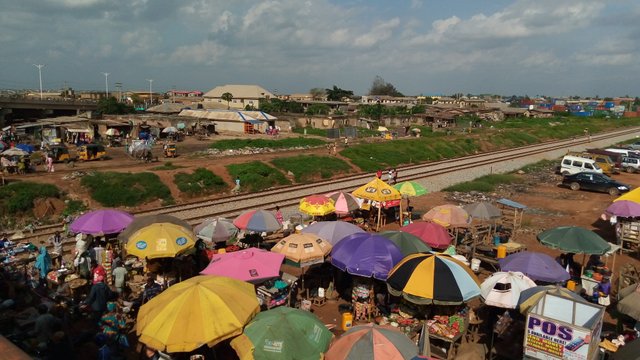
The image i'll be editing today using mobile editor Lightroom CC was shot with my smartphone. The details of the goes thus...
LENS: 13MP inbuilt.
SHUTTER SPEED: 1/3908
APERTURE: f/1.8
ISO: 112
EDITING PROCESS
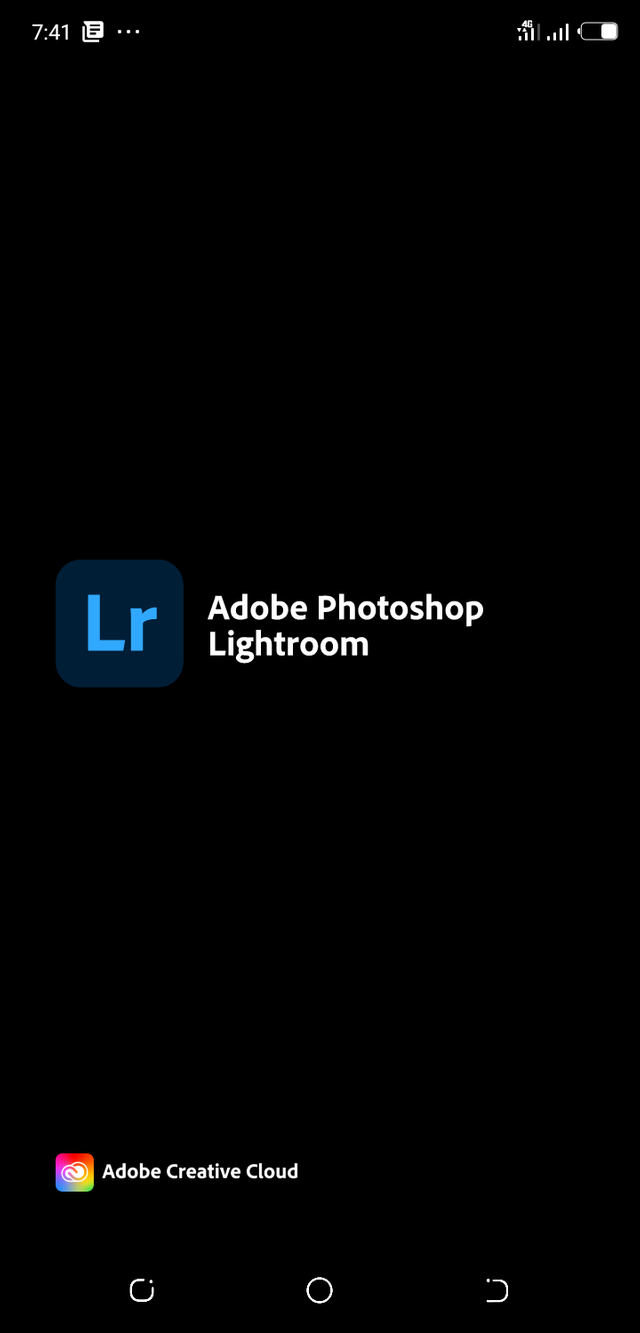
•Download lightrooom CC for Android here and for IOS here.
• After downloading click on the application icon to load it.
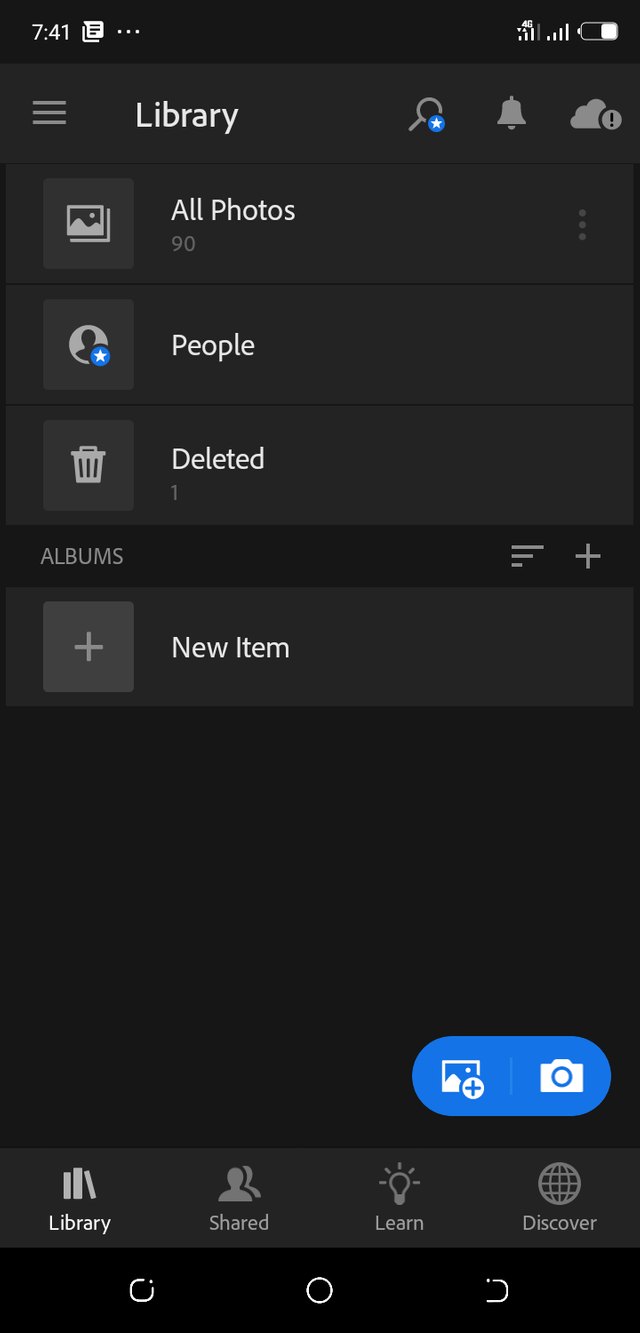
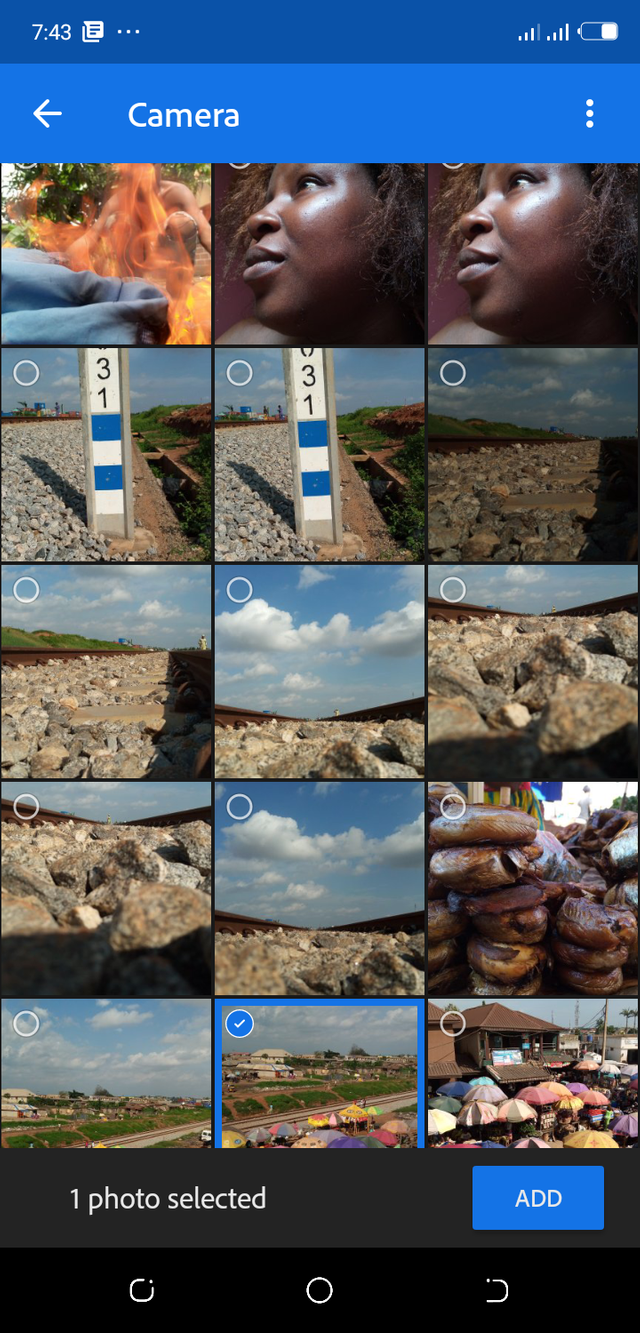
• Click the + Sign to add the image to the editor
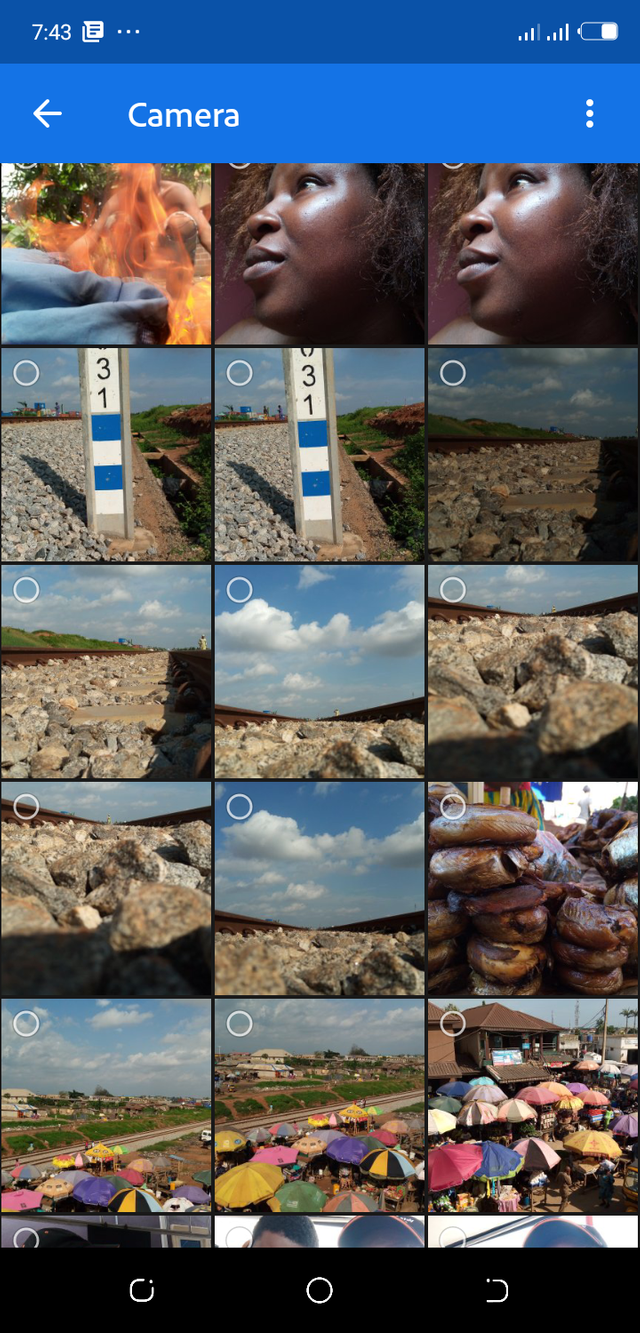
• Select the desired image and click ADD
• Now that the image is imported into the editor.
The icons on the right hand side of the phone screen holds different pallets to make changes.
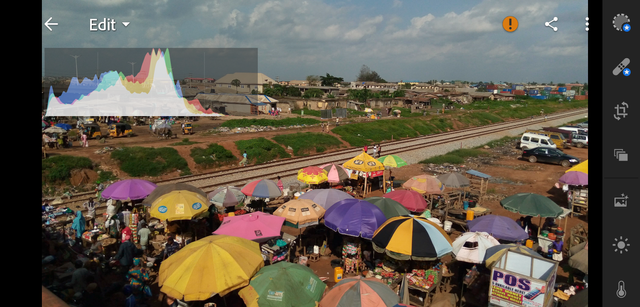
Lighting
Color Balance.
Sharpness and depth of field.
LIGHTING
To increase or decrease the lighting conditions of the image the first stop would be to toggle the Exposure, contrast, highlights, whites, blacks and shadows slides to exert changes.
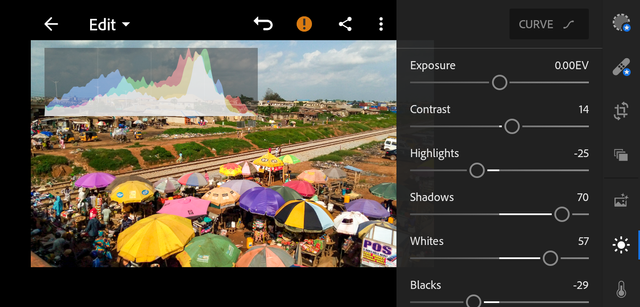
Now you can see the image is not so dark and consists of less shadowy areas.
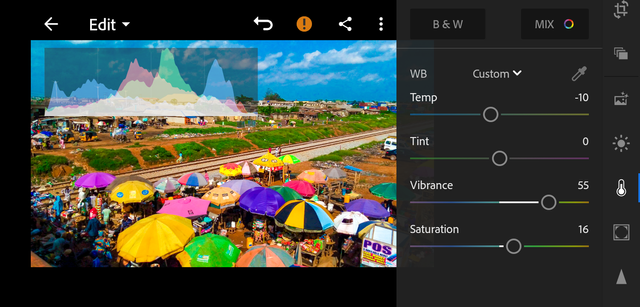
COLOR BALANCE
This technique makes your image pop out giving it a catchy look to the human eyes (viewer) and eventually making it more interesting. To this, the next icon would be for color balancing which entails options for Temperature, tinting, Vibrance, and saturation. To edit individual colors without affecting the entire image there is the Mix option at the top right. And for monochrome there is the Black & white option too.
Already the image is looking good, but at this point, i could observe some color noise especially in the clouds. Look at the image below.

So i had to give it one final touch before the image would be ready.Sharpness and Depth of field.
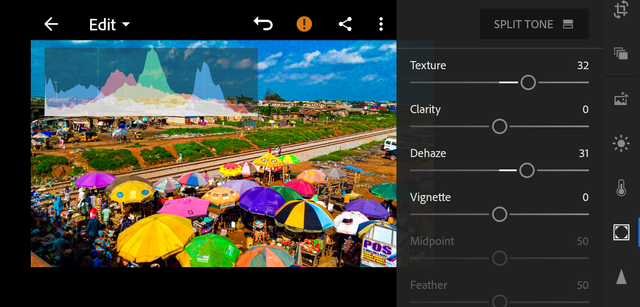
Already the image looks sharp thanks to the quality of camera lens. However, to make an image look real giving the eyes an illusion of vision to give the viewer an impression of being present in the moment this is my layman's definition of Depth of field. Now options to consider are **Texture, Clarity, Dehaze, sharpness, Noise reduction.
Now you can see the image is CLEAR, SHARP, WELL LIT, COLOR BALANCED and i didnt have to break my bank to pay for the services of a professional photographer yet i own my own image and bye bye to downloading images online.
BEFORE
AFTER


This looks really professional. I think I will go for this app.
Keep it up, bro.
Congratulations, your post has been upvoted by @dsc-r2cornell, which is the curating account for @R2cornell's Discord Community.
Enhorabuena, su "post" ha sido "up-voted" por @dsc-r2cornell, que es la "cuenta curating" de la Comunidad de la Discordia de @R2cornell.