Painting Realistic Lips
Being able to paint a portrait of someone you care might be one of your goals in your journey as an artist. Doing this is a step-by-step process as it doesn't happen in one day. Even great artists started from drawing stick figures before being able to paint their loved ones. Even though it's a long process, I am here to share some of my steps and tips from my own experiences.
I have shared on How I Paint Realistic Eyes Using Adobe Photoshop CC since we all probably looove drawing the eyes. * wink *. Right now, I'm going to share some steps on how I paint lips on Adobe Photoshop.
Drawing Basic Lines
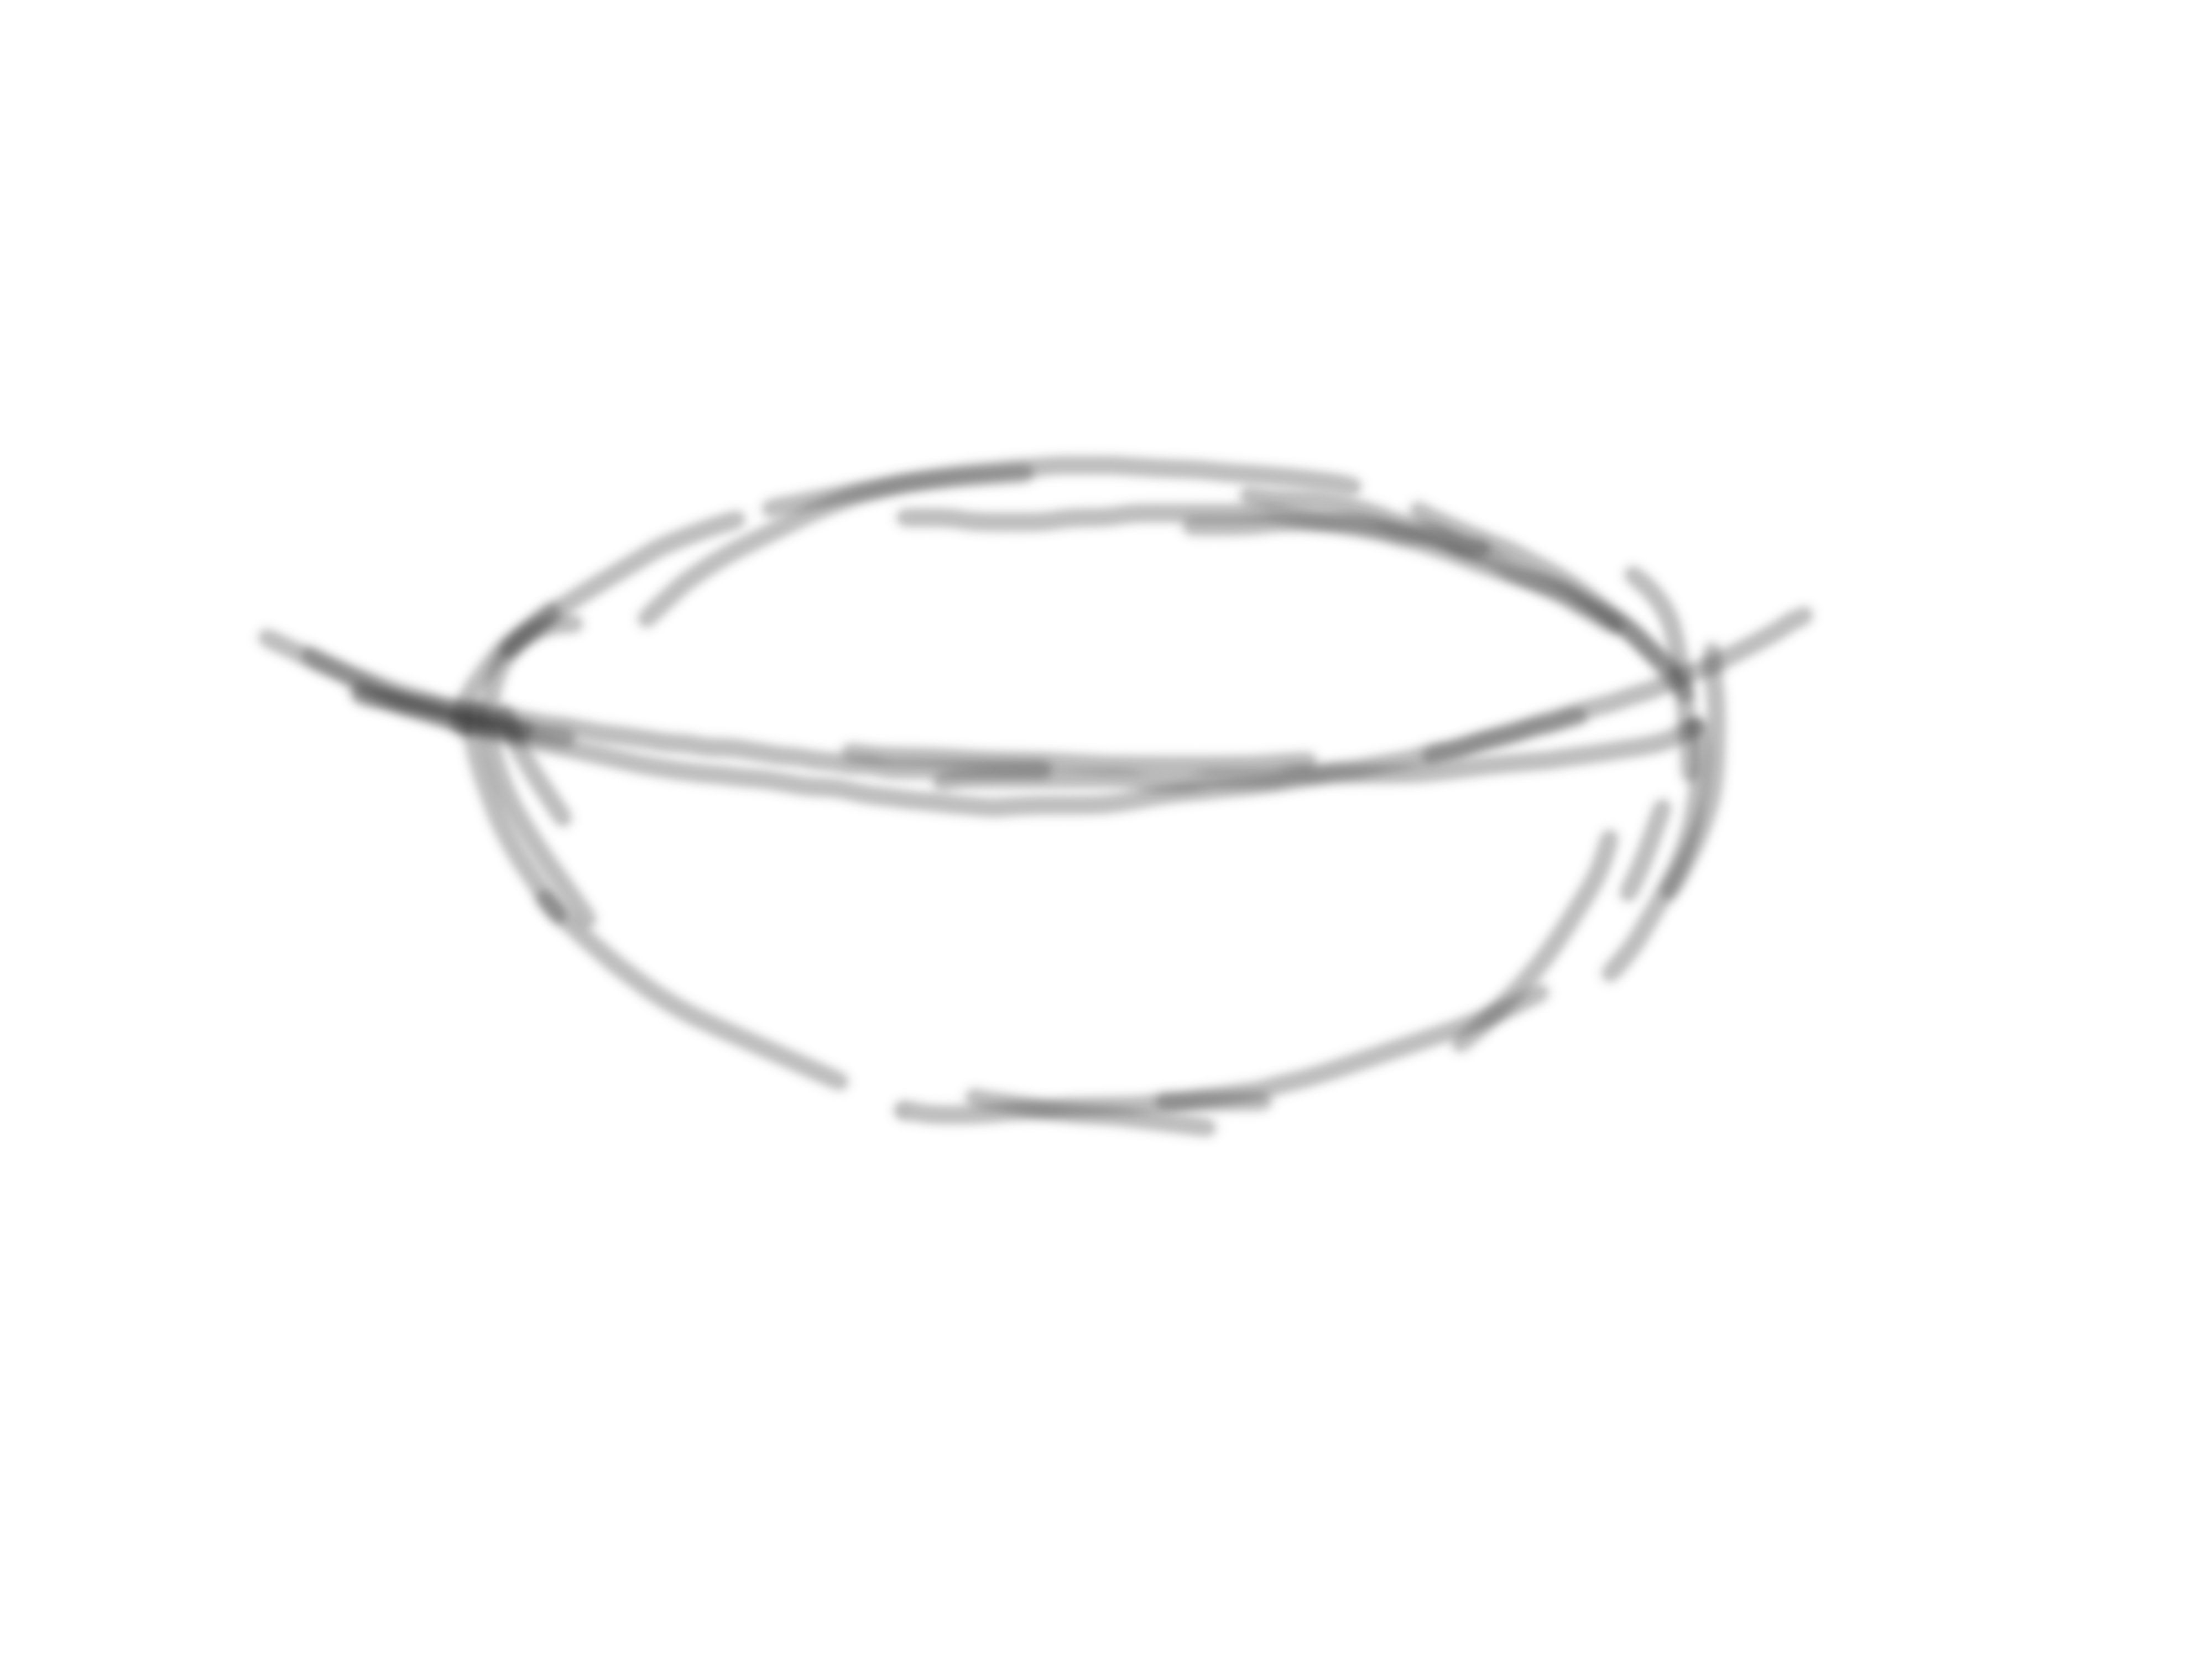
Drawing basic lines come first so we would know if we are going to place the subject properly. In this part, it doesn't matter if it's a perfect oval or a straight line. You also don't have to draw the details yet, as this will just serve as your guide.
Contour Line Drawing
Through the guide, I drew the contour of the lips.
Distinguishing the Light and Dark Parts
I created another layer and added the necessary colors while distinguishing the light and dark parts. For the color, you can easily pick a color using the eyedropper tool but it is much better if you pick the color manually from the color swatch. This will enable you to understand better on how the colors work.
For the light and dark parts, always remember that the darker part creates an illusion that it is farther from our eyes and the lighter part is nearer. In this case, the lighter part should be in the center.
Adding More Colors

I added more colors. I made use of the Opacity and Flow feature to control the placement of the colors.
Hiding the Contour Layer
Hiding the Contour Layer will reveal the colors underneath.
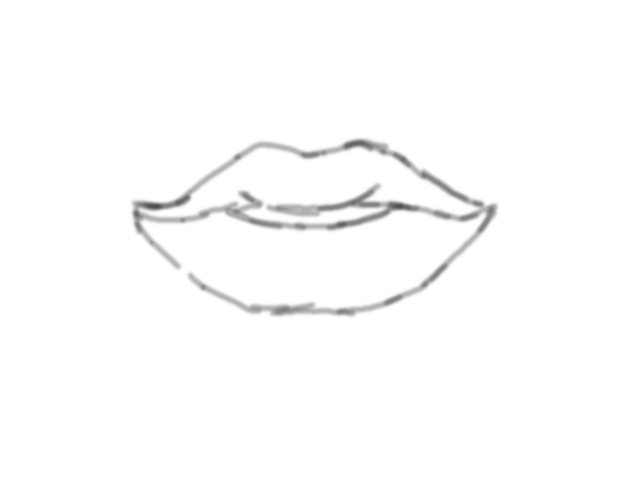
Drawing the Outline
I drew the outline to emphasize the shape of the lips.
Adding More Colors
I added more colors for the skin and lips.
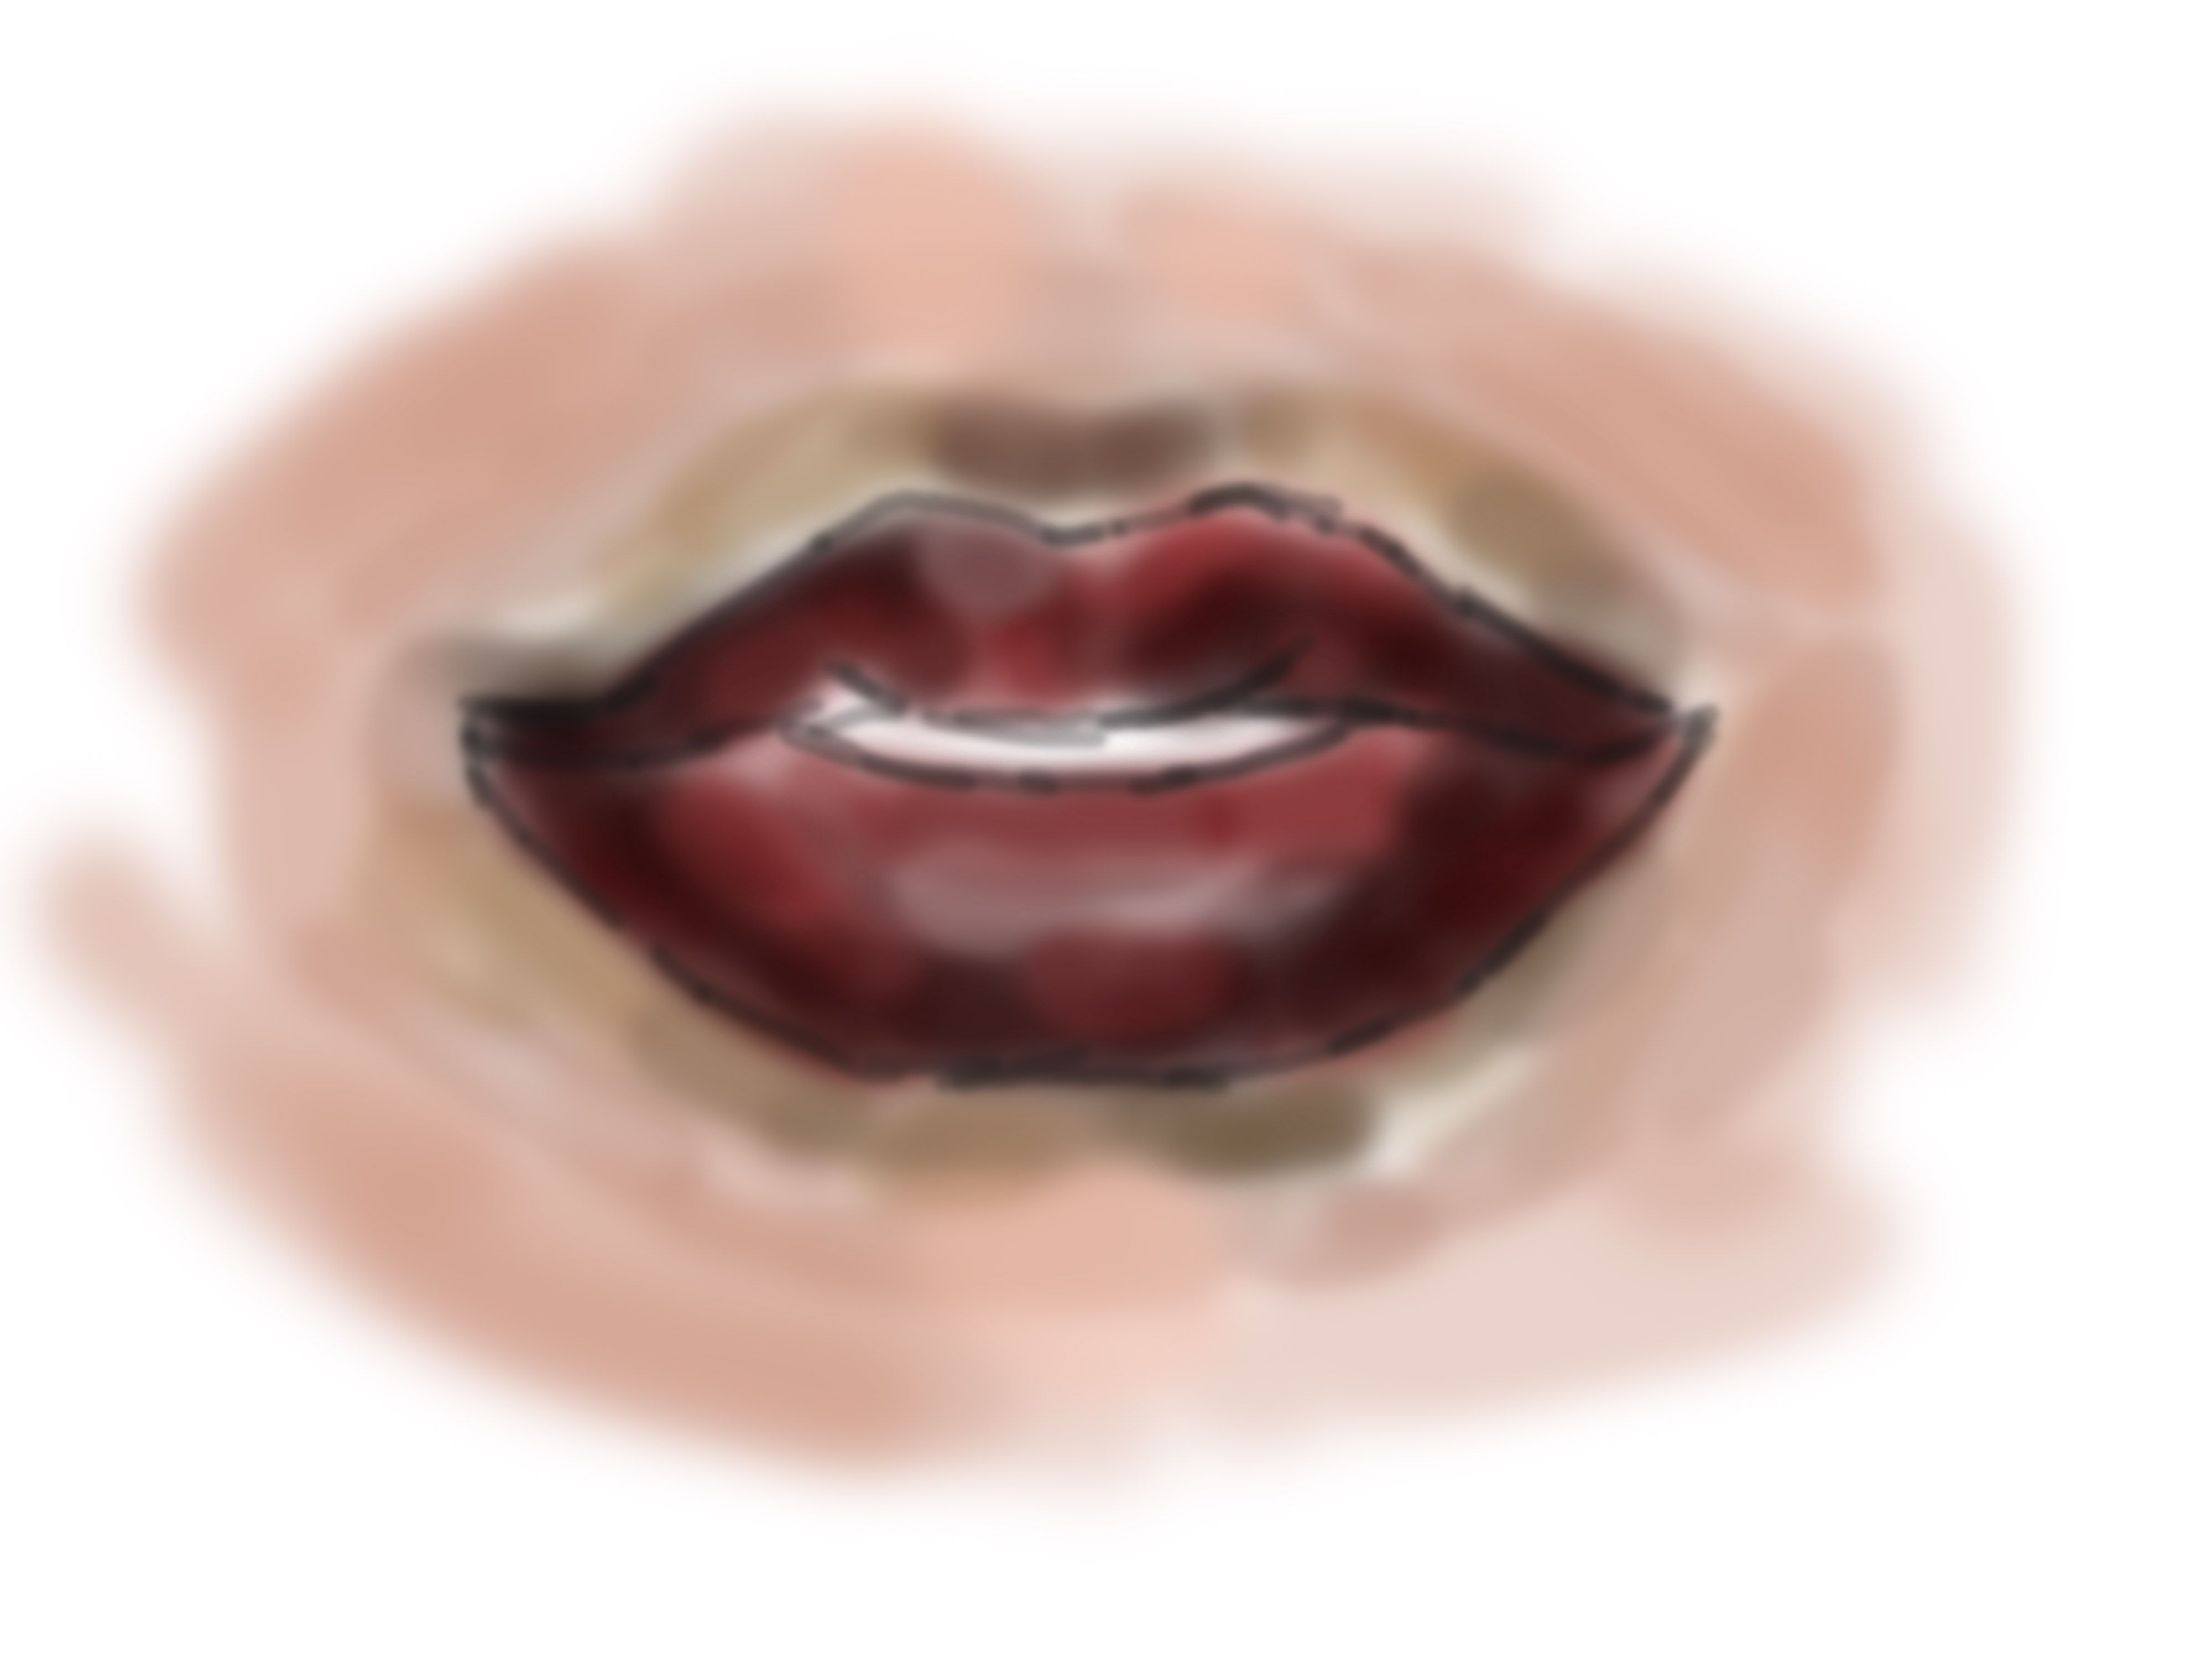
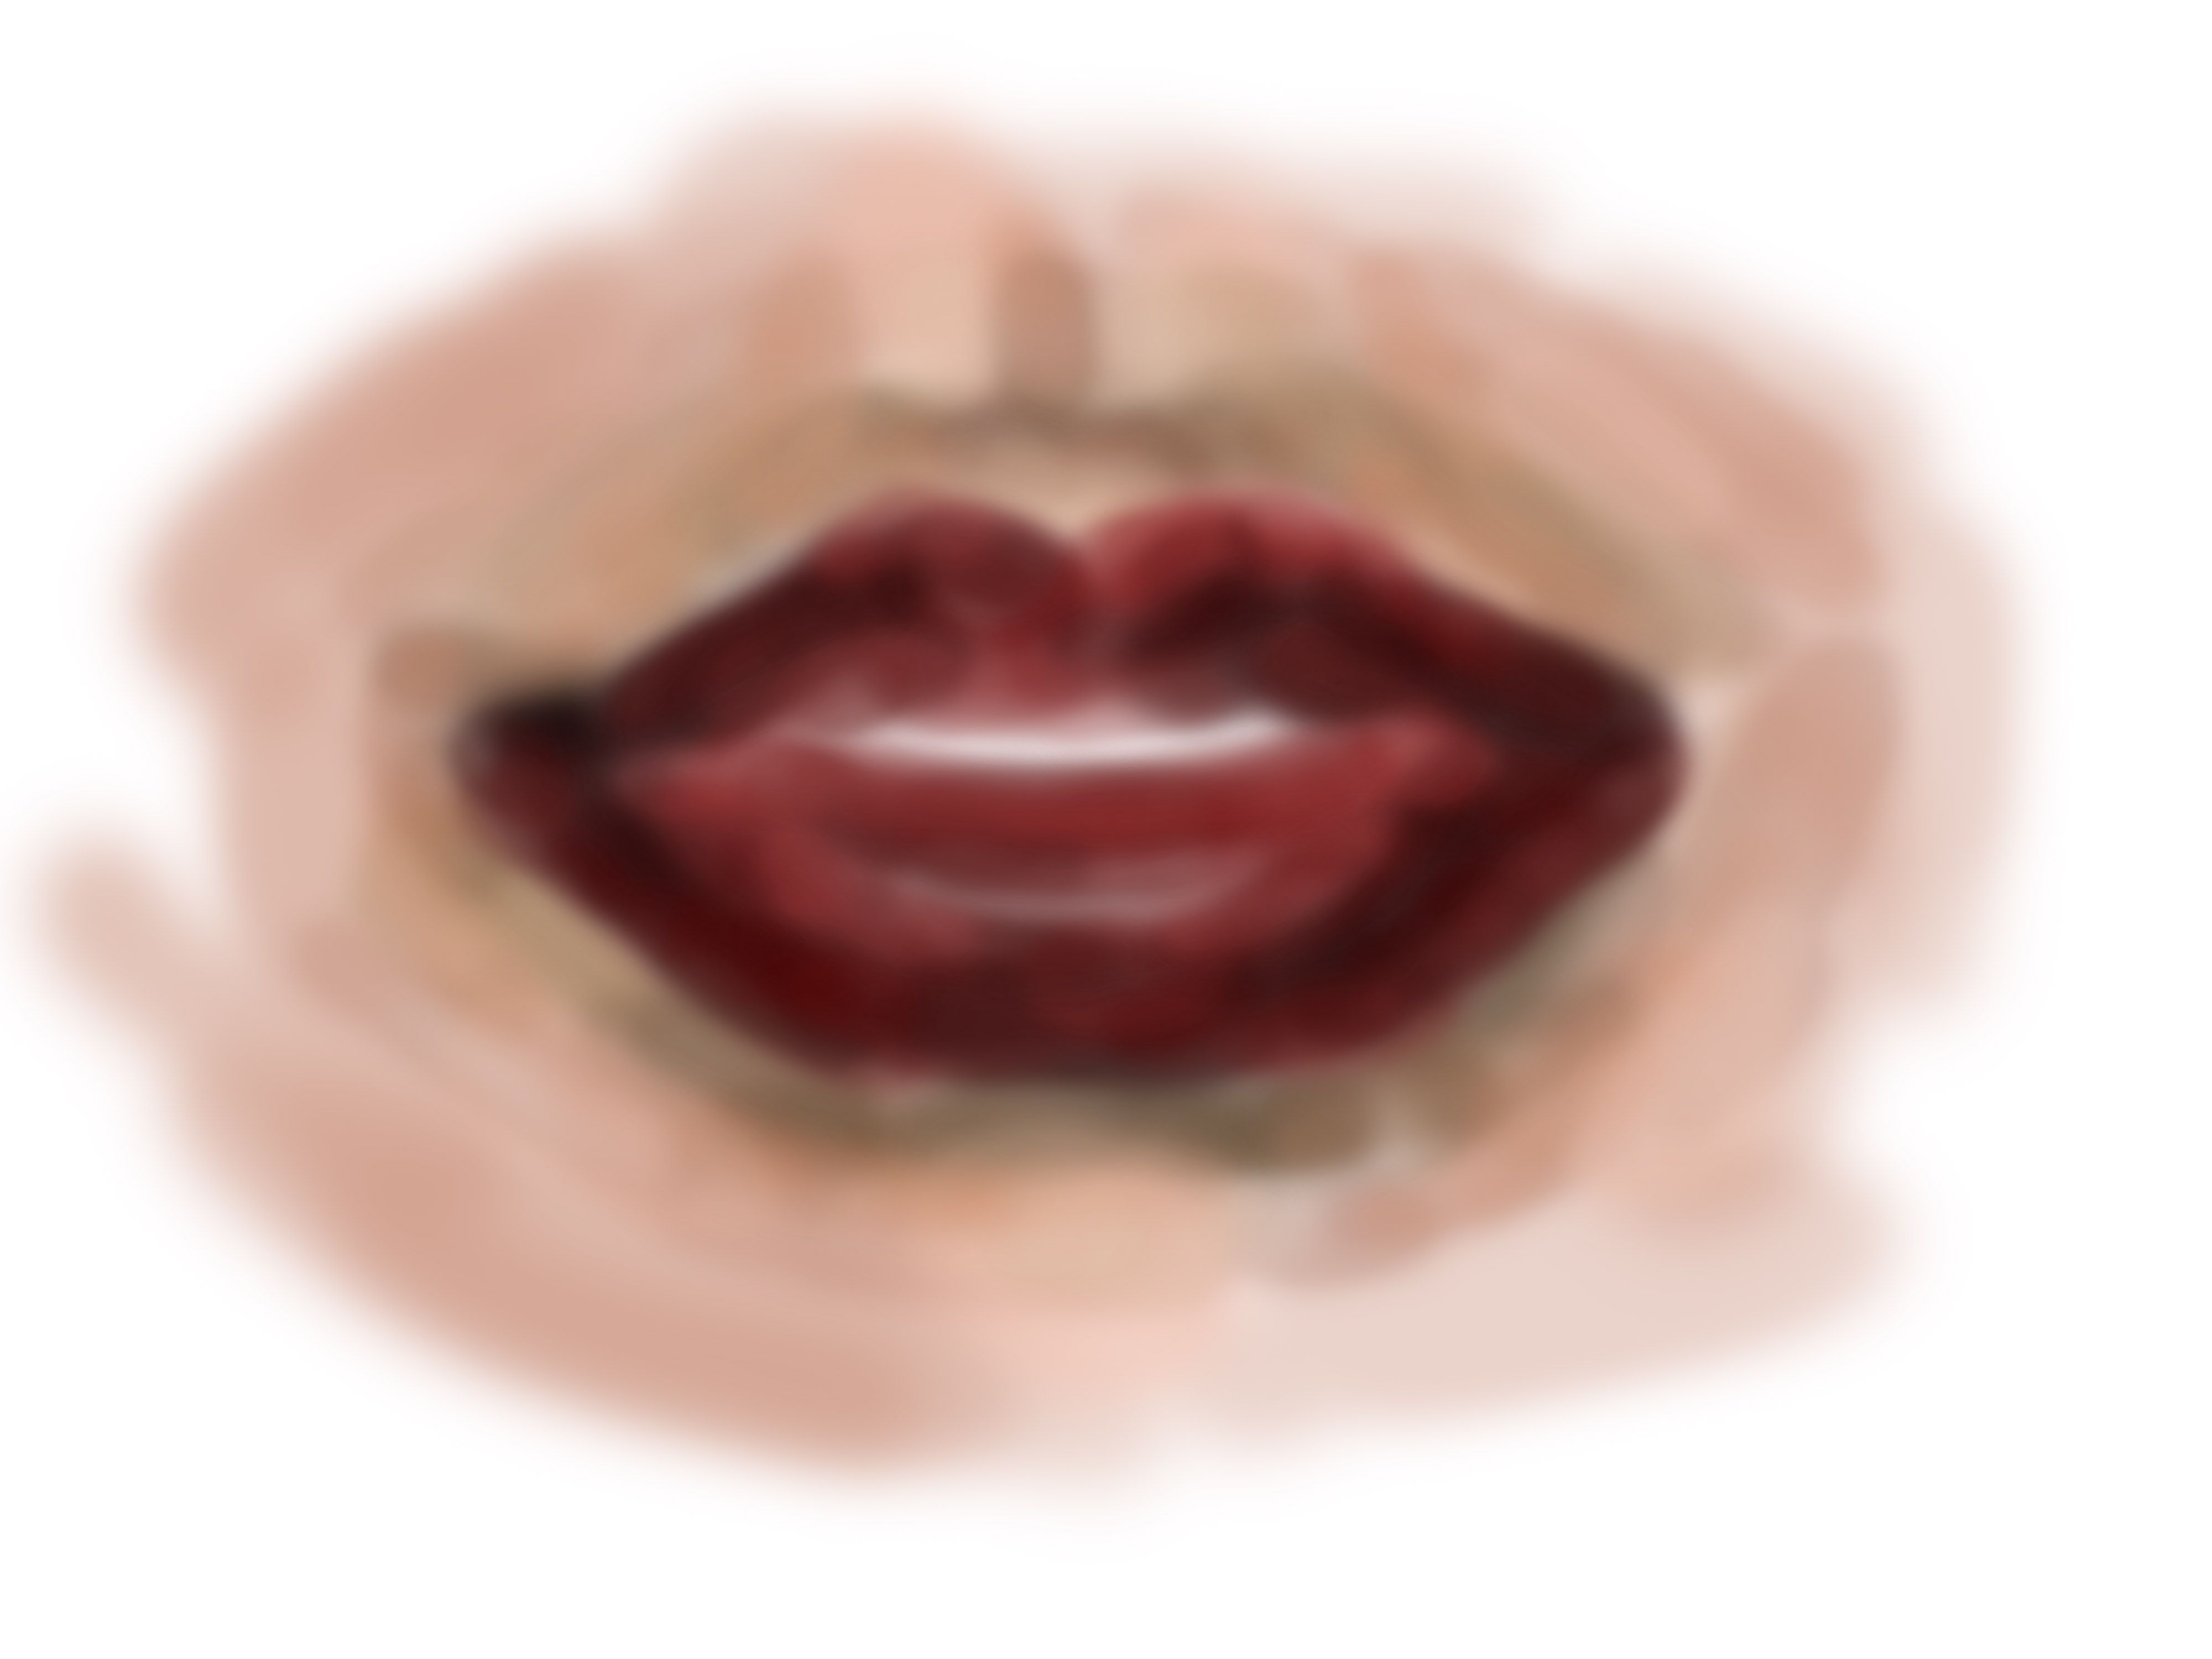
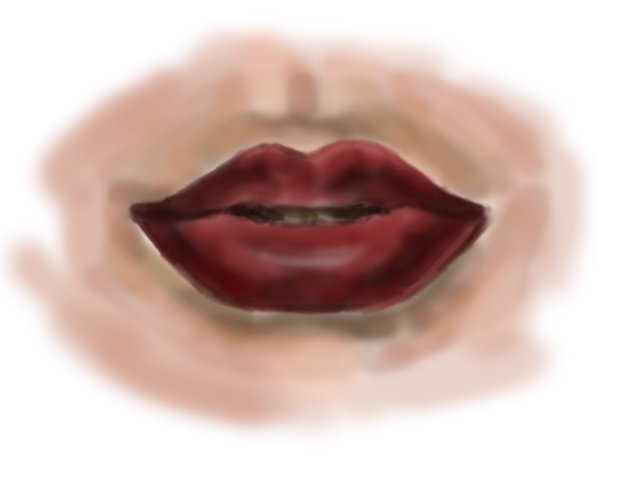
Adding More Colors and Highlights
The Highlights are really important part of making the lips "pop out". Like I mentioned earlier, most of the highlights should be at the center of the lips since this is the natural form of the lips in reality.
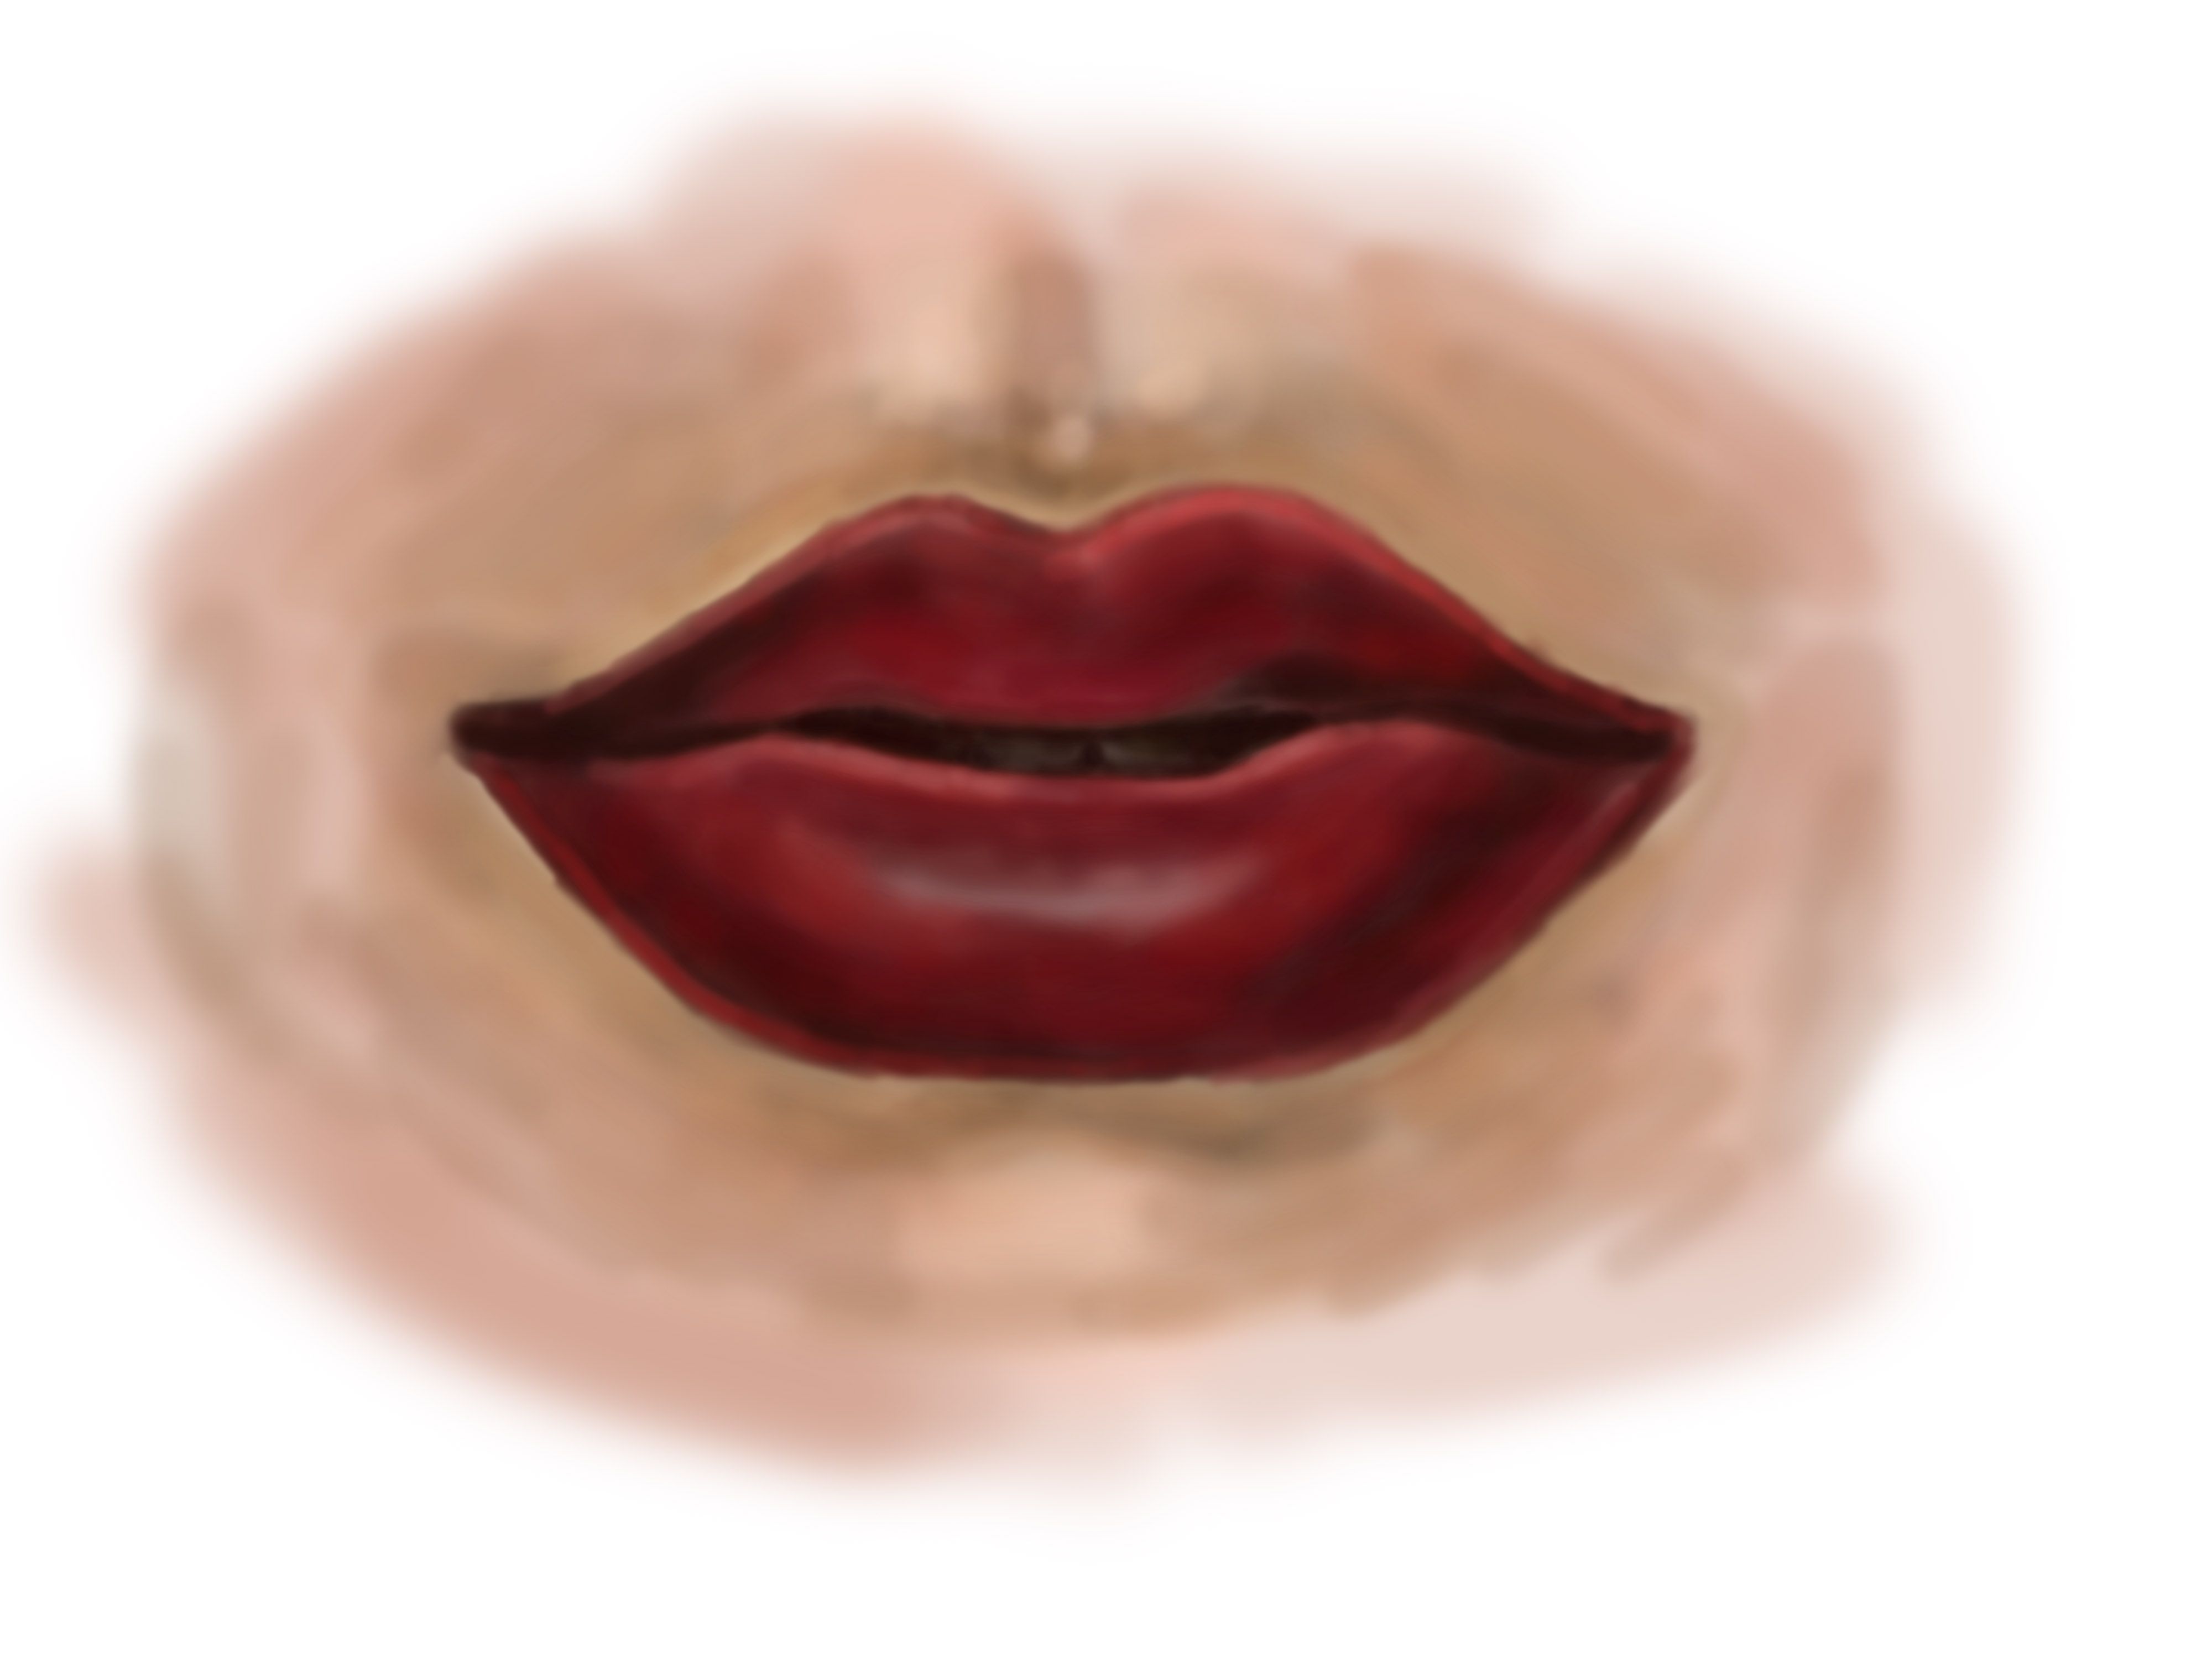
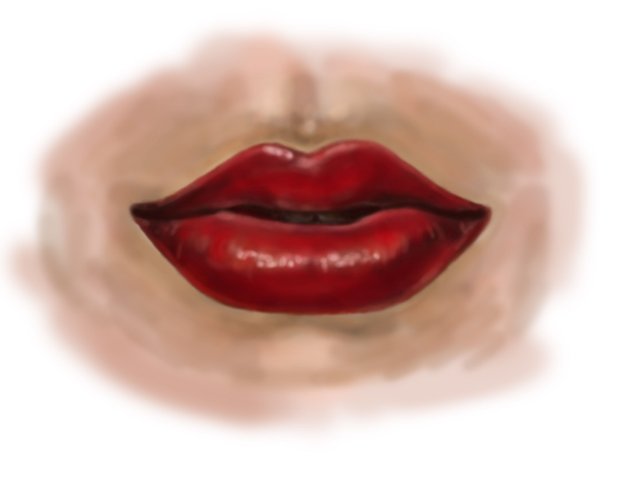
Finalizing the Details

I added more highlights at the center and added curved lines to finalize the lips.
You can always add more details depending on how realistic you want them to be. You can always experiment and don't be afraid if you commit mistakes because that is part of the process!
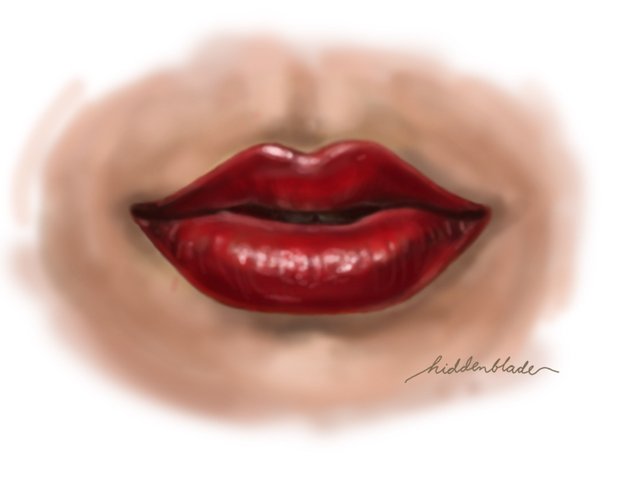
This is included in my showcase thing. Posted back in 2018.
Fantastic painting..l. You have inspired me to try some digital work.
This post earned a total payout of 48.996$ and 24.498$ worth of author reward that was liquified using @likwid.
Learn more.