A Tutorial On 3in 1 drawing in three different concept.
Today I will share with you a colour magic drawing. Let me know how it is!
Used materials
| Metarials | Picture |
|---|---|
| Colour | 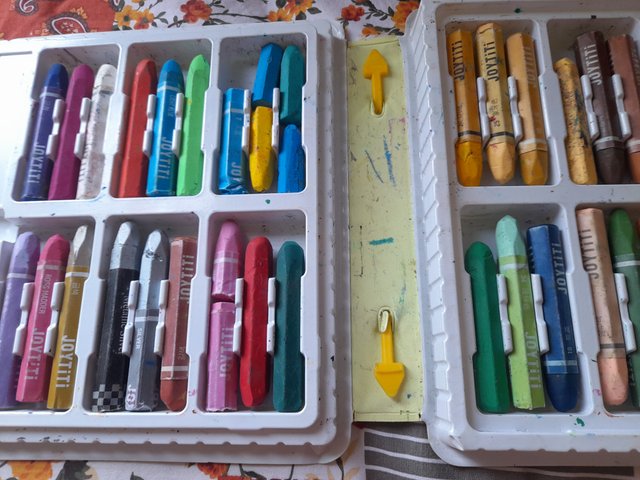 |
| Correction pen | 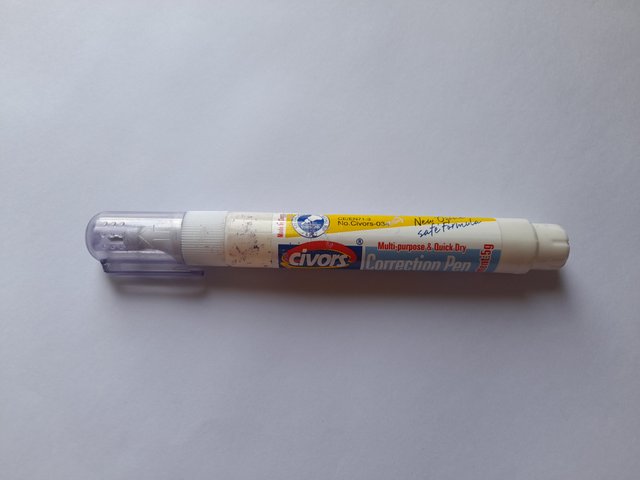 |
| Pencil | 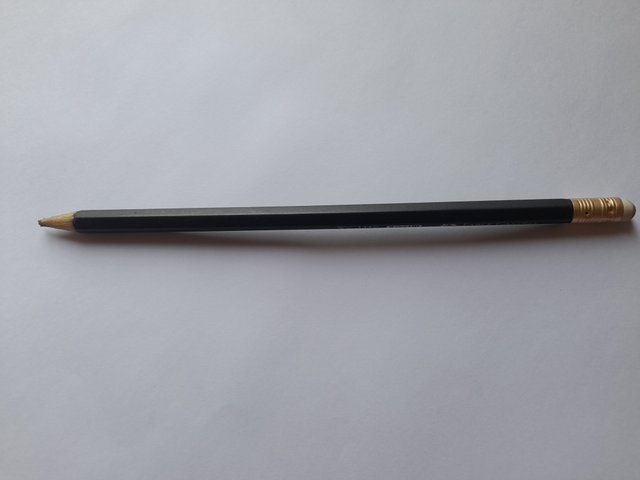 |
| Note-book |  |
| Tape |  |
Steps
Step- I
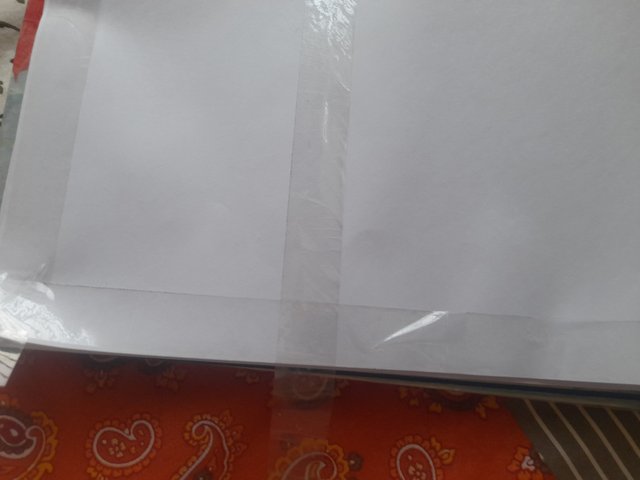
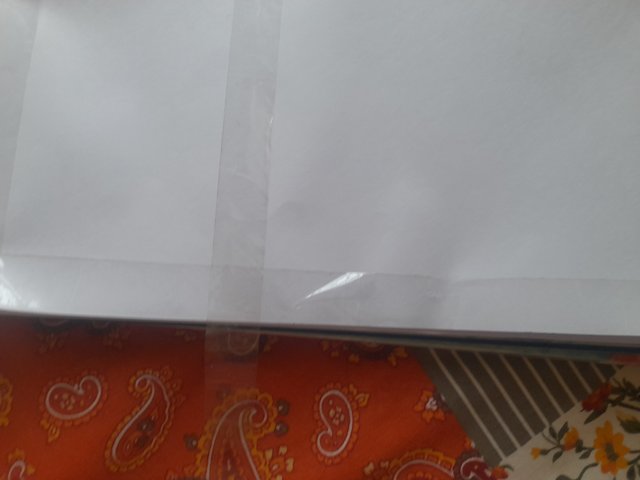
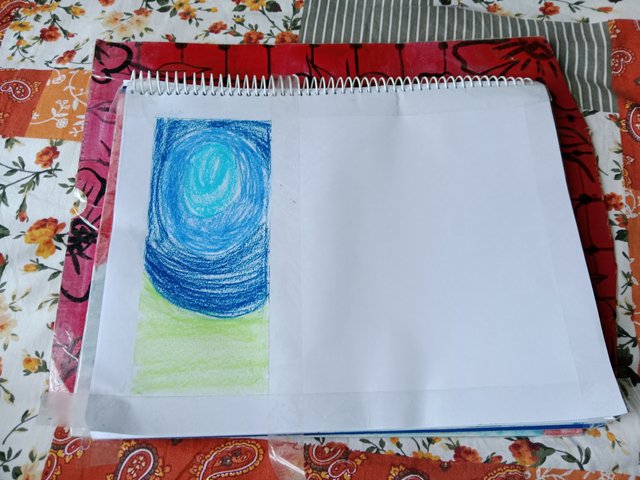
First I made a border with scotch tape on a white paper. Since I'm going to draw three different pictures here, I'm going to put scotch tape in one place after another. I will divide a piece of paper into three parts by applying scotch tape but in this step I have divided one. In three parts I will draw different concepts.
 |  |
|---|
Step- II
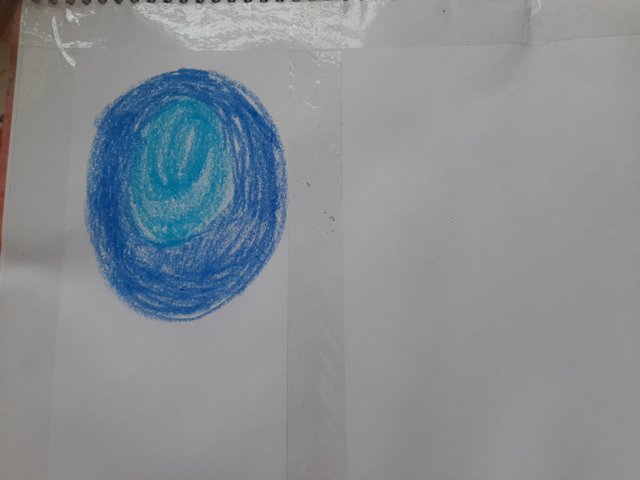
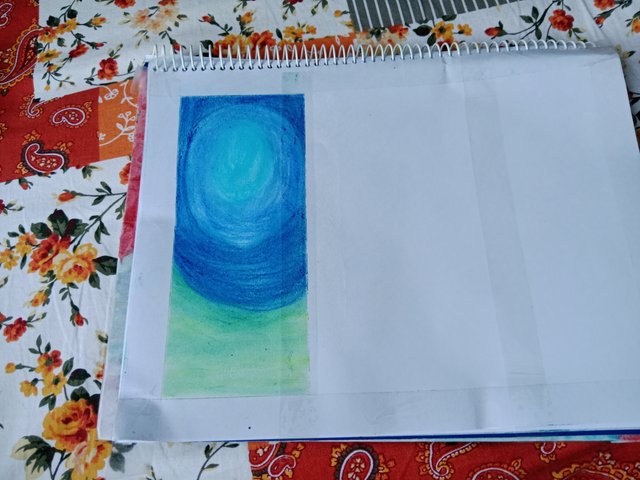
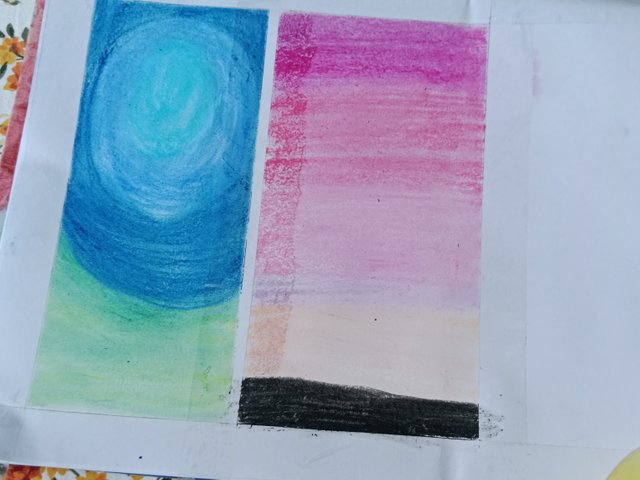
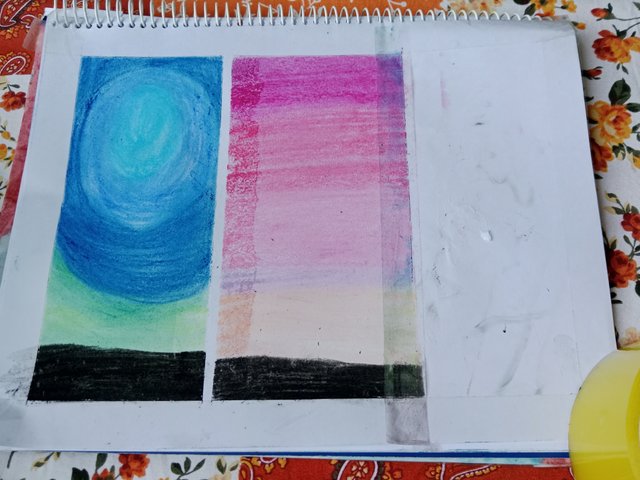
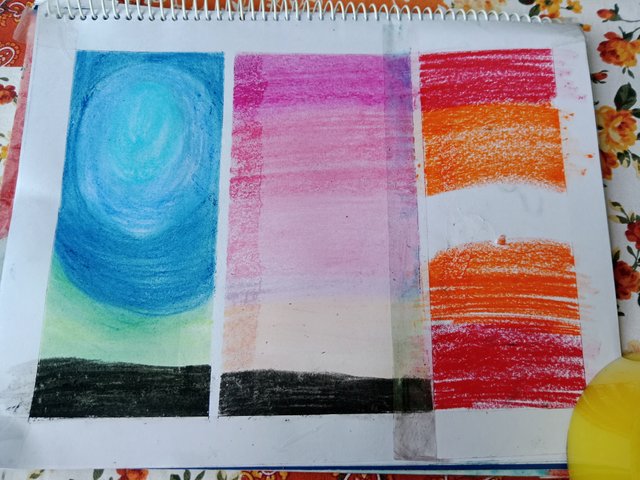
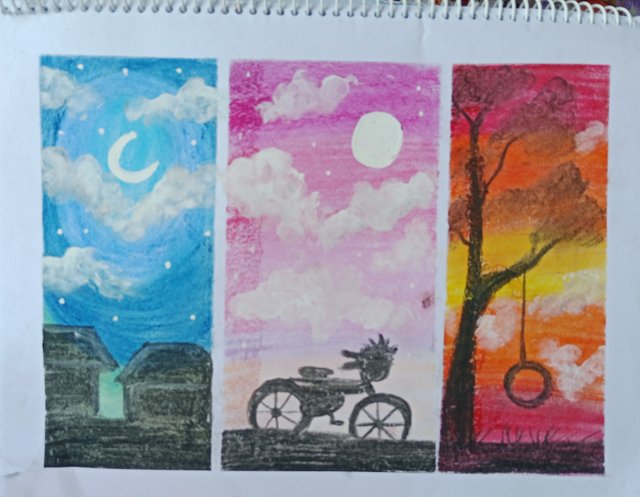
I started painting in the first place. First I use sky blue color. Next I use cobalt blue color which you can see in the picture. Then I painted the area with Prussian Blue and Light Green. I paint like a circle. Then I use light green color on the bottom. Finally I blend the colors with my fingers.
 |
|---|
 |  |
|---|
Step- III
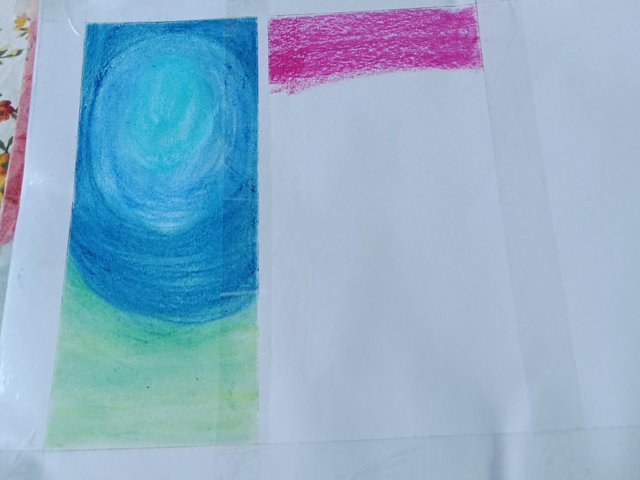
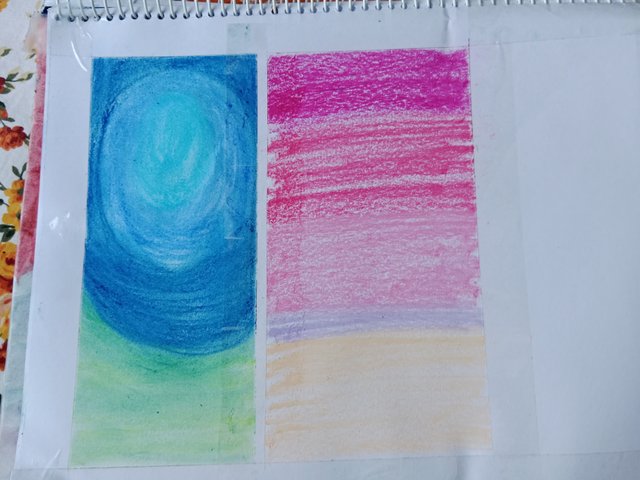
In this step I first use purple color. Then use dark pink first and then light pink. Then paint with lavender color and pale orange color. Like the first step, in this step I blend the colors with my fingers.
 |  |
|---|
Step- IV
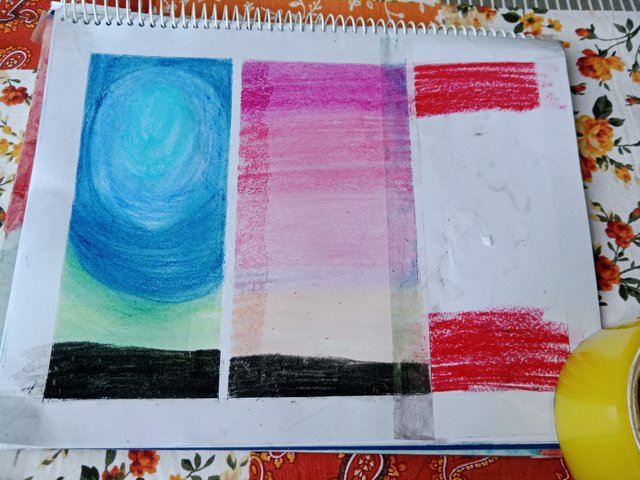
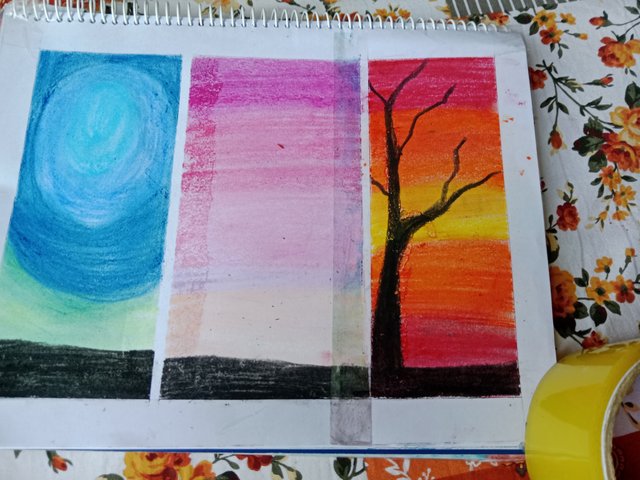
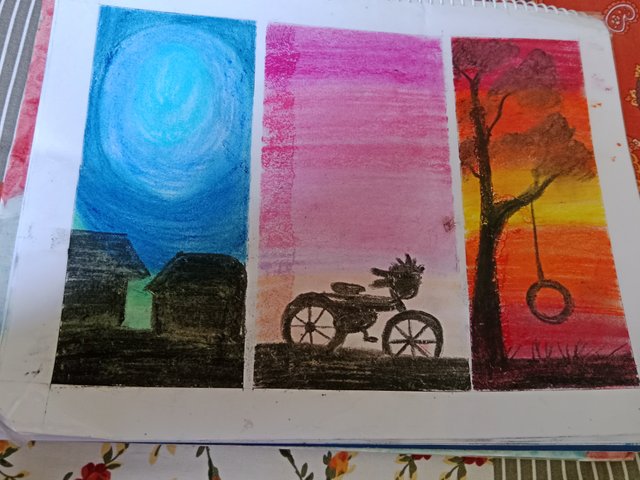
Then I painted black on the bottom of the 1st and 2nd parts. Then I removed the scotch tape and for the third part I left the scotch tape on and started painting.
Step- V
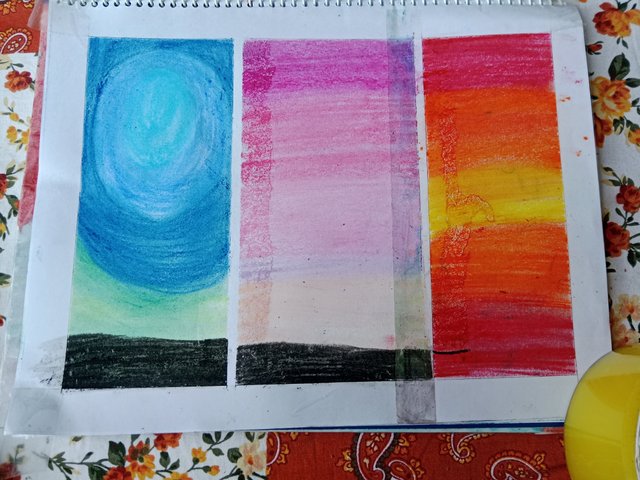
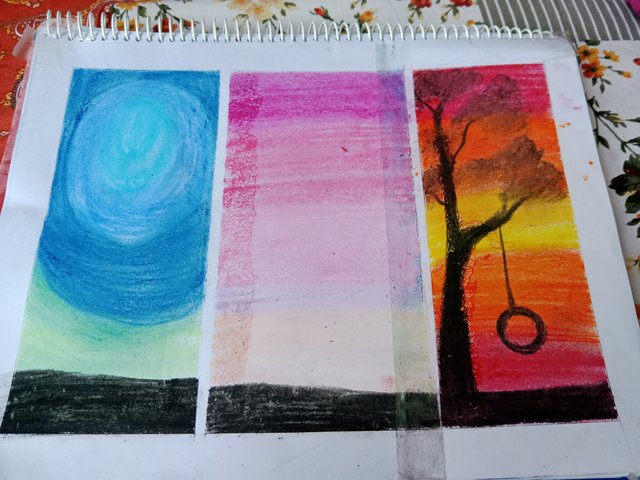
Add red color to the top and bottom of the third part. Then use orange color and then yellow color. Then paint the ground and trees with black paint. After that Paint the leaves on the tree branches with light black paint. Finally, we make a swing with tires on the tree branch.
 |  |
|---|---|
 |  |
Step- VI
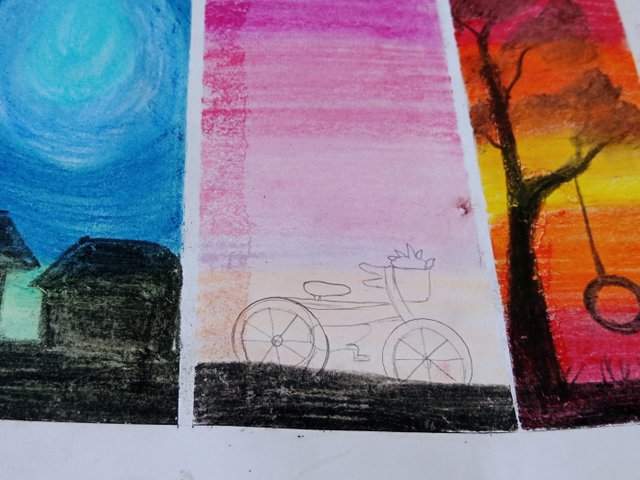
Here I again draw two houses with pencil in the first step. Paint the house with black paint. This is how I drew my first part two houses.
 |  |
|---|
Step-VII
2nd part is to draw a bicycle with pencil. I have drawn a ladies bicycle with a basket on the front. Then I also paint the bicycle with black paint.
Step- VIII
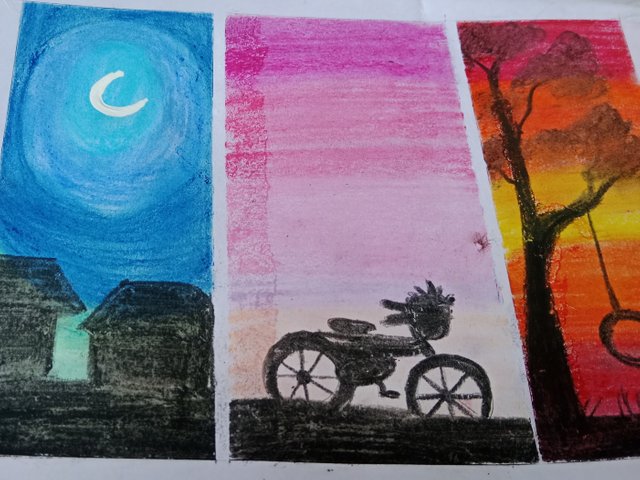
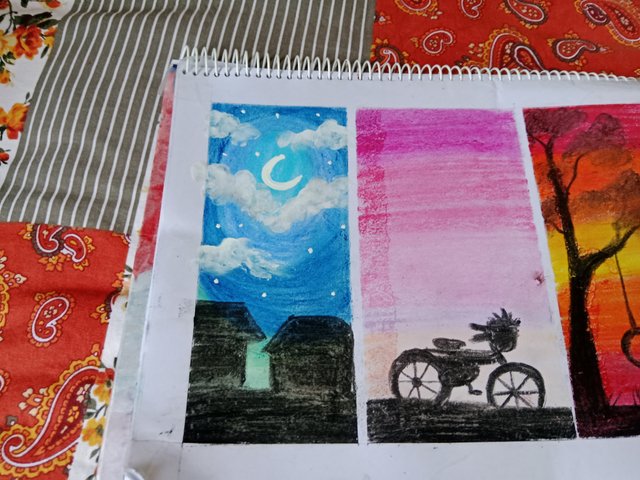
Now I again start the work of detailing in the first part. I drew the moon in the sky with a correction pen. Along with the moon I also draw the clouds and finally the stars. This is how I finish my 1st part.
Step- IX
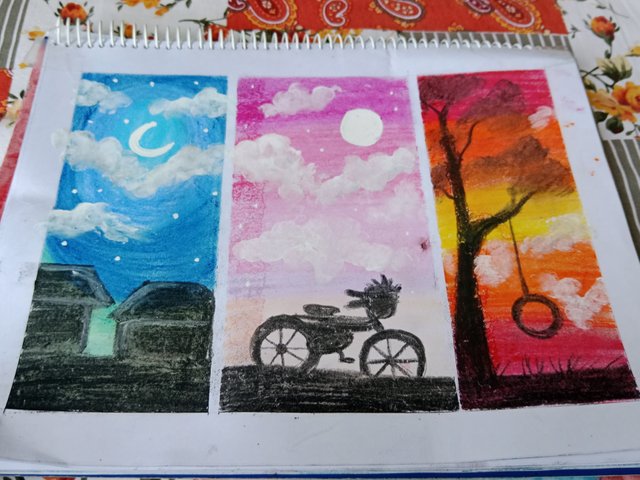
Now I draw the moon and clouds in the 2nd part. You can see in the picture how beautiful it turned out. Finally in the third step I complete the painting with light white clouds. Then remove the side sketch tape.
Step- X
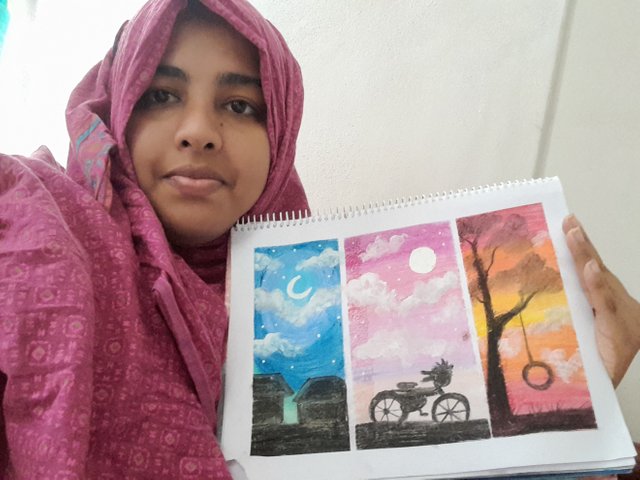
Finally I take a selfie with the drawing.
Support @pennsif and @pennsif.witness for the growth of this creative platform. Vote for @pennsif.witness here
Upvoted. Thank You for sending some of your rewards to @null. It will make Steem stronger.
TEAM 1
Congratulations! This post has been upvoted through steemcurator04. We support quality posts, good comments anywhere, and any tags.Hi, Greetings, Good to see you Here:)
Great art, especially your shape ideas are very unique, I like it.
আপনার আর্ট গুলো খুবই সুন্দর হয়েছে আপু।মনে হচ্ছে খুব দক্ষতার সাথে এবং অনেক ভালবাসা নিয়ে আর্টি সম্পন্ন করেছেন।
ধন্যবাদ সুন্দর কিছু আর্ট আমাদের মাঝে উপহার দেওয়ার জন্য।
You have created such a detailed and beautiful artwork with different concepts in each part of the paper. The step-by-step process you shared is not only informative but also inspiring. Your creativity and attention to detail shine through in each picture you painted. Keep up the amazing work!