||Paper carft: Make easy simple and attractive Ideas with Paper make by isfatema…
• Ruler.
• Pencil.
• Eras.
• Cut the pencil.
• A4 size art paper.
• Scissors.
• Paper gulu.
• Marker.
First take a big thick paper. A bit like hard board paper. Then measure the scale to see how much is there. Then it should be divided into three parts. Then when the measurements are done I will cut them to size with scissors. Thus we complete step 1. After completing step 1 we move to the next step.
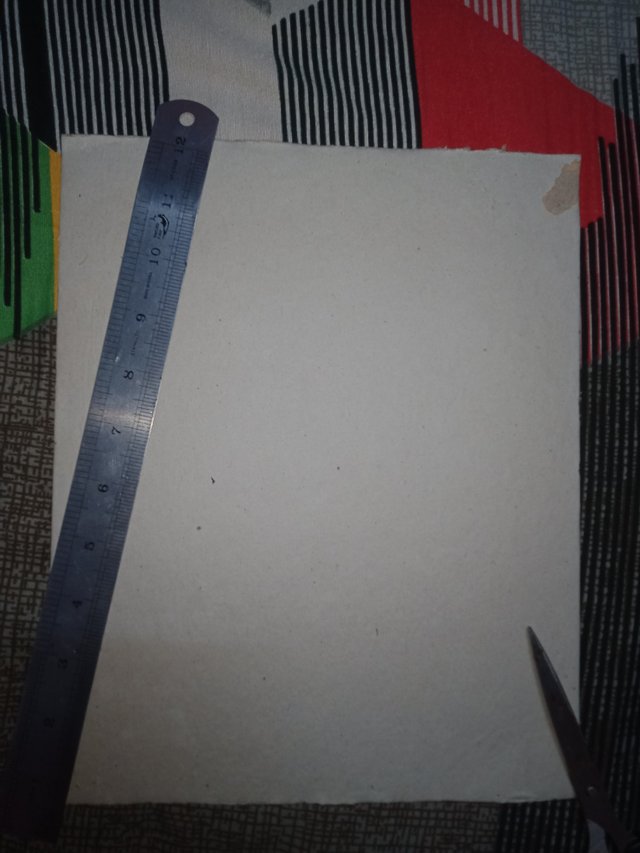 | 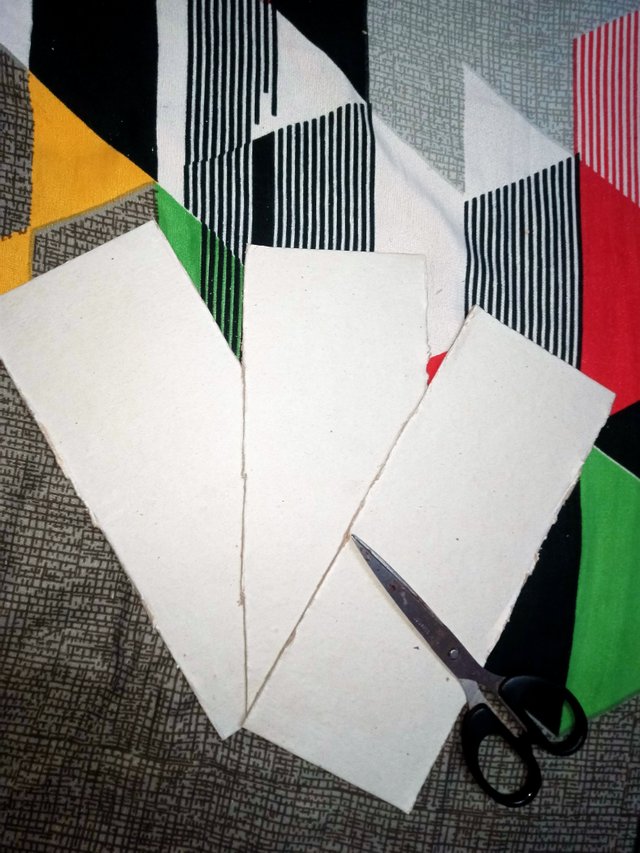 |
|---|
Once step 1 is over we move on to the next step. Here we will put the paper on the three hard boards that we cut to size in the previous step. I will first choose a4 size paper of yellow, orange, purple colors to put on the paper. First I will put the full A4 paper on the yellow paper below and the hardboard paper on top. In the same way, I will put this orange and purple colored paper in the same way. Thus we conclude step two.
 | 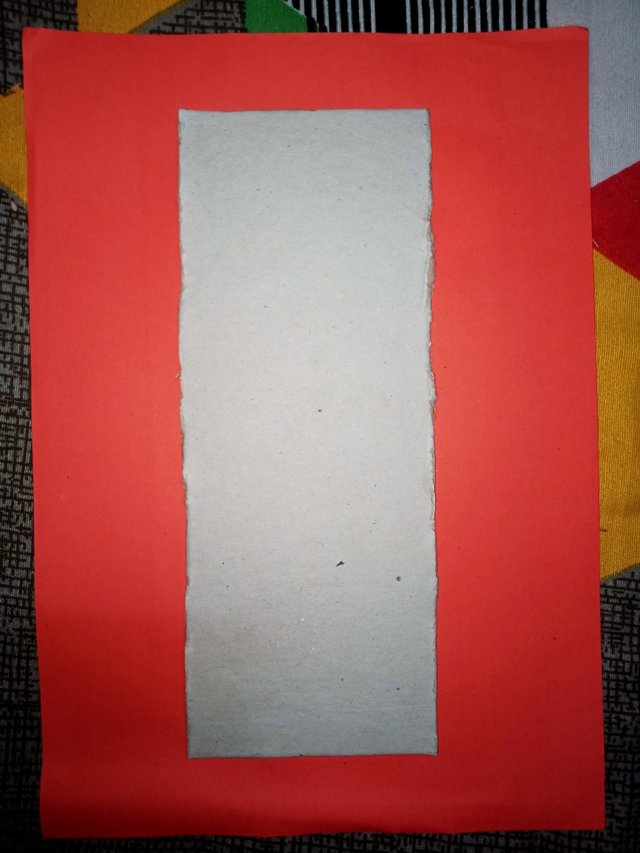 | 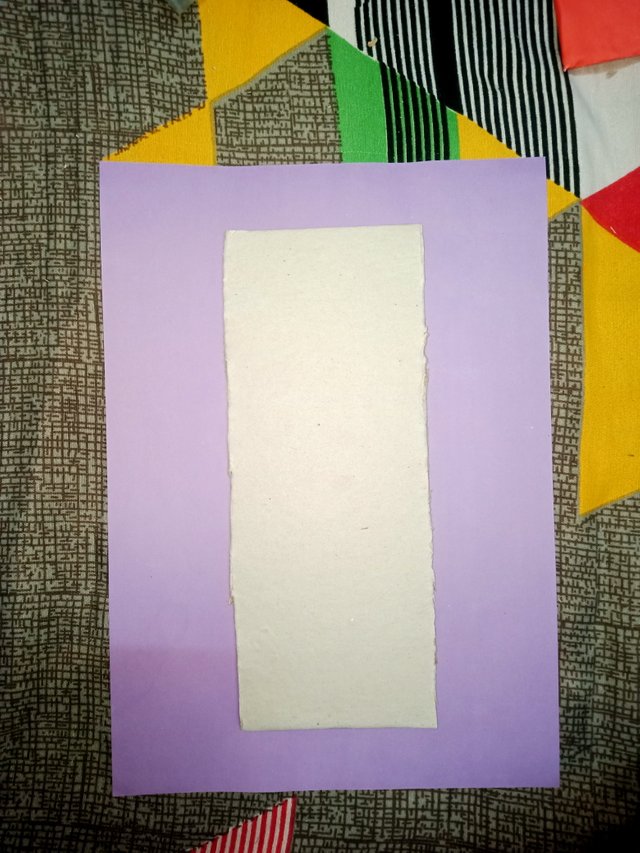 |
|---|
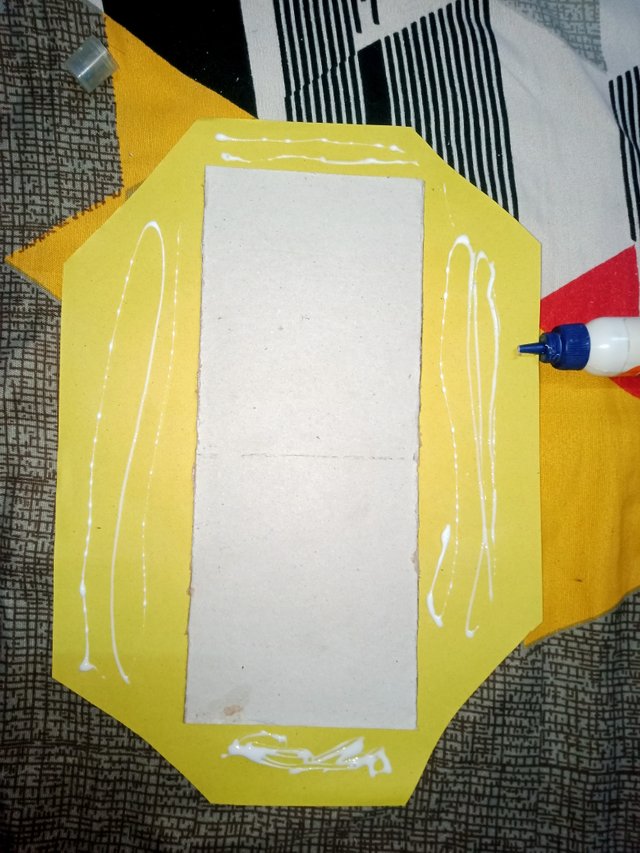
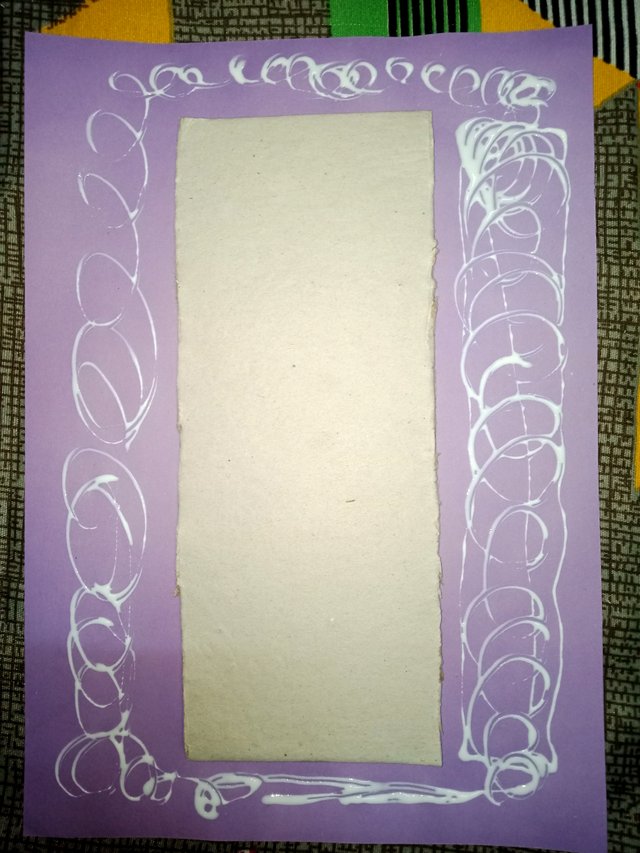
After completing step 2 we come to step 3. Here we cut the paper from the corners with scissors from the four corners where we placed the papers down and the hardboard up in the previous step. Then I will put glue on the paper around it. First let's glue the yellow, orange, purple on the three papers and thus we finish step 3.
 |  |
|---|
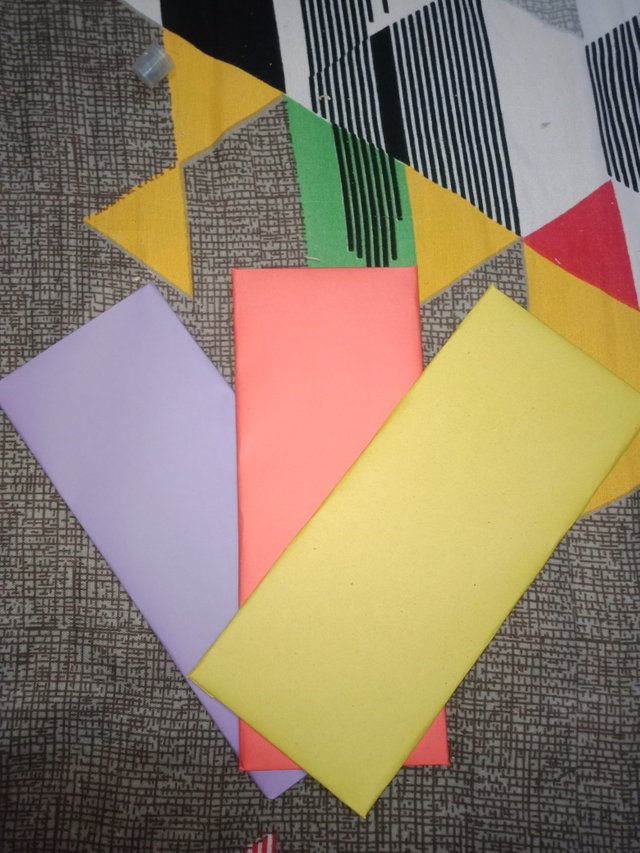
After completing step 3 we come to step 4. I will bring the papers on the board and put them together to make a rectangular paper. Basically I tried to say here with paper on hardboard. So that the things I'm making today look interesting. Thus we complete step 4.
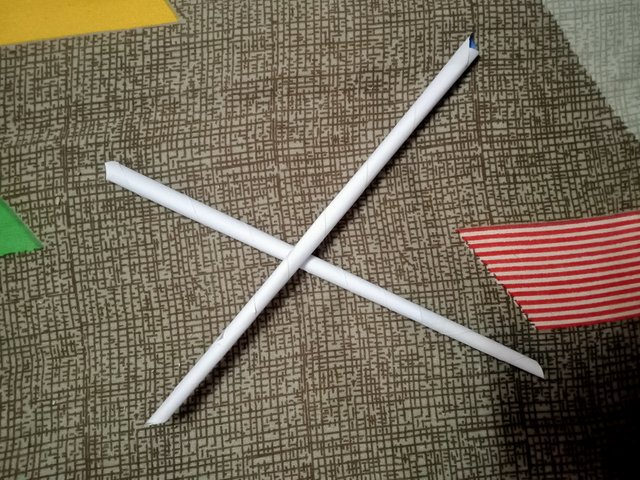
After completing step 4 we move to step 5. Here we will cut a small amount of paper from a white paper and with the help of a pencil make those papers into a long shape. And put glue on his head whose papers can be removed again. Thus we complete step 5.
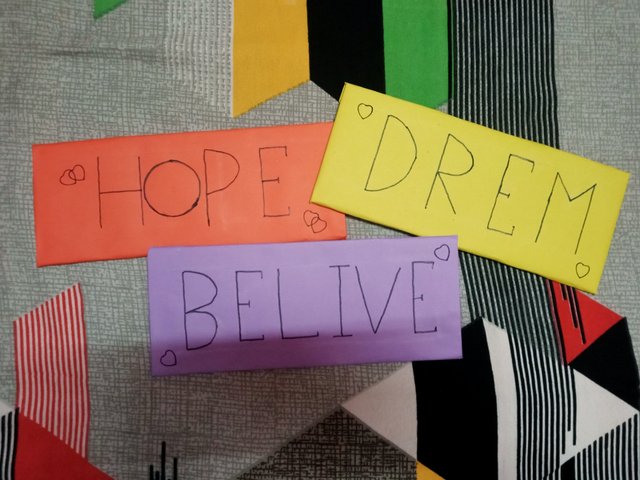
After completing step 5 we move to step six. Here we write some valuable words to add beauty to the rectangles we created in the previous step. For example: "HOPE" on orange paper, "BELIEVE" on purple paper and lastly "DREM" on yellow paper are not written with markers. And mark profit with marker on each paper. So that looks more beautiful. Thus we conclude step six.
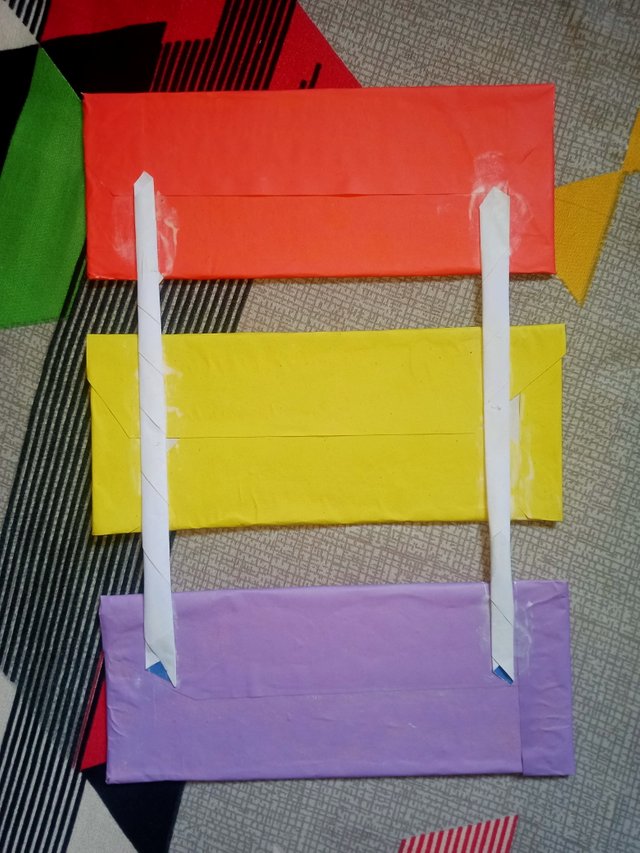
After completing step six we come to step 7. Here, we will glue the papers on which we wrote three words step by step, leaving some space in the middle and glue them. So that the three papers are step by step. I will use the long paper sticks that I made in step number five here. Thus we conclude step 7. After completing step seven, proceed to step 8.
Step 8 is the last step. Here, glue the string to the back of the object we made earlier in step 7. So that we can hang it somewhere. This is the end of today's papercraft.
| A | B |
|---|---|
| Device | I phone 12 |
| photography | @isfatema |




Thank you, friend!


I'm @steem.history, who is steem witness.
Thank you for witnessvoting for me.
please click it!
(Go to https://steemit.com/~witnesses and type fbslo at the bottom of the page)
The weight is reduced because of the lack of Voting Power. If you vote for me as a witness, you can get my little vote.
https://x.com/IsfatE99/status/1821970696031137880?t=EtQ1paDXgamA3zxJ2S15Hw&s=19
Hi, Greetings, Good to see you Here:)