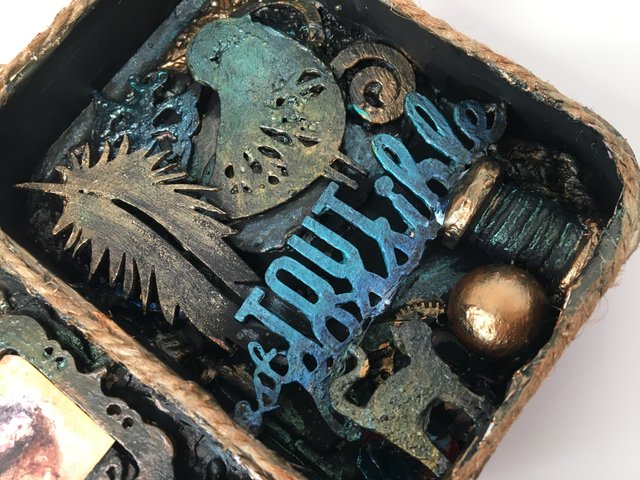
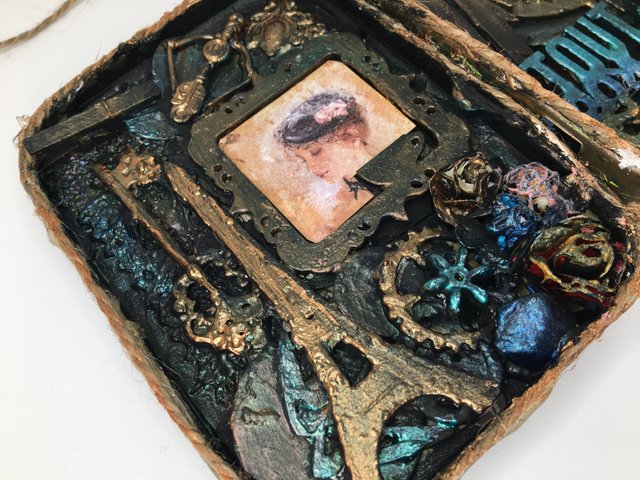
ALTERED TIN BOX | SHADOW BOX
Hello and welcome back to my DIY creation! Today's blog is my first post of the year, and now I want to get back to this platform and share some of the things that I've been doing for the past years. This project was made a week ago and I just want to alter a tin box instead of throwing it away. Turn your trash into treasure!
.jpg)
Without further due, let's get started on the materials and procedure. Just a reminder that if you are interested to make this project, you can use some other elements that you already have in your stash, rather than spending money to make this project.
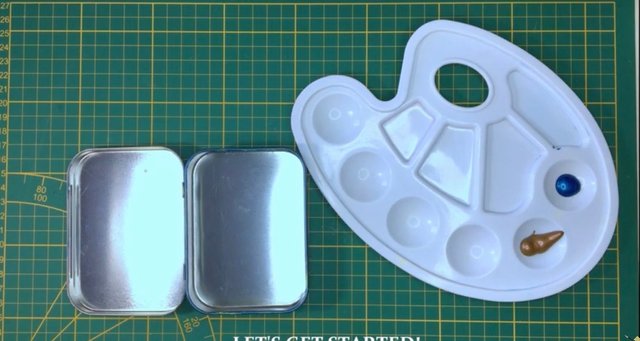
These are the materials from my stash:
- tin box (any size)
- gesso white
- acrylic paint (black, metallic navy blue, metallic rusty brown or dark, teal blue, and green)
- paintbrush
- glue gun with stick glue
- paper flowers
- wood & metal elements
- twine
- heat tool gun or hair blower (optional)
- lace
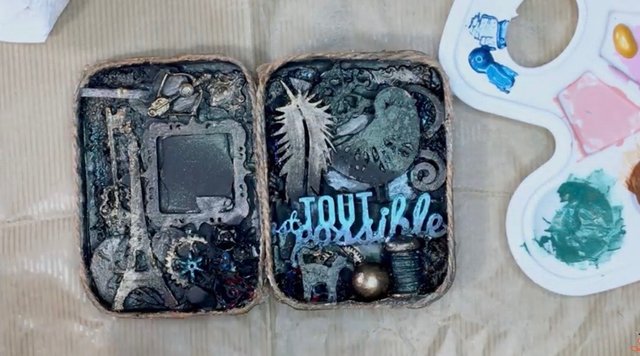
This project is a mixed-media vintage shadow box. This is the second mixed-media project that I created and there are no rules on how to do this, just enjoy.
How to do this project?
- Step 1:
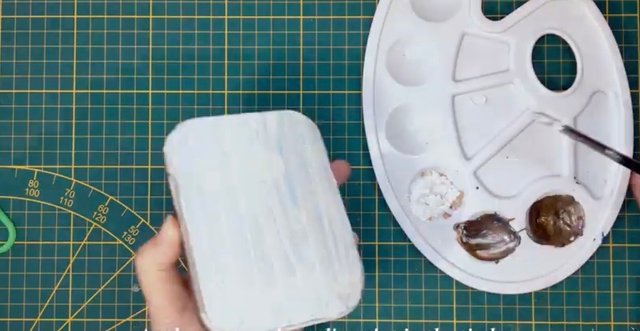
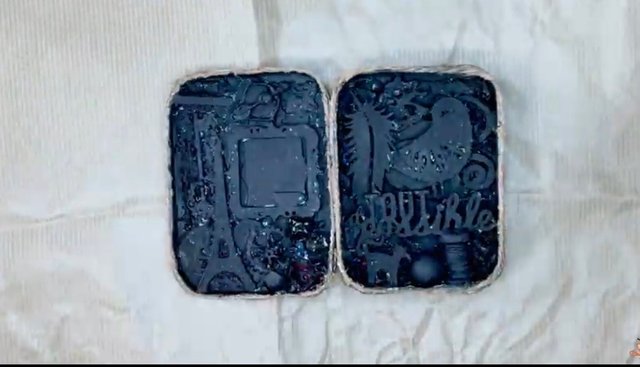
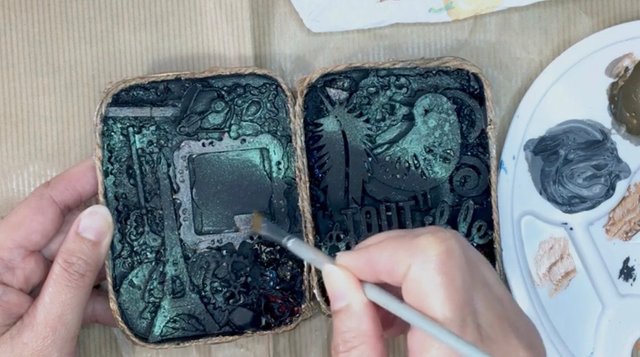
Clean your tin box and start to apply gesso and let it dry, or use a heating tool gun to dry faster. Then apply acrylic paint black, let it dry then add another coat of acrylic paint until you are satisfied with the result. I used black and rusty brown acrylic paint.
- Step 2:
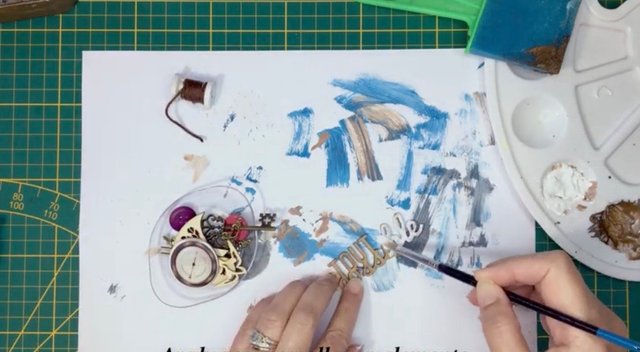
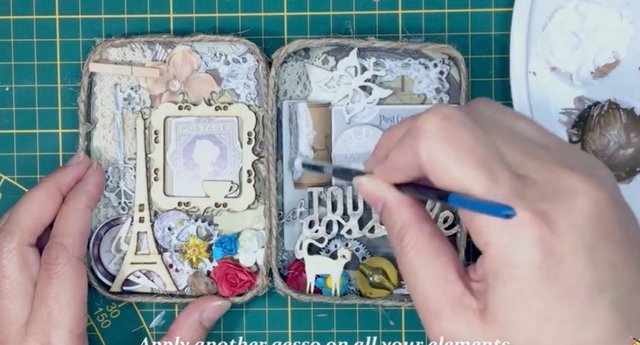
Two ways to apply gesso on the elements; you can apply gesso before or after you adhere to the tin box.
- Step 3:
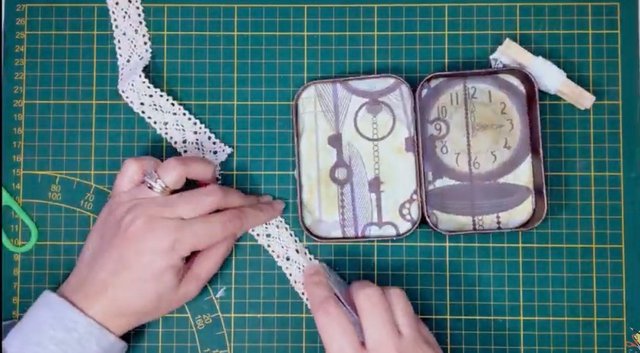
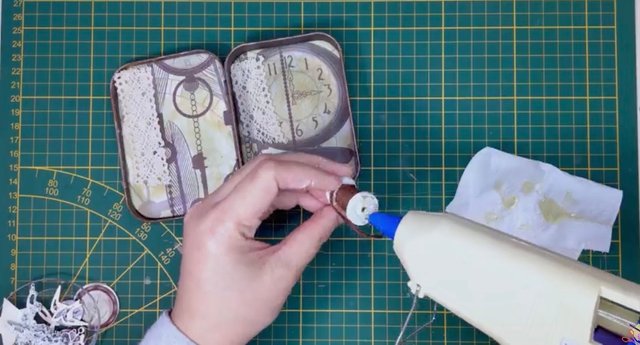
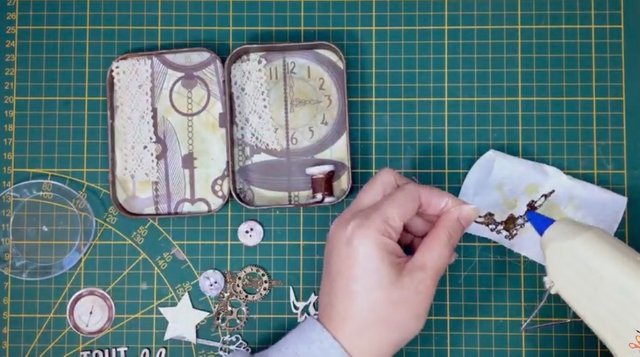
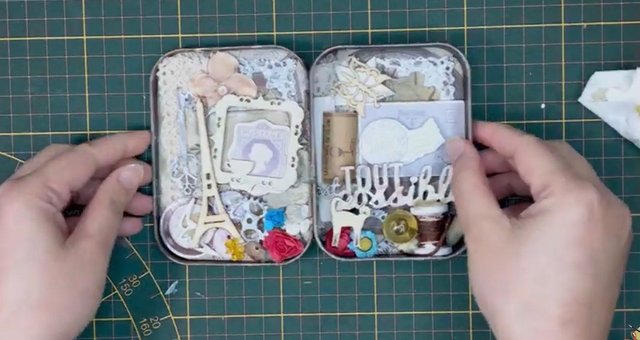
Once you are done applying gesso, adhere to the designed paper or any textured paper inside the tin box. Add the lace and some other elements. I used stick glue to adhere to all the elements but a special glue medium is better to use because it will stick the elements for a long time. However, I don't have that kind of glue. Since I'm not a professional artist, a glue stick is fine for a beginner like me.
- Step 4:
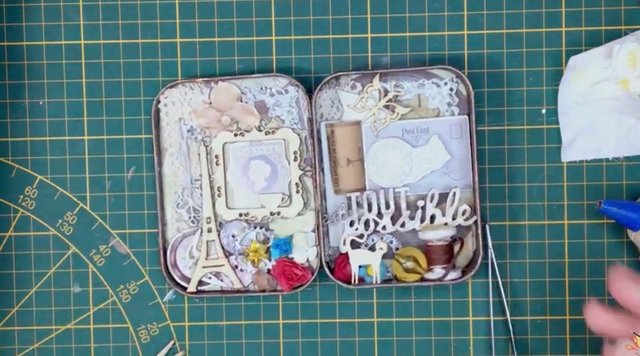
Another option before sticking all the elements is to make a plan or layout on your design then you can adhere to the elements once you finally made your layout.
- Step 5:
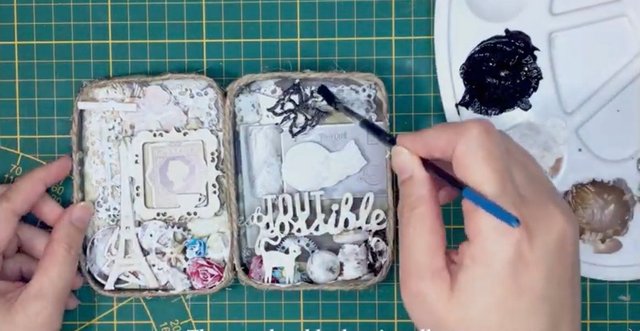
Once you adhere all the elements, apply gesso all over the surface. You can add another coat of gesso if you are not satisfied with the result.
- Step 6:
Once it's dry, apply black acrylic paint all over. Then let it dry or use a heating tool gun.
- Step 7:
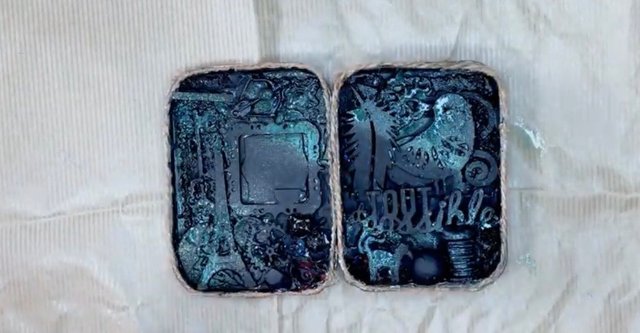
Apply acrylic spray paint in some parts of the project. I made a DIY spray using metallic acrylic paint with water.
- Step 8:
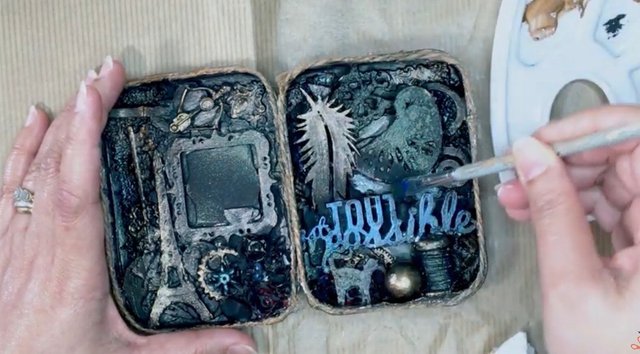
It's all black so time to add some color. Highlights the important elements using a slight stroke using a brush paint then add your favorite paint color. I used metallic brown for the first coat of highlights.
- Step 9:
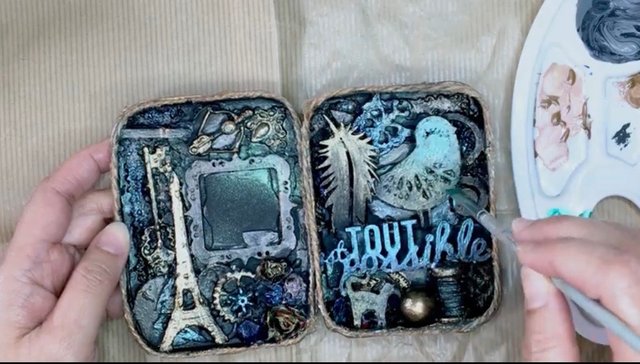
Apply another color. I used several metallic paints for this project.
- Step 10:
For the final touch, adhere a twine to all the edges of the tin box.
If you want to watch the whole process on how I made it, please check out my youtube channel, please click the link below.
Thanks for the support and please do visit my youtube channel for more tutorials.
The altered tin box shadow box in mixed-media art is done! If you're interested in this kind of art, it's easy and affordable! Try this at home and you will feel accomplished once you achieve your desire to create the project.
.jpg)
See you next time! Keep safe everyone!

Thanks for dropping by!

Keep calm and be creative! 

Ang ganda!
Thank you, sir..
Maraming Salamat po sa suporta. Talaga naman pong napaka ganda nang iyong likha, sana ay ipagpatuloy mo itong ibahagi dito sa ating Community.
Thank you po sa support..