Let's do it...Do It Yourself👉Craft, Creativity, Drawing, origami, DIY, Recycling and more
Assalamu alaikum, how are you all? I hope you are doing well today. I am here to participate in a great contest. I like this kind of contest because, in such contests, we can share our various creations in front of you, which you can see. That's why this contest is my favorite, and today I am very eager to participate in the contest, so without further delay, I prepared to participate in the contest today.
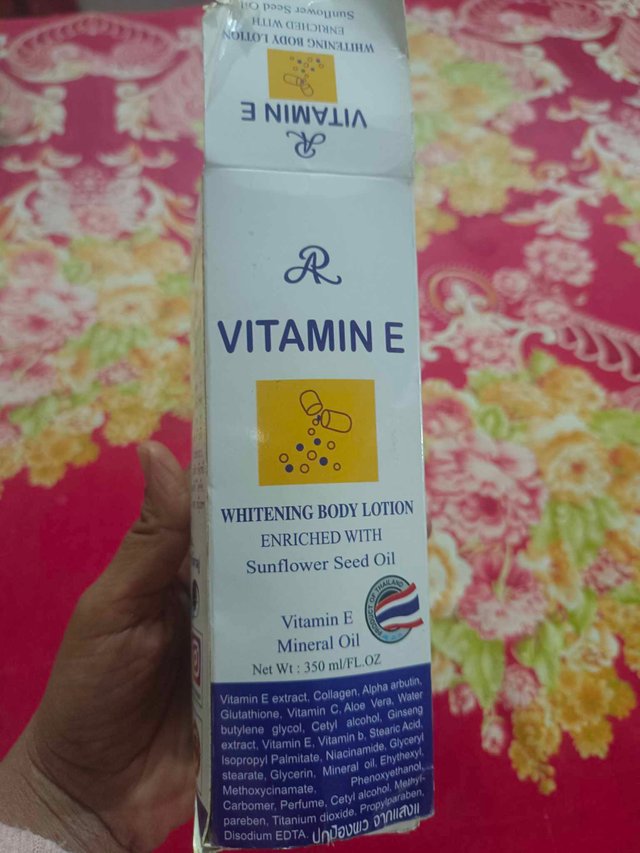
I thought of throwing away a lotion packet that I used, but suddenly I thought that I would make something with this packet, so after thinking for a while, I made a paper holder out of this discarded or unused packet. And so today I will show you how to make this pen holder from start to finish. To make these pen holders, I will need some materials With a
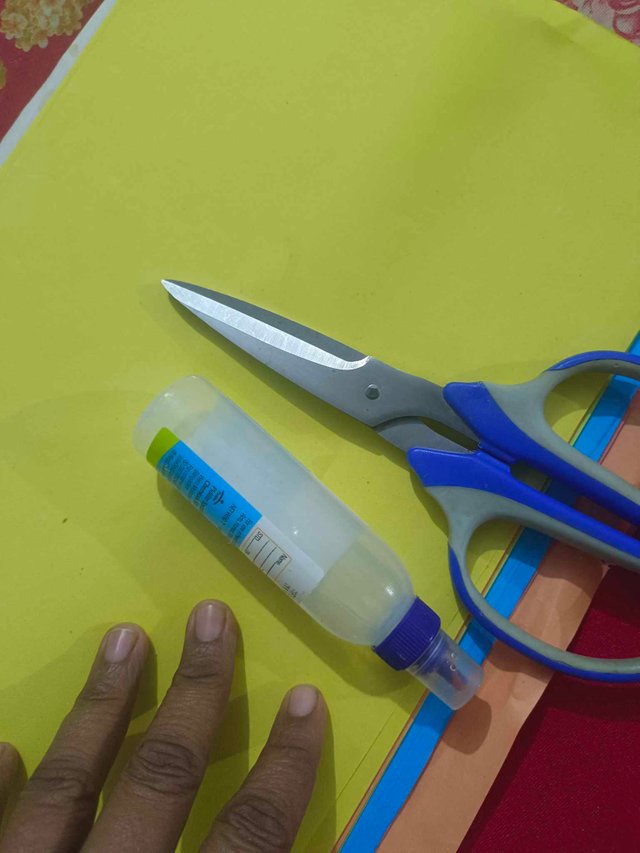
⭐ small packet of paper,
⭐ colored paper,
⭐ pencil,
⭐ glue,
⭐ scissors,
and all these materials, I can easily make a pen holder with all these materials,but now let's see step by step
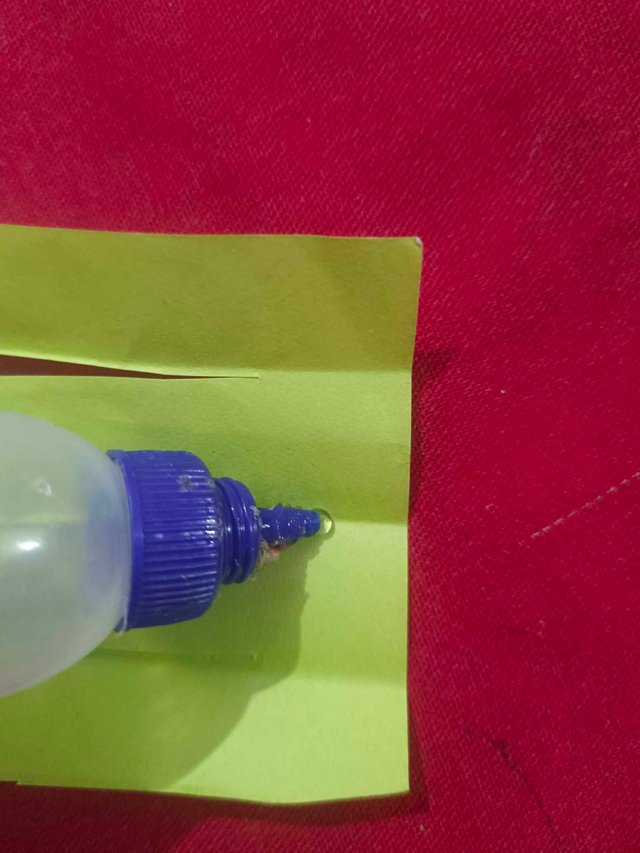
first I took scissors and glued color paper to everything together,
🌸 Step 01 |
|---|
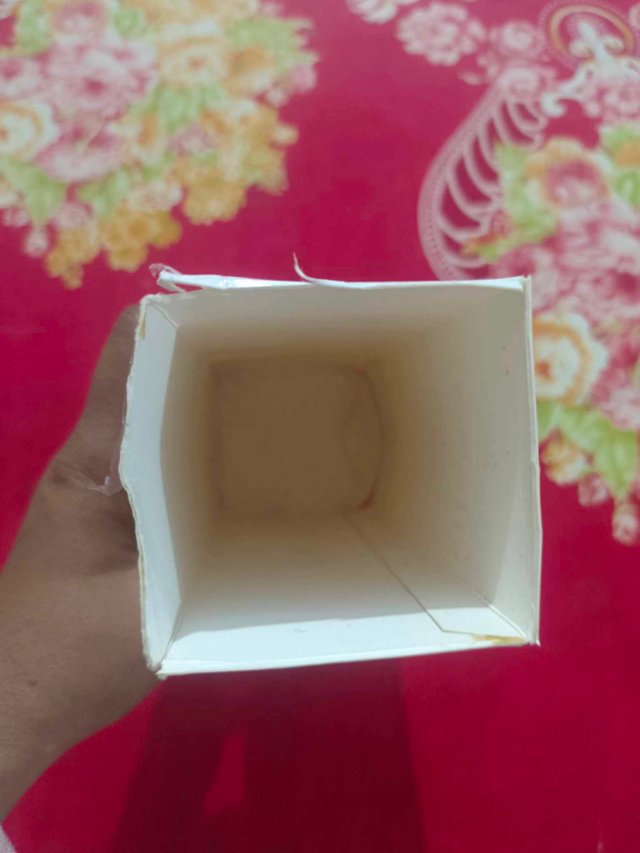
then I took a long packet
🌸 Step 02 |
|---|
and sized the front part of this packet.
🌸 Step 03 |
|---|
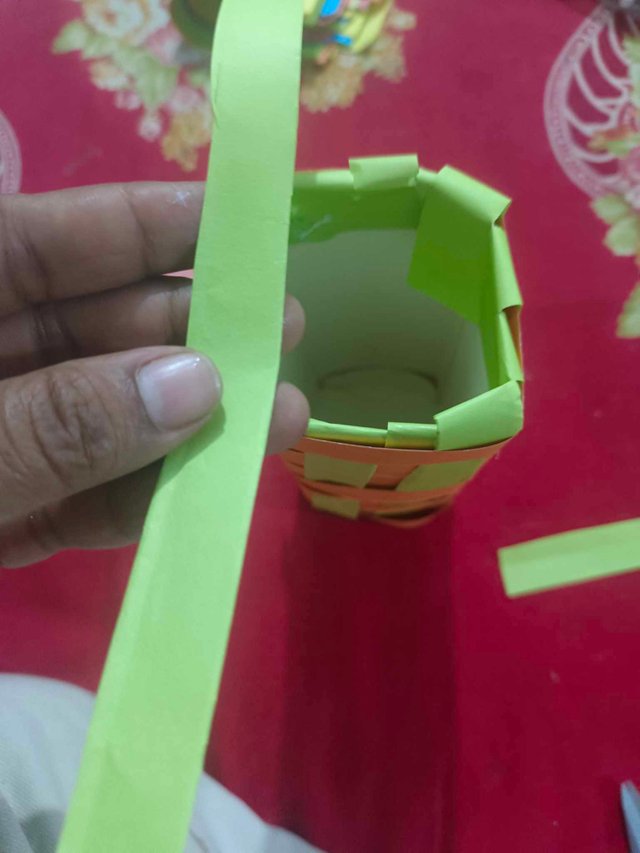
Then I took the green paper, folded it, and cut it like this picture.
🌸 Step 04 |
|---|
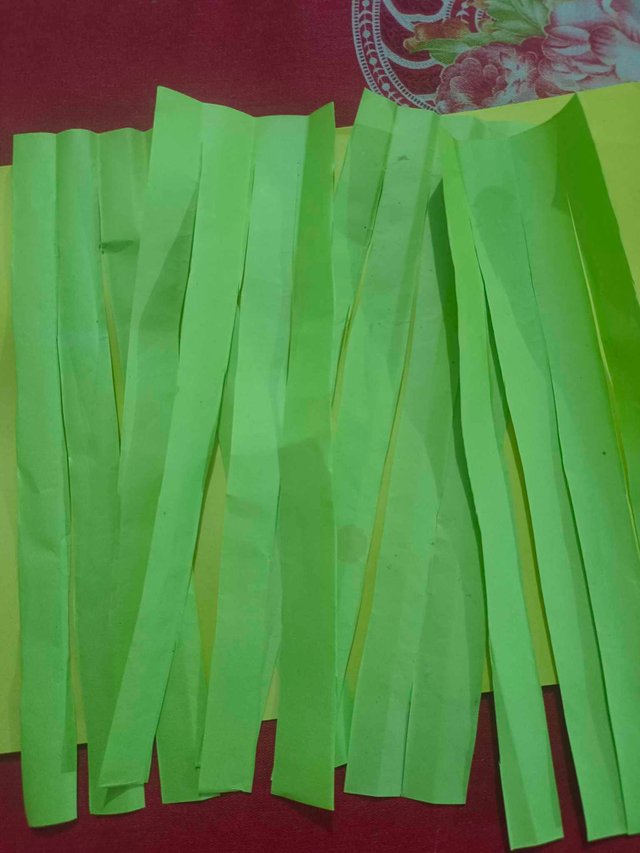
Then I glued the green papers together,
🌸 Step 05 |
|---|
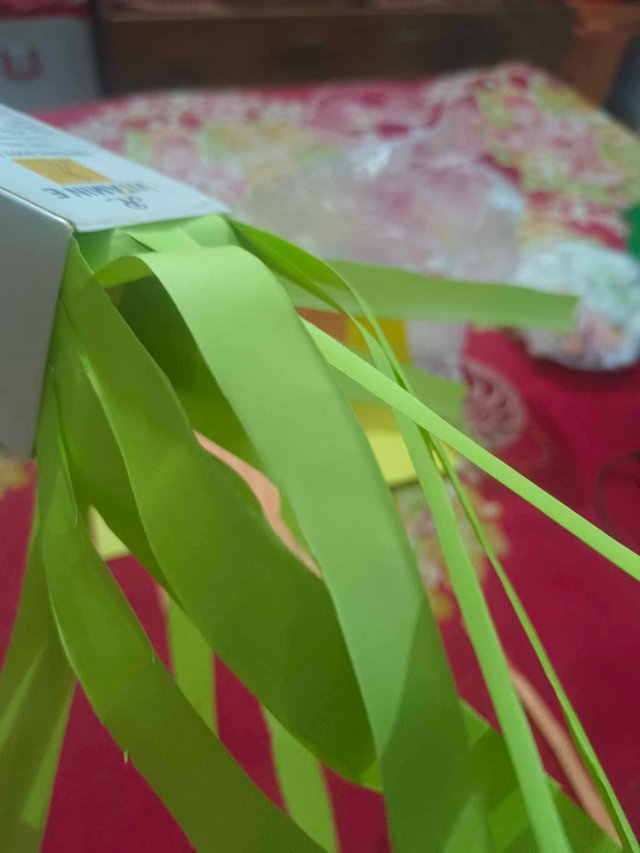
then I glued them and set Them on the front of the packet,
🌸 Step 06 |
|---|
then I glued and set the pink papers to the side of the packet,
🌸 Step 07 |
|---|
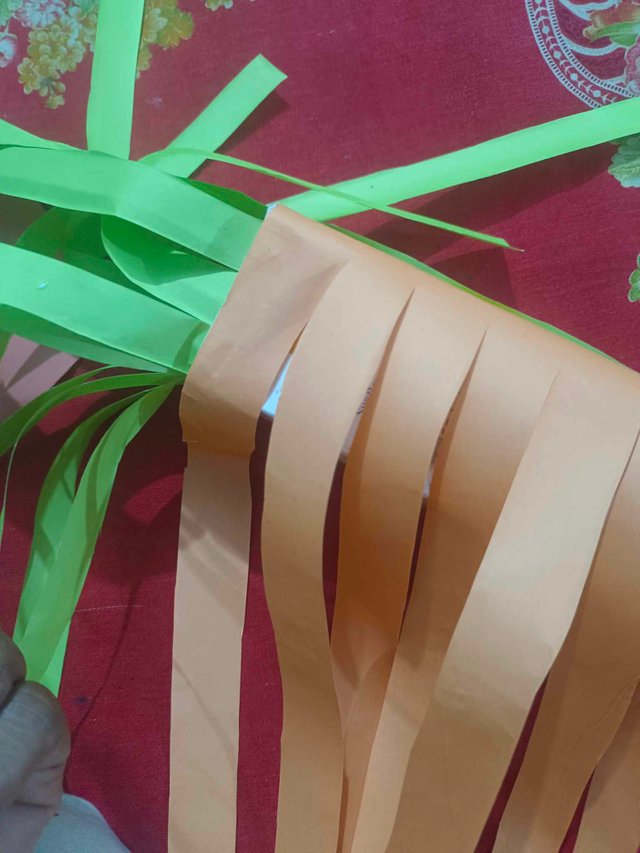
then I did one green and one pink paper set it,
🌸 Step 08 |
|---|

then I wrapped the whole packet with colored paper,
🌸 Step 09 |
|---|
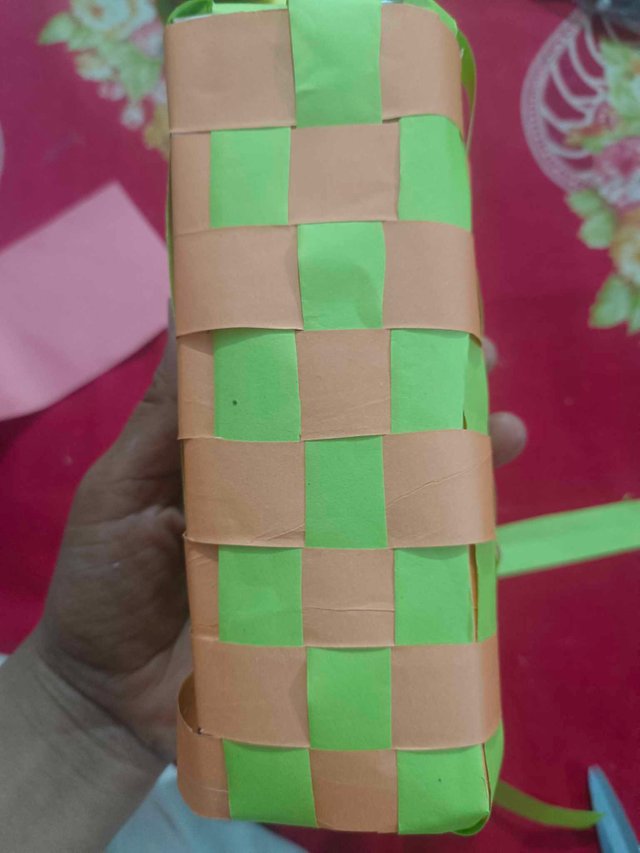
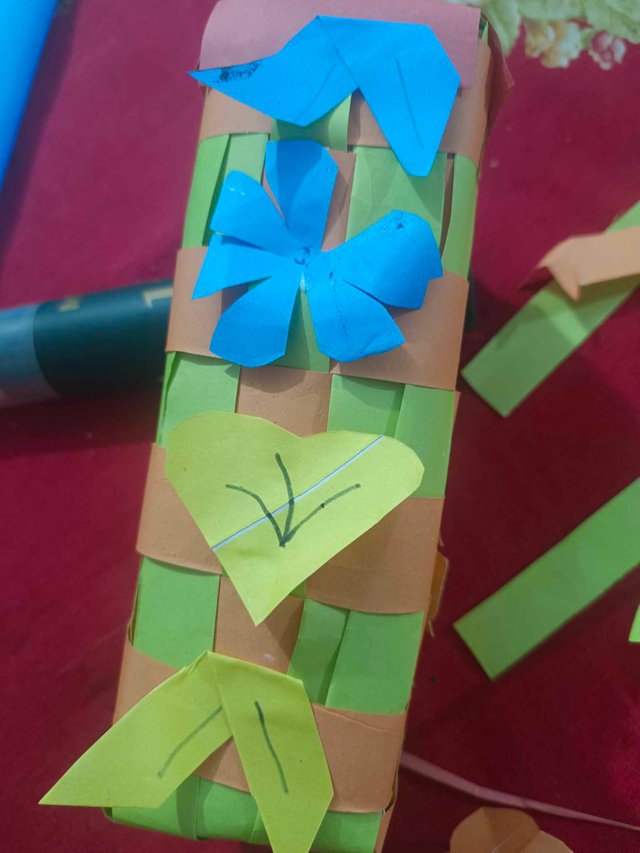
then completely One is made out of paper, then I took a piece of green paper and folded it and attached it to the front of the packet.
🌸 Step 10 |
|---|
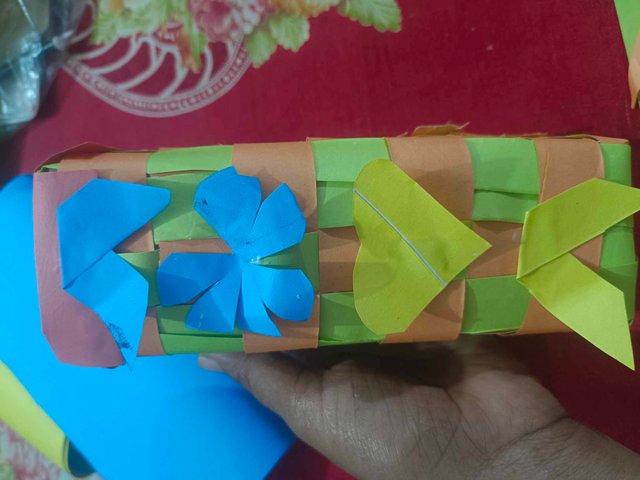
Then I made some small folds of paper and cut out different designs and glued them to the front of the packet very carefully. I set it
🌸 Step 11 |
|---|
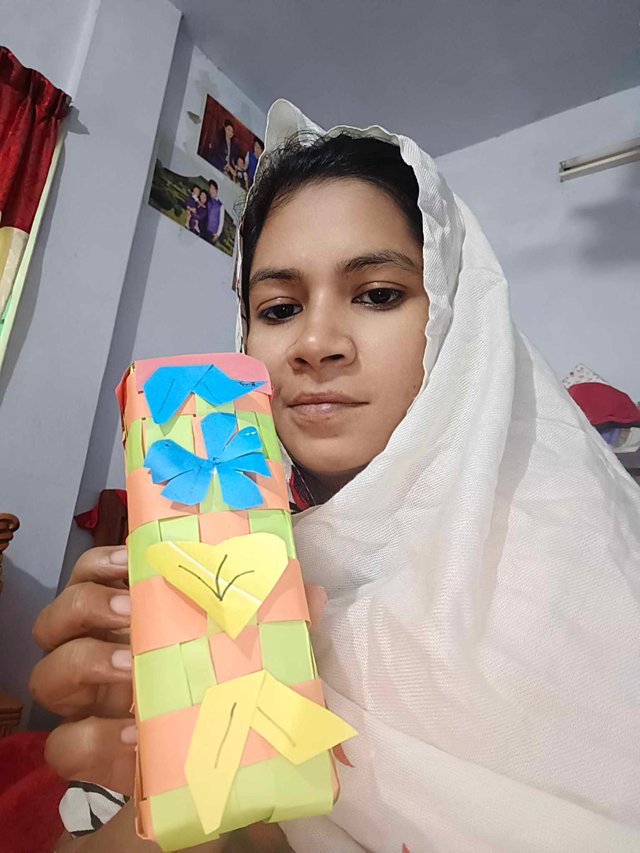
and then I had a designer pen holder and this cute pen holder.
🌸 Step 12 |
|---|
I took a selfie on my mobile with it.
🌸 Step 13 |
|---|
A beautiful penholder can easily be made at home, can be used for any purpose, and takes very little time to make. Such things can be made from paper using colored paper, but our stuff—how did you like the thing? You must tell me in the comment box because, with such unmarried things, you can make such beautiful and incomparable things.
invite to
@robin42
@alauddinpabel and
@radoan

Thank you for participating. Add your club status.
Vote @pennsif.witness for growth across the Steemit platform through robust communication at all levels and targeted high yield developments with the resources available. Vote here
Thank you @tammanna for creating this beautiful pen holder. The steps are easy to follow. I wish you success