Let's do it...Do It Yourself👉Craft, Creativity, Drawing, origami, DIY, Recycling and more.
🌼Hello #Steemit Stale. How are you all🌼
|
|---|
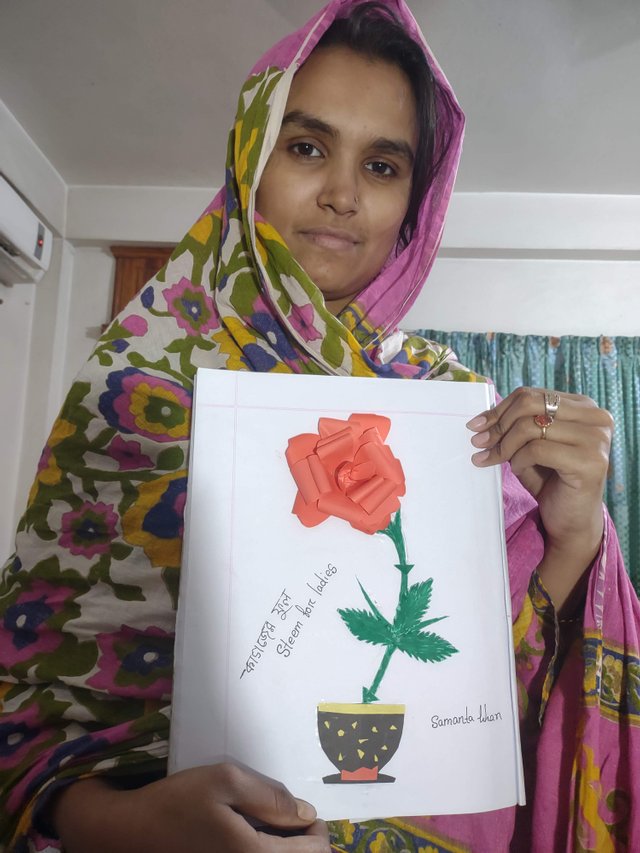
| I am samanta khan.I use the username @rajusam on #Steemit.I am from #Bangladesh among you. |
|---|
Hello steem for ladies,Hello everyone
I am participating in this contest which is organized by honourable @ngoenyi
Because whenever I make something out of paper I need glue and scissors to set it. The scissors were in my house so I didn't need the scissors. I wondered what could be made. Later I borrowed from different places and took the idea of learning what can be made with paper. Then at night I lit the lab and sat down with the papers to make something. The lamp had to be lit because I was working alone at night when everyone was asleep. If you turn on the light, your children will wake up, so without disturbing them, I was doing this by lighting the book. I took red, yellow, orange and blue paper here. Also saw a small scissors and a glue. Then first I designed a rose flower with the red paper and cut them into small pieces called petals. Then after cutting the little papis and setting them all together I make a rose flower. After that, I design and cut the small leaves with the green paper that go with the flower. After that, I cut the branches in length with the green paper. Then make a top out of black paper. Then I set them one by one on a page with glue.
So today I shared the flower-making technique with you.
These are the things I like to build this flower,
Four color paper
scissors
pencil
the glue
Step 1
First I took some colored paper. Then I took a small scissors to cut the papers.
Step 2
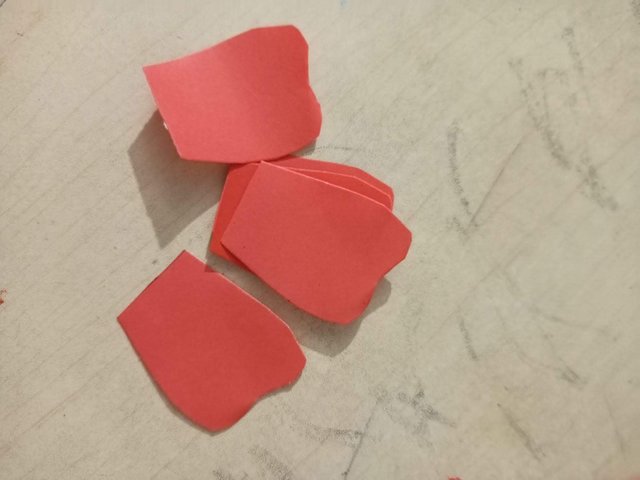
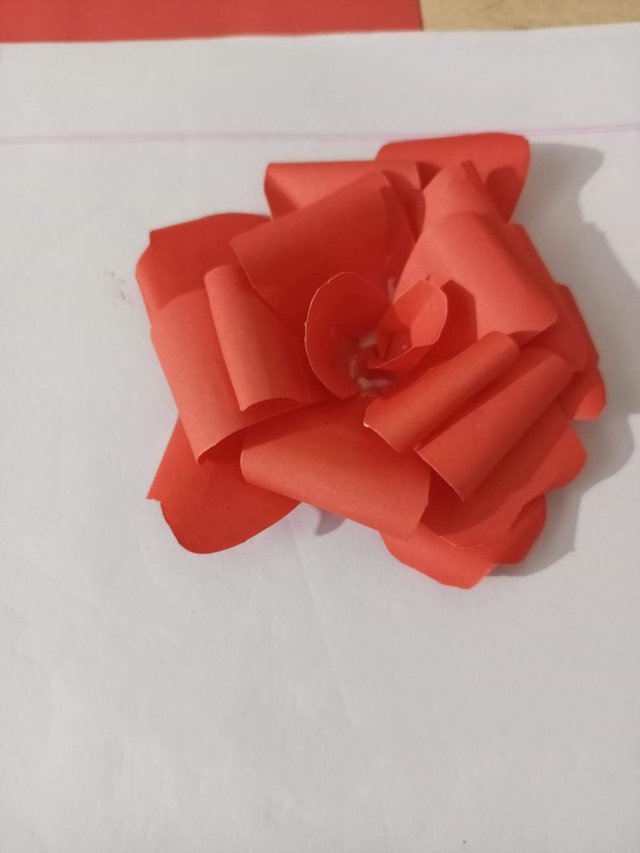
Cut the ball red paper into small pieces called petals.
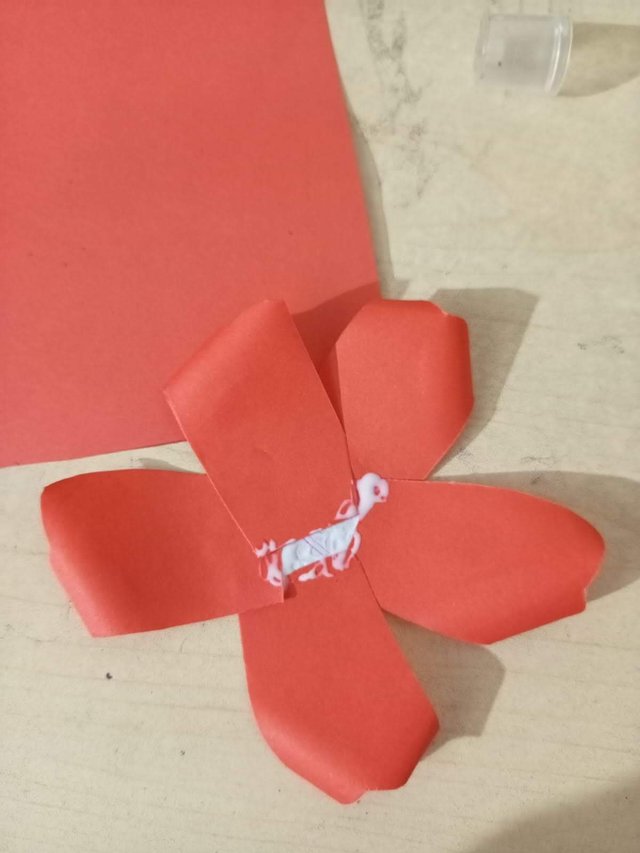
Step 3
Then I folded the small pieces into a rose flower shed.
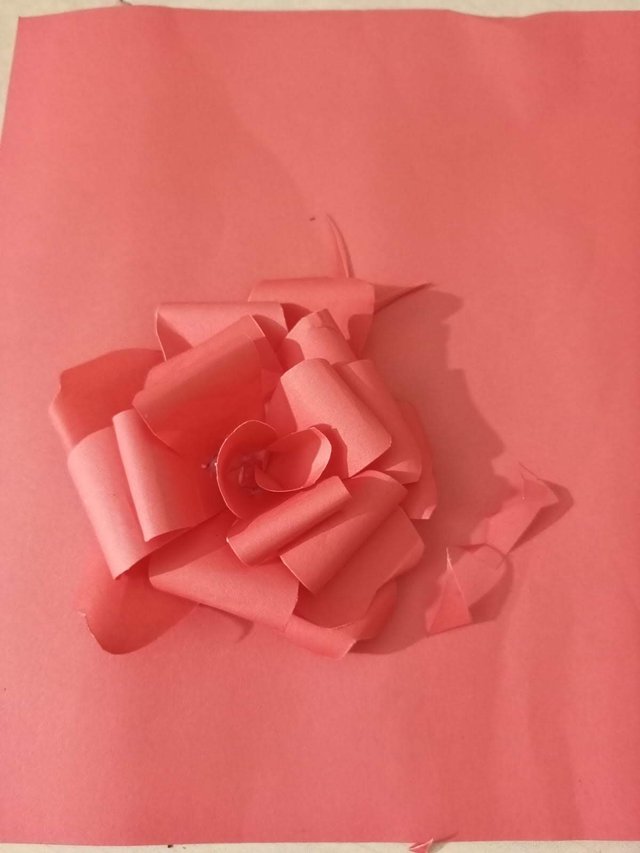
Step 4
Then I placed this rose flower structure on a white paper.
Step 5
Then I cut the long branch with green paper and put it under the flower with the help of glue.
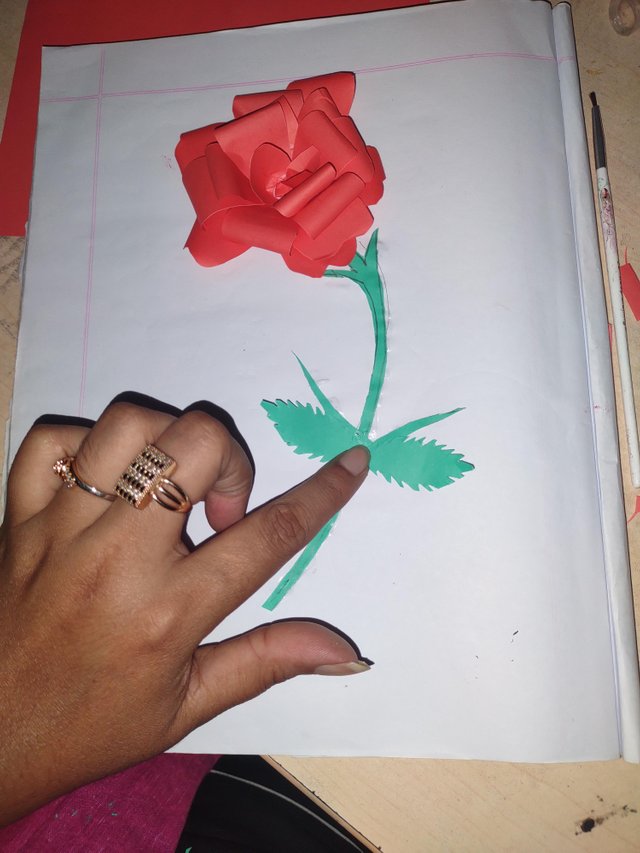
Step 6
After that, I cut the small leaves with green paper and put them next to the branches.

Step 7
After planting branches and flowers, it is my turn to plant a tub below. So, I will glue the tub that I made with black paper.
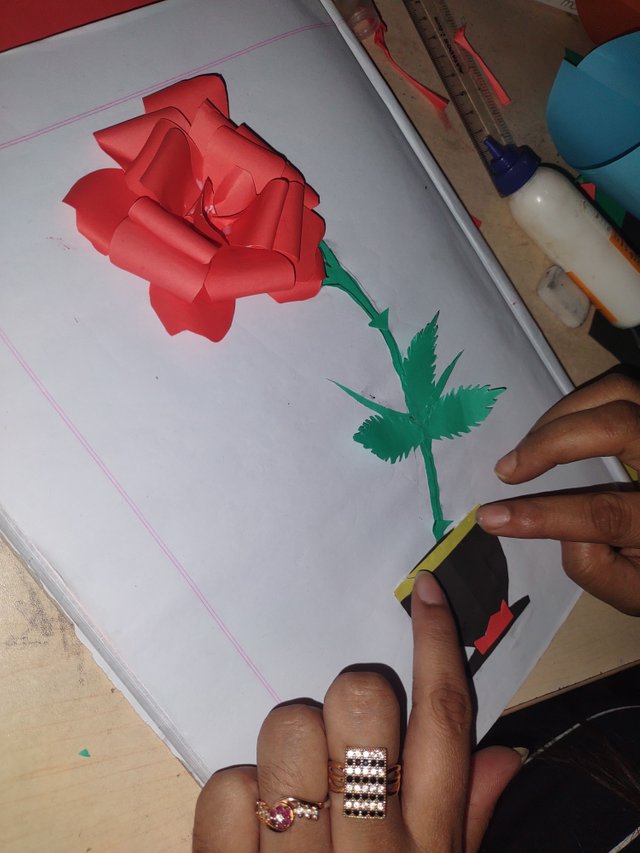
Step 8
Then I will cut a yellow paper on top of the black tub and place it on it. It is designed to be a little lighter.
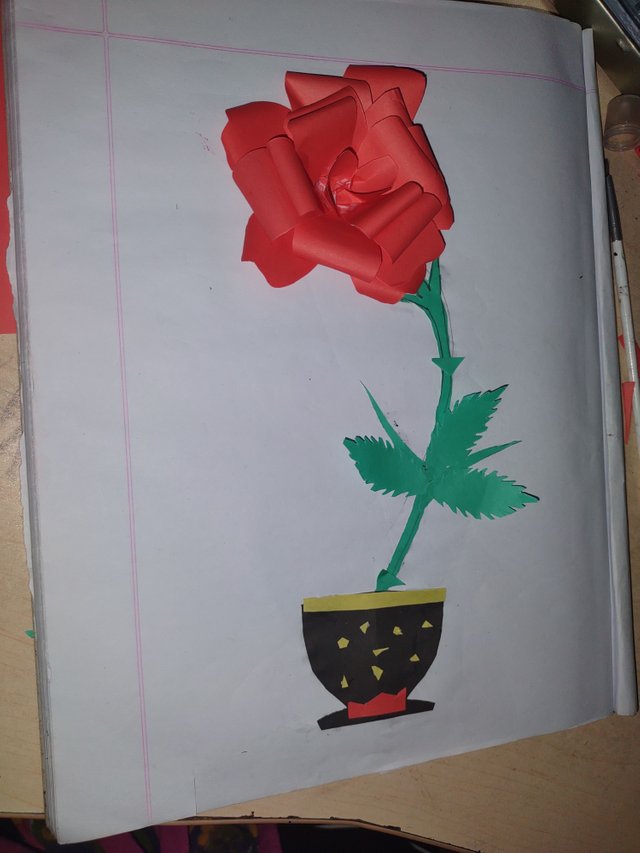
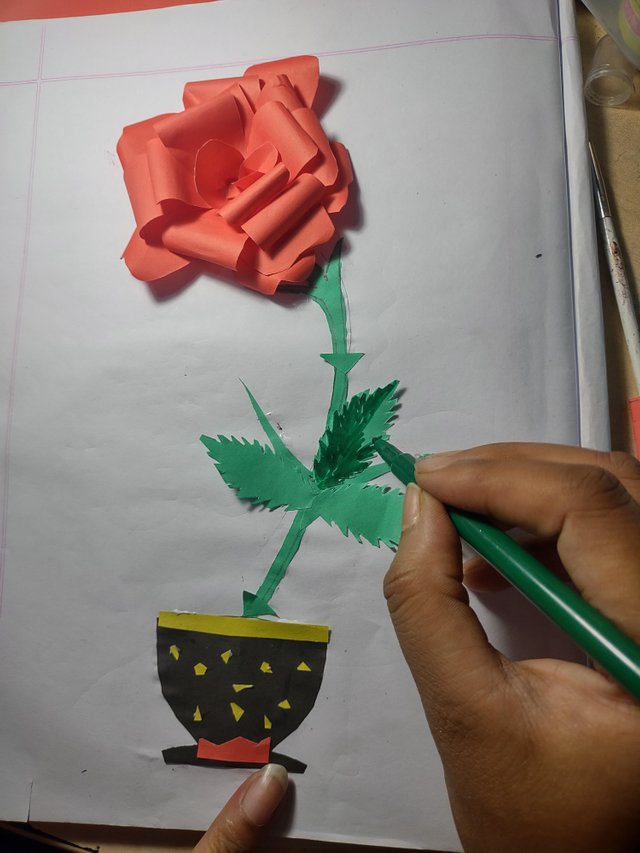
Step 9
When it was all set I thought the green leaves looked a little light. Then I made a little sketch on the green leaves with a green color pen.
Step 10
Then I wanted the thing to look a little nicer to take my picture, so I had the rosary flower in front of me. I placed the petals of this flower on the notebook and took a few pictures.


Now my whole paper flower is ready. I don't know how it feels but I tried to make the mistake beautiful. Tried to make the flower beautiful. If you like my papercraft flower making, I hope you will inspire me.
In this contest,I invite my friends- @jubayer119, @shahid76, and @grambangla.

| Device | location |
|---|---|
| Categories | origami |
| Caption | @rajusam |
| Camera | moto g stylus |
| location | khustia |

Thank you for participating in this contest and setting 10% to the community. Your art looks so perfect
Vote @pennsif.witness for growth across the Steemit platform through robust communication at all levels and targeted high yield developments with the resources available. Vote here
Hi @rajusam.
Your paper craft work looks wounderful and lovely, l strongly believe that this creativity will inspire all vieers and bring Happiness to you as a lovely artist.
What l like about your craft work is showing simple steps according and use colourful material to create something beautiful.
I wish you success in this endeavor.
Remain blessed.
Thank you so much for giving me such a nice compliment.
Gusto saludarte amiga y ver tu paso a paso tan bien explicado de esta flor de papel en 2 dimensiones
Te quedó hermosa, los demás detalles que agregaste como el tallo , las hojas y el matero dónde la colocaste. Cuidaste mucho los detalles. 😉
Te felicito
Desde que tú públicacion logré el cometido. 🧡
Está técnica para realizar flores no la había realizado antes me gustó mucho, te felicito por tu trabajo tienes muy buenas ideas a la hora de crear y hacer manualidades
Te deseo mucha suerte en tu participación
Saludos desde Venezuela