Lesson 3 about Science | Making a Simple Electrolyte Test Equipment
Dear Steemian...
After previously I made a tutorial about the world of computers, now I will share a tutorial on how to make an electrolyte test kit. This tutorial was actually made by accident, considering the request of my first 5 year old son wanting to know a lot about some of the videos watched on Kids Television.
"Father... father... i wants you to make a tool like that", while showing his hand towards the TV, he often wants to know many new things and wants to be implemented in the real world, maybe this is derived from his mother who is a chemistry graduate.
Before showing this simple tool, I want to give an overview of electrolyte solutions, maybe this is not new to platform users, but it doesn't hurt if I explain in general about electrolyte solutions.
The electrolyte solution is a salt solution with the chemical formula NaCl, the electrolyte solution can conduct electric current, in the electrolyte solution a reaction occurs in the form of electron transfer from one atom to another so that it can conduct electric current.
Well, to make a simple tool to test the electrolyte solution can be seen in the image below:
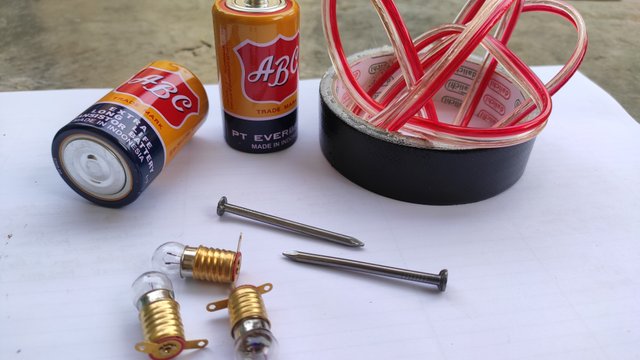
The picture beside shows the equipment that needs to be prepared such as batteries, light bulbs, electrical wires, black duct tape, and nails, for other media you can use plywood or wood with dimensions of 10 x 15 cm. This plywood or board media is used as a glued medium for the electrolyte test kit.
Each of these equipment has a function with each other so that for each part of the tool I will explain at the stages of making the tool below.
Guide
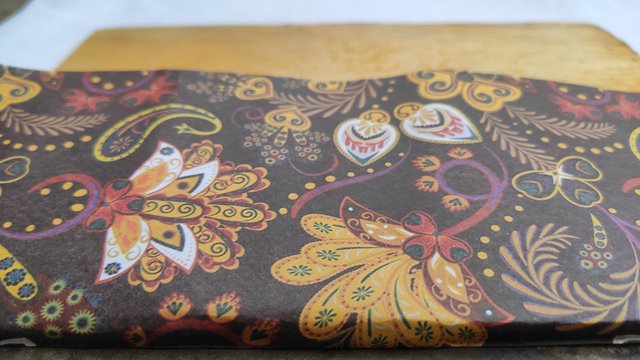

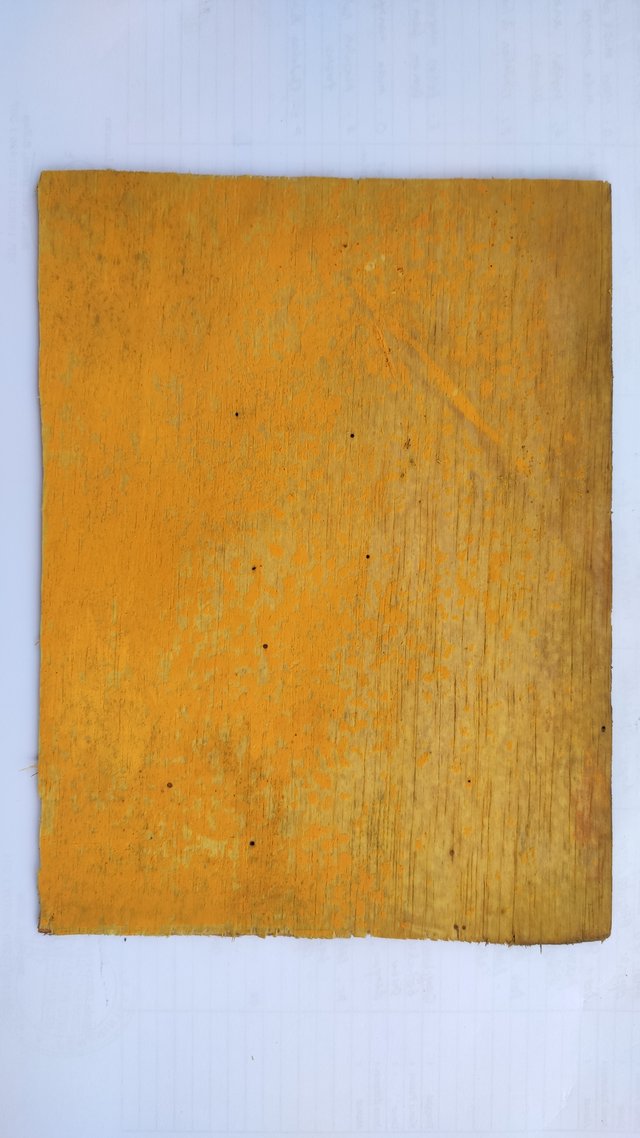
- Take a piece of wood or plywood that has been cut and wrap it using paper with the motif you like, you can directly use the plywood without wrapping it with patterned paper, but for aesthetic value I prefer to wrap it so that the resulting tool will look more beautiful.
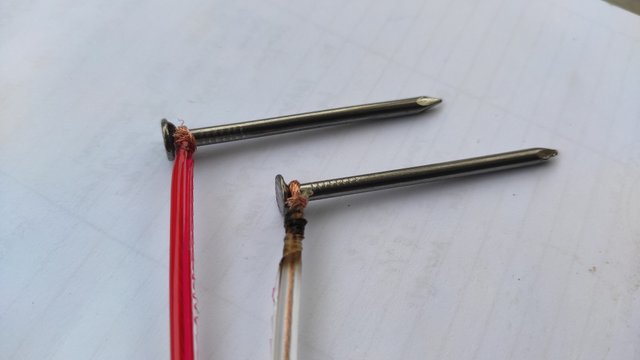
- Take an electric cable and wrap it around the surface of the nail, these two nails will be used to insert it into the electrolyte solution so that it can be observed how the results of the test, whether the solution can conduct electricity and emit small bubbles or there is no reaction at all.
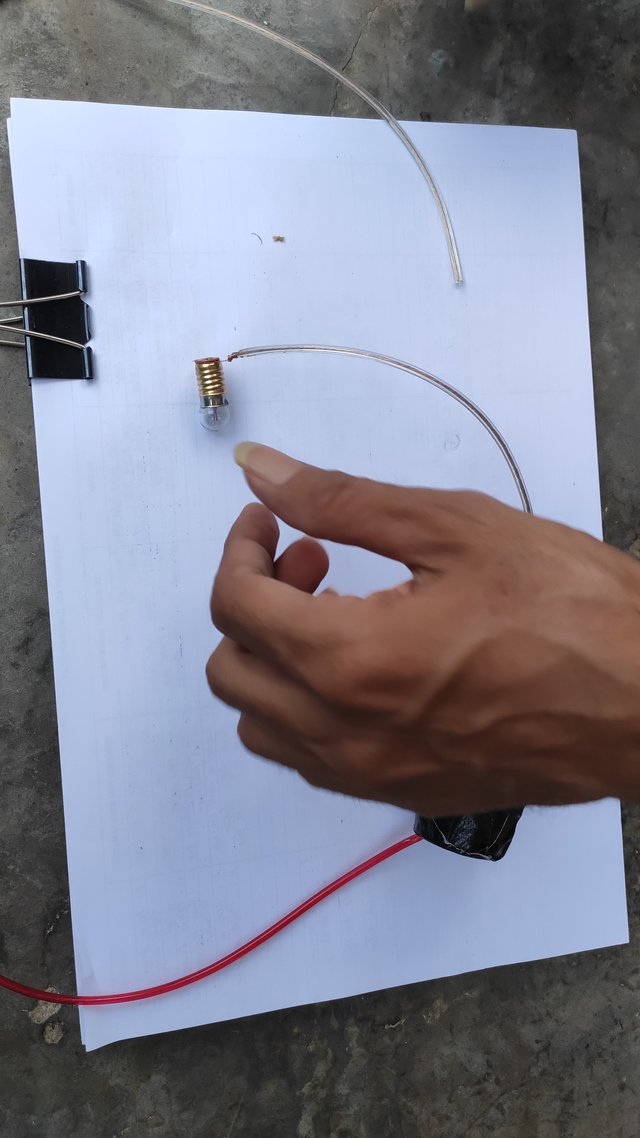
- In one of the wires that has been wrapped around a nail, half of the power cord is cut to connect the light bulb.
Purpose:
- When the tip of the nail is inserted into the electrolyte solution, the lamp will light up
- If the light goes out, then the solution is not an electrolyte solution.
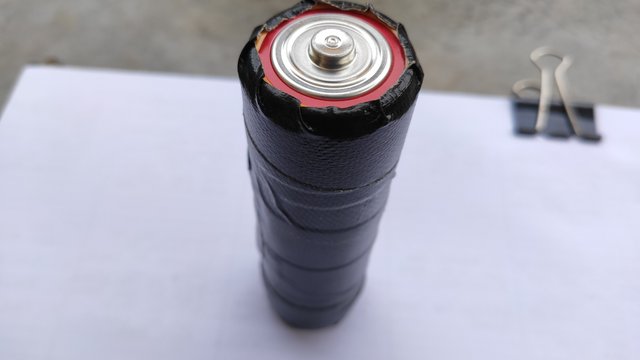
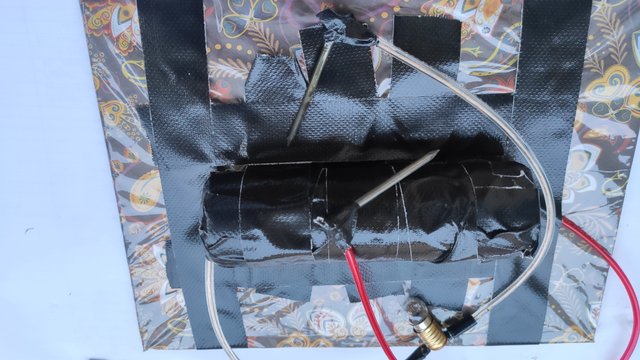
to meet current needs, I used 2 batteries which I wrapped with black duct tape, then both ends of the cable were glued to both battery elements (positive and negative). and in the second picture you can see the results of the assembly of a simple electrolyte test kit.
The part of the battery that has been glued together with an electric cable is affixed with duct tape to the plywood area which has been wrapped with patterned paper, I assembled it very simply because of the limitations of working tools.
Electrolyte Test Equipment
- Prepare two glasses, each of which contains mineral water.
- The first glass is added salt (NaCl) into the glass, you just need to stir 2 tablespoons of salt into the glass.
- The second glass without being mixed with anything, it means pure mineral water
- Insert the two ends of the nails from the test equipment that has been prepared into the glass.
For the first glass that has been mixed with salt it will cause a reaction in the form of: The light will light up even though the two ends of the nails do not touch each other, then the glass filled with salt liquid will emit small bubbles. This means that from the test it can be seen that the salt solution can conduct electric current. - While the second glass containing mineral water did not experience any reaction, the lamp did not turn on and did not emit any bubbles. This means that this water cannot conduct electricity.
Here's a short video
Curated By - @inspiracion
Curation Team - Team 3
Thank for support @inspiracion
what the heck.
When I was in school, there was minimal practice of physics like this. nice job mate
I just fulfill my son's wish. He wanted what he saw on the learning TV broadcast.
Considering the phase of brain development at the age of 5, I continue to support his curiosity
Congratulations, your post has been upvoted by @scilwa, which is a curating account for @R2cornell's Discord Community. We can also be found on our hive community & peakd as well as on my Discord Server
Felicitaciones, su publication ha sido votado por @scilwa. También puedo ser encontrado en nuestra comunidad de colmena y Peakd así como en mi servidor de discordia