Vinegar is very easy to make, but it takes a lot of time. You also have to be ready for some inconveniences - the smell of the vinegar is not nice, at least I don't like it and when you prepare it, the room where you will keep the jars will be fulfilled with it.
Anyway, I would recommend you to give it a try. Home made vinegar is much healthier, as most of the market versions are just based on spirit with some artificial flavours. It takes care for our bacterial flora, keeps our immune system healthy and provides many vitamins. Additionally it's very cheap to make.
Ready? Let's begin!
Ingredients:
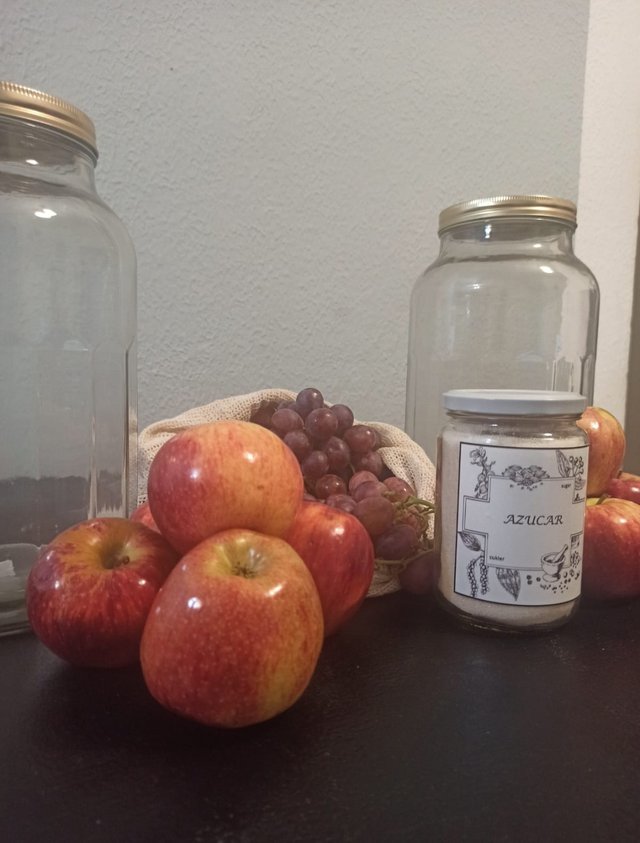
🧃1 kg of apples and/or grapes
🧃1 l of water
🧃5 spoons of sugar
Besides that make sure:
✅ that you have big glass jar
✅ that you have a wooden spoon
✅ that the temperature at your home is at least 20°C
✅ that you have the gauze or cloth
Steps:
1️⃣ Wash the fruits in a warm water. Make sure it's clean but don't keep it too long in the water. The natural yeast which are on the skin helps in the fermentation. Perfectly if you have the fruits from your own garden because then you know it doesn't contain pesticides and doesn't require too much washing.
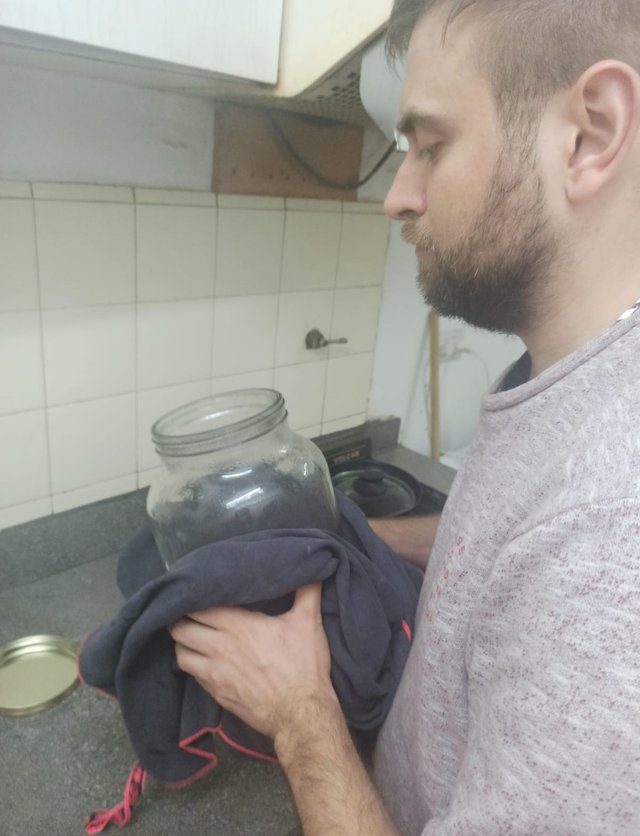
2️⃣ Sterilize the jars. You can make it by boiling it, putting in the Owen for 10-15 minutes or filling it with boiling water three-four times. Remember that not sterilized jars increases risk of getting mold to your vinegar and then you will have to throw it away.
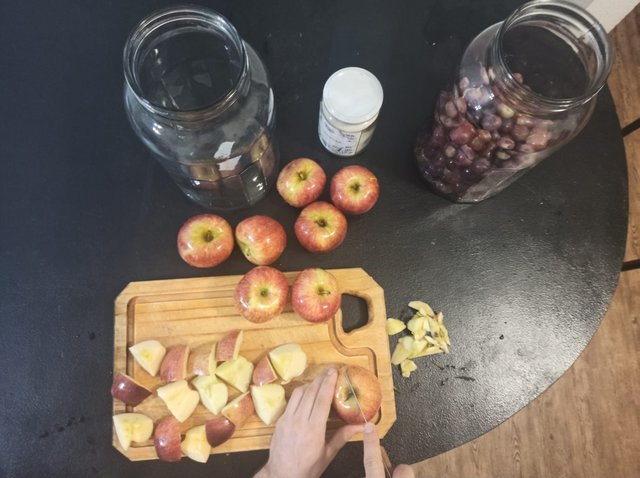
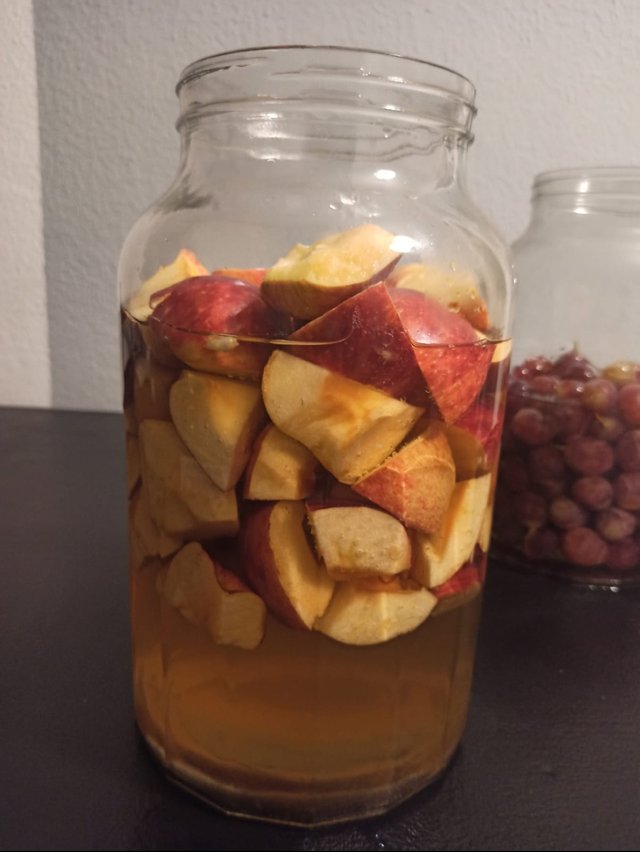
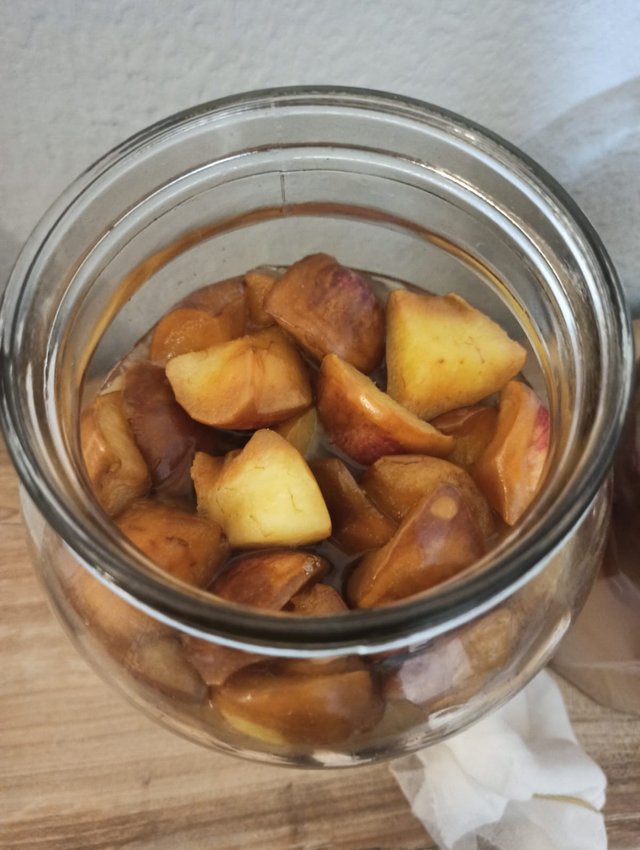
3️⃣ If you use the apples, cut it in a smaller pieces and remove the seeds. Leave the skin though.
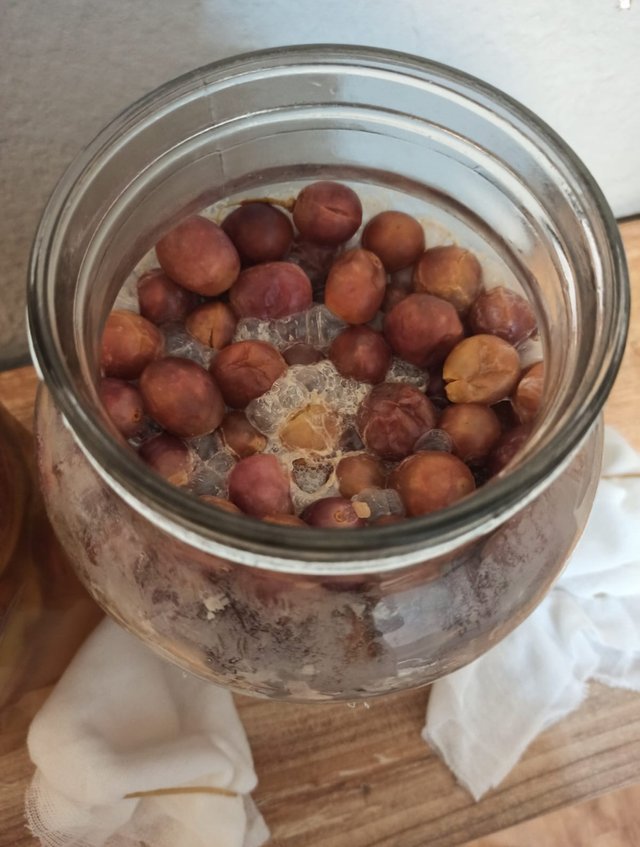
If you will be using the grapes, cutting is not needed.
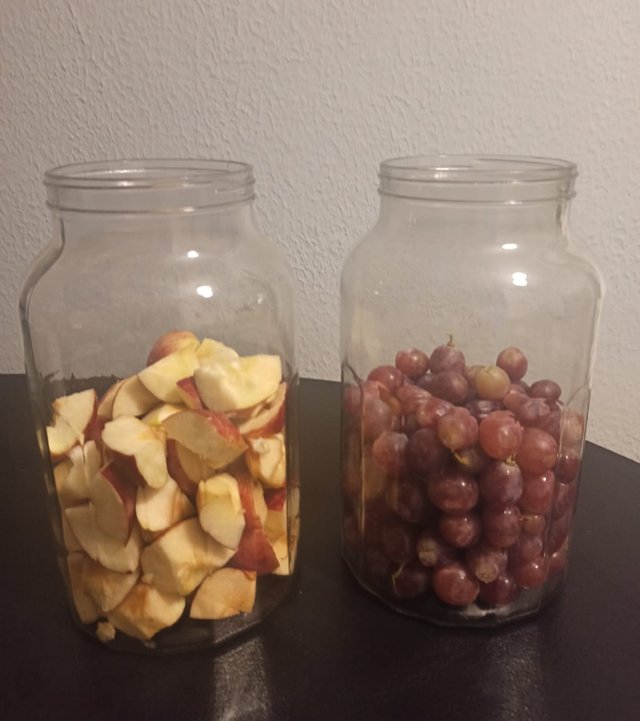
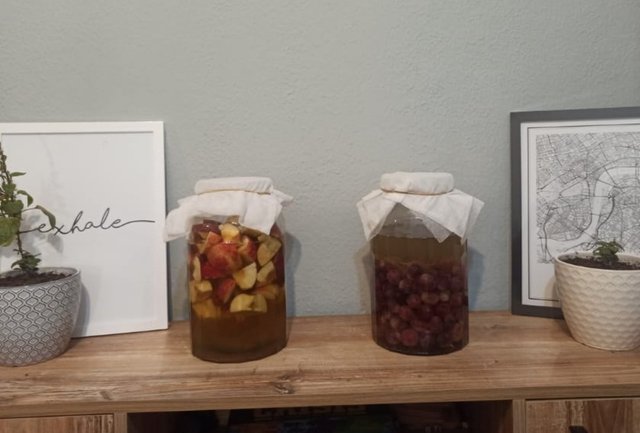
4️⃣ Put the fruits in the jar. Make sure it fills it up to 1/3, no more. You will need the space for the water.
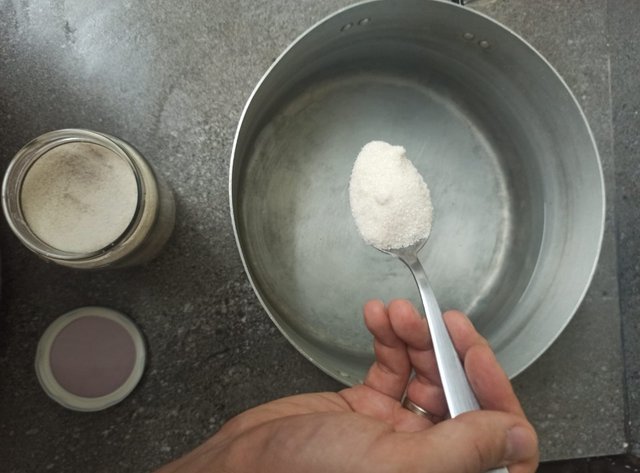
5️⃣ Now boil the water, when it's warm, but not hot any more, add sugar and mix it well. Put the water in the jar with fruits
6️⃣ Mix it well, but never use the metal spoon, as metal interacts with the yeasts and bacterias in a negative way and could stop fermentation. Preferably use the wooden spoon, but plastic or glass will work as well.
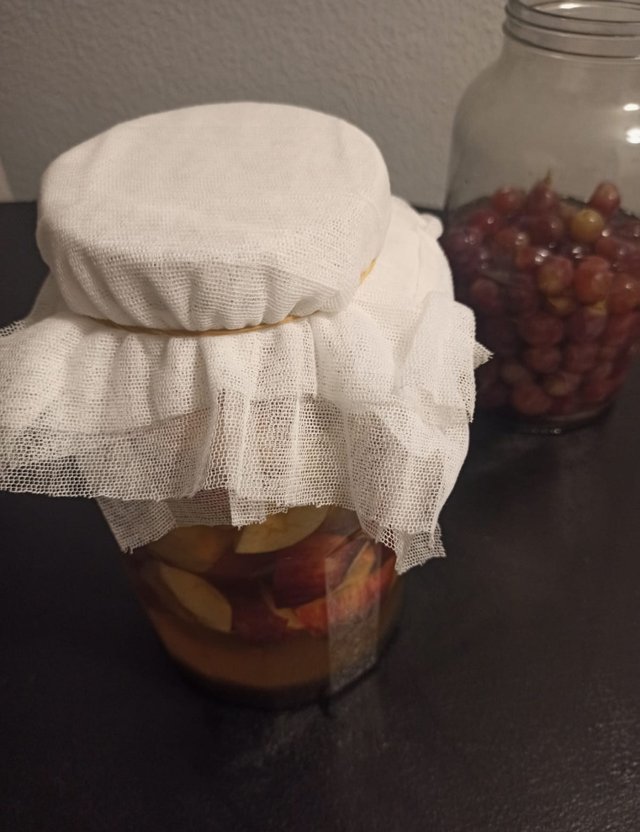
7️⃣ Cover it with the gauze or cloth. In general vinegar should have the access to the air, but we want to prevent it from flies or any other insects which can be summoned by this smell. I am using gauze folded four-five times.
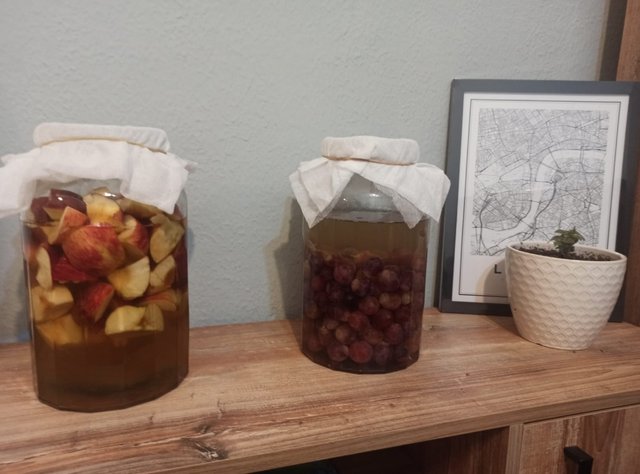
8️⃣ Leave it in a warm place for at least 1 month. During the first week or two it's good to mix it with the spoon once per day. That way we will minimize the risk of getting mold to it
9️⃣ At first the liquid will start alcohol fermentation, so it might smell like a cheap wine or cyder. It's totally okay. When alcohol fermentation ends, vinegar fermentation will start, so in the end our vinegar won't contain any alcohol.
1️⃣0️⃣ If you will see the white foam in the jar, don't worry - it's a good sign. Foam suggest that vinegar fermentation started. It looks a bit different than the mold - it's all one colour and covers all the top of our liquid. It's good to mix it sometimes to not cut off totally the access to the air.
1️⃣1️⃣ Time of making the vinegar depends on the fruits we use and the temperature. After one month, I would recommend you to try it. If it's not strong enough, leave it for longer. It can take up to three months until it will be ready.
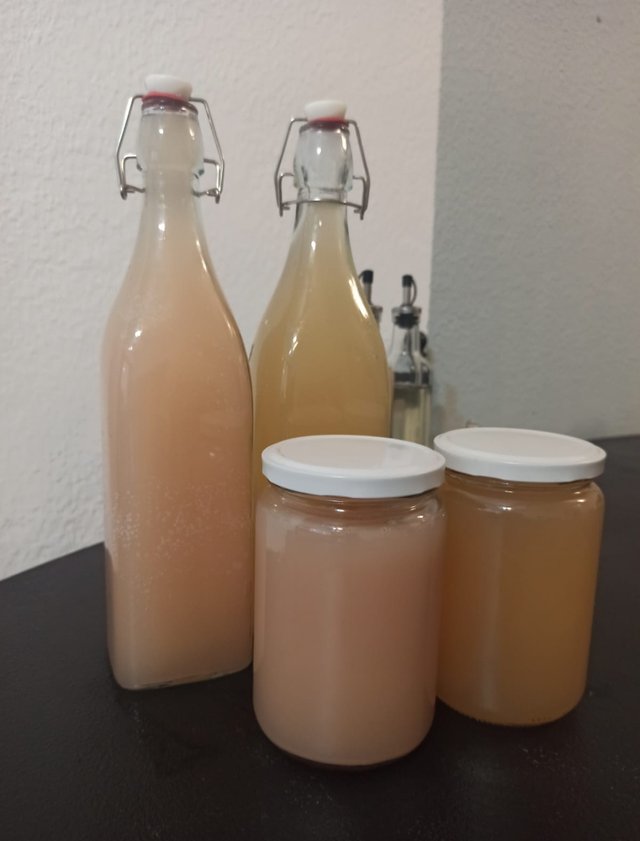
1️⃣2️⃣ Keep the vinegar in a glass containers, well-closed. It basically can last for years but it's strong will get more weak with the time. Use it to the salads, soups or even drink one spoon each day to keep you in a good health.
Thank you for reading,
All the photos included in the post belongs to me
@papi.mati
For more recipes of meals and preserves prepared by @papi.mati check list under this link
CC:
@alikoc07
@steemitfoods

