SEC20/WK4: Graphic Design Hands-On Practical 1

It's my pleasure to welcome you all to my graphic design Hands-On Practical 1 homework! You know, one of the things I love doing is transforming Ideas into stunning visuals, and we call it creativity, right? I love designing eye-catching posters, though not in a professional way, but this course is taking me to another level; I mean, I feel like a pro already! Thanks, @lhorgic. So far, I've learned essential design skills, and I'm dreaming of designing amazing logos and engaging social media graphics. I'm ready to communicate stories through art, unleash my imagination, collaborate with fellow students and creators, and watch my designs take shape.
To carry out my tasks for this week, I opened my Canva app and created a workspace, progressed with my work, and joined me as I created a catchy design to promote our amazing platform, Steemit.
Homework task:
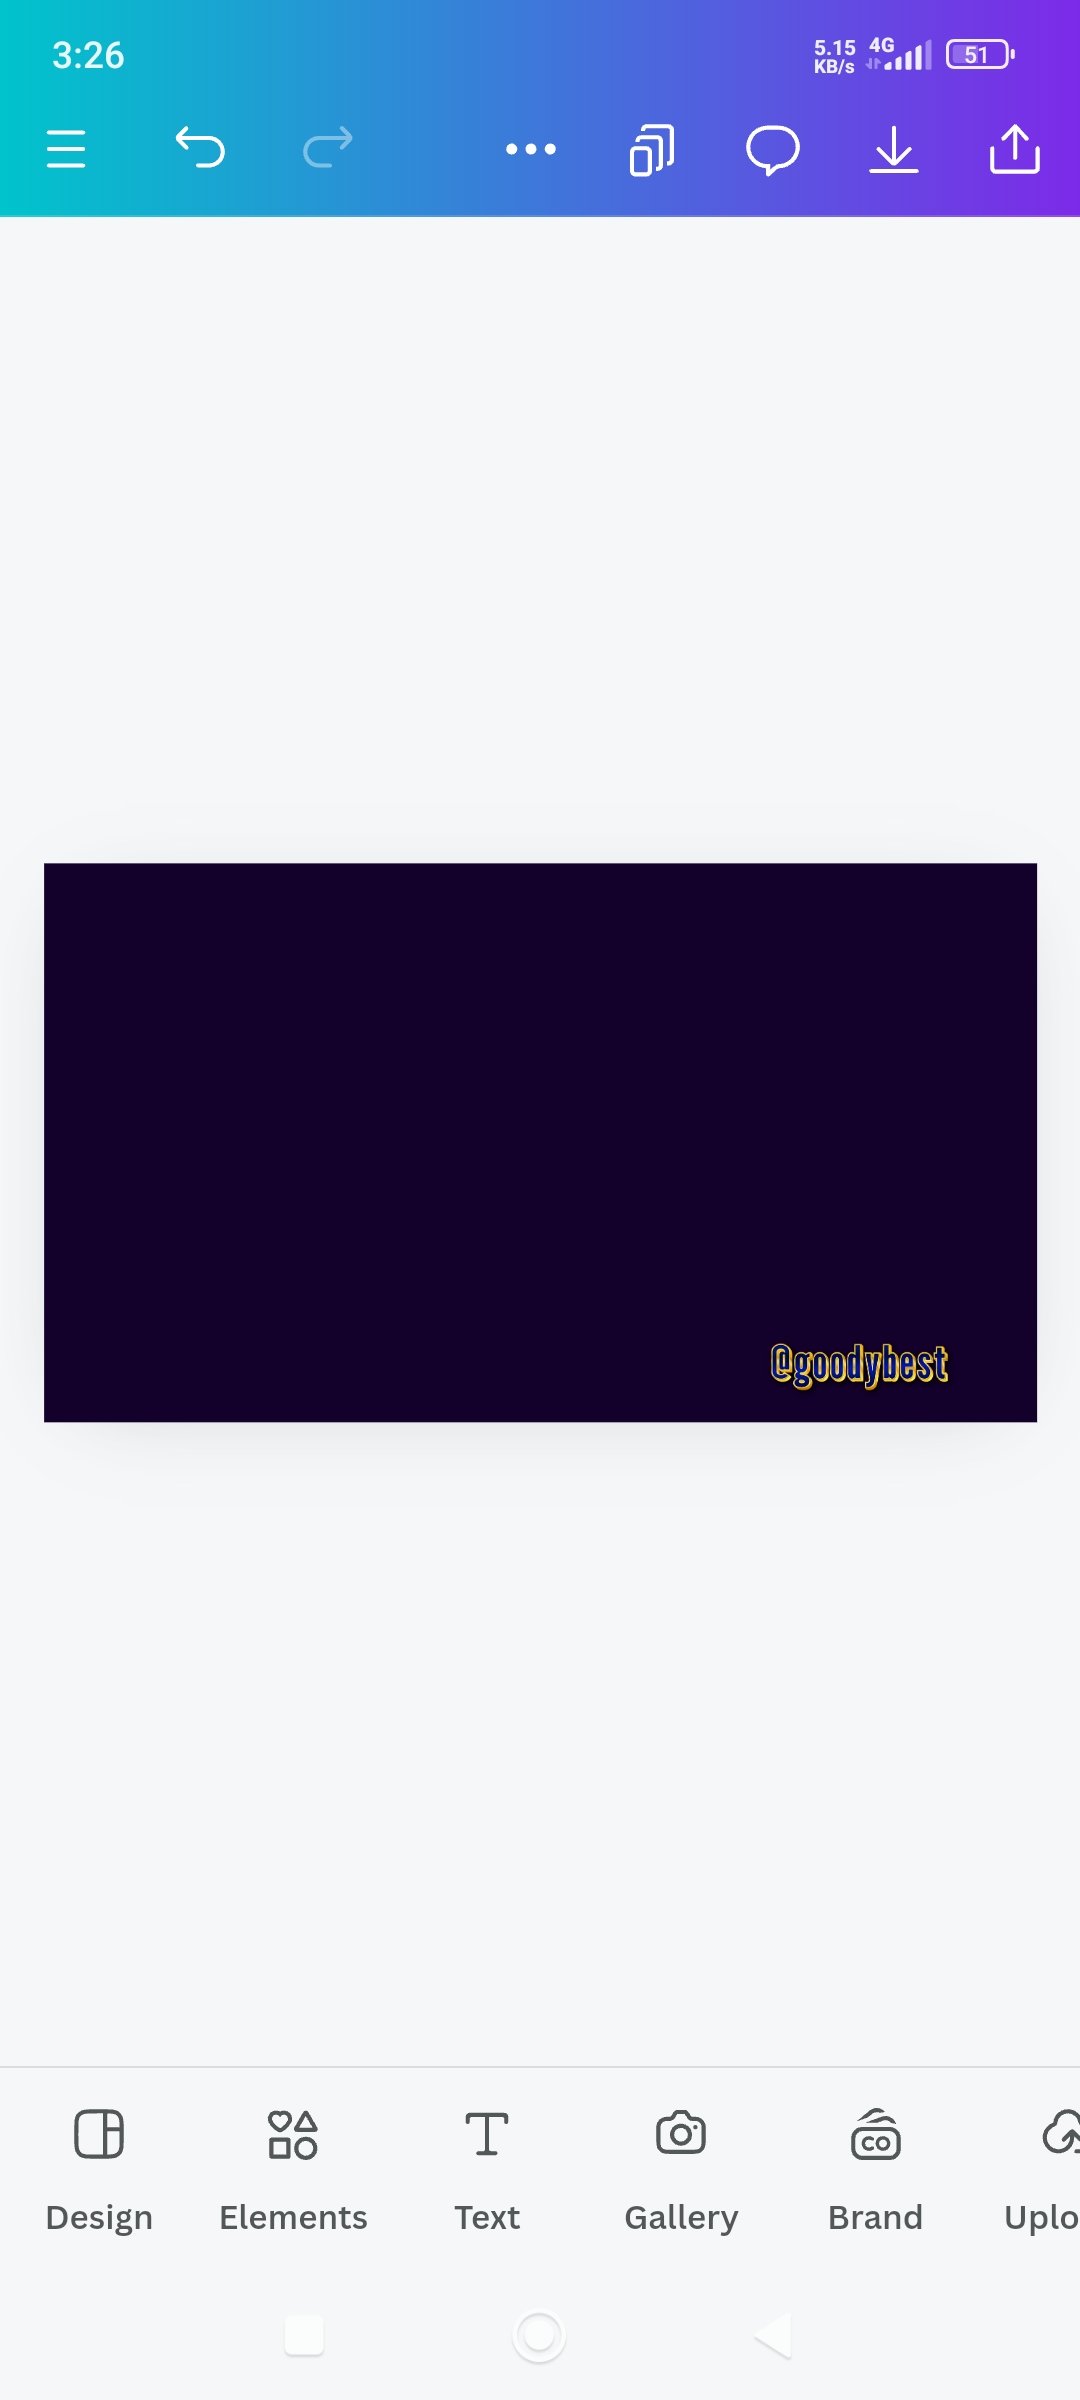
I logged in to my Canva and created a new workspace of 1280 x720px, and I chose a white background. I want to create a template that will promote Steemit.
 1 1 |  2 2 |  3 3 |
|---|
1. The first image shows the dimension of my workspace which is 1280 x 720px.
2. In the second image, I selected the workspace to be able to choose a color for my background. Then, I clicked on the color icon as seen in the image.
3. In the third picture, I chose a hex code of #13002B in the color wheel, which has a purple, yellow, and white background.

Step 2: Adding Effects To The Background
 1 1 |  2 2 |  3 3 |
|---|
1. Shows my background colour.
2. I clicked on the gallery; I wanted to add a transparent image to the background, which would portray an Idea of what I wanted to promote.
3. Then I choose a financial/investment image (gold in color) that will give me the needed effect. I clicked on Add to Page
Step 3: Adding Of Effects
 1 1 | 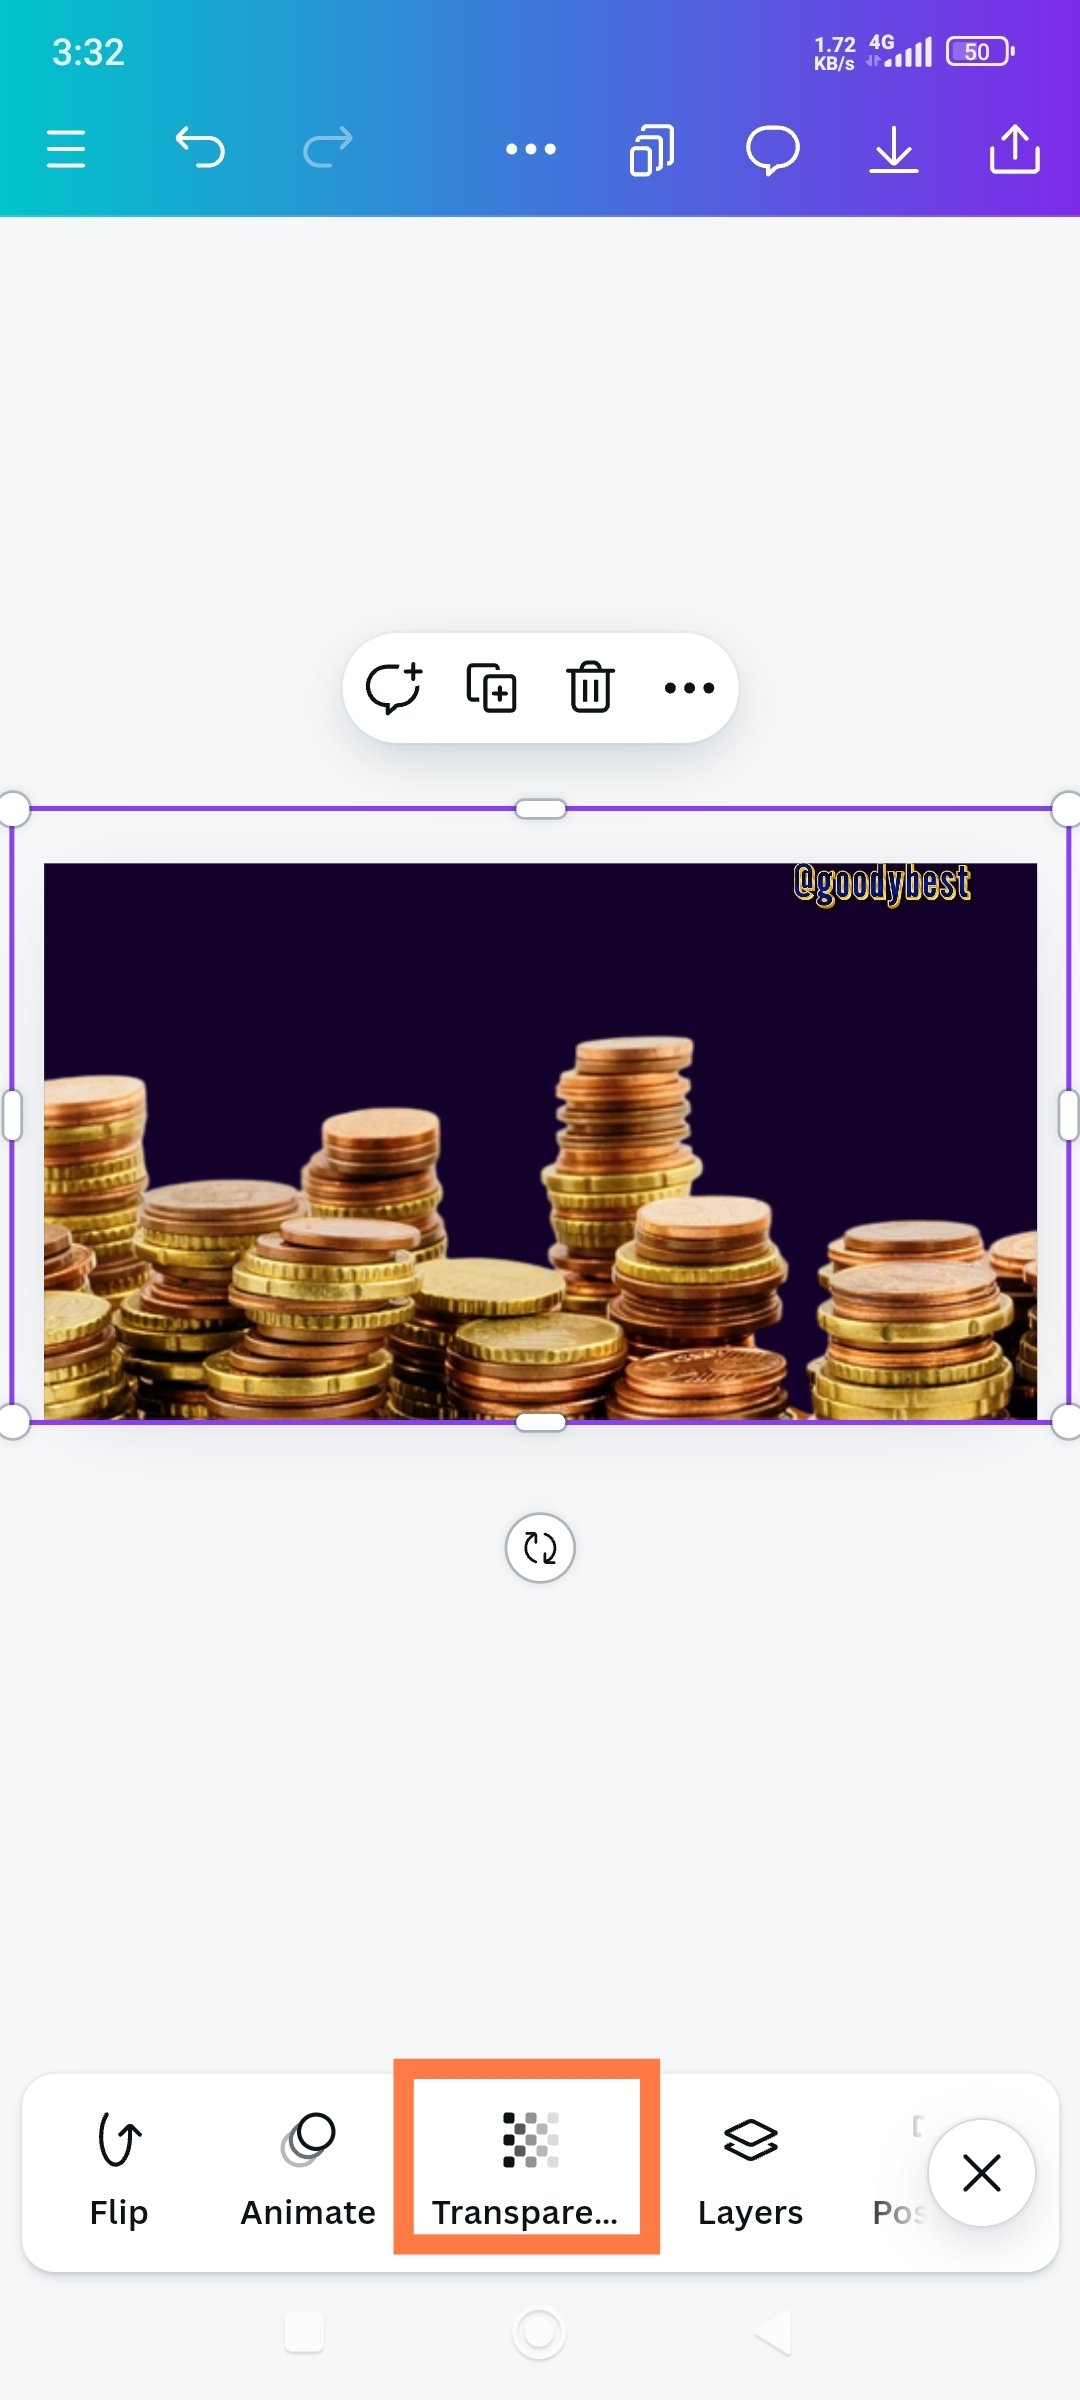 2 2 |  3 3 |
|---|
1. Shows the background effect on my workspace.
2. In the second image, I enlarged the added image to cover the whole background, and then I clicked on transparency to blend the effect on the background.
3. I adjusted the slider to set the transparency at 16.
Step 4: Addition Of Text
 1 1 |  2 2 |  3 3 |
|---|
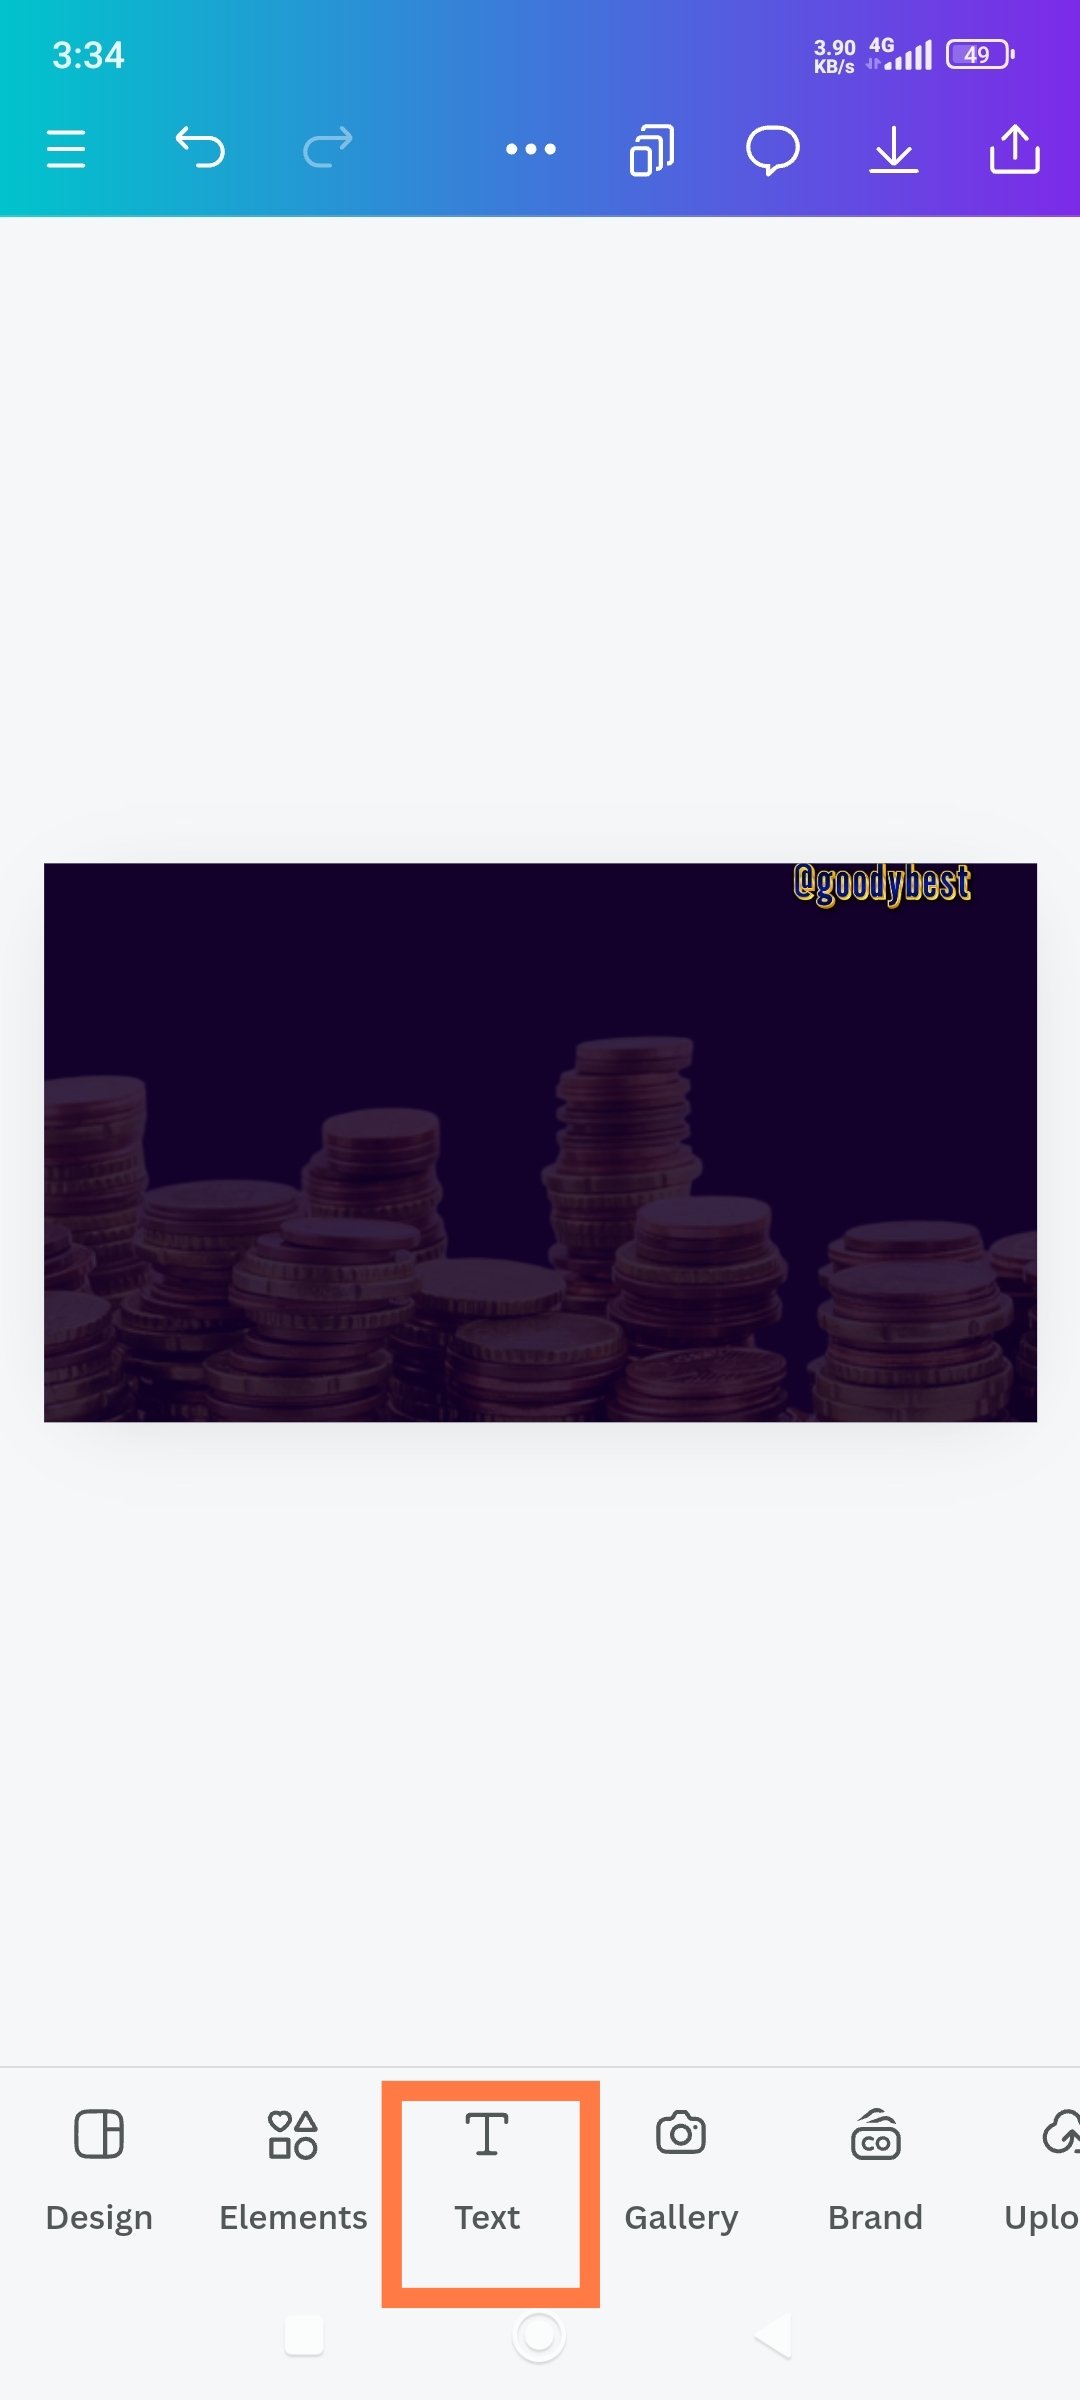
1. It shows my background's effect, and I click on the text.
2. I added texts. And type the words I will be using on my design which are Write, blog earn, all in cap.
3. I tried to arrange the words to be in the same alignment.
Step 5: Choosing Of Fonts & Addition Of Element:
 1 1 |  2 2 |  3 3 |
|---|
1. Shows the outcome of my arranged text in hierarchical order; I clicked on font and chose impact as my text interface; I increased the text fonts accordingly and set text spacing and line spacing. After that, I clicked on elements.
2. I selected square.
3. And it was added to my background design.
Step 6: Adjusting The Element & Colouring My Texts
 1 1 |  2 2 |  3 3 |
|---|
1. I highlighted the square element and added a white color, then adjusted its size & dragged it under earn.
2. I highlighted the word earn, Using the colour wheel I selected a hex code #F2C744
3. I write the text; "on steemit.com" all in the cap, choosing fonts, adding black color on the word, and then dragging it to the square element.
Step 7: Adding Of Picture To My Design
 1 1 |  2 2 |  3 3 |
|---|
1. I clicked on the gallery this time.
2. in my gallery, I choose a lady with money at hand, and she's so excited. This depicts users' experience with Steemit.
3. Then, I added the image to my design page and adjusted it well.
Step 8: Adding Elements On The Picture
 1 1 |  2 2 |  3 3 |
|---|
1. I clicked on elements.
- I selected a circle and add to the page.*
3. I filled it in white color.
Final Stage:
 1 1 |  2 2 |  3 3 |
|---|
*1. I adjusted the circle to fit well on the image, making it well-rounded!
2. While the circle is still highlighted I click on position and then choose backward.
3. Lastly, I added & to my text to make a meaningful sentence.

When designing, I focused on several key principles to create a clear and appealing layout:
1. Hierarchy: I applied This principle, and it helps me to organize information in order of importance. I used different sizes, colors, and fonts to guide my viewer's attention, making the main points stand out.
2. White Space: I've leave empty areas around elements and texts; this principle help me to prevent clutter and make my design easier to read and more visually appealing.
3. Emphasis: I applied this principle by highlighting specific elements to draw attention. ( Like the small square element I wrote "on Steemit.com" I used contrast, such as bolder colors (yellow) and larger text for EARN, to make important information stand out and guide the viewer's focus that they can actually earn from writing and blogging on Steemit.
4. Rhythm: lastly, I've applied the principle of rhythm by creating a sense of movement and flow in my design; this helps keep my viewers engaged. I achieved this through the repetition of colors (yellow, black & white) and shapes (circle), leading the eye from one element to another in a harmonious way.
Incorporating these principles in my design makes it visually pleasing and also functionally effective in conveying the intended message.
As I said in the introduction paragraph, I feel great 😃 to create something amazing 🤩 with my hands, and I want to say thank you to @lhorgic and especially the Steemit team for sponsoring these courses. I would like to invite @iddy, @patjewell and @mile16 to take part in this contest
By incorporating the principles of what we have learned into your design, you've not only created something visually stunning, but you also explained the steps well.
In my eyes, you've succeeded in mastering the challenge with creativity and purpose. Well done and best wishes!
PS: Thank you for the invitation.
Aww 🥰 I'm over the moon and my head is swelling, hahaha 🤣 Thank you so much for the compliment. I'm encouraged and I hope to get even better. Your good wishes mean a lot!
Pleasure! 🎕
Upvoted. Thank You for sending some of your rewards to @null. It will make Steem stronger.
Hi, @goodybest,
Your post has been manually curated!
Thank you
This is pretty, it is very close to the original. With good choice of font and font style. I wish you the best in this contest. Happy learning experience.
Thank you so much for the compliment, I'm encouraged!
Wow! What a pleasant presentation. We can see clearly you have focused on several key principles to create a clear and appealing layout. Not only you but we all thankfull to this course teacher. What he is doing is simply amazing. Good luck.
Thanks, dear, it's a wonderful experience to be able to create something creative. I appreciate your visit.
Nice graphic design, keep it up.
Your colour combination is nice even the once you did in the comment section are beautiful. You applied graphics design principles which makes your work turn out beautiful.
Wishing you success 👍
Regards @goodybest ma'am,
I am impressed by your presentation of graphic design. How perfectly you have described each step. Not only that but finally you have shared some important notes of your design which will be very useful for other users. I hope you succeed in this challenge. good wishes
It's as if you have been a professional graphic designer before; you design so perfectly, weldone and keep up with the good work.
Aww 🥰 thank you for much for the compliment dear, I appreciate ♥️
You are welcome