How to cut pencil skirt easily.
Hello my fellow steemians I wish to stop by and throw greetings to everyone, and also appreciate @beautycreativity, I hope you all will catch my greetings. Today was a beautiful day though hectic, I will like to use this opportunity to teach everyone how to cut a pencil skirt, please follow through.
STEP ONE
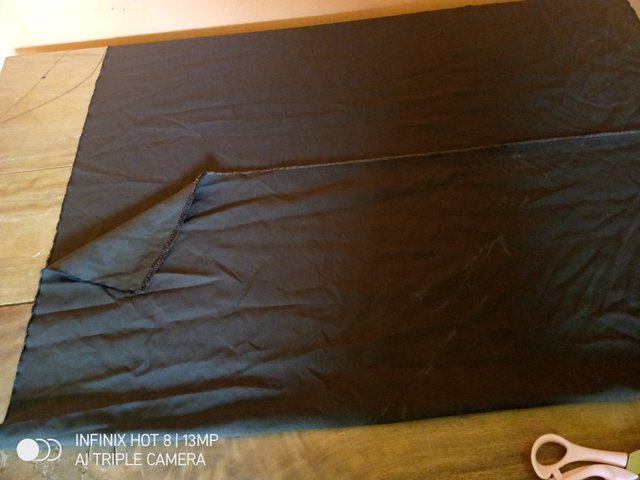
Fold the fabric into two as you can see in the picture, we are cutting the front first.
STEP TWO
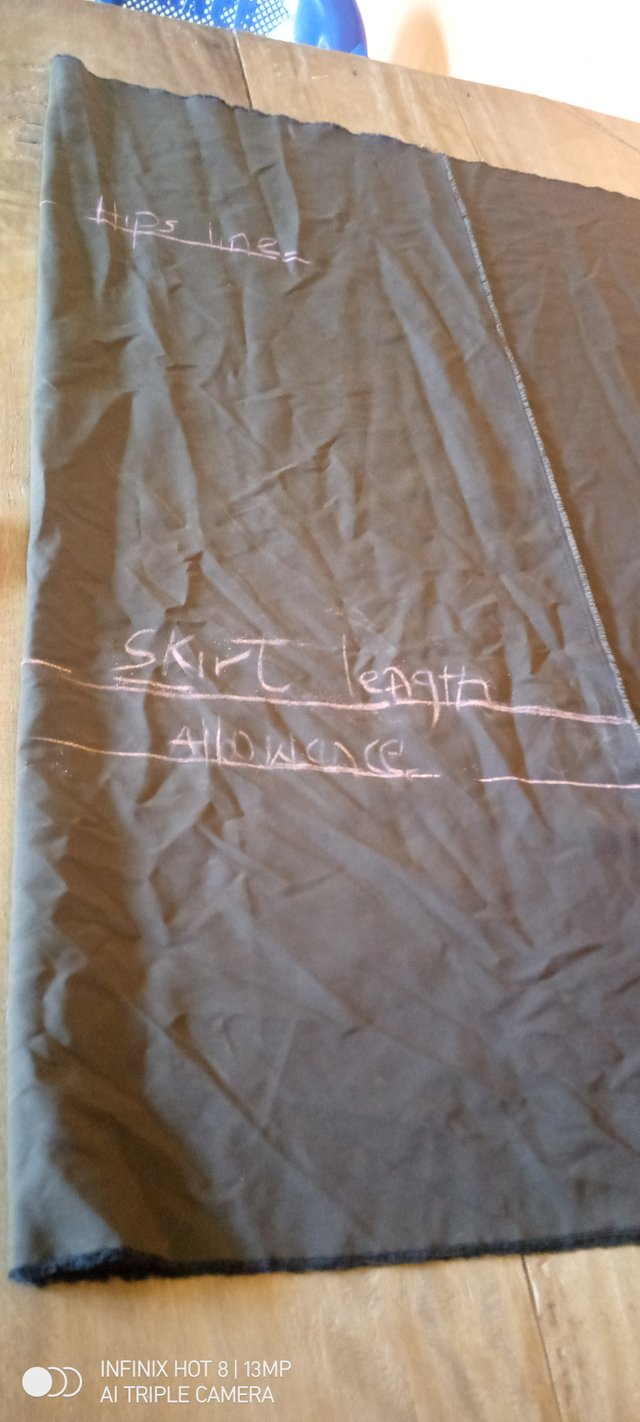
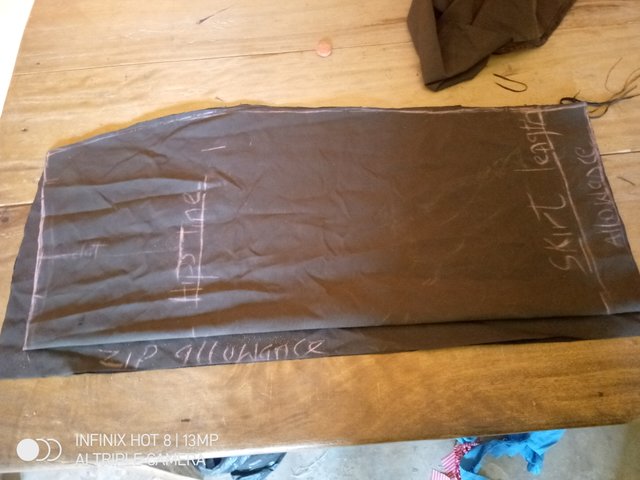
You will first measure the skirt length, I am using 24inches as my skirt length, (u can take your own differently depending on how long you want your skirt to be)
The next measurements is the point you will take as your hip, that is the length from your waist to your hips, at that point 8inches is what you will take.
STEP THREE
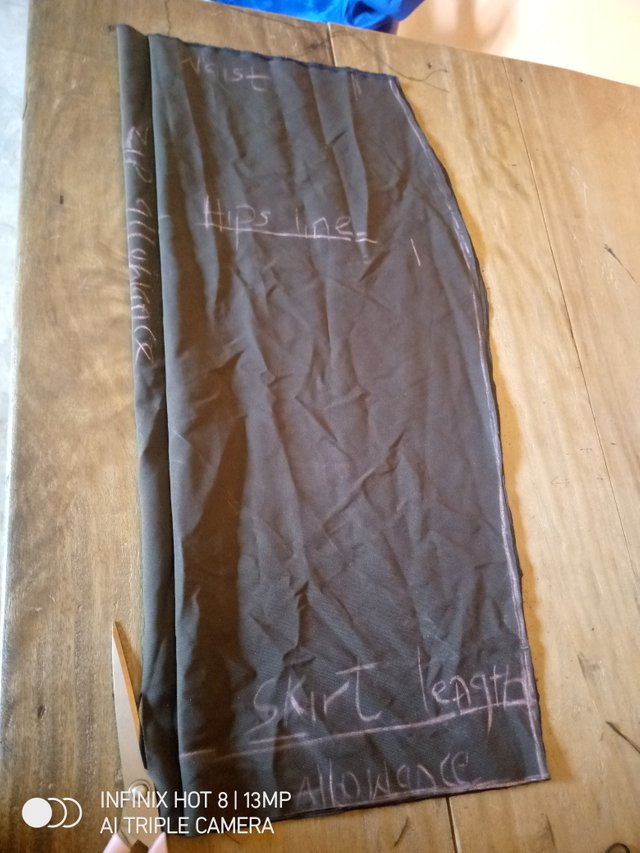
You start with the waist measurement, remember you folded the fabric into 2 and the back is going to be folded into 2 too, so when taking your measurements you will divide your waist measurement into 4, for example my waist is 32inches, so 32 divided by 4=8, so am taking my waist 8inches with 2inches sewing allowance making it 10,
The next thing is hips, come down to where you have hips line and place your tape there to take the measurement, am taking waist 40inches, you will still divide it by 4 which gives you 10, so 10inches and add 2inches sewing allowance making it 12inches.
Now to get your pencil very well use your waist measurement including the 2inches allowance, bring your tape to the skirt length line and measure 12inches.
STEP FOUR
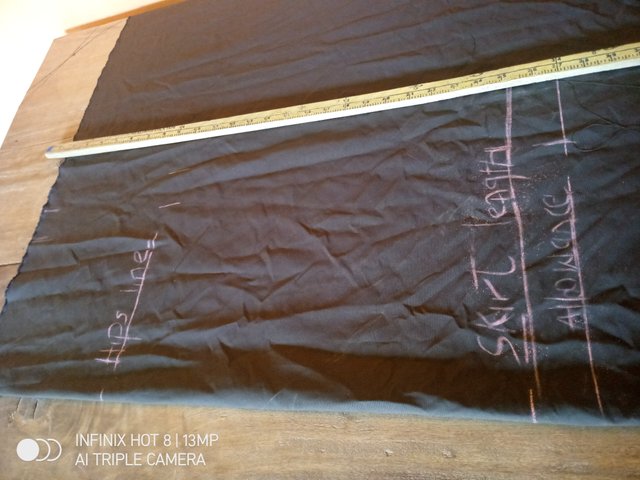
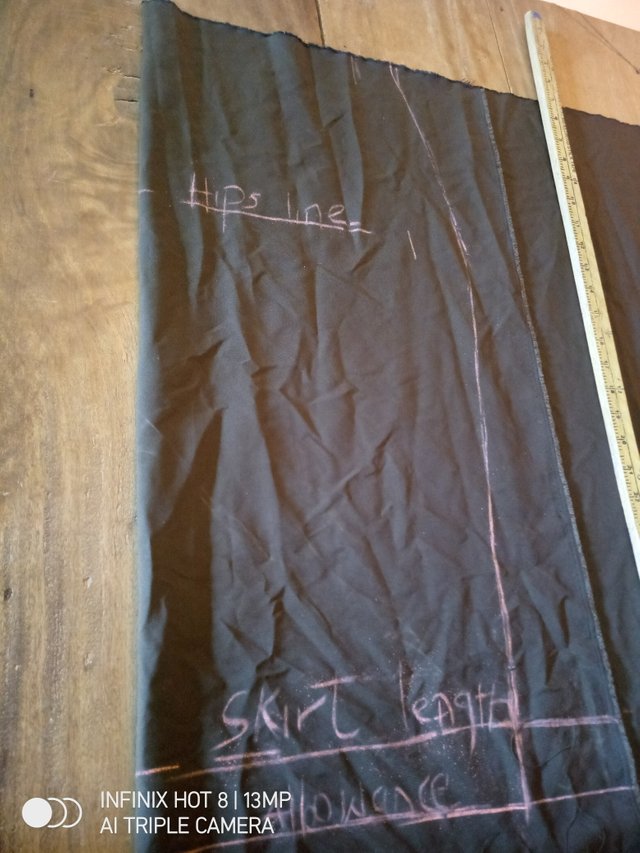
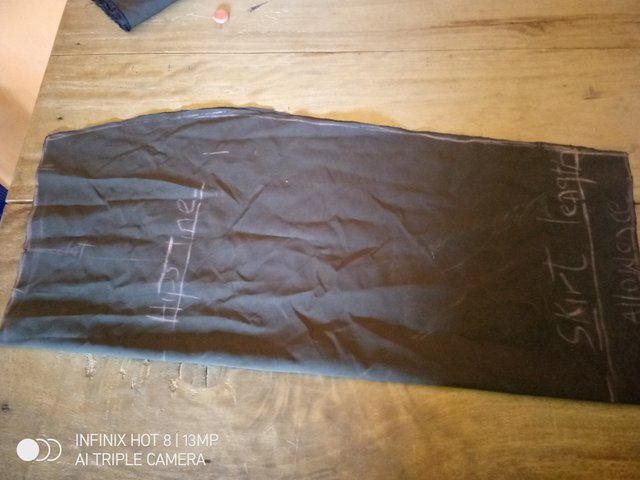
Use a long ruler and chalk to join your measurements skatch as you can see in the picture.
STEP FIVE
Use You sizzor to cut it out, do the
cutting✂️ outside you making as you can see in the picture.
STEP SIX
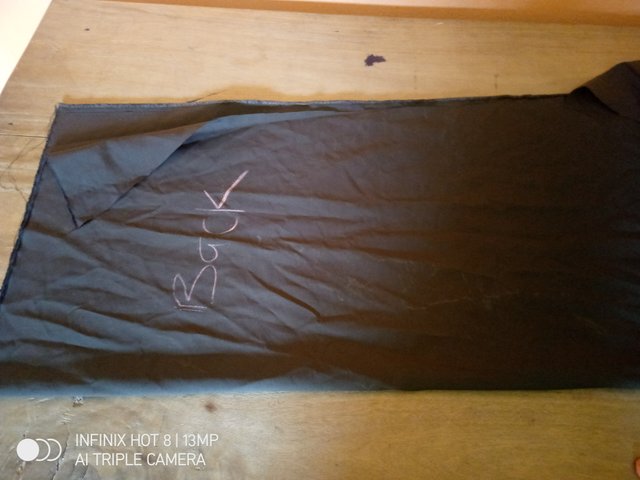
The back cutting, fold the fabric into two and then placed the front cutting to the back, make sure you 1¹/² inches for zip allowance, as you can see in the picture and then cut it out.
STEP SEVEN
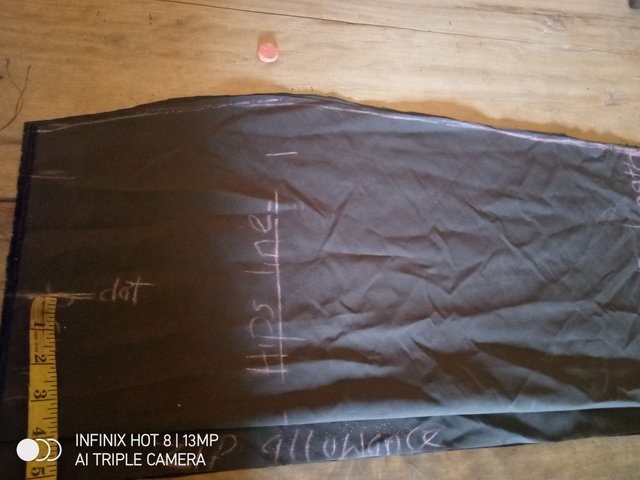
while the two are still together Mark your dat allowance, please not that you are not the back to get the dat rather it's the front, so measure 4inches and mark it with chalk.
STEP EIGHT
Slope the front waist by 1inches, this is very necessary especially for those of us with big stomach so that the skirt will lap as u can see in the picture.
STEP NINE
Cut the waist band, 4inches by10 inches depending on your waist measurement is the measurement as you can see in the picture
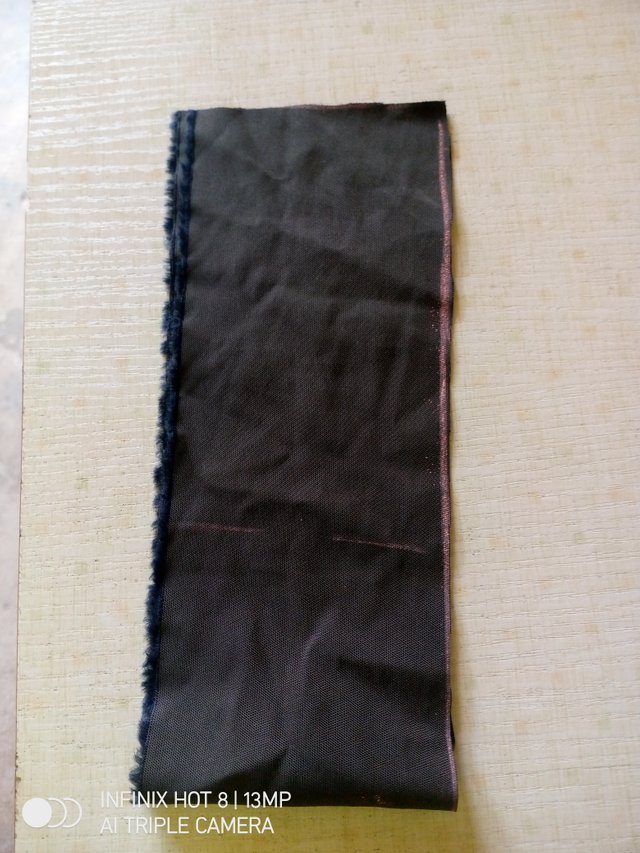
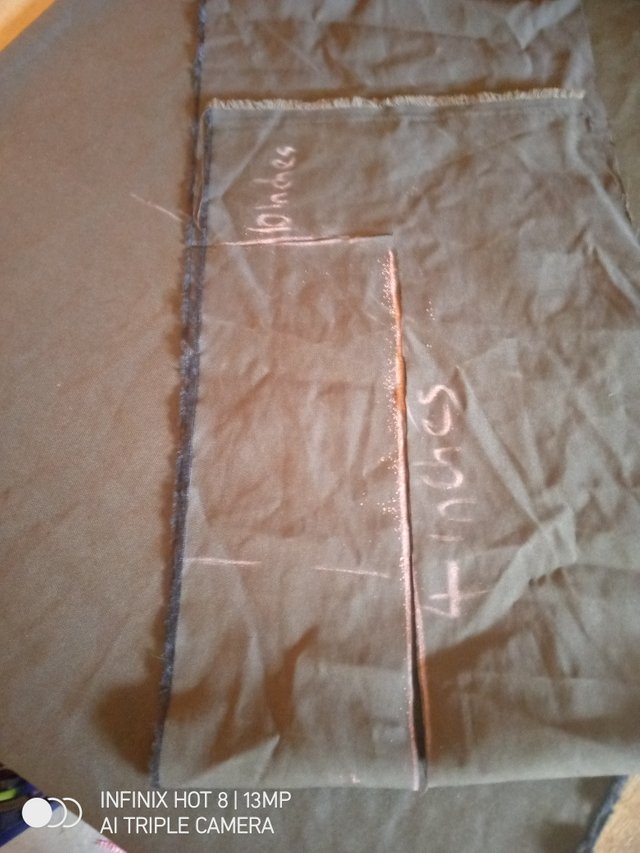
That brings the cutting to it's conclusion as you can see what we have in this picture.
I hope you will try it, my next post will be on how to join the piece together to bring out a skirt, but try that yourself as homework and a challenge, am hoping to see you upload what you were able to do, the corrections will be made.
Thank you all for following through my post.
Aww I know this will surely help fashion designers like yourself, keep it up dear and steem on!
Thank u
start success go! go! go!
Wow!! This is so nice, with this steps I can also make my skirt
Sure, u can