Tutorial | How To Save Your Post Draft On A Webpage For Easy Access Anywhere Anytime
Hello there, my name is Abdul Kahar Gunu (@abdulkahargunu), this is actually my first tutorial in this community, I hope you find it useful.
Have you ever been in a situation where you draft a post on your pc hoping to post it later, yet when the times comes, for some reason you aren’t with your pc? Then you become confused if not frustrated, then for whatever purpose you were to make the post becomes in vain.
Frankly speaking, I have been a victim of these situations and there’re others probably who have faced this too. I took it upon myself to find a solution and decide to create a tutorial on it for everyone, so let’s dive into it.
These are a select few that I recommend:
1.ctxt.io
2.cl1p.net
Ctxt.io (context) provides you with a medium which can be used to share text with images and make a sharing link with which you can access your work from any device provided you have the link to it. There are two ways to use ctxt.oi, they are listed below:
Using ctxt.io directly
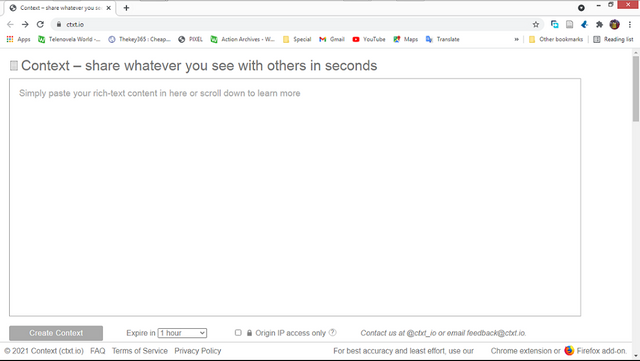
Using ctxt.io is simple as abc, you enter “ctxt.io” in your browser’s address bar and you should get something similar to this
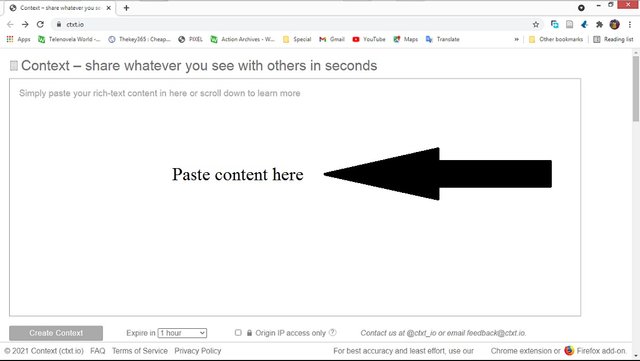
- Copy and paste your draft, text, or work in the content area
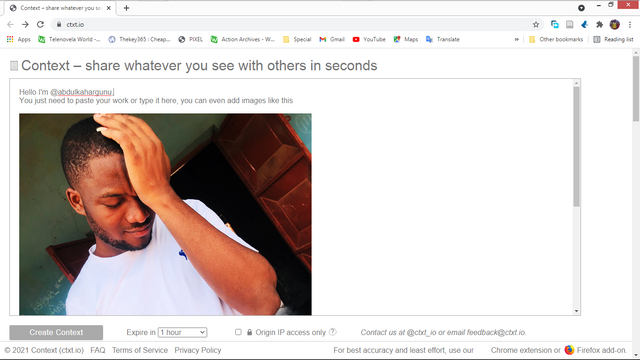
- You can set the time you want the work to be terminated or deleted
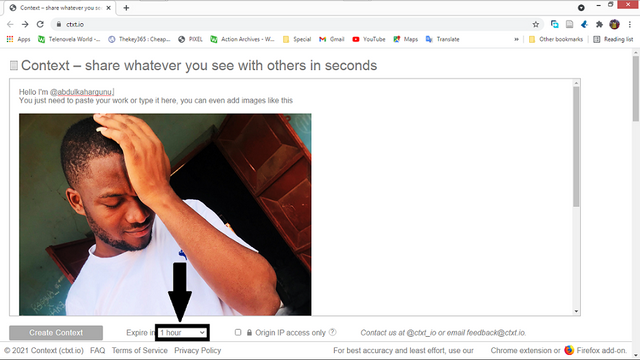
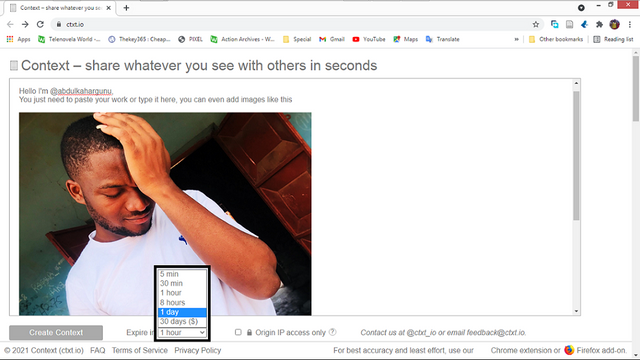
- Select the duration you want it to be active for in the list that appears.
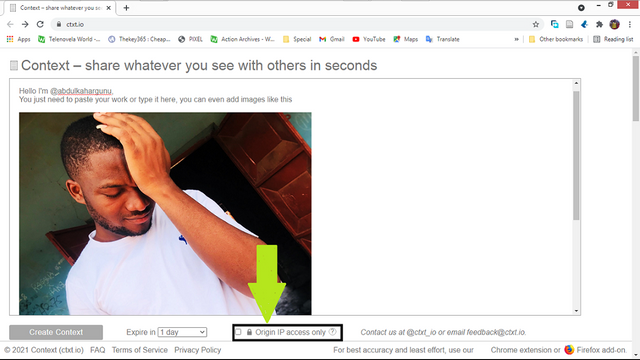
- You can also choose “Origin IP access only” if you want restrict access to your work by devices using your IP address
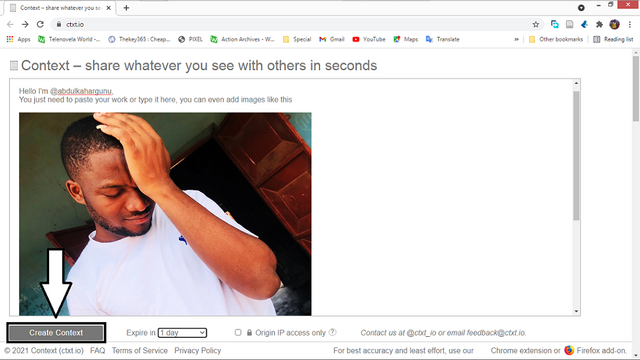
- Click on “Create Context” to generate the unique link to access your work
- You now get the unique link to link to your work in the address bar
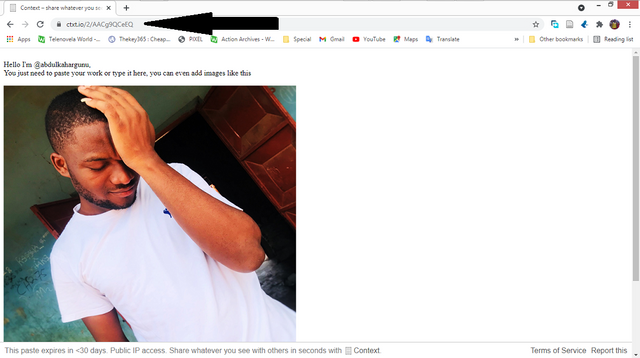
In my case, the address to access my work is https://ctxt.io/2/AACg9QCeEQ, meaning I can use this address to view my work provided it has not expired.
Tip: In case you use google chrome like I am and have turned on your synchronizing, you can check your browsing history on your other devices linked to your account and you’ll be able to find the link. You can also choose to write it down on your phone or anywhere you think will be convenient for you.
- Visit this link
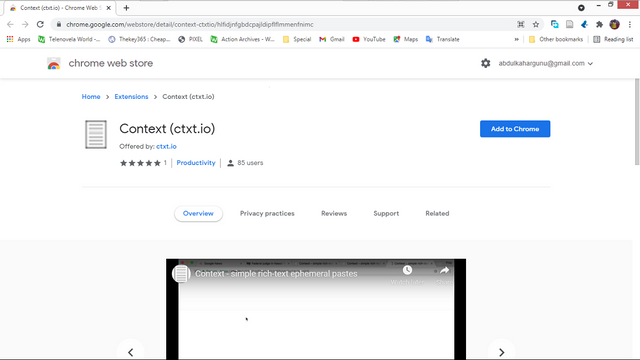
- Click on “Add to Chrome”
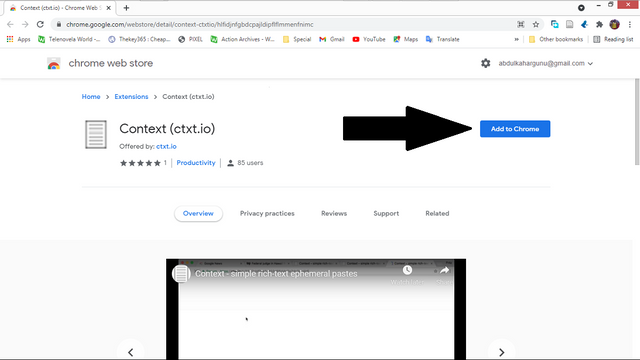
- Confirm the action by clicking on “Add extension”

- Wait for it to load

- Once it’s added successfully you should see something similar to this

Now that we’ve been able to add the chrome extension, let’s get to how it is used
- Let’s say this is the page I want to copy

- I click on the Context icon on my extensions list

- I then select the duration of the link and can either choose to restrict it to my IP address only or not
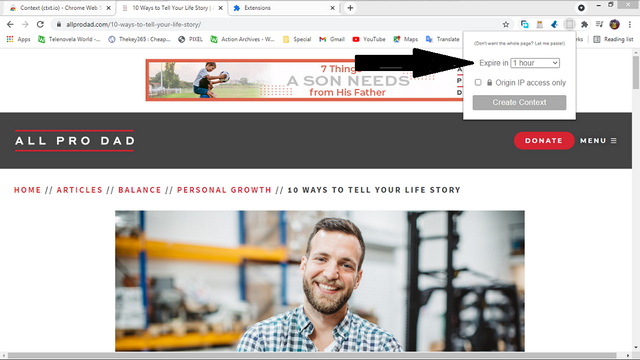
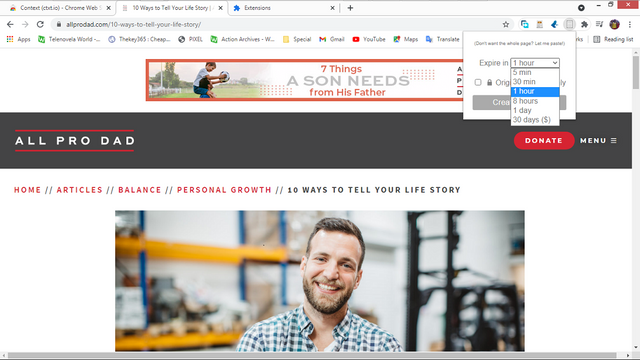
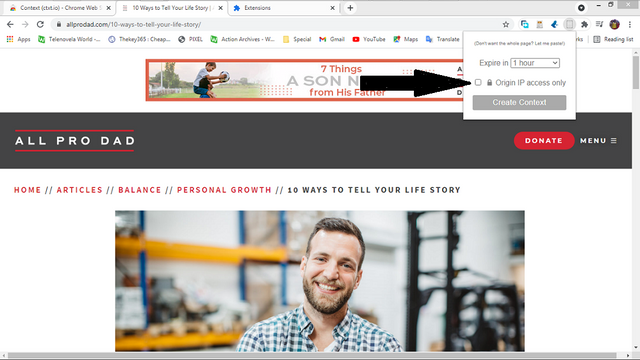
- I then click on “Create Context” to finish my work
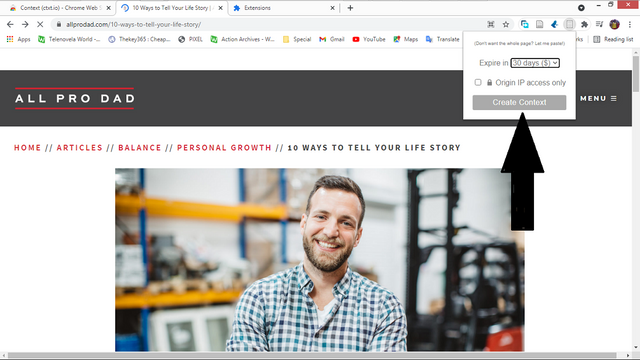
- It loads and redirects me to my newly made work
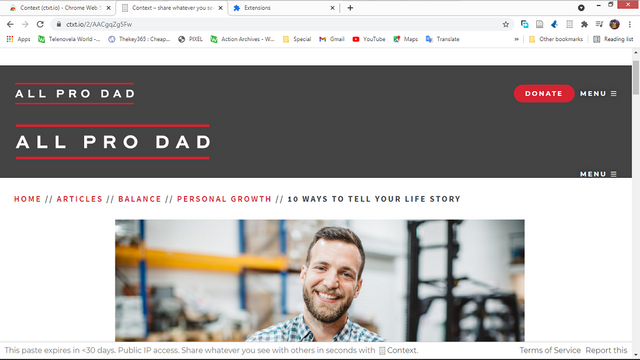
- I can then use “ https://ctxt.io/2/AACgqZg5Fw ” to access my work provided the it hasn’t expired yet.
You can also watch a YouTube tutorial on how to use the Google Chrome extension bellow
Cl1p.net works almost the same as ctxt.io except for some slight difference, cl1p.net allows only text to be pasted unlike ctxt.io which allows both text and images.
- You type “cl1p.net/” followed by the name you wish to call your work, for instance, “cl1p.net/mywork1”, if this address provided is used by someone else, then it would take you to it else you will get a page similar to this
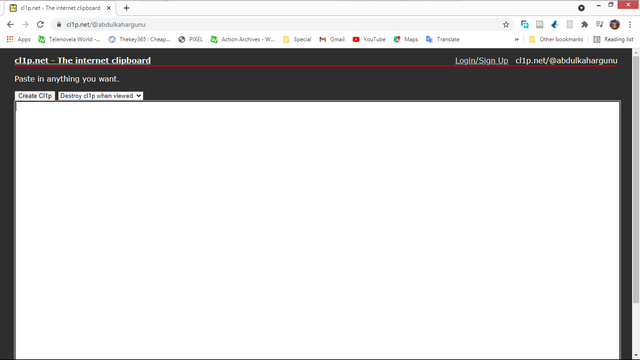
- Type or paste your content
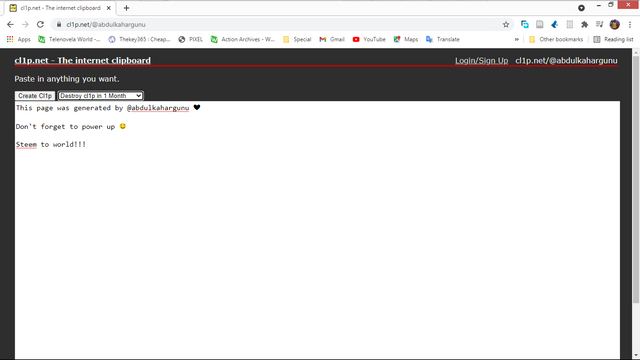
- After you are done, you set the duration of your work by selecting
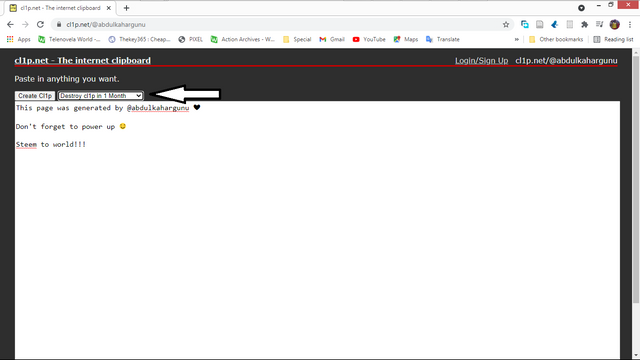

- Once the duration is set you can now publish your work by clicking on “Create Cl1p”
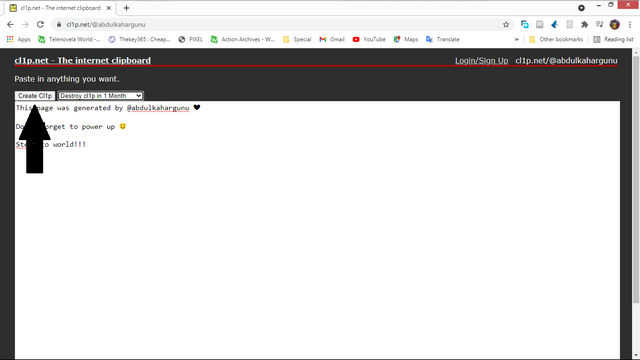
- You then use the link to access your work anywhere on any device provided you enter the right address and the work hasn’t expired
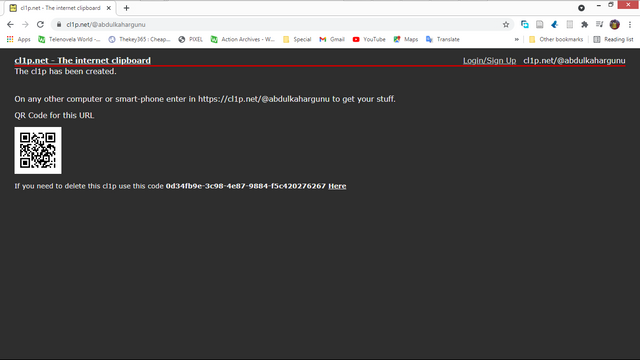
Tip: For security purposes you can be creative with how you name your work, for instance I prefer naming mine with passwords
Example: “cl1p.net/mywork1/password1”, you realize that I did the normal naming but added a “/” followed by a password of my choosing. If I name it this way, in my mind I say the name of the work is “mywork1” and the password is “password1” don’t forget the “/” before the password.
Also, since cl1p.net does not support images, you could upload it to the steemit server and copy the link then paste it on your work at cl1p.net so that once you copy it and paste it on steemit it shows the image.
I hope you find this tutorial useful, if you don’t understand any part or have a question please let me know in the comments. If you want me to make a tutorial on any other topic, please let me know, have a nice time keeping your posts drafts with you everywhere you go.
To the notice of @pennsif
Very well try your post is very nice
Thank you for the feedback.
“This post has been rewarded by @oppongk from @steemcurator04 Account with support from the Steem Community Curation Project."
Keep posting good content and follow @steemitblog for more updates!