SEC S17W4: "Craft in Honor of the Worker".
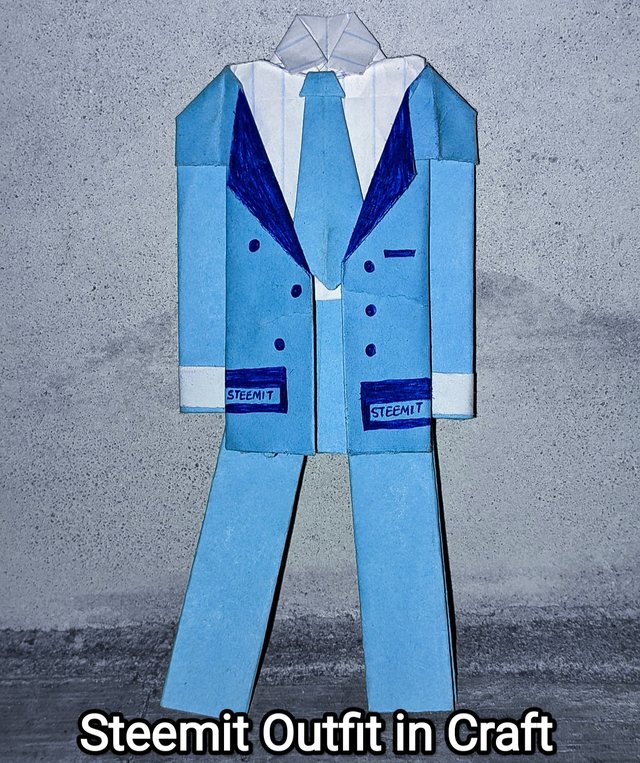
It's actually surprising to see this craft contest being brought back to life by this community. It reminds me of those days I was a craft fan. I do craft for a living as it was actually tied to my skill. Here a craft of mind that did hit the net that year. I've recreated something different but in the same line which is fashion and design. I may not be able to show up all my crafts but this is a preview of one of the most gracious form of craft by me this year.
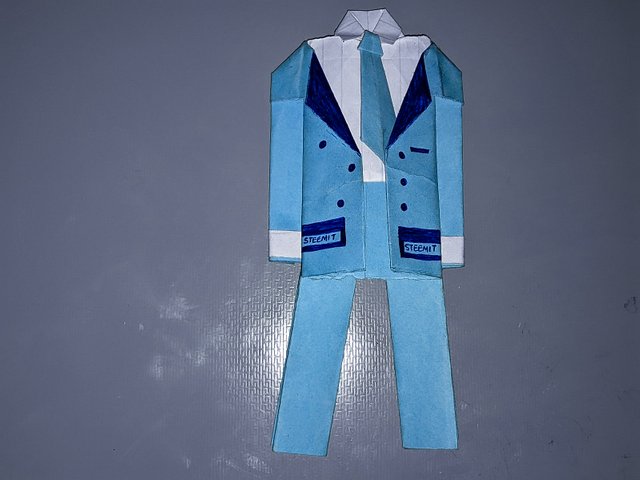
It's an outfit. You may find it very absurd thinking it may not be in use to me but sincerely speaking, it thus means a lot to me and has been helping me advance in my design of clothes and other types of outfits. A craft on outfit gives me a hint to how clothes are created and made. I choose to do a complete office wear of a man which is the suit, shirt, trouser and tie.
Materials used in making this craft |
|---|
These are the materials I used I making these simple but extravagant craft.
- Cardboard paper
- Meter rule
- Pen and pencil for marking
- Plain sheet etc.
All these materials have good use of which the cardboard itself is used in making the craft, the meter rule is used measuring, pen and pencil for marking and plain sheet for the shirt. These are the steps for making the shirt, tie, jacket and trousers.
Steps for making a shirt from craft |
|---|
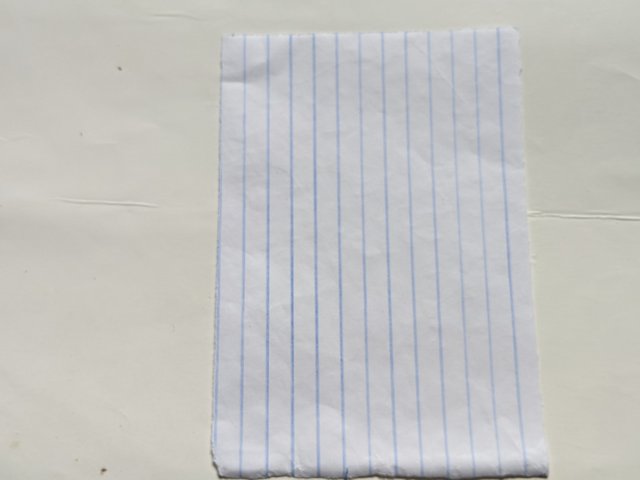
The first step in making a shirt which I started from is to measure on a cardboard paper and then use my pencil to mark it so I'll be able to cut it with my meter rule. After getting my desired shape and size, I took to folding the white paper into two like half.
 1 1 | 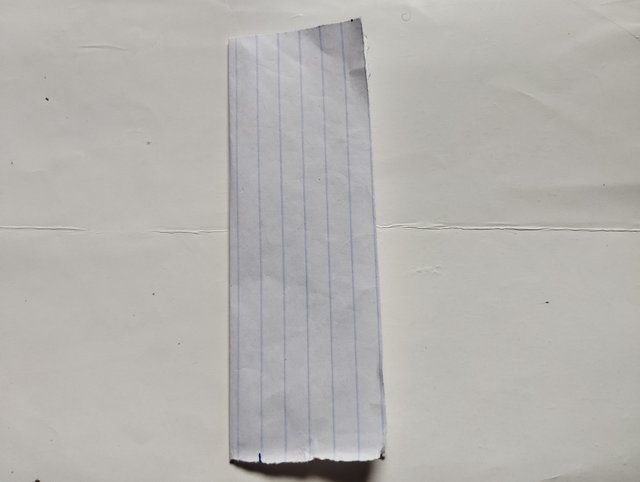 2 2 |
|---|
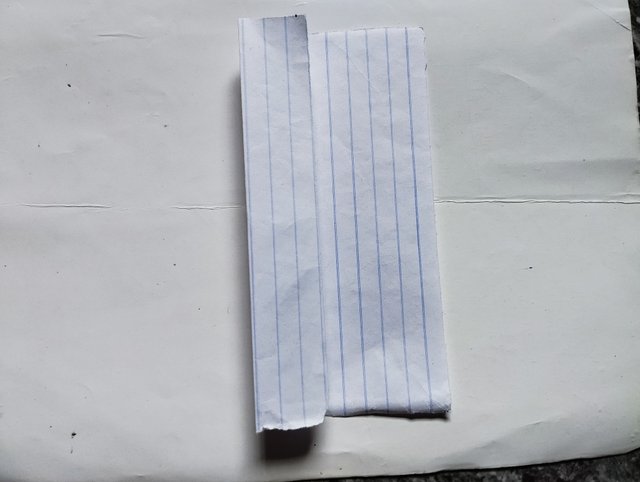
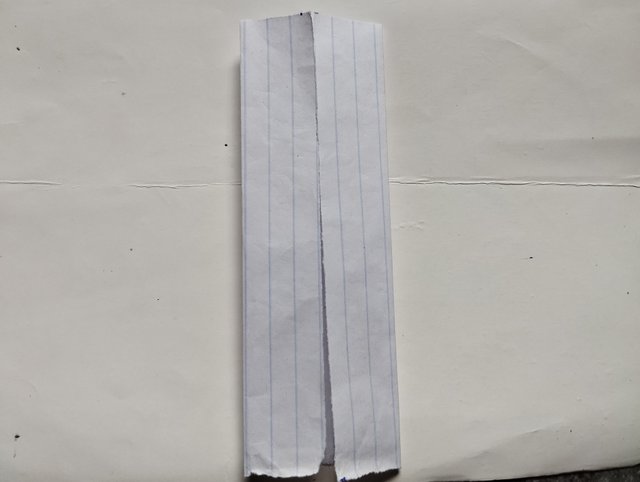
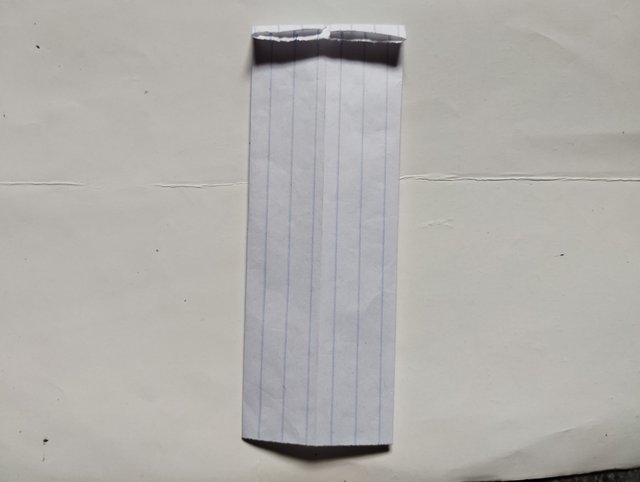
After folding this, I opened it and then made folds from each side of the paper to touch the central line I created. Once it touched this central line, I then made it straight before turning the back which I folded a centimeter of the paper back. When I did this, I turned back to the central line I folded and then made collars with it.
 |  |
|---|---|
 | 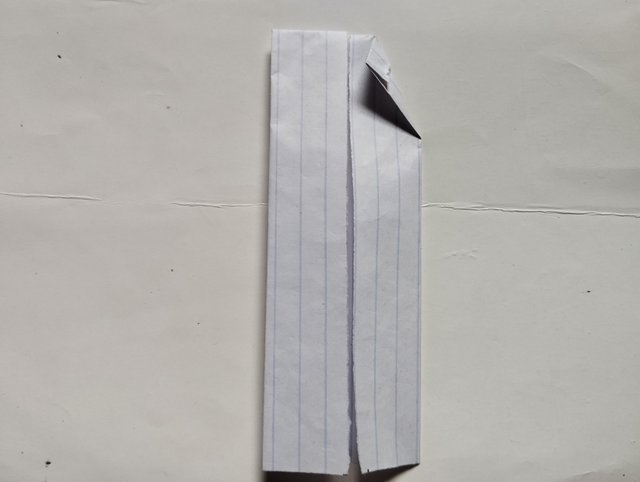 |
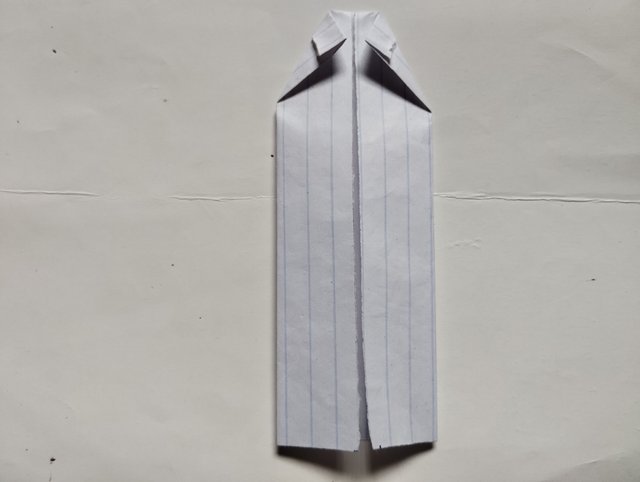
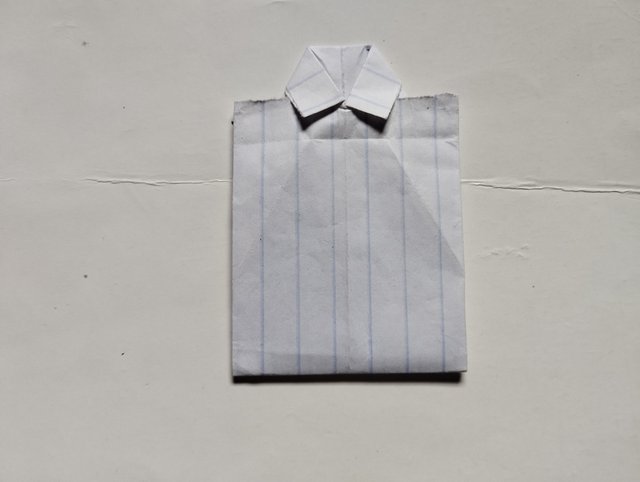
It did these collars by bending the top of each sides down and then took the bottom of the shirt up to meet the two collars made by me. When it meet the two collars, I used the collars it making it firm or locking it down to speak.
 |  |
|---|
This is the output of the shirt made

Tie |
|---|
After making the shirt, I took to making the tie to balance up and this tie was made using a cardboard paper. I used this cardboard paper to make this tie to rhyme with the outfit combination.
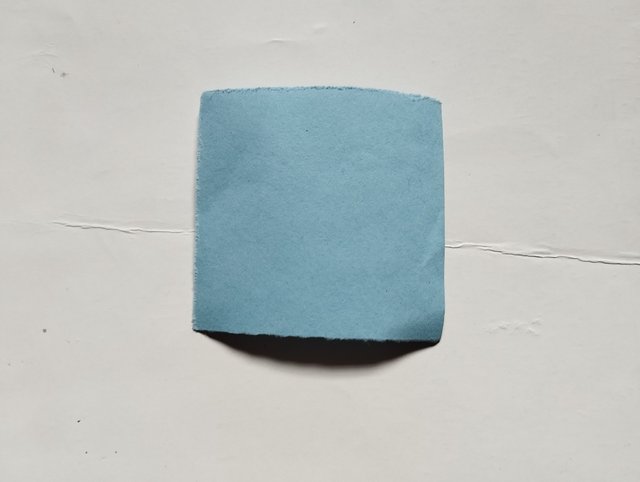
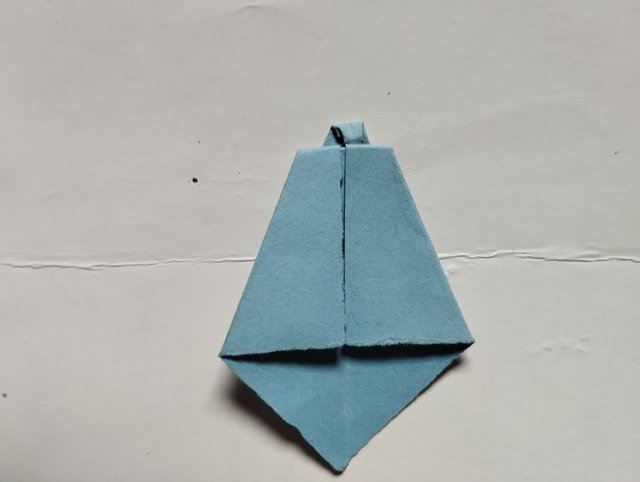
- It all started when I did my measurements on a cardboard paper, 5×5. Cm measurements on both sides of the paper which is the length and breadth. After attaining the shape and size I wanted, I took the tip of one side to meet the tip of the other side making it look more like a kite or diamond shape so to speak.
 1 1 | 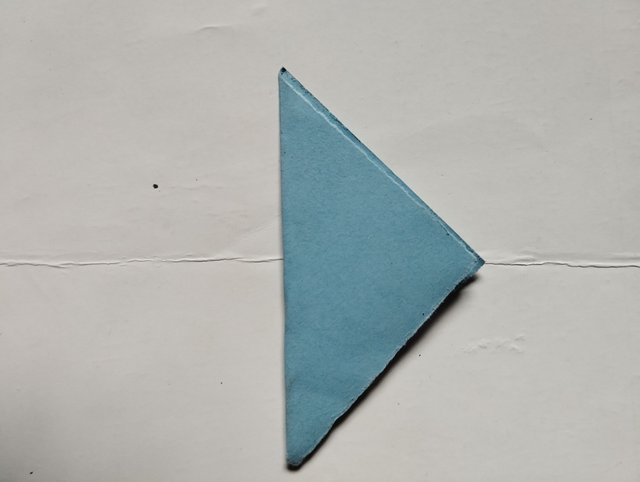 2 2 |
|---|
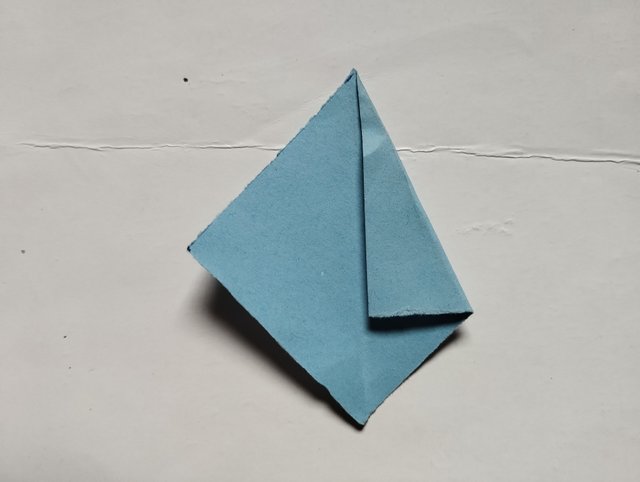
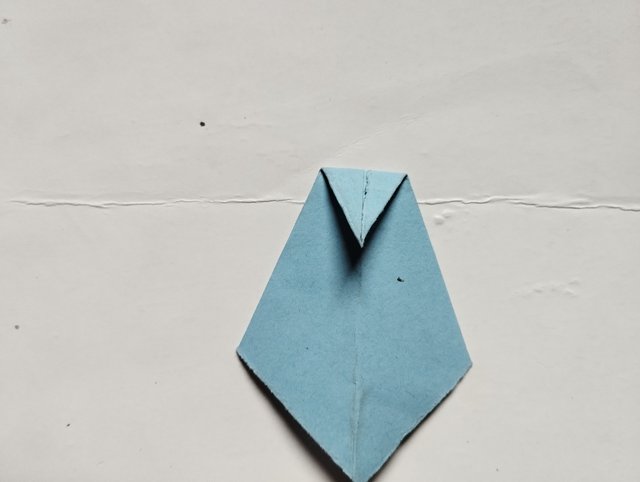
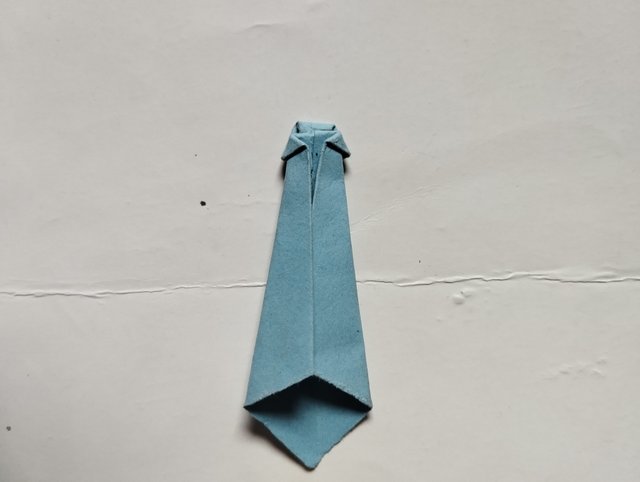
- After attaining this central line as that was my aim folding the cardboard paper, I took both sides by the head and folded it in to meet the central line created. It gave me a sharp head and a v-shape bottom which I bended the head to create a fitting that'll be an attachment to the shirt. I then folded it again after creating this attachment and that's how I got my ready-made tie.
 | 3 |
|---|
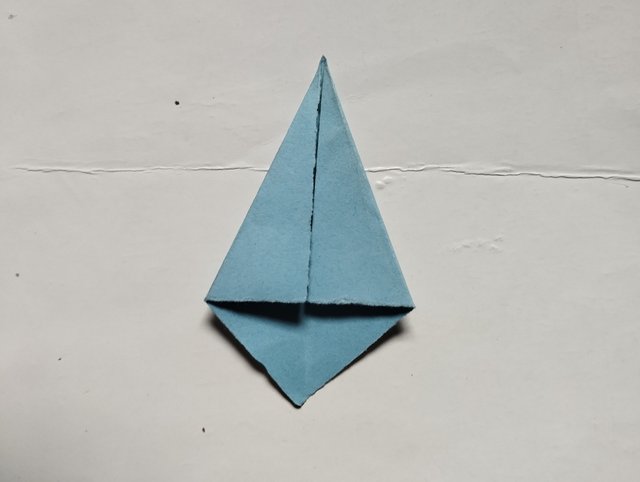 4 4 | 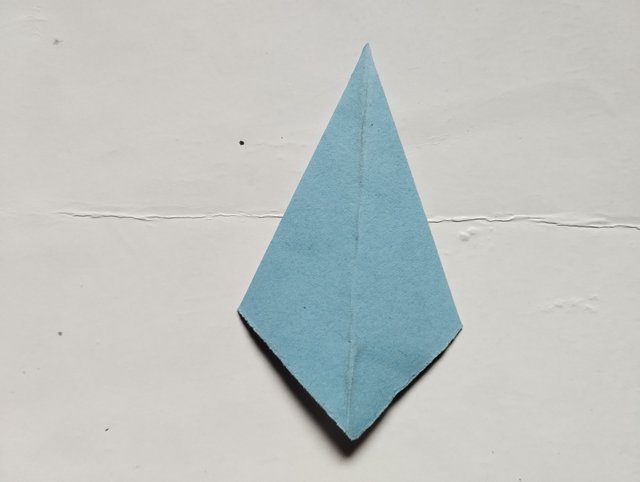 5 5 |
|---|---|
 6 6 | 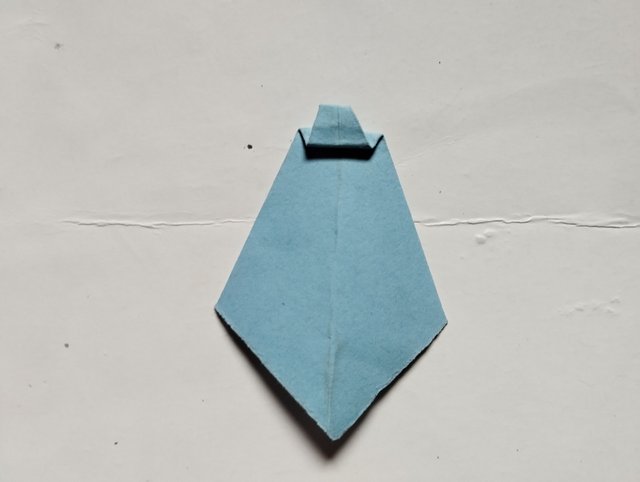 7 7 |
 8 8 | 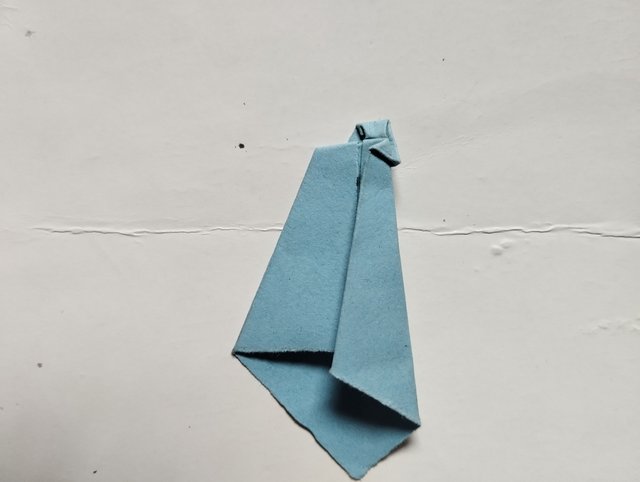 9 9 |
 10 10 | 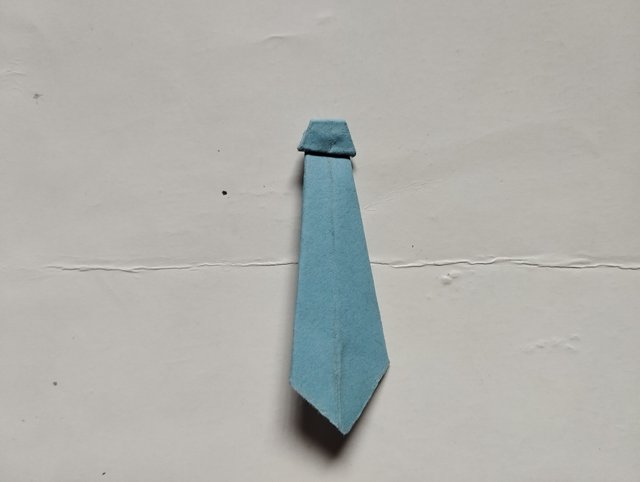 11 11 |
This is the result of the tie
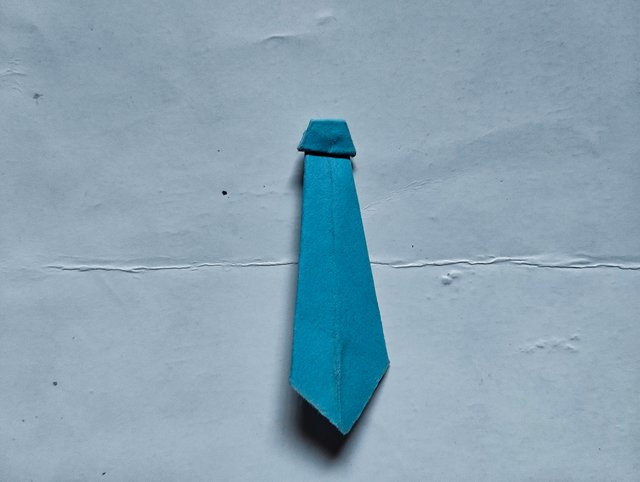
Suit Jacket |
|---|
This was actually the third thing I made which seemed very much complex but I was able to beat it.
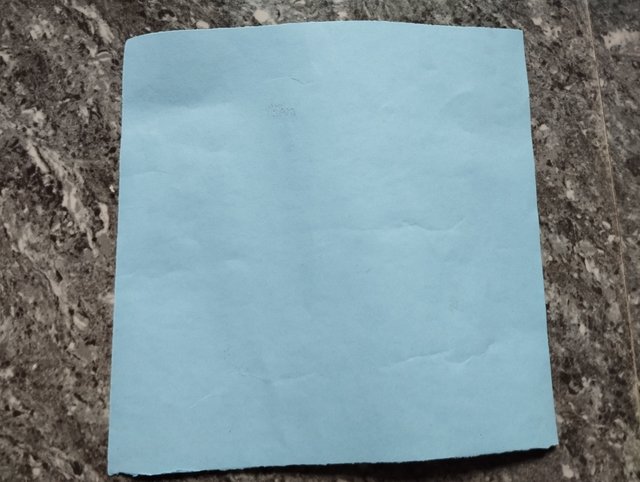
- I started out with measurements on the cardboard with my ruler and brought out the desired shape and size I wanted which has a length and breadth of 21 × 21 Cm.
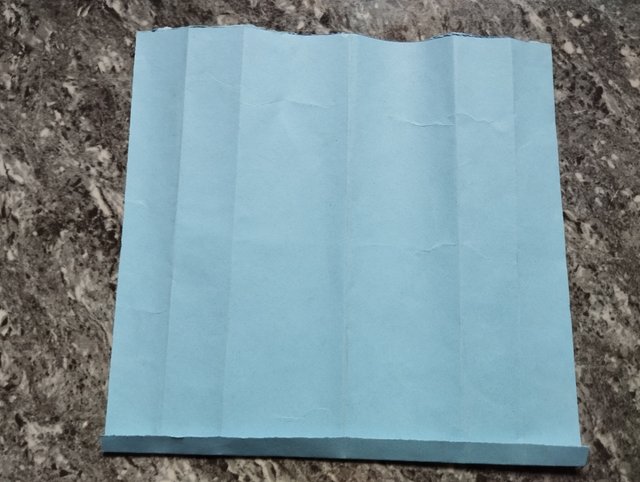
- After attaining this square shape, I took to measuring a meter of it and then folded it back while working on bad side. I made the central line by folding the cardboard into half. After attaining this central vline, I then used each folds to create smaller golds that would touch the central line.
 |  |
|---|---|
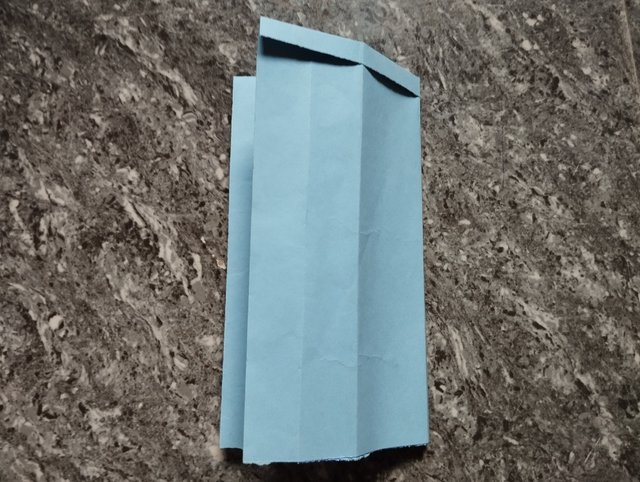 | 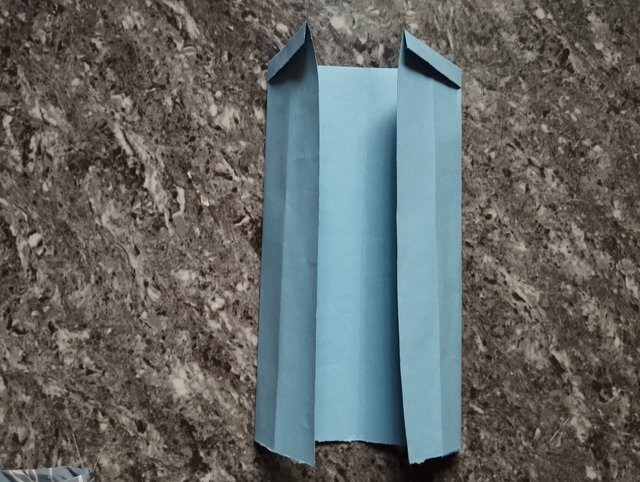 |
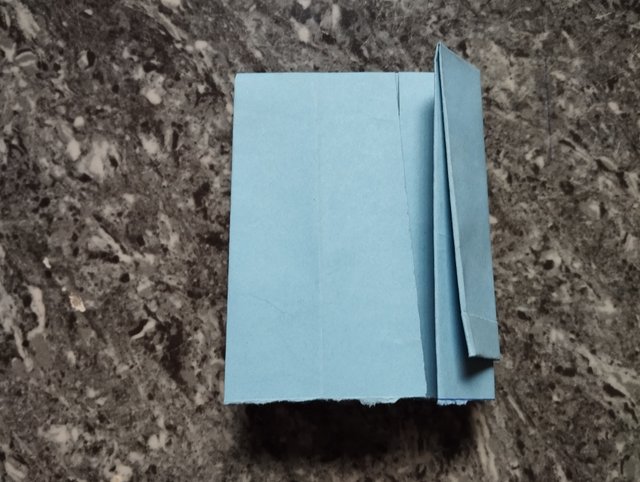
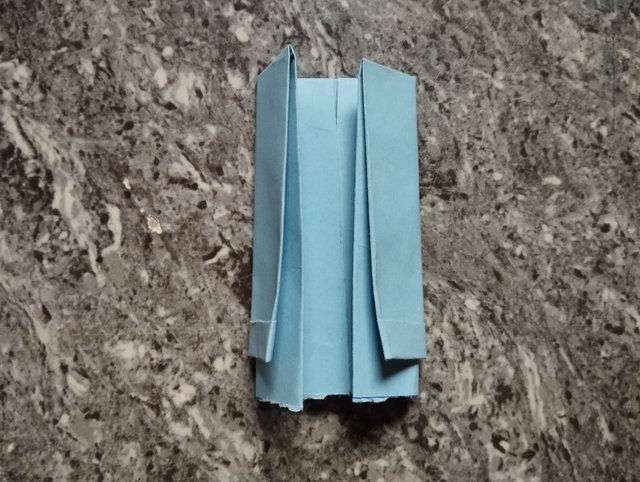
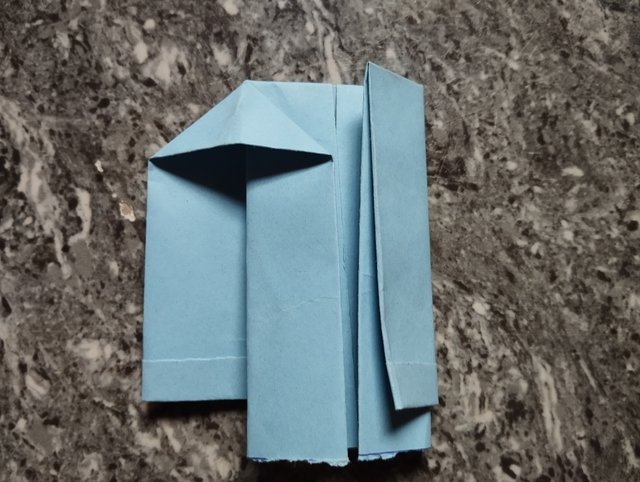
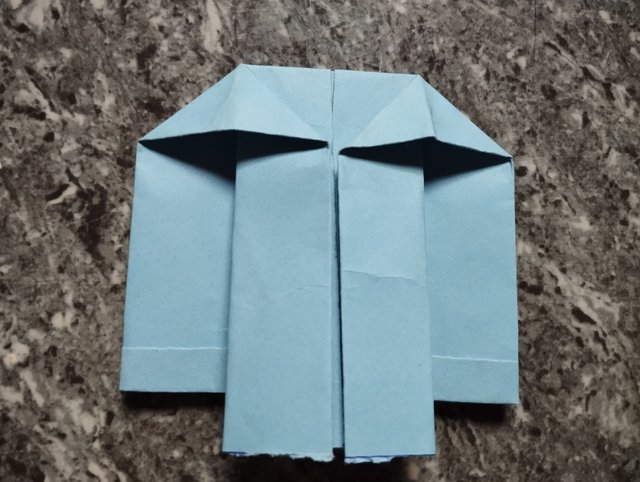
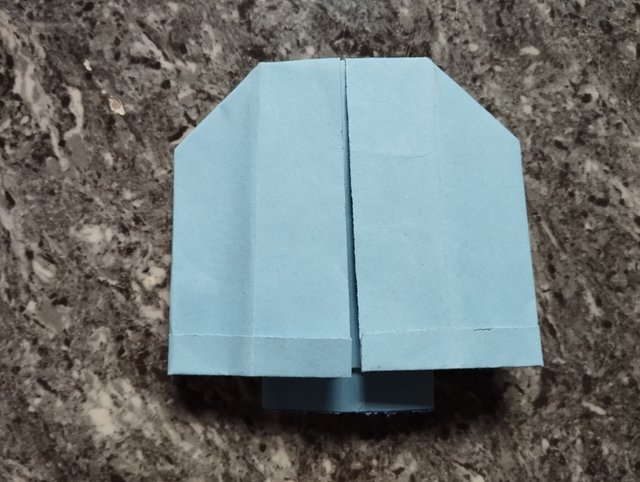
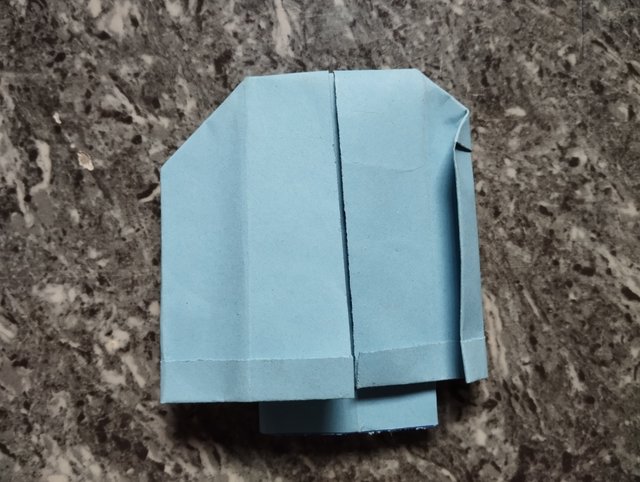
- After it had touched this central line, I fold it backwards but kept a space so it would not lap. The meter fold was behind while the working side was in front. After this, I still had to fold both sides again as shown in the picture
 |  |
|---|---|
 |  |
 |  |
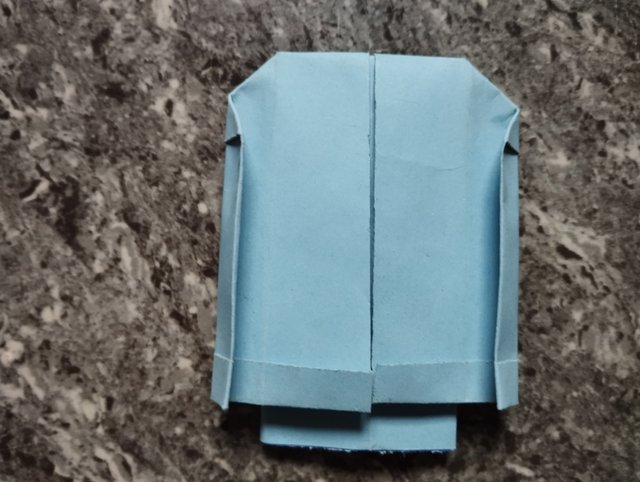 | 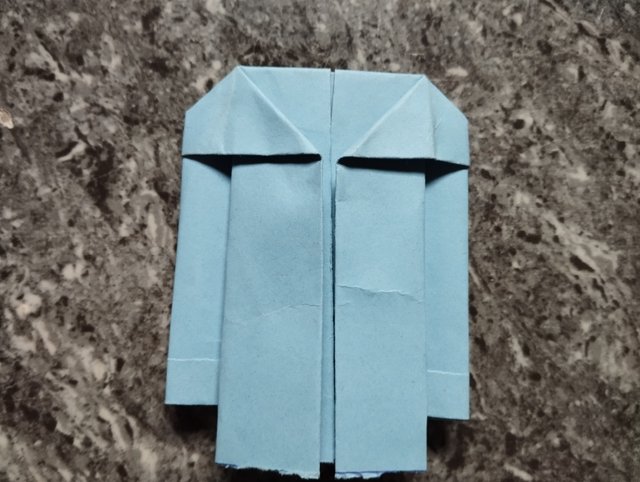 |
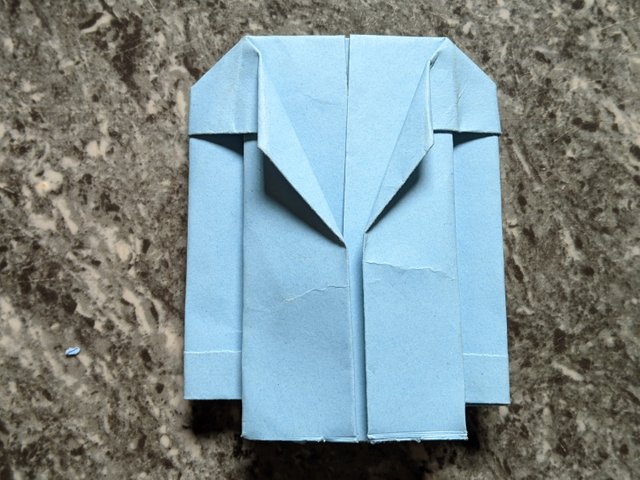
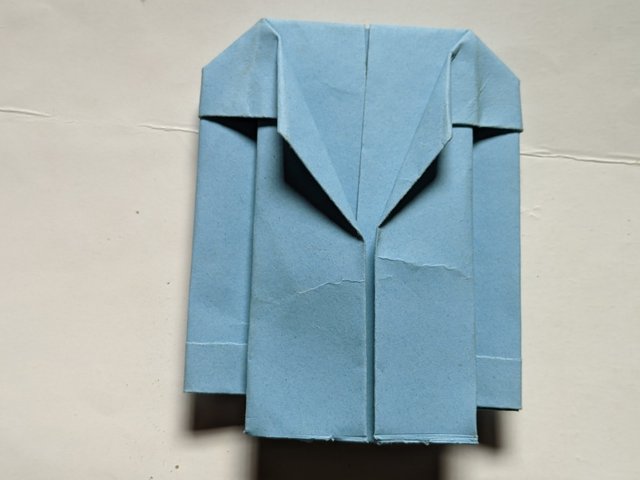
- I folded it in a way that the meter fold at the onset was visible. I then used my index finger to piece through the hole from each fold which I later speed to be more like a jacket. After making it attain this jacket shape, I turned it to the back side and folded both sides again so it would give me a perfect jacket.
 |  |
|---|
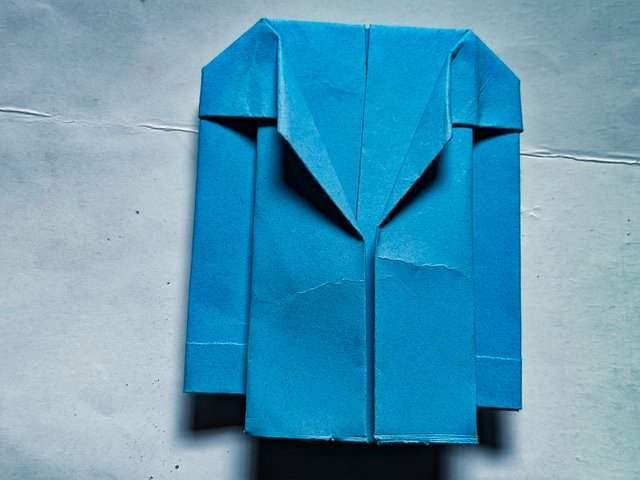
- This is the front view but still needed some touches which is the design on the jacket opening. I made that design so it would be like a suit and not a normal work jacket.
This is the output of the suit made
Trouser |
|---|
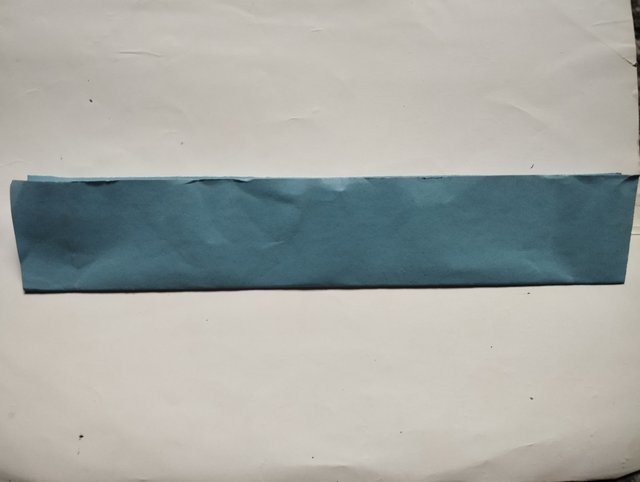
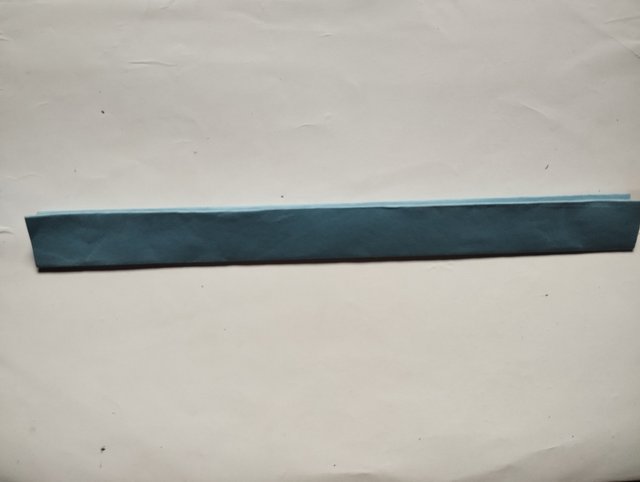
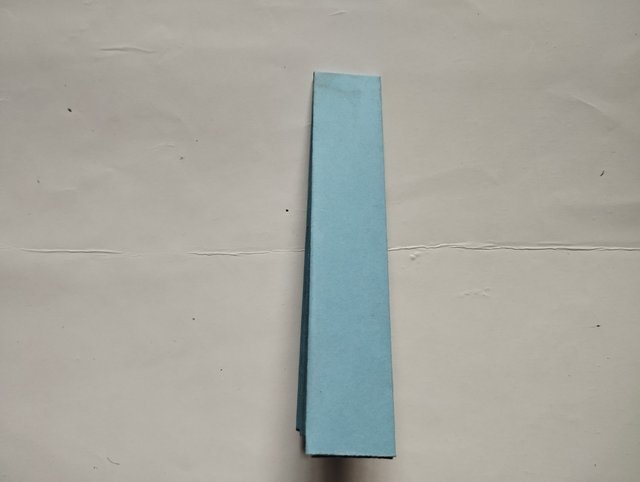
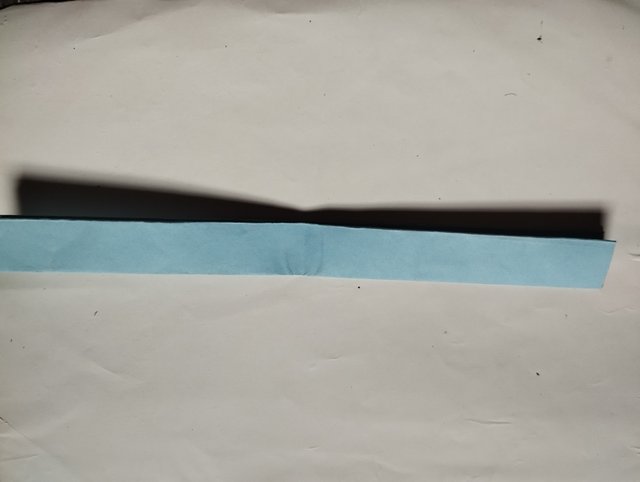
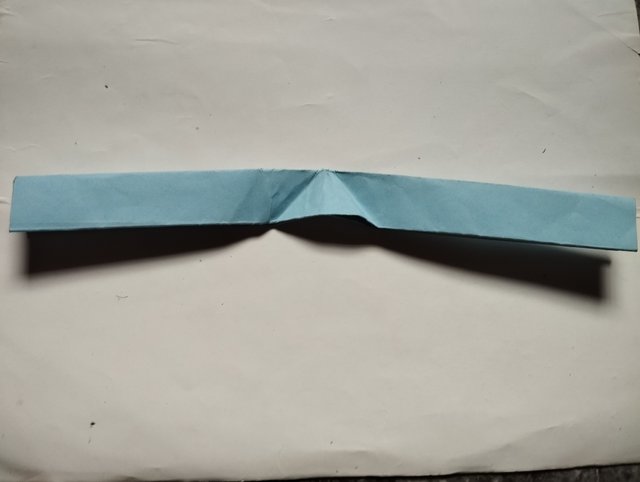
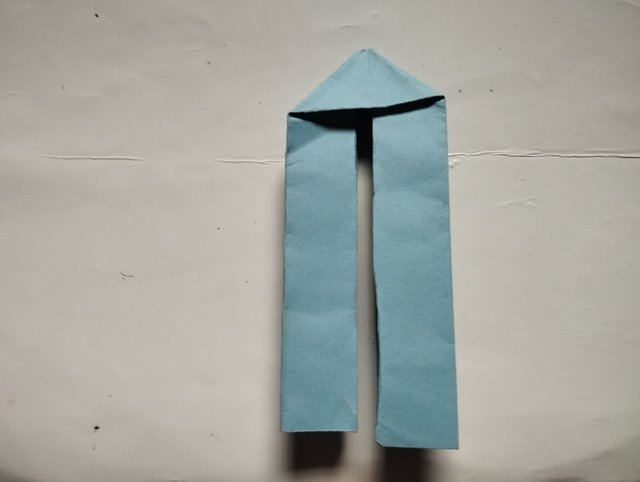
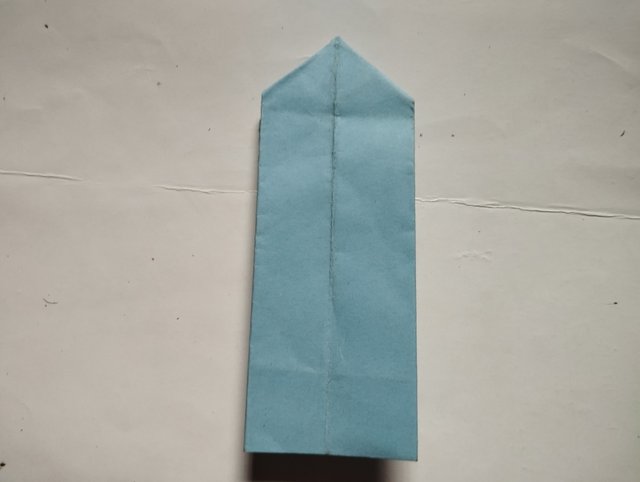
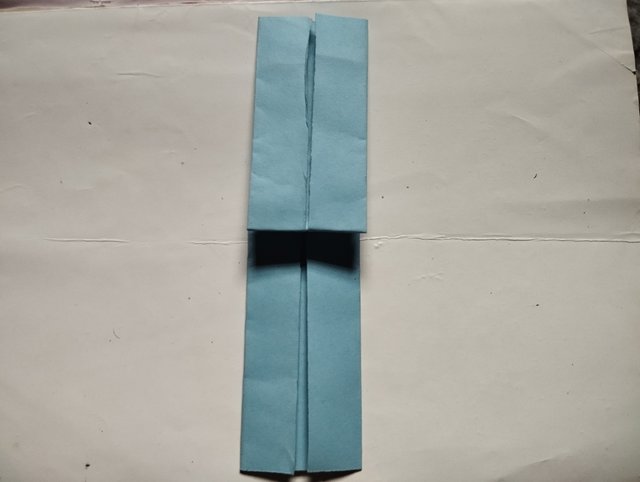
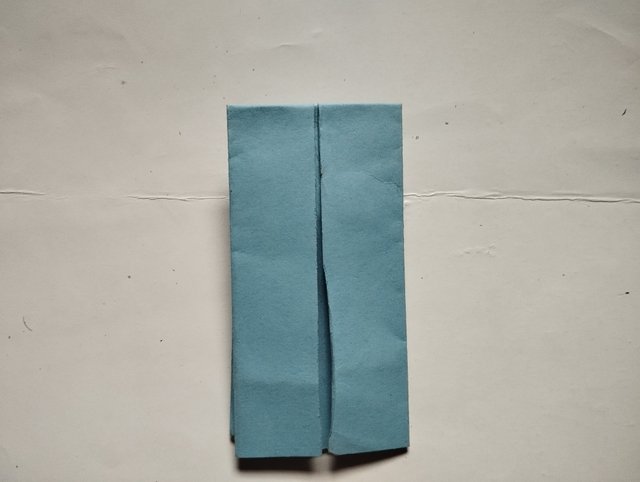
To make a trouser was quite easy as I used a measurement of length and breath [24×9 cm]. After attaining this shape, I folded it to attain a central line in the middle of which I opened and made some inner folds again to touch the central line.
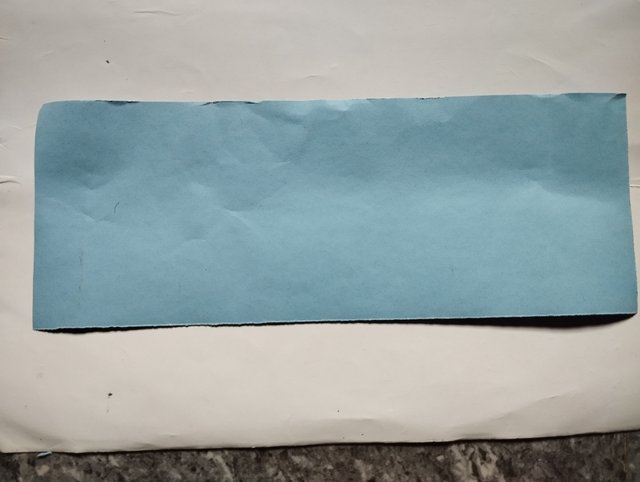 |  |
|---|---|
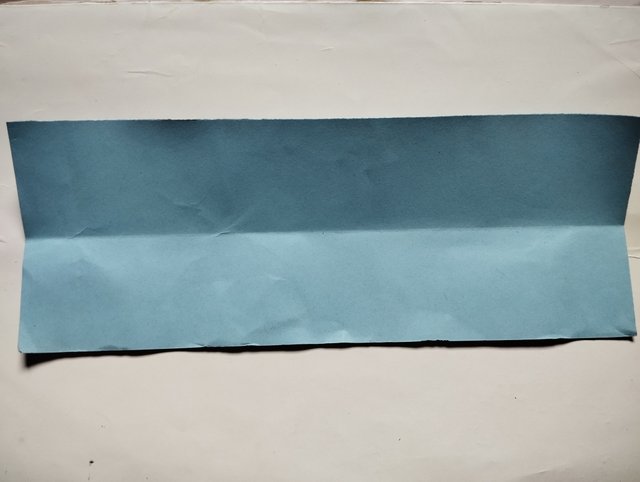 | 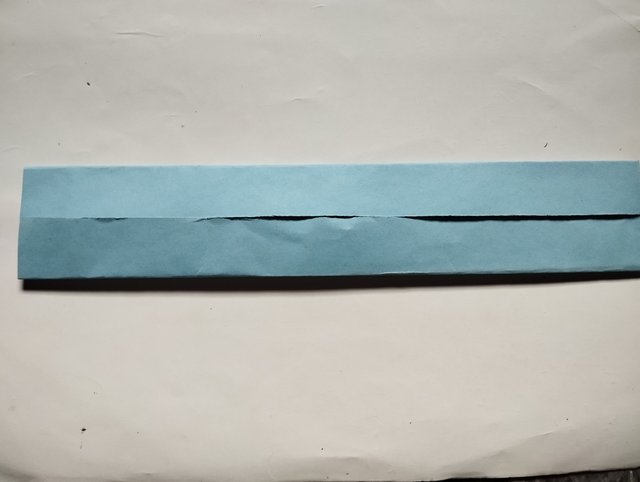 |
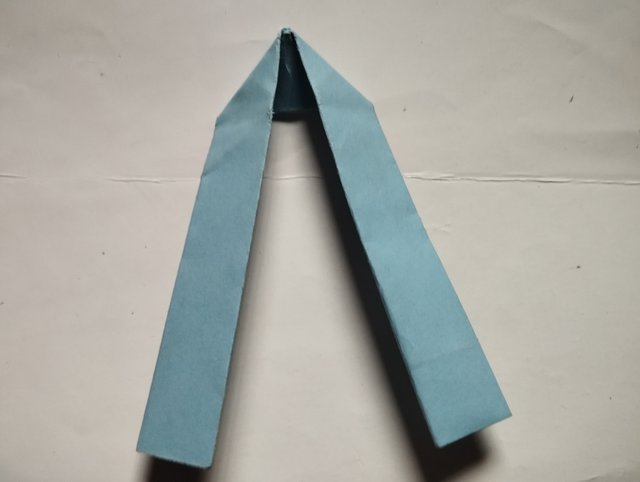
- When the line was touched, It gave me a ruler shape which I bended to have a middle line. When I got this line, I took to folding it from the middle again to attain the shape shown here.
- After attaining this shape, I did some side foldings as that can only be explained using the pictures then got my trouser with having to cut it.
 |  |
|---|---|
 |  |
 |  |
 |  |
 | 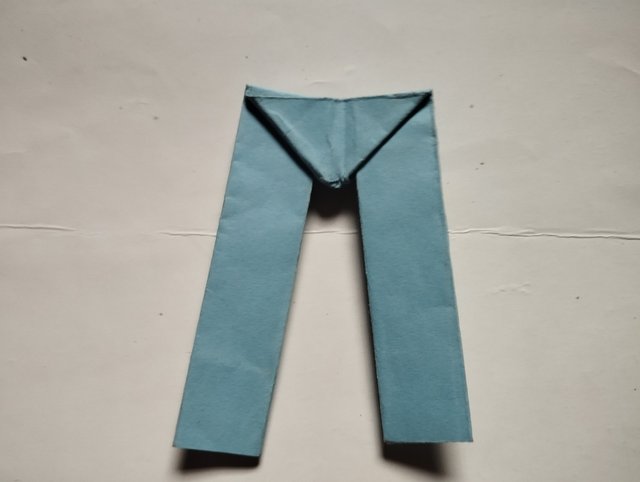 |
Output of the trouser
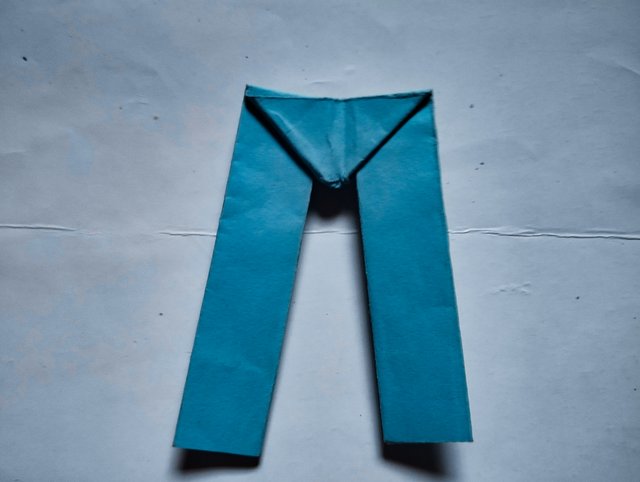
That's how I attained these three outfits in a limited period of time. These are the outputs and their combinations.
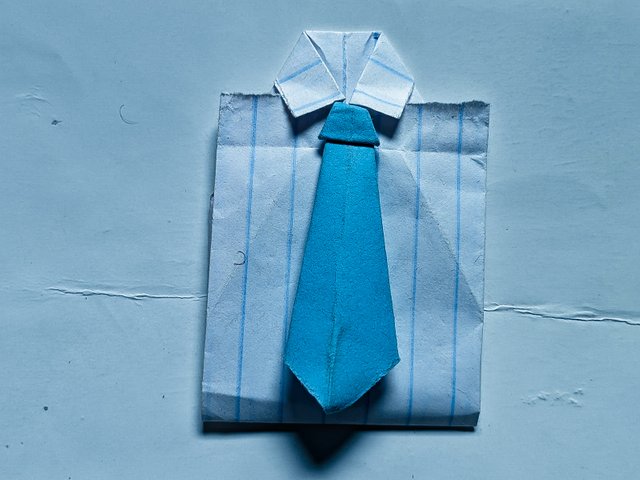 | Shirt and tie |
|---|---|
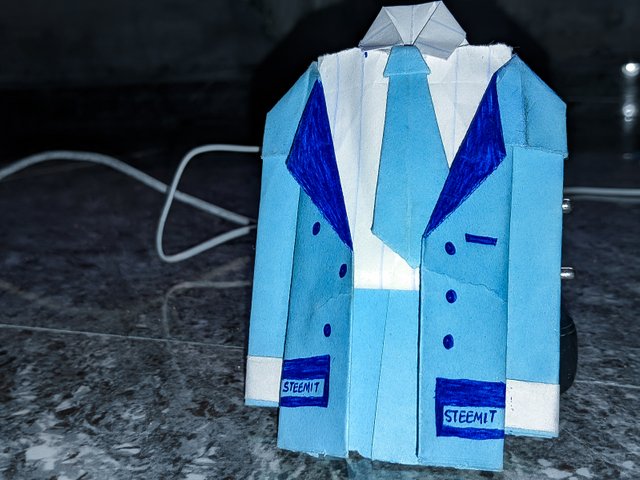 | Suit with shirt and tie |
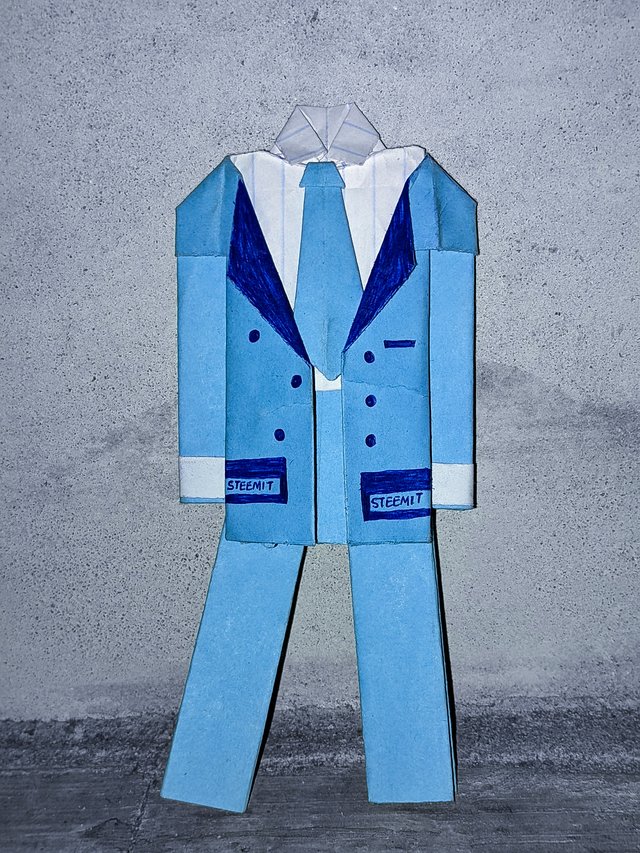 | Complete suit with trouser |
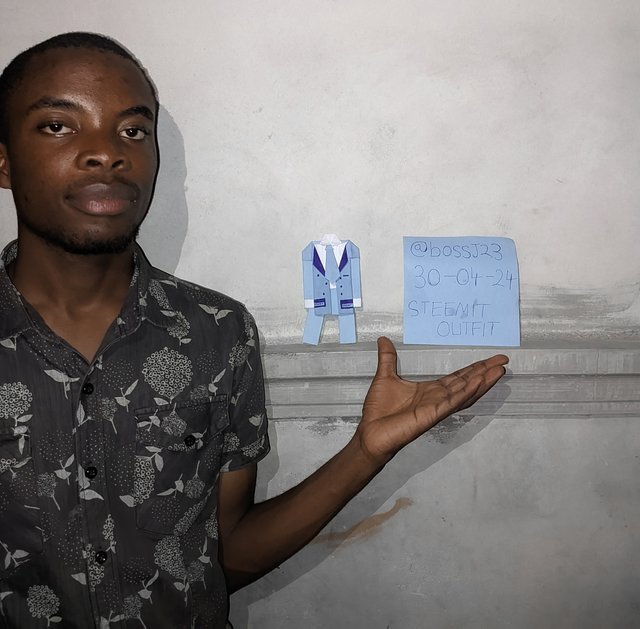
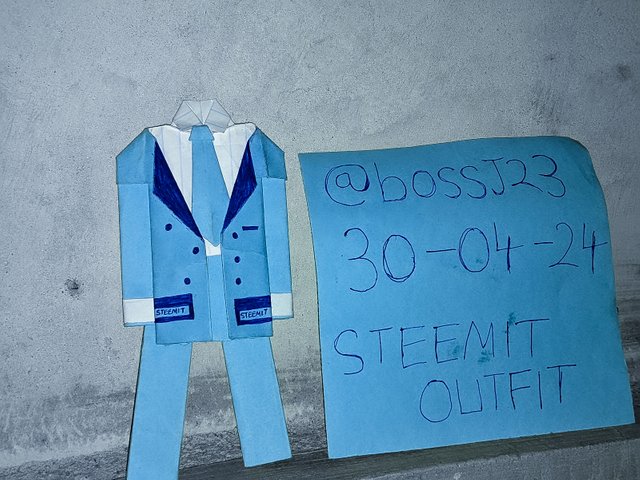
This is a picture of me and my craft. I got this inspiration from a designer's suit I saw in my catalogue. It was just so nice they I had to use this blue and white combination to see how it looks like in paper before trying it out on materials. This craft has given me a dress sense that's expensive now. My next colour of suit would be this blue.
 |  |
|---|
I hope you guys like my craft? I invite @ngoenyi, @goodybest and @zulay7059
Feliz y bendecido día amigo @bossj23, un placer saludarte
Me dejaste sin palabras ante tal diseño, un gran diseño para trabajo de oficina completo, hiciste un lindo traje, camisa, pantalón y corbata, te quedaron excelentes, tienes grandes habilidades para las manualidades, te felicito.
Gracias por compartir con nosotros tu hermosa confección de traje para hombre, gracias por ese paso a paso tan bien detallado y mostrando unas hermosas fotografías que muestran la secuencia de tu impecable trabajo echo con tanta dedicación.
Mis más sinceras felicitaciones por tan estupendo trabajo.
Éxitos y bendiciones amigo. Un abrazo 🤗
This comment has made my day to be sincere. I really appreciate as well. Thanks for stopping by. I had no other choice that to fashion this.....
TEAM BURN
Congratulations, your comment has been successfully curated by @kouba01 at 5%.
Gracias por el apoyo @kouba01. Un abrazo 🤗
A medida que iba leyendo y avanzando en la publicación me ibas sorprendiendo más con el resultado. Al final veo la excelente obra y quedé satisfecha con lo que lograste.
I'm still learning how to craft though. Thanks for your support and encouragement
Thanks for the support @goodybest
Upvoted. Thank You for sending some of your rewards to @null. It will make Steem stronger.
I drew my inspiration from here....
Hola amigo steemians bendiciones para tí, hermoso y muy creativo diseño tienes mucha creatividad.
Thanks. J really appreciate sir
Quedo muy lindo este traje realizado con papel un traje ideal para las personas que trabajan en oficina y verse bien
You're right. Thanks for the support in comment
Your dedication to the craft is evident in the meticulous detail and care you put into creating this outfit. The use of simple materials like cardboard paper and a meter rule showcases your resourcefulness and creativity. It's impressive to see how you've translated your passion for crafting into the realm of fashion and design. Keep up the great work!
I love that word simple and available materials. I thought of making sense with my craft and yes, I really made comment on my craft
https://twitter.com/bossj23Mod/status/1785936883349958708?s=19