HOW TO MAKE AMAZING LADYBUG WITH WOOL AND FORK | TUTORIAL | 10% payout to @steemkidss
Hello kids and all members of steemkids community. I'm pleased to bring to you all, tutorial on how to make ladybug with wool, fork and few items you have around. I will make the steps I followed to achieve the ladybug easy, so that anyone who wants to try it will find the tutorial super easy to follow.
ITEMS USED
- Pink color wool
- Sardine gray color wool
- Six small black beads
- Fork
- Needle
- Thread
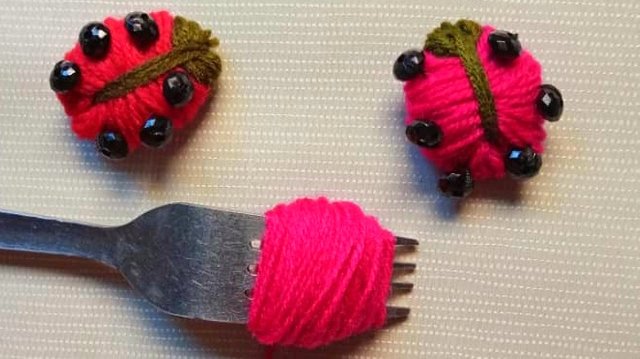
Here I will show you all the simple steps with pictures I followed to achieve the beautiful ladybug above. Remember you can choose any color of wool that you prefer.
STEP ONE
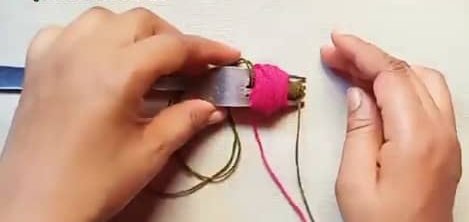
I folded about 30cm of the gray wool and put it in the middle of the fork. After that, I wrapped the whole fork the pink colored wool eighty times, then wrap the gray colored wool just at the middle of the fork, forty times.
STEP TWO
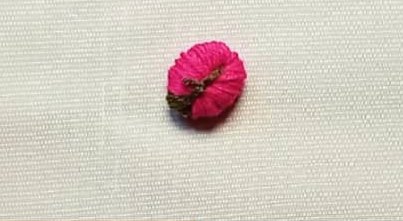
Use the gray color wool you folded in half already at the middle of the fork and tie firmly both the pink and gray colored wool wraps. Then, pull the wraps of wool out of the fork, tie firmly and make a knot to secure everything. The gray colored wraps of wool form the head and the pink colored wraps of wool form the body.
STEP THREE
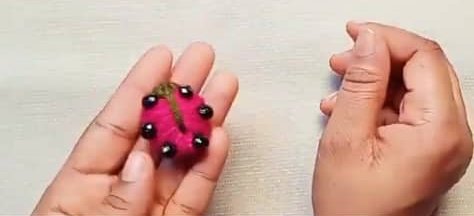
Pass needle and thread from the knotted side of the ladybug and attach the black beads on the other side. Attach three beads in each side of the ladybug, six beads in all, and you will see the amazing outcome.
Remember you can use any color of bead. The last craft idea tutorial I shared in this community brought so much joy to me, seeing the kids reading and trying them.
I hope you all find this very tutorial easy and helpful. Thank you all for reading.


This is so lovely 😍 thanks for sharing the tutorial with us here, we appreciate your effort to remain active, we love you 💕
You will teach me how to do ot
It look so beautiful I will like to learn
Hello @happy01, your post has been supported by @ngoenyi a country representative for Nigeria. Keep being active