Contest // creativity in kids life//with a use of cardboard paper, make a Christmas box / /week2
Created by canva app
Hello Steem Kids & Parents Community Members!
I remind everyone in the community. Are you all good? Yes, I came today to participate in the competition. Yes, today's contest is dead. My favorite competition was because of this Christmas month. Today's competition is to create a Christmas box so I thought it was imperative to submit my design. That's why I came here as soon as I saw the contest. This Christmas is very special for everyone. It commemorates the birth of Jesus. As a Catholic, I love Christmas very much. And today's design is very important to us for the purpose of giving it as a Christmas gift. Yes, now I will start the competition. Before that I want to thank @mesola for giving me this opportunity.
Materials
- Red a4 sheet
- White a4 sheet
- Glue
- Scissor
👉 Show us the Steps on how you made the Christmas box
Making process
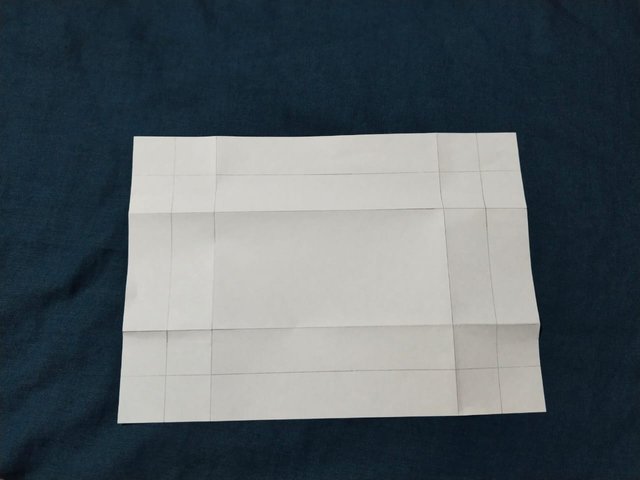
Step 02 -By the second step I thought I would complete the part I wanted to create. Yes, now I have folded the four parts from those folded parts. Ok now their folding is complete. 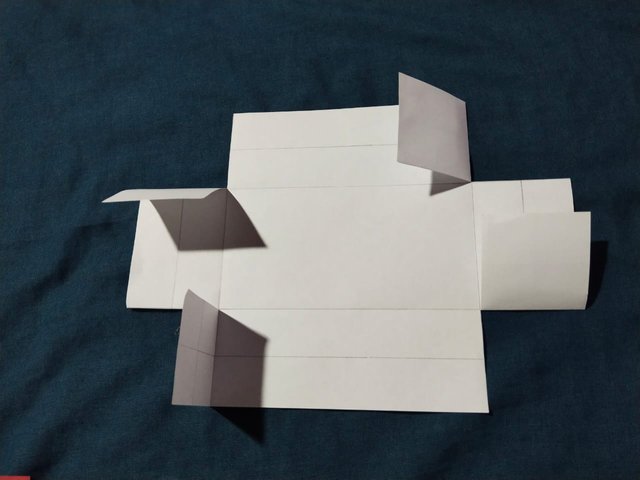 |
|---|
Step 04 - By step four, my design is somewhat complete. Yes, now I cut another portion less than the size I originally prepared. It is necessary to fold those cut parts in the same way as before. 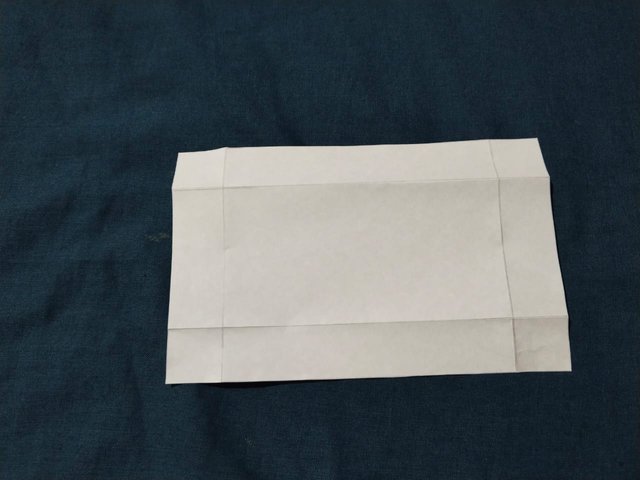 |
|---|
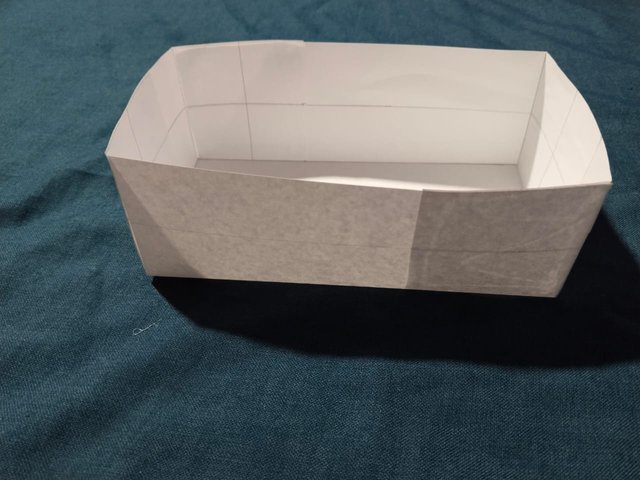
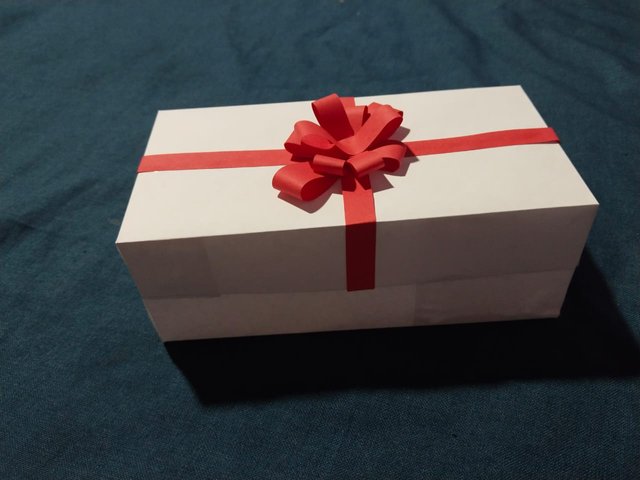
Step 05 - I did it so that I could complete my design by the fifth step. Yes, after making the part that I cut before as a box, I pasted the part with gum and completed the box. 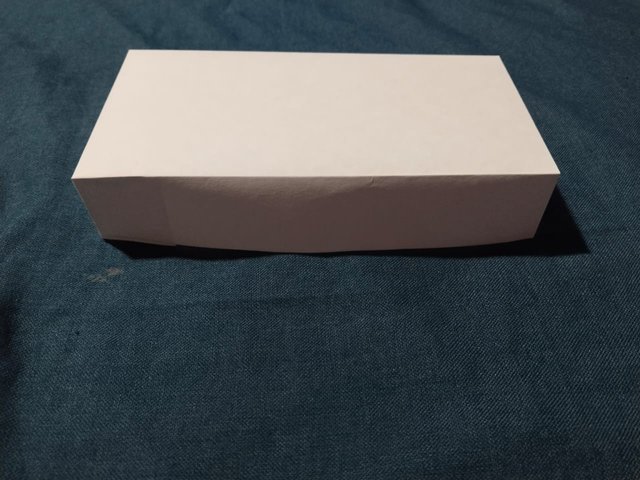 |
|---|
👉How did you get the idea?
That's a really good question. I got the idea to create this from a friend of mine. Because I have always loved making Christmas designs. I make designs before Christmas with my friends. I remember my friend was very good at making Christmas boxes. I learned from him how to create this Christmas. I still love him because he shared his talents with me.
👉How useful is what you have made?
I know this Christmas box will be very useful. This Christmas box is very useful for us to give gifts to someone else for Christmas. And I used my Christmas box to put my little ingredients. Yes it's a pretty box so I know it can be used for anything. I would like to tell you that this Christmas box is useful for everyone and we can decorate our Christmas tree with it.
👉Which kid did you inspire or do you intend to inspire and help develop the creativity?
I am helping my sister's little one develop creativity with this design. Yes, he is a child so I will develop his abilities. I taught him step by step how to make this design and I gave him this design. He used the design to hold his watch.
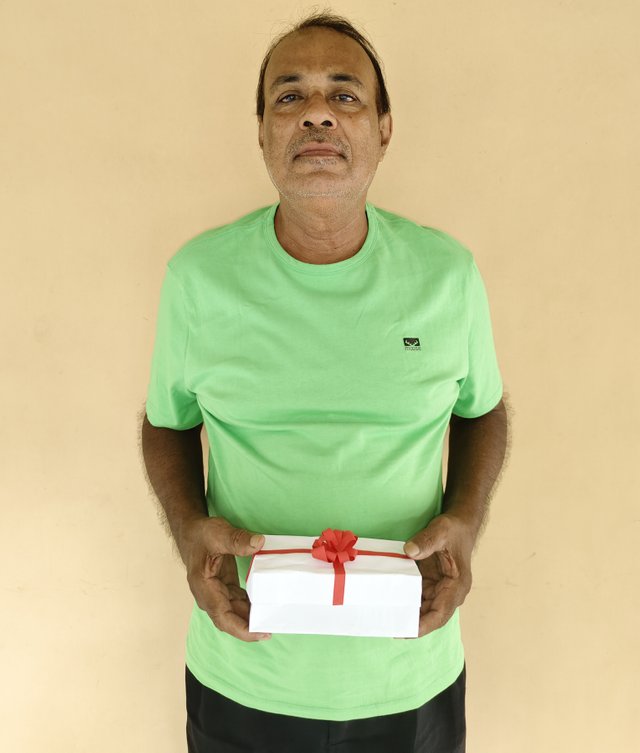
Today I was able to complete my Christmas box design. Yes I prepared it and taught you how to create it easily. Now you can create it too. And I wanted to show a photo of myself with the Christmas Box I created. Ok so here is my photo with my design. Don't forget to praise if you like my design.
| class | photography |
|---|---|
| device | VivoV21E |
| photographer | @elegant01 |
| Creative | @elegant01 |
Twitter Link
https://twitter.com/emmanuweldabar1/status/1737128251225788883?t=jmIfxPk7d2ZbDH7iKtb2WQ&s=19