How to use another image or an Art work as a reference in Adobe Ps// @caleb-marvel, Beneficiary 20% to @steemkidss community
Good day to my beloved kids and kids lovers in @steemkids community, how are you all doing today?
It's been a long time and I really missed you all, hope you all are doing well today and having a good time.

INTRODUCTION
Am here this morning to teach the kids how to use Adobe Ps to advance their art work by using the image you have drawn as a reference.
And the secret of most cartoons that we all watch is art "drawing" most cartoons are drawn in the a carbon or any sheet and scan to the computer then After that they will now edit it as 3D and Animate it so that it can function as directed.
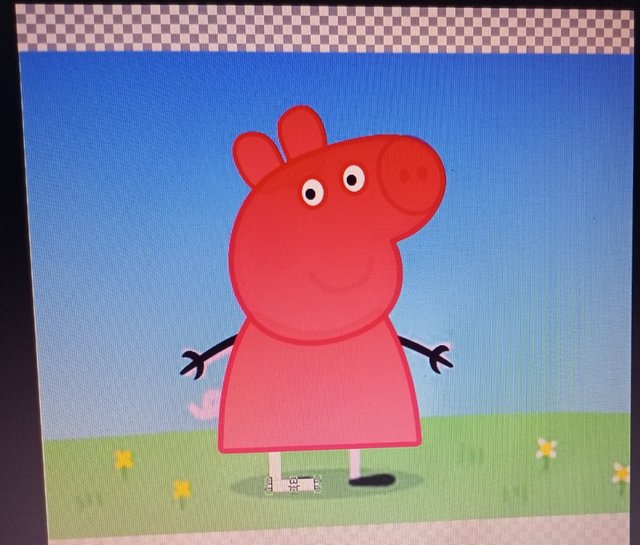
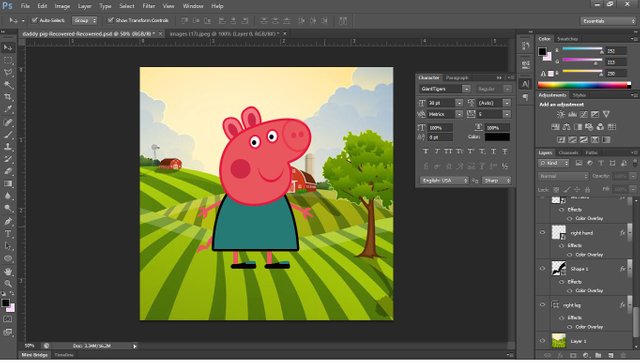
So with the below photo, I will show you how to use your art work or any pictures as a reference in your the Ps.
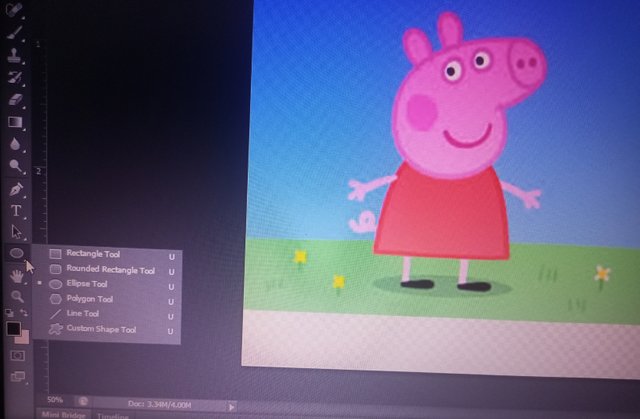
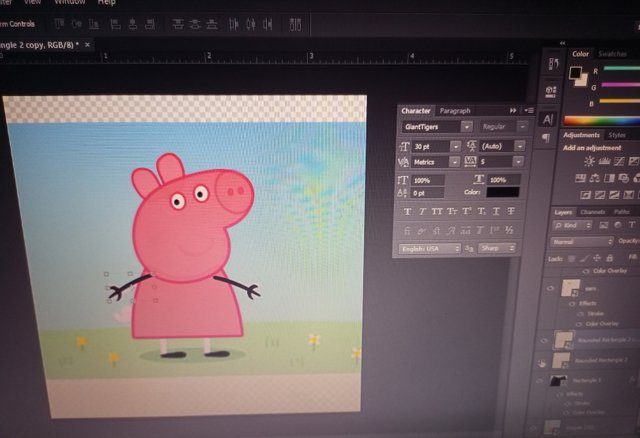
Stage 1
First of all, after opening my Ps I now imported the picture that I want to use as a reference and I clicked on my Ellipse tool.
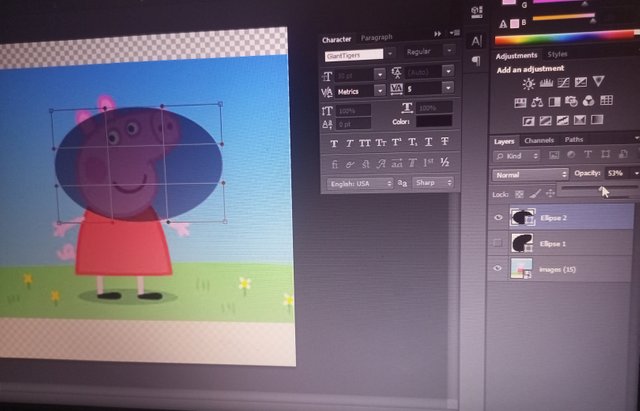
Stage 2
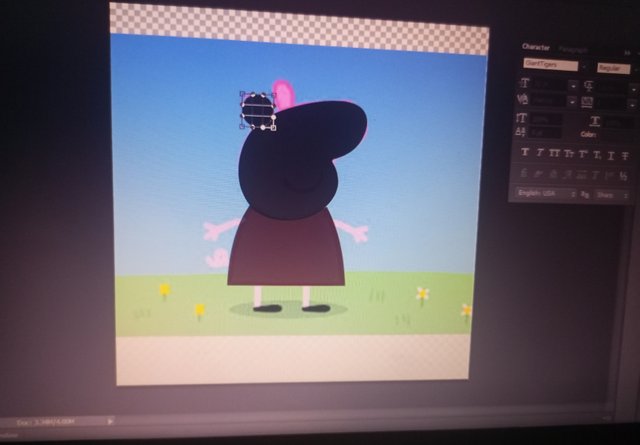
I used the tool to create a spherical shape on top of the part that I want to clone and i dragged each point and made it look like the reference part. Please remember that you need reduce the Opacity of the shape that you draw on the referencing image so that you can see the back ground and know how to drag each points.
Stage 3
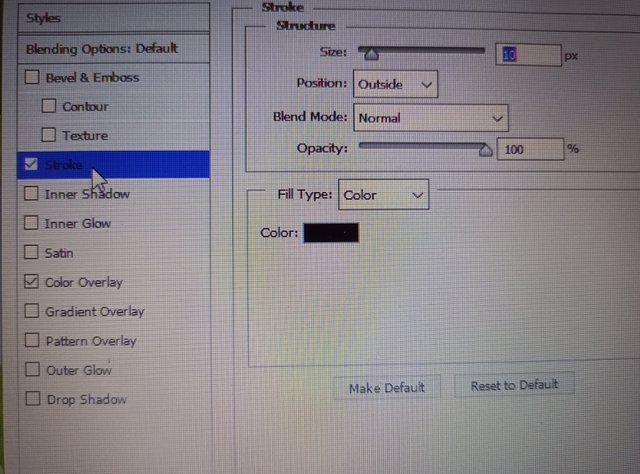
I used my Rectangular tool to create a shape on the part that I want to create and I reduced the Opacity of the shape.
After create the expected shape I now double click on the rectangular layer you the side and it took me to the Layer style where I click on the stroke and increase the size gave it a different color, after which I clicked on the Color overlay and gave it a different color entirely so that it will look good.
Stage 4
Same thing is been applied to the creation of the ears, the only difference is that I duplicated the ear and made the second on to be in an opposite side.
Same was applicable to the eyes.
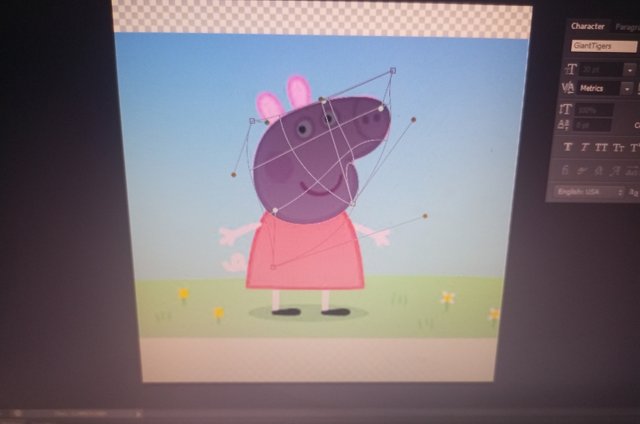
Stage 5
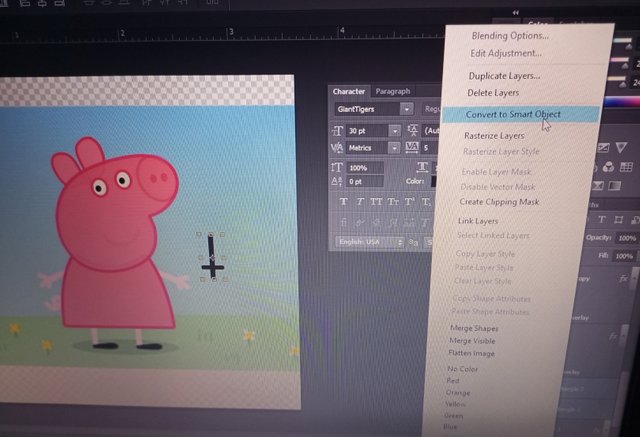
I used my Rectangular tool to create two different, vertically and horizontally the looks like cross, remember the the two will appear in a different layer and now for me to be able to use the as One, I need to convert them to a Smart object which I did in the below diagram.
Then I arranged it and duplicated it, I dragged the other to the left
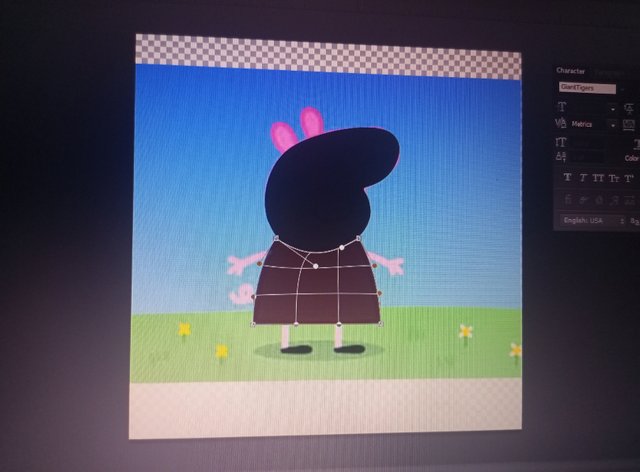
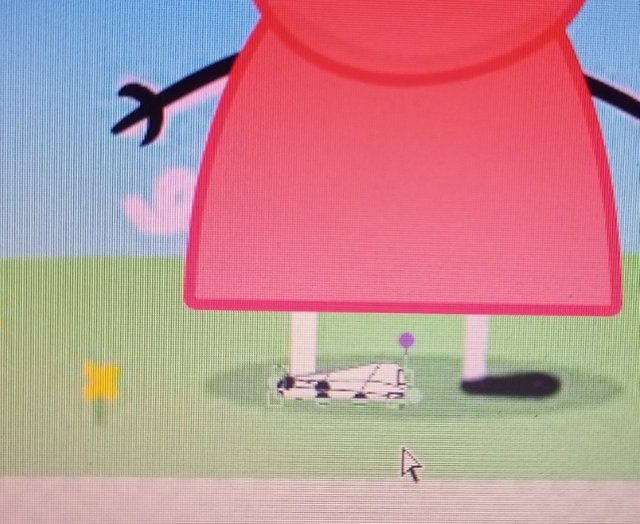
Stage 6
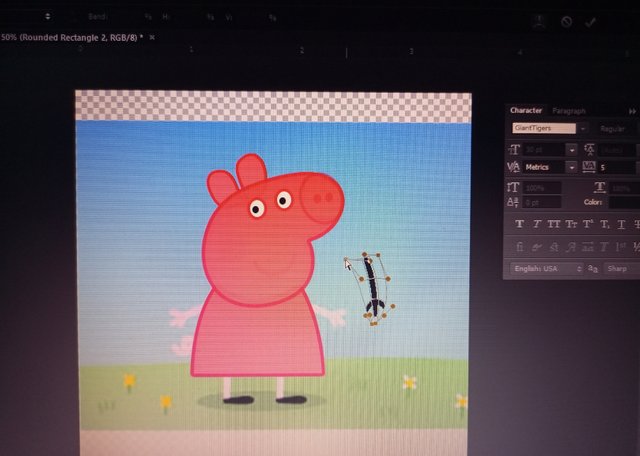
I used the rectangular tool to draw a shape on top the background image and I arranged it to make it look like the leg and the shoe then I arranged it and gave the shoes a different format to make it look unique and I duplicated it.

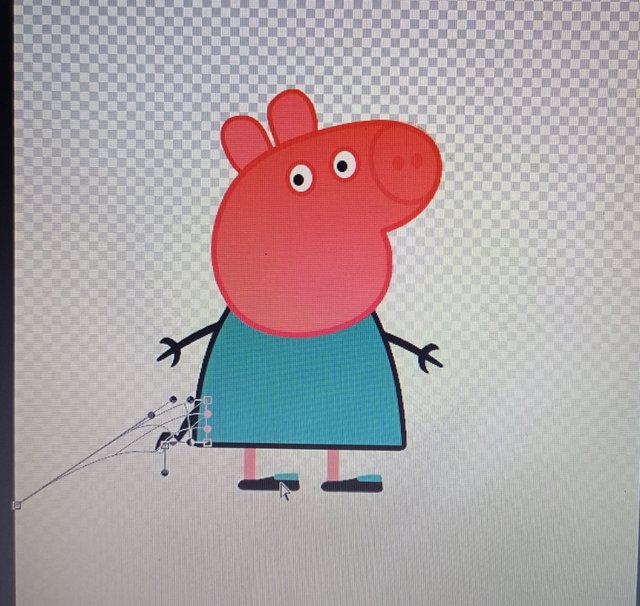
Stage 7
Looking at the image below, you will see the shape that I used in creating the tail, which is called the V or the ✅ sign.

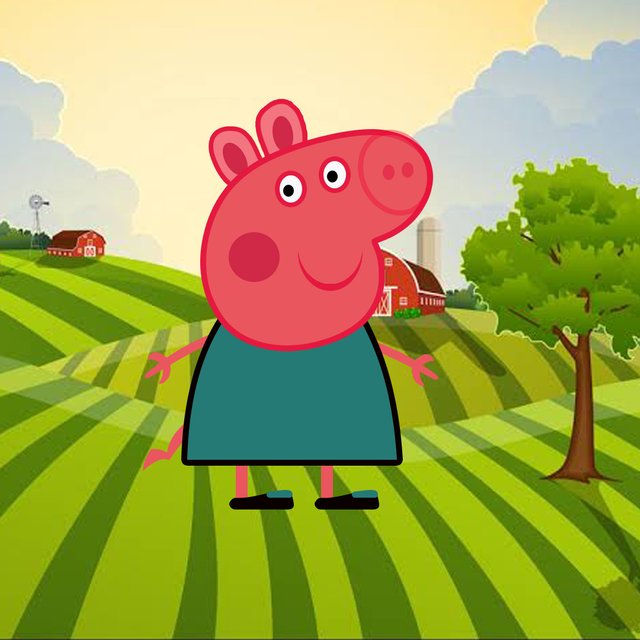
The final stage
CONCLUSION
I really want to appreciate all of you for checking on this post and I want to tell you that you can even do more better than this if only you can follow the above steps, I tell you that you can draw anything on a paper and make it to start walking.
In my next post I will show you how to give it motion and you will see how the Mummy pig 🐖 will be walking 🤗🤗🤗🤗.
Thanks once more for your time and patient, much Love to you all
Cc
@steemkidss
@focusnow
@ngoenyi
@bellekiss-31
@patience90
@mariajruizb
@bright-obias
@karimo2626
@ninapenda
@benson6
@fortwis09
Good day @celeb-marvel thank you for sharing your entry with us it's really educating keep sharing your quality and plagiarism free content with us.
@pricelesspresh
Thanks your Majesty for checking on my post. I really appreciate you.
That was an insightful creativity. Keep Steeming with steemkids
Thanks ma, I really appreciate you
Me gusta tu dibujo, saludos
@valentina2021
Muchas gracias querida, de verdad te aprecio 🌹🌹🌹🦋🦋🦋
Excelente post amiga es bueno saber como usar herramientas para hacer un buen trabajo, esta genial para los niños
@vane1990
Gracias cariño, de verdad te aprecio ... sonríe 🤗🤗🌹🌹😊🦋💐💐