A Better Life with Steem || Learn With Steem || I made SpongeBob SquarePants picture art in Adobe Illustrator
Hello, friends .
How are you? I hope all are well.
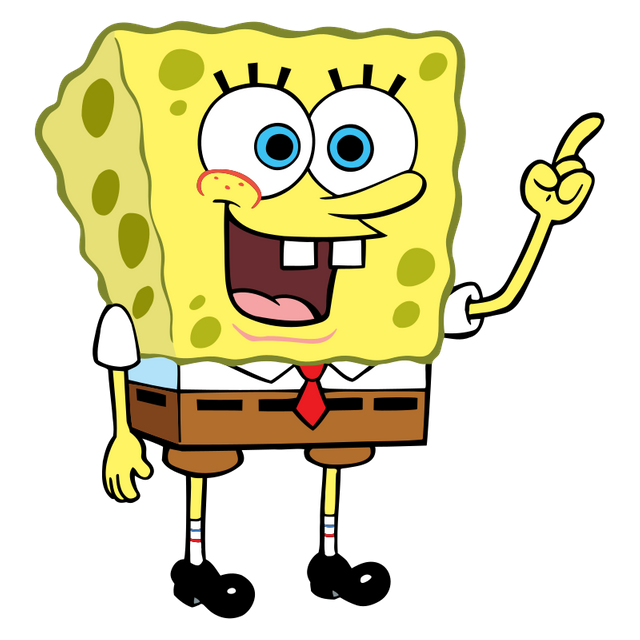
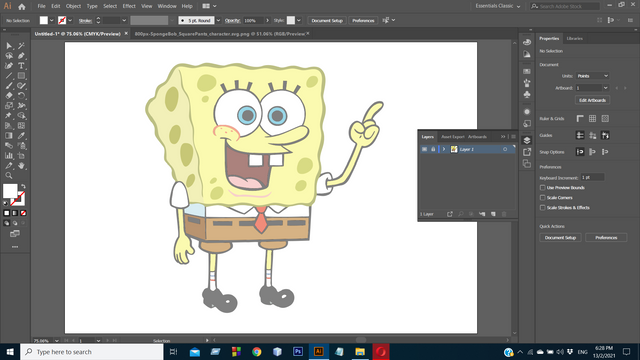
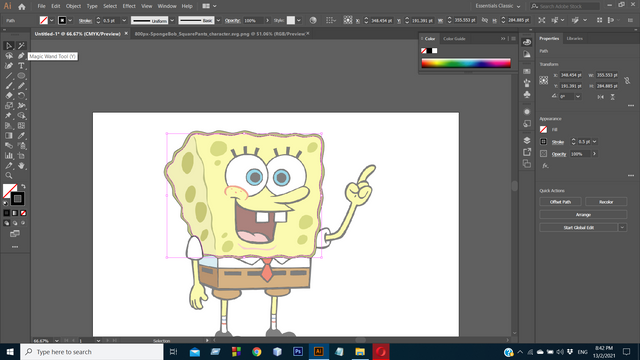
Today I saw that my little brother watching SpongeBob cartoons. I was also sitting with my brother watching that cartoon. Then I decided to make SpongeBob art in Illustrator today. First I downloaded SpongeBob picture and in the afternoon I opened my laptop and opened Adobe Illustrator. If something goes wrong, you will see it in a forgiving way .Now , I am showing step by step SpongeBob art in Adobe illustrator .
.png)
#/media/File:SpongeBob_SquarePants_character.svg)
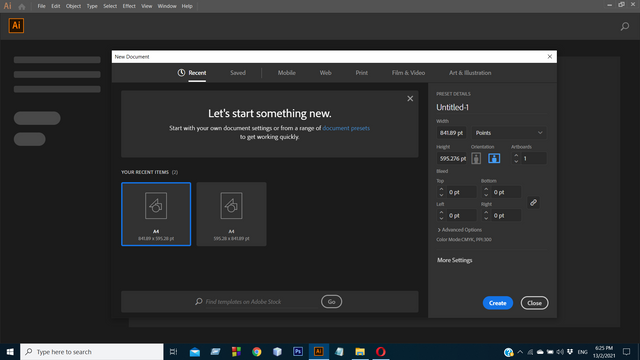
Step : 1
First I set up the A4 page. After setting up the page, the white page will go away.
.png)
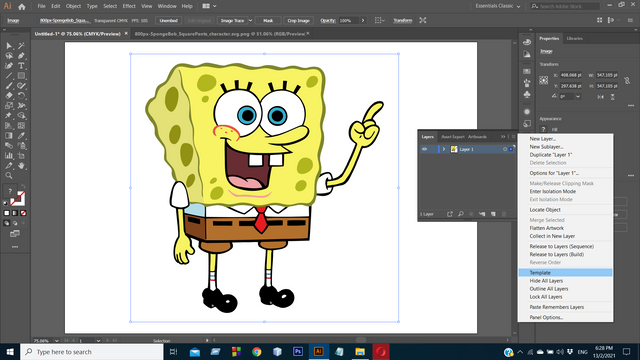
Step : 2
Then I open my downloaded picture and lock it on the template at the layer.
.png)
.png)
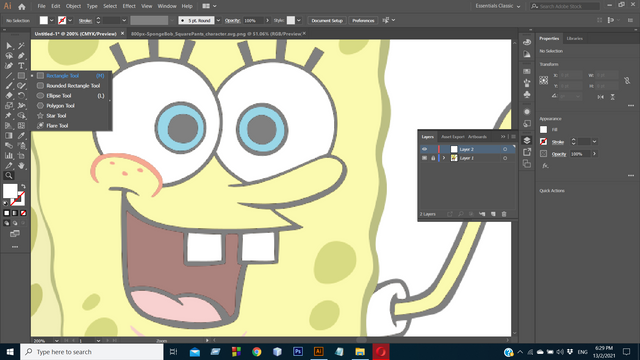
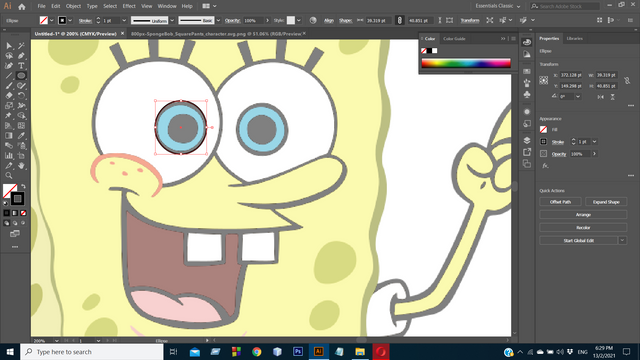
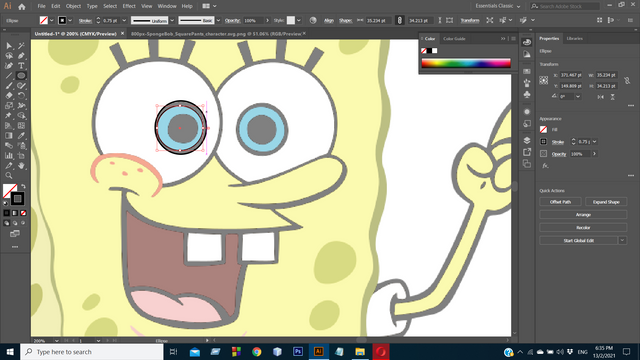
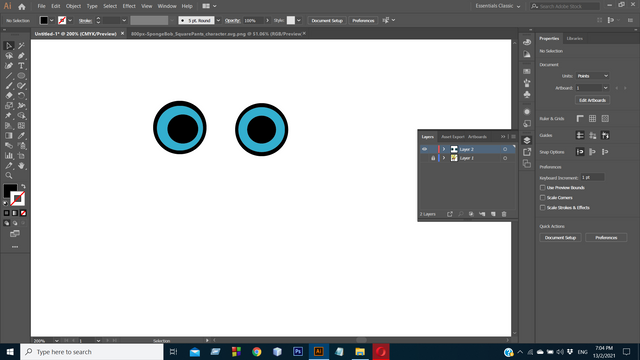
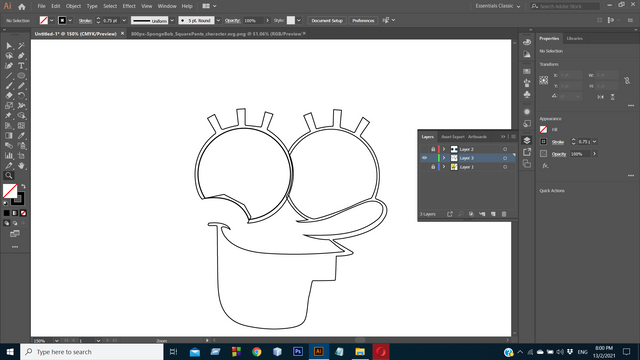
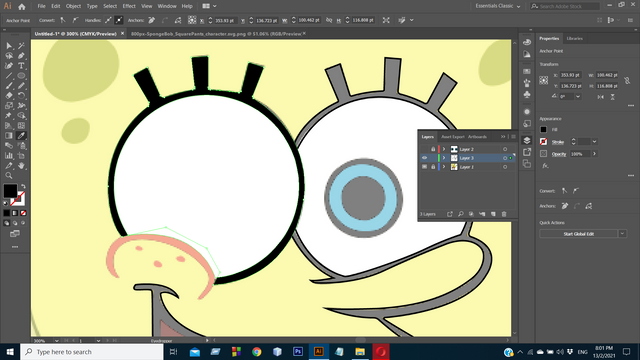
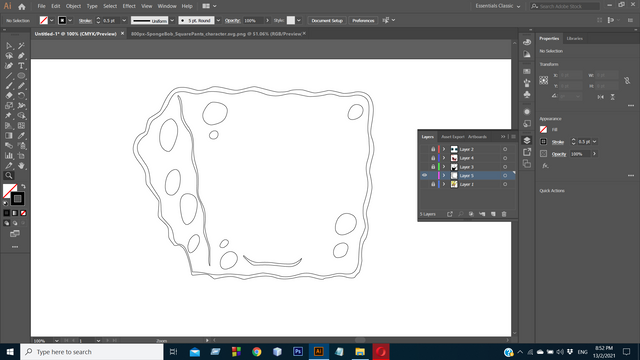
Step : 3
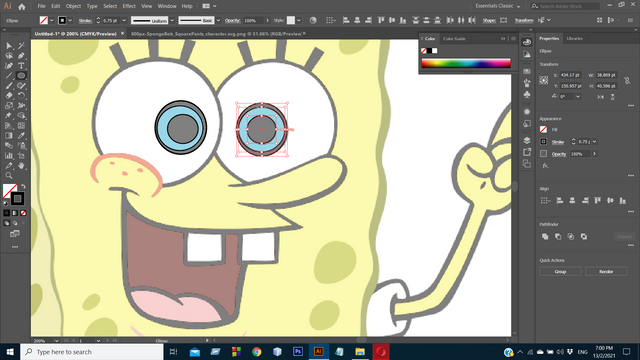
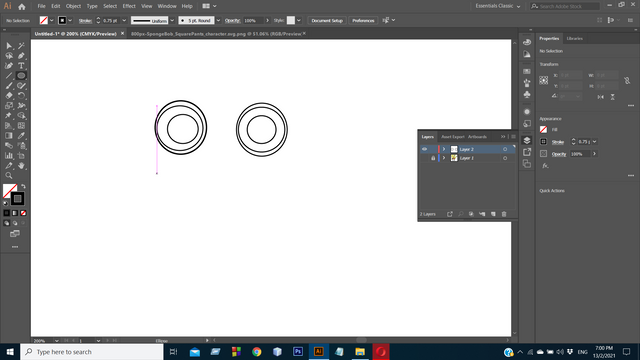
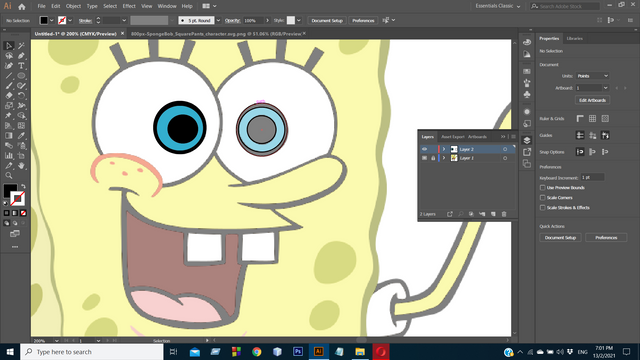
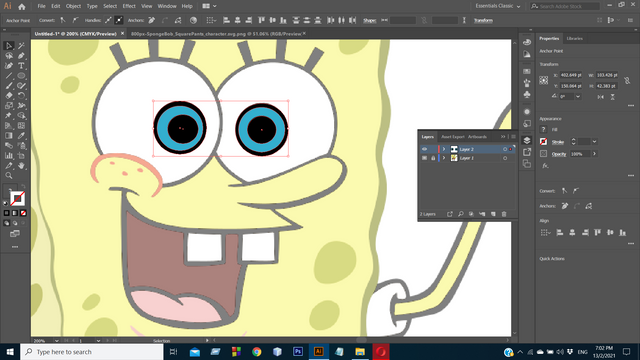
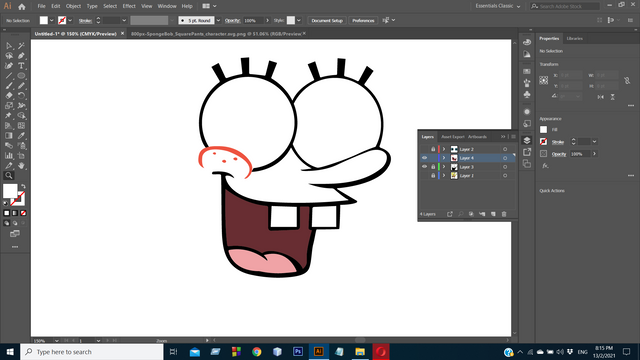
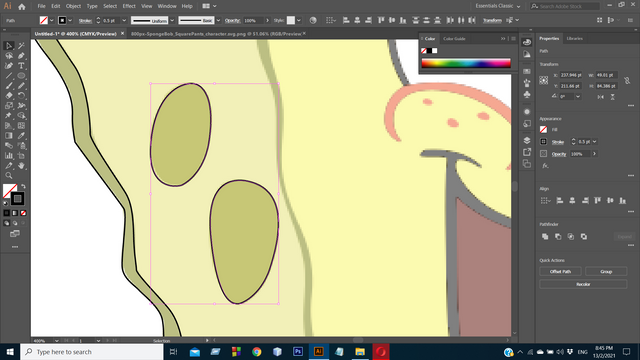
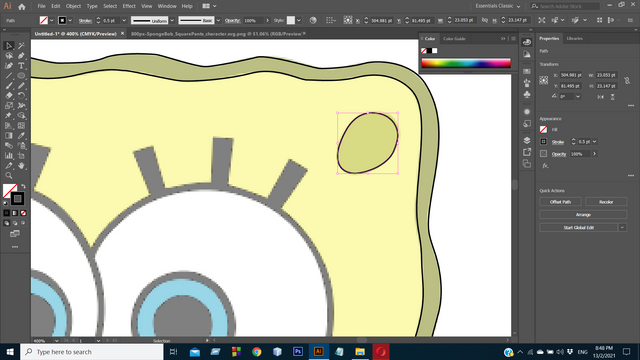
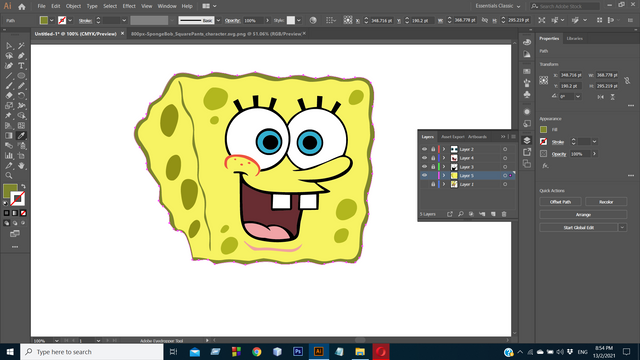
The work of Adobe Illustrator means the use of the pen tool. After taking the new layer I selected the zoom tool by pressing Z on the keyboard. Then I selected the pen tool by pressing P on the keyboard. I first made the shape of the eyes and face and did the color. I made the circle with the ellipse tool. After I made the first circle, I copied it by pressing Control + C and pasted it by pressing Control + P. Then I slowly selected the face shapes with the pen tool. When everything was selected, I colored it with the eye dropper tool.
.png)
.png)
.png)
.png)
.png)
.png)
.png)
.png)
.png)
.png)
.png)
.png)
.png)
.png)
.png)
.png)
.png)
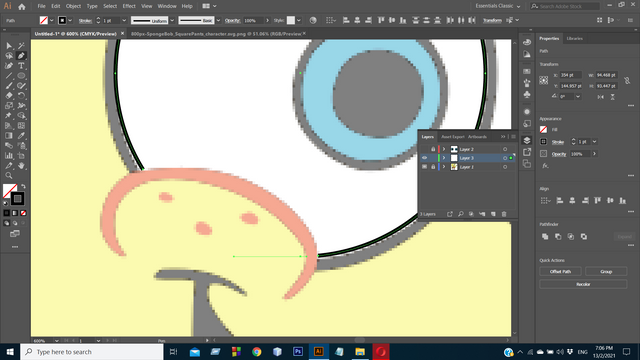
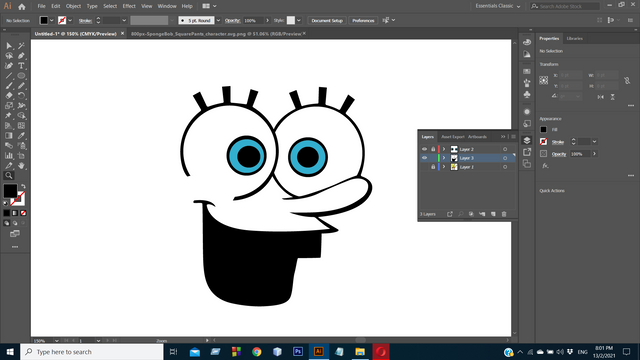
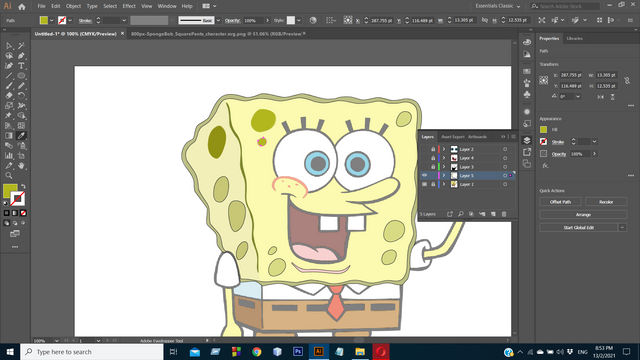
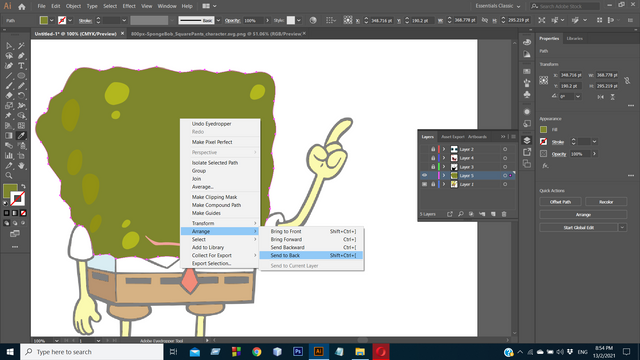
Step : 4
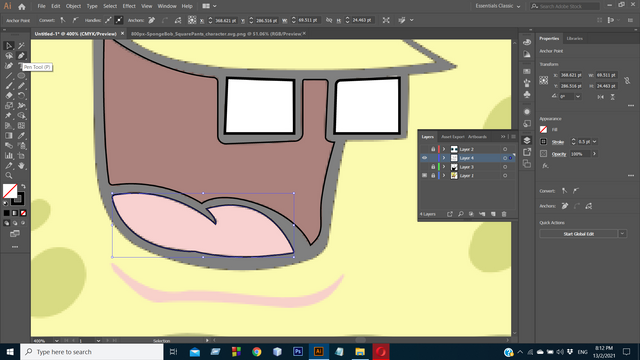
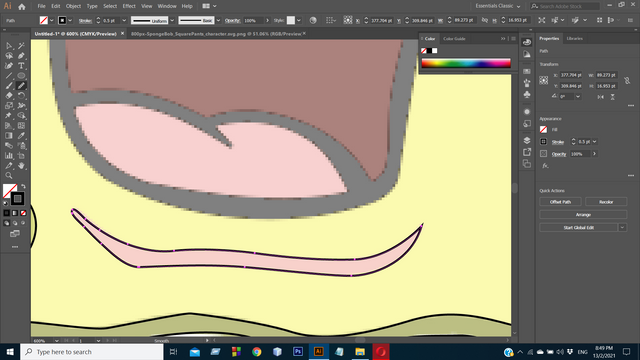
In this step I selected the design inside the mouth with the pen tool. I was left in the corner with the direct selection tool in this step. Then I did the coloring.
.png)
.png)
.png)
.png)
.png)
.png)
.png)
.png)
.png)
.png)
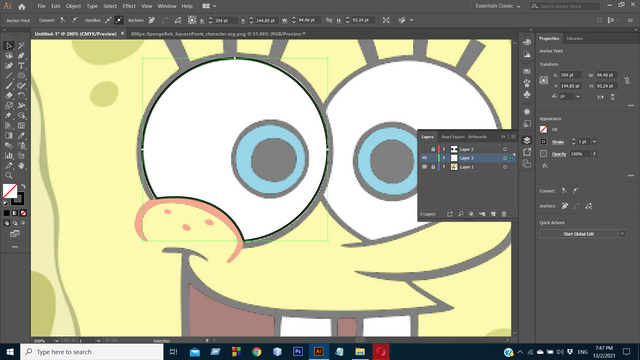
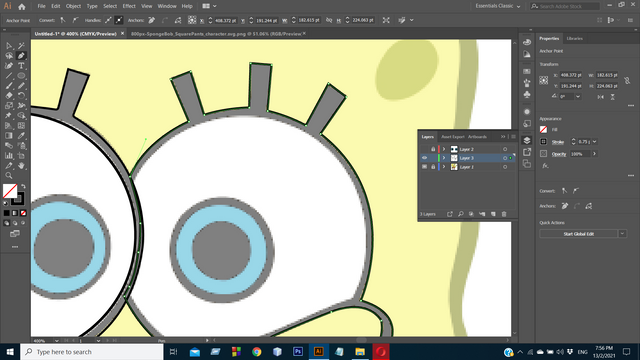
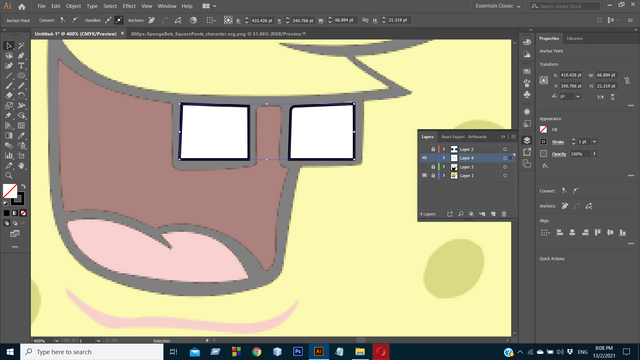
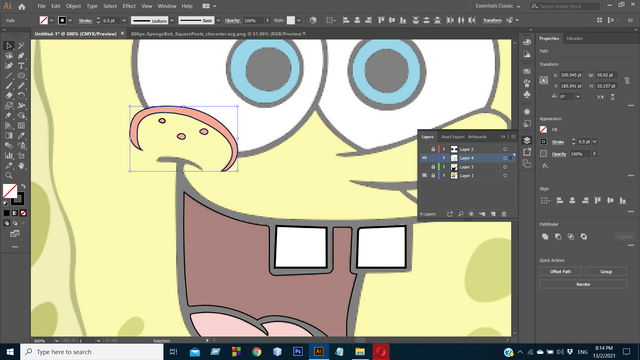
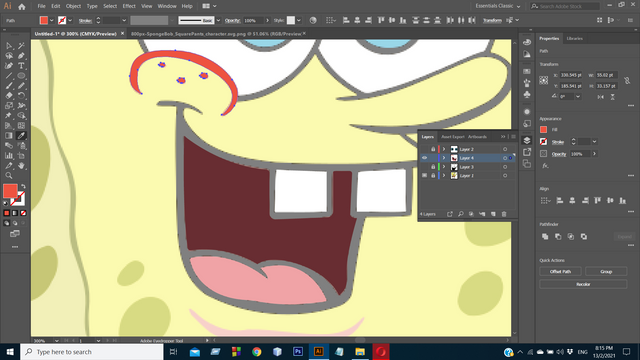
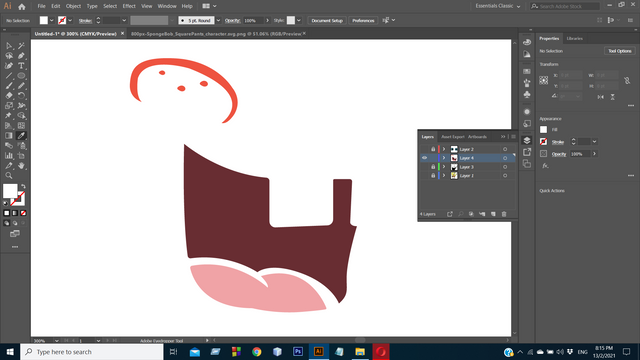
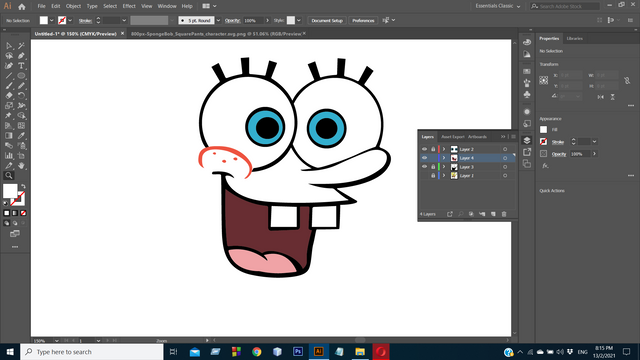
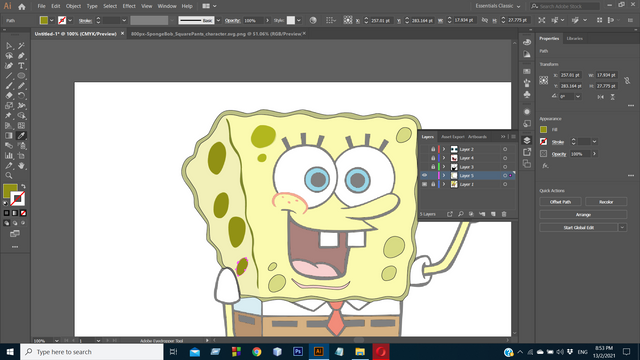
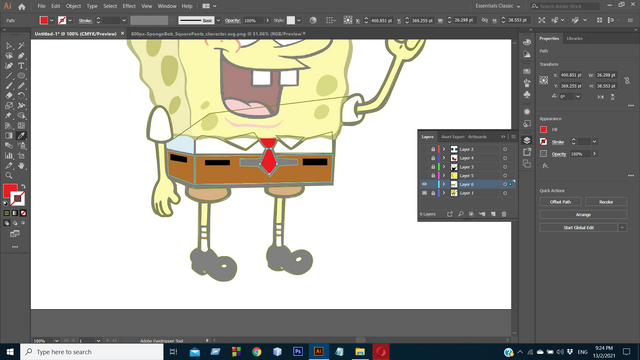
Then I made it perfect. In this step I again made a circle with the Ellipse tool. Then I selected the whole part with a pen tool. I selected and deleted the extra part with the Sep Builder tool. Then I did the coloring.
.png)
.png)
.png)
.png)
.png)
.png)
.png)
.png)
.png)
.png)
.png)
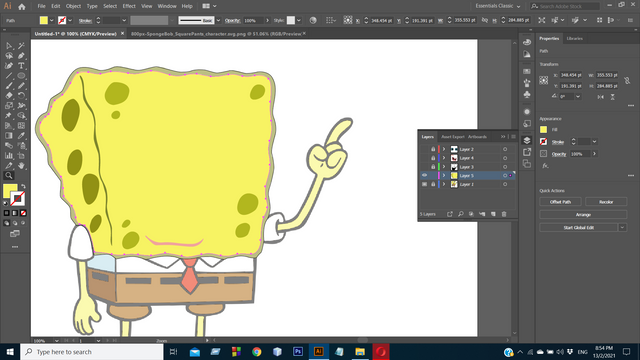
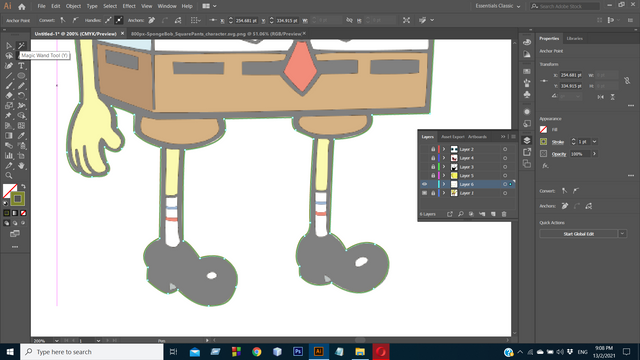
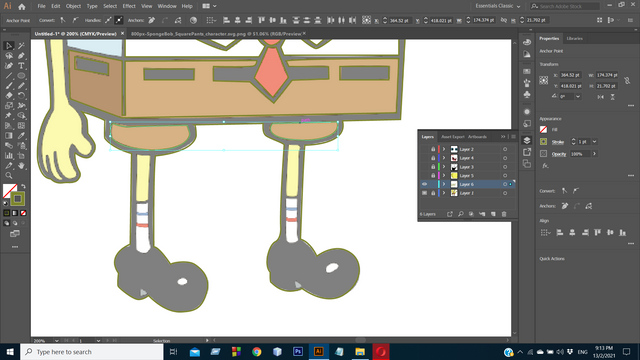
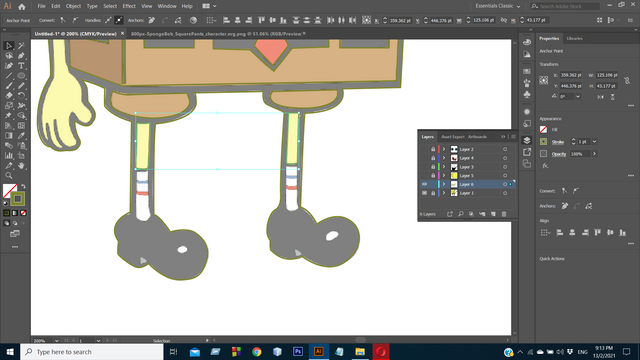
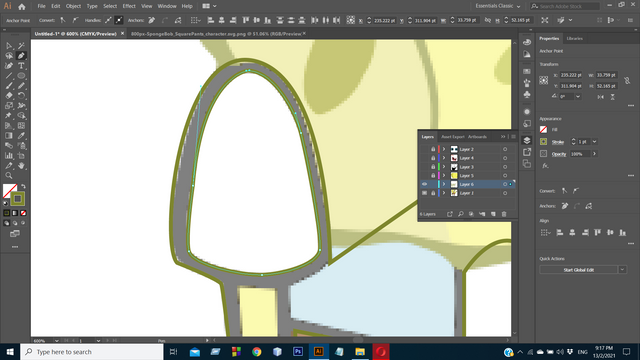
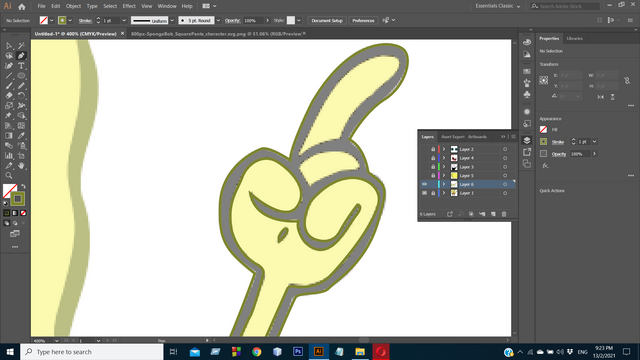
Step : 5
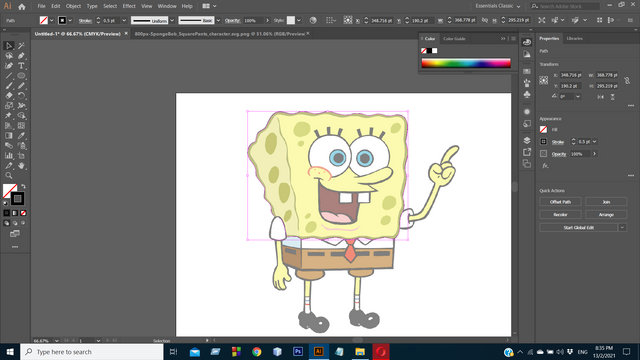
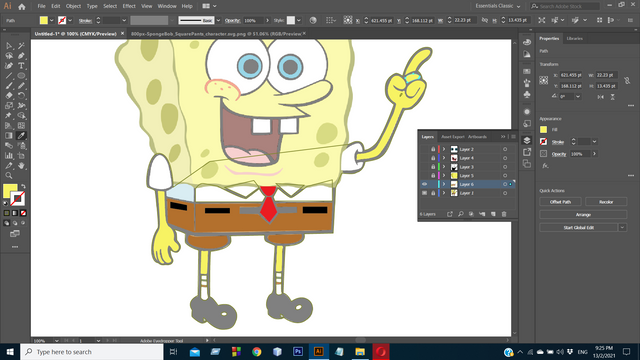
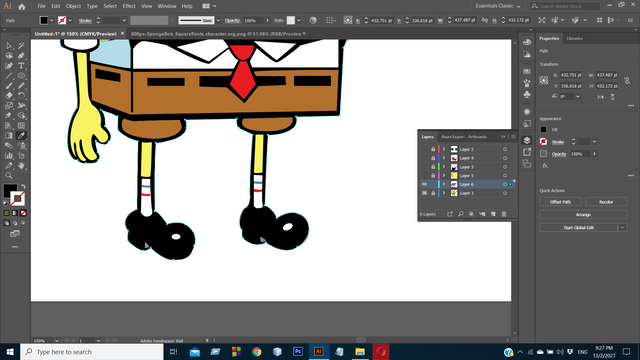
In this step I made the bottom part. I similarly selected the hand and foot and interior design with the pen tool. I was with the new layer while doing all the work.
.png)
.png)
.png)
.png)
.png)
.png)
.png)
.png)
.png)
.png)
.png)
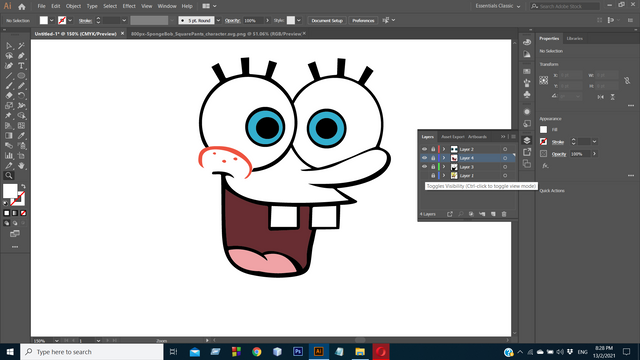
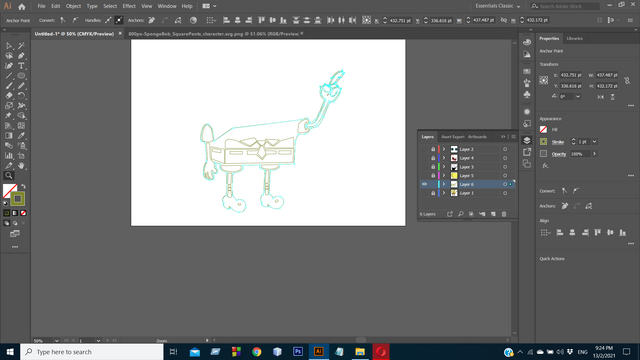
Step : 6
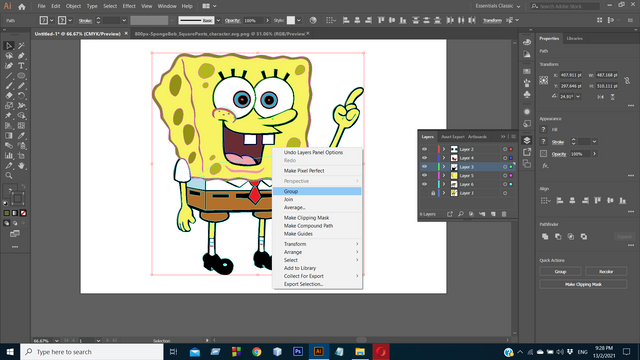
After doing the full art I grouped it. When everything was over, I selected the whole part and grouped it. Then I colored the background with the new layer with the rectangular tool and then I colored it.
.png)
.png)
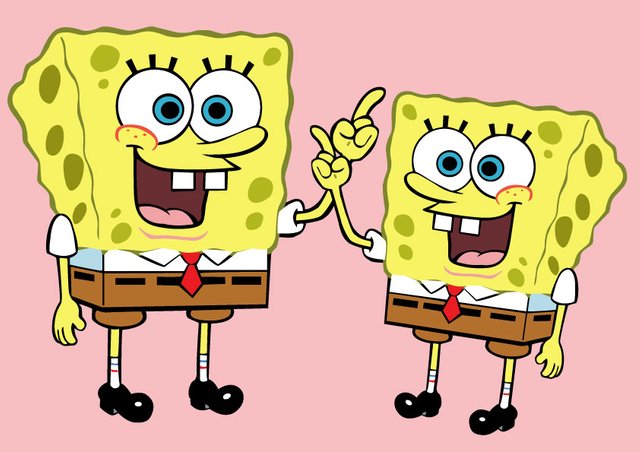
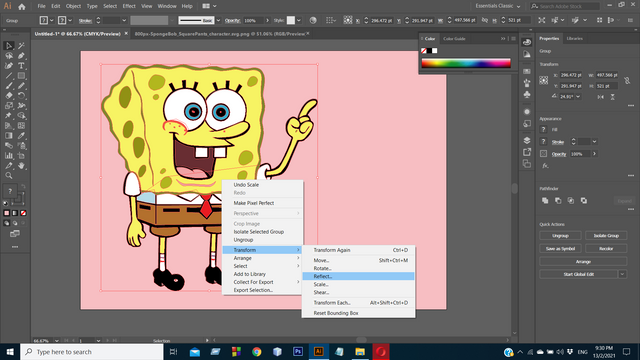
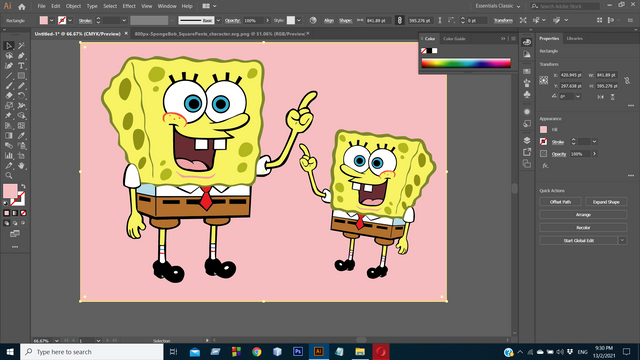
Then I reflected and made another one.
.png)
.png)
.png)
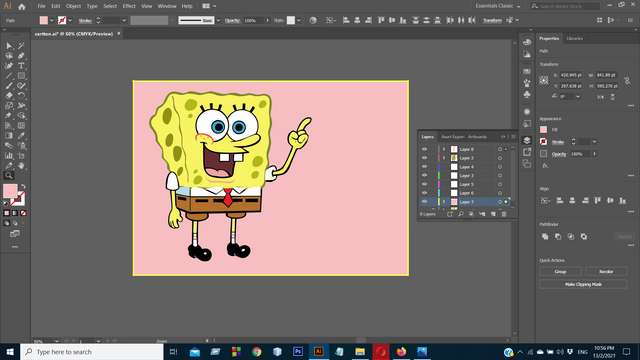
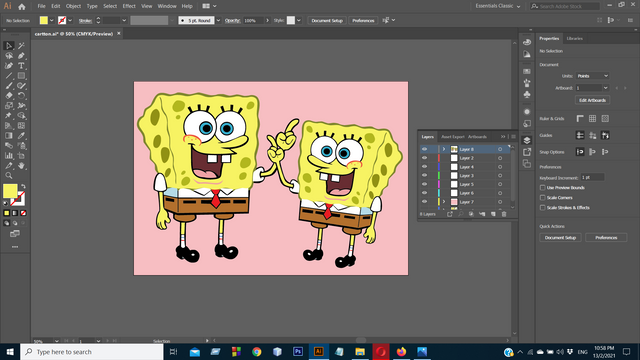
I fixed all the mistakes and saved the drive at the end of the work.
This is my first post in this community .. That's all for today. Hope you enjoyed my SpongeBob digital art .
Thank you .
Twitter:
https://twitter.com/sandipan13oct/status/1360641705960067073?s=20