Drawing Inspiration: From Blank Page to Stylish Handbag || Tutorial
Get ready for a creative adventure! I am Rashid Malik, and i am excited to share a step-by-step drawing tutorial with you all
Today, we're going to bring a stylish handbag to life with just a few simple strokes. Trust me, it's easier than you think! With a little focus and practice, you'll be amazed at what you can create. So, let's dive into the world of art and explore the tools.
- Blank Paper ( A4)
- Sketch Pencils ( HB , 3B ,8B )
- Blending Tool ( Cotton Bud and Tissue paper can be Used as Blending Tool )
- An Eraser
As we embark on this creative journey, I'll share some behind-the-scenes moments I captured with my phone camera to help illustrate each step.
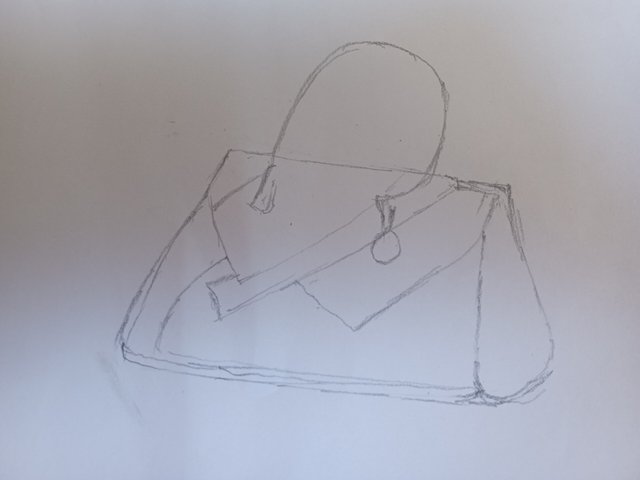
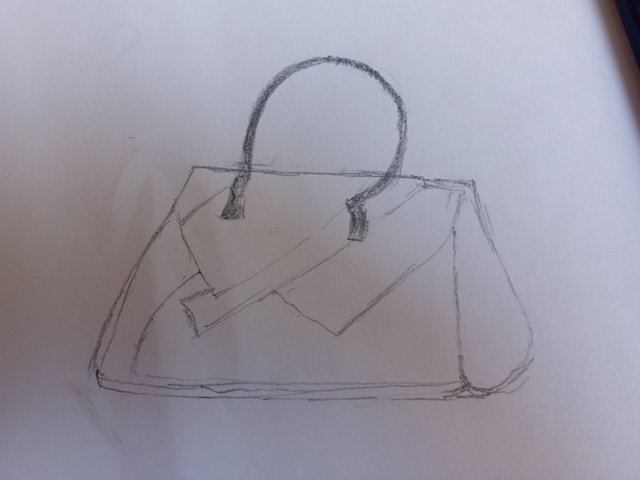
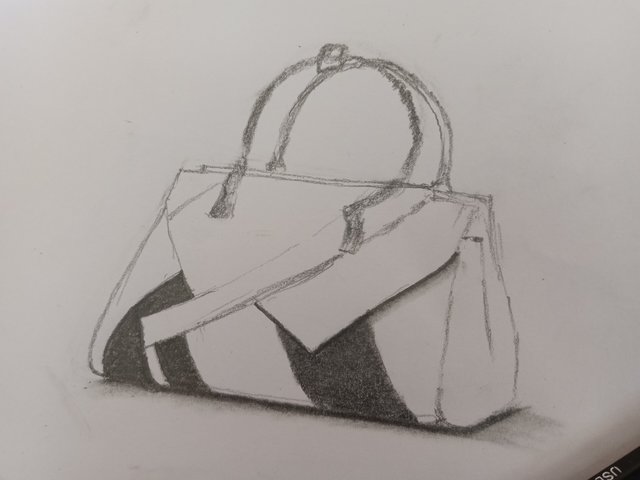
Lets begin the fun and stress-free drawing experience! This freehand drawing doesn't require any special graph paper. I began by sketching the handbag's outline with an HB pencil on plain paper. Don't worry if your initial attempts don't turn out perfect - I didn't get it right at first either! But that's the beauty of art - we can always correct our mistakes with the trusty eraser. Once I was happy with the shape, I focused on adding details to the front area, paying close attention to creating a stunning design.
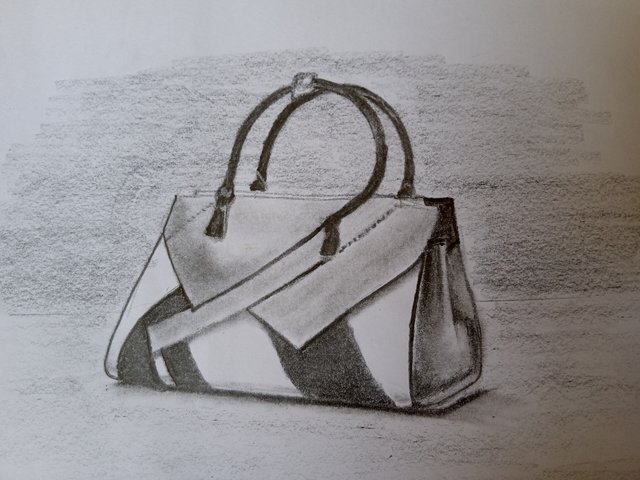
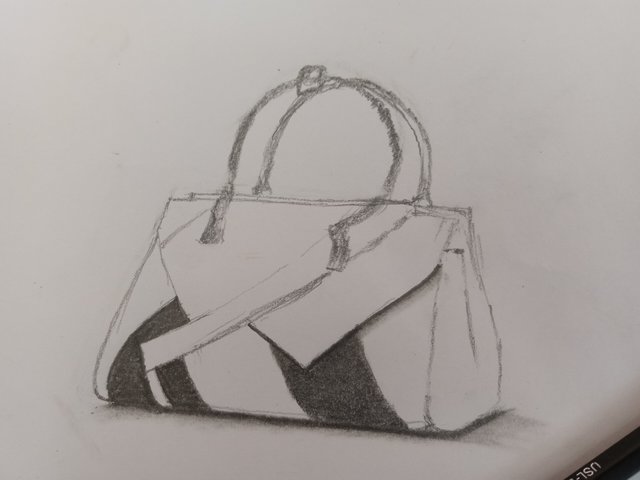
This design comes to life in stunning black and white hues! I used a range of pencils to achieve the desired shades. The dark black areas were filled in with an 8B pencil, while the upper section of the handbag was given a light gray tone using an HB pencil. I then blended the colors with a special tool to create a seamless merge with the background. To add a touch of realism to the front area, I carefully drew stitching marks in a few strategic steps. Finally, I used a 3B pencil to add shading to the upper step, blending it perfectly with the background to create a beautiful, dimensional effect.
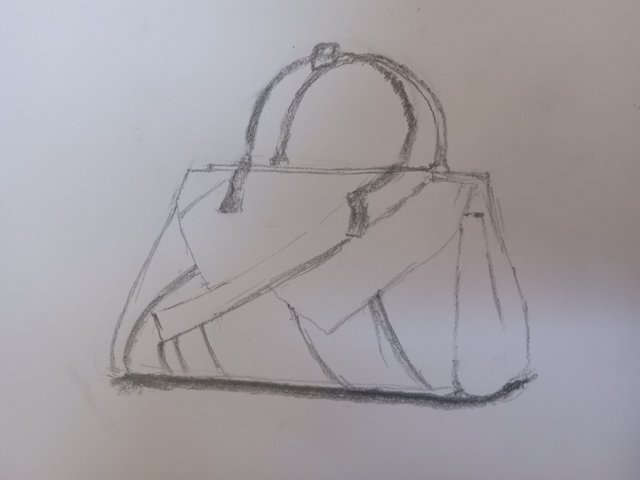
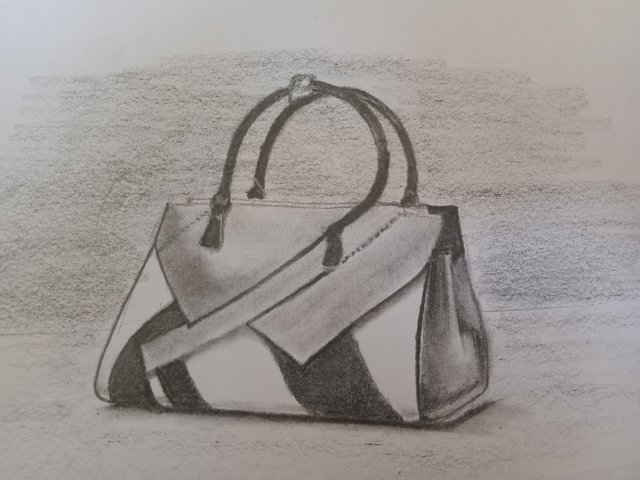
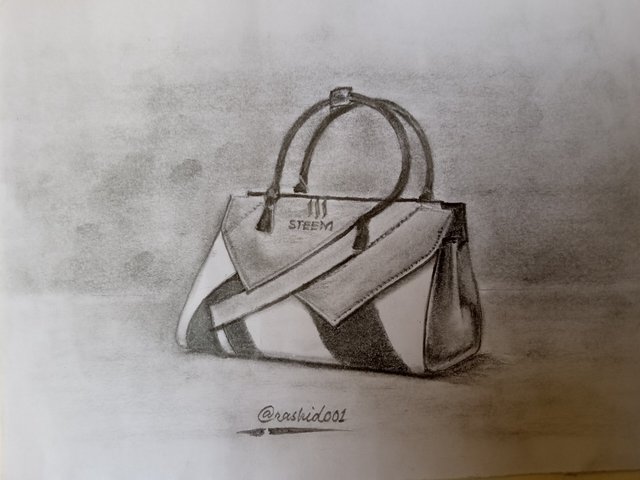
The final touches! I added shading to the handles, and then it was time for the side view. To create a sense of depth, I used dark tones to fill in some areas and blended them to create a folded effect. And now, our stylish handbag is complete! But what's a bag without Steem, right? :-) I added a small Steem logo and the word 'STEEM' to the design, and it's looking amazing! I can't wait to hear your thoughts on this tutorial and see how much you liked the bag. I'm confident you found today's tutorial interesting and learned some valuable tips. Thanks for joining me on this creative journey! Until next time! Goodbye!, With Love ❤️ |
|---|
We invite you to continue publishing quality content. In this way you could have the option of being selected in the weekly Top of our curation team.
Immense gratitude, Dear @inspiracion ! Your encouragement ignites a fire within me, fueling my passion to strive for excellence...
"May you forever be enveloped in joy and bliss"
Your hand bag drawing with pencil sketch is great I like your protest of Akano your talent is very admirable looking at your Akano you have drawing skills I applaud your skills in the coming days to see more beautiful hand drawings of yours We look forward to seeing you all the best for the day ahead