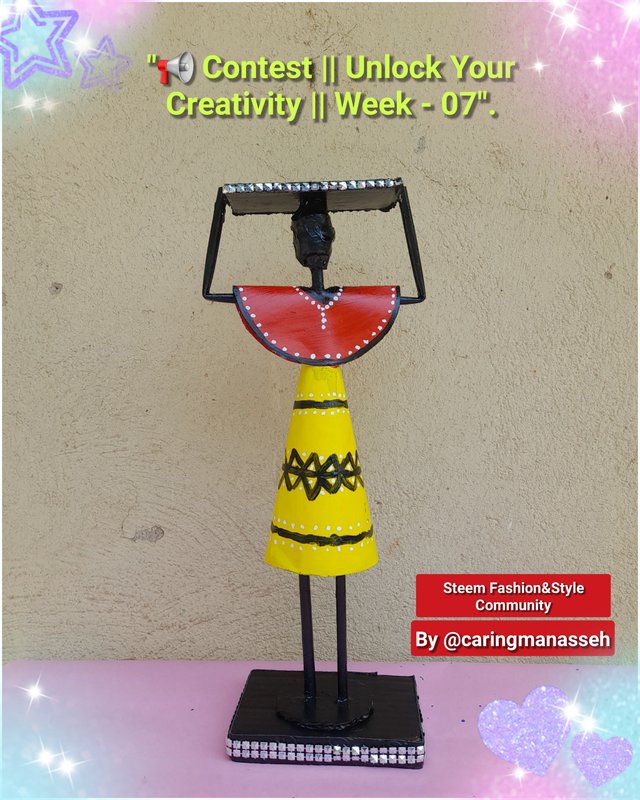
"📢 Contest || Unlock Your Creativity || Week - 07".
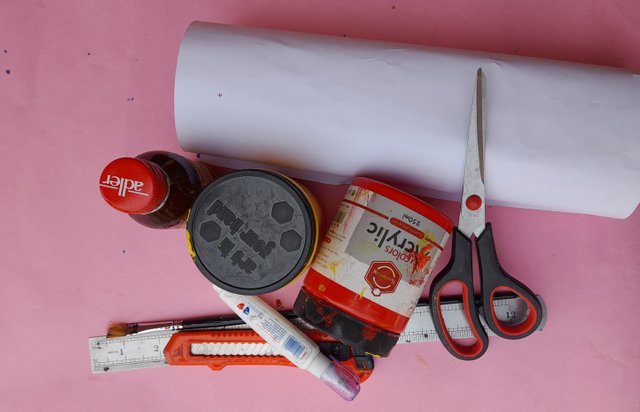
Materials For Construction
- A3 Paper
- Cardboard paper
- Waste carton
- Scissors
- Paper cutter
- Evostik gum
- Fabric Mesh
- Acrylic colour
- Ruler
- Pencil
Step 1
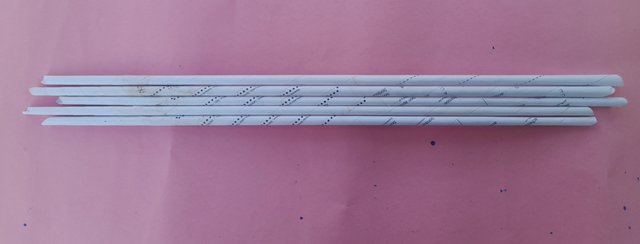
I fold the A3 papers horizontally and then cut them into two using the scissors. After that, I used an iron to fold the papers
Step 2
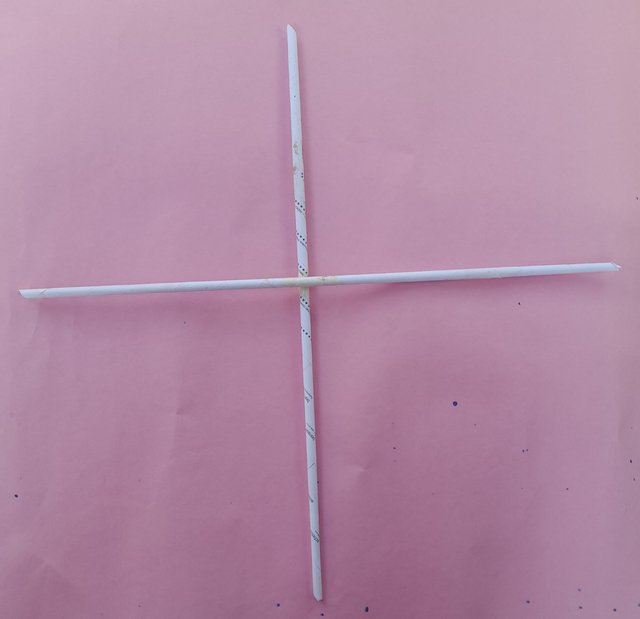
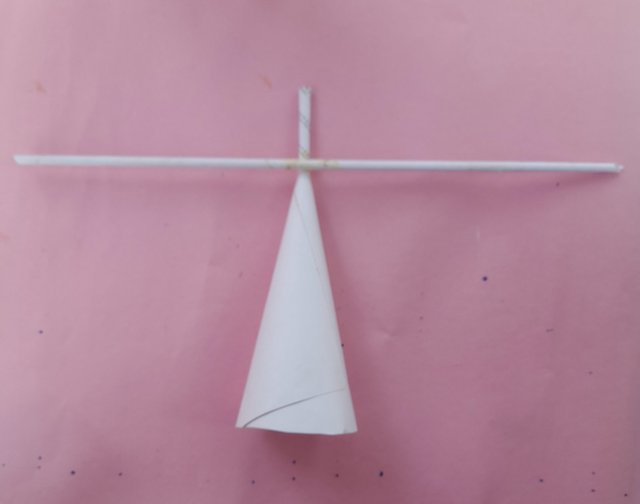
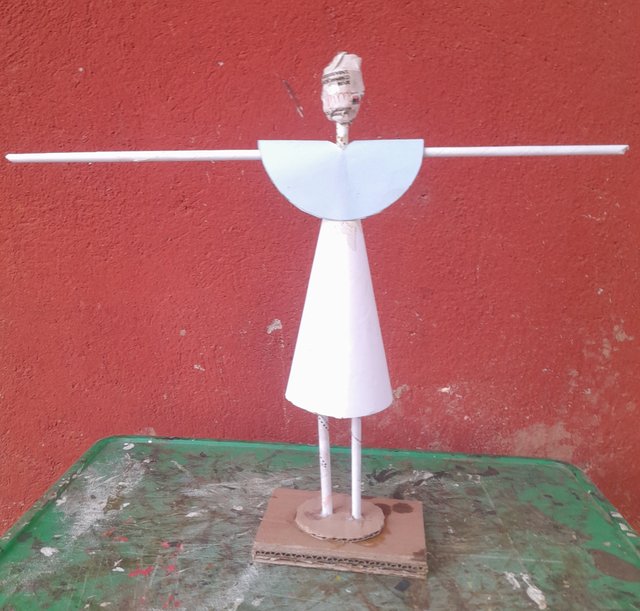
I picked two of the folded pieces of paper in step one and gummed them together to form a cross using Evo-Stik gum. Here, the horizontal paper forms the hands of the young girl while the top of the vertical paper forms the head and the other end forms part of the body.
Step 3
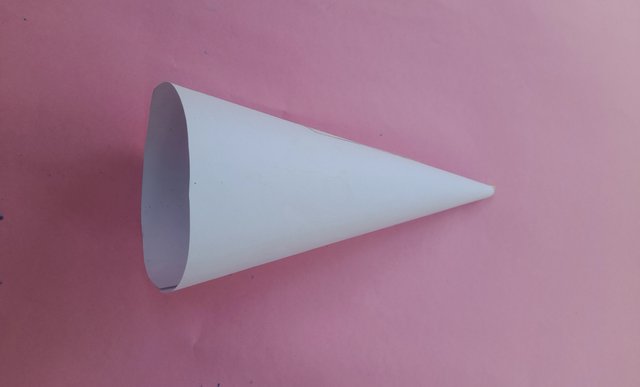
I cut a cardboard paper into a rectangular shape and used it to form a cone shape. I then used scissors to trim the wide edge of the cone.
Step 4
I inserted the cross I made into the cone through the small opening and then gummed it with Evostik gum. I reduced the height of the cross both above and below.
Step 5
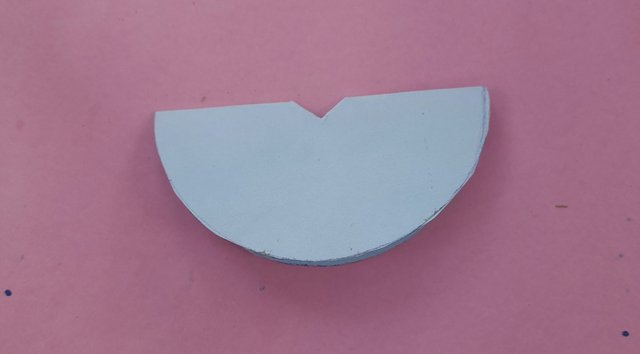
I used a round cup to draw a circle on cardboard paper and then used my scissors to cut it out. I folded it into two to form a semi-circle and then made a small hole at the centre.
Step 6
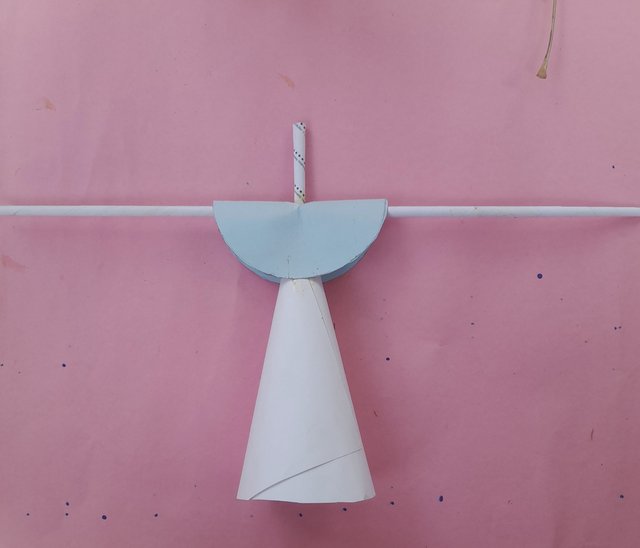
I joined the construction made in steps 4 and 5 together and gummed it with Evostik gum.
Step 7
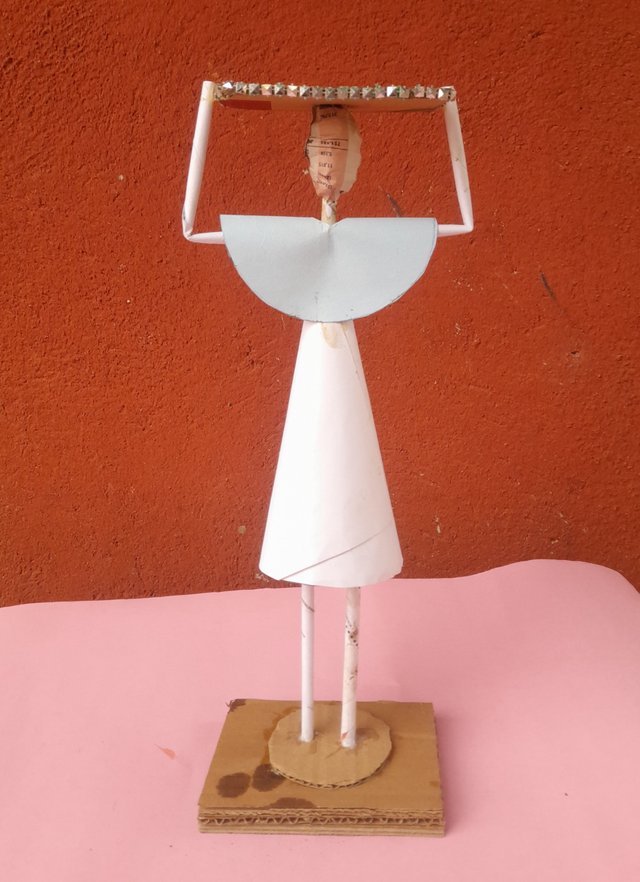
I cut a small circle out of a carton that can fit exactly into the cone constructed earlier. I duplicated it such that one would close the opening, and the other would serve as the feet of the young girl to help her stand. I then cut two pieces of folded paper to serve as the legs of the young girl. I used a folded paper to rap at the top edge, which will serve as the head. Finally, I cut a rectangular carton to serve as the base and I gummed them together using Evostik gum.
Step 8
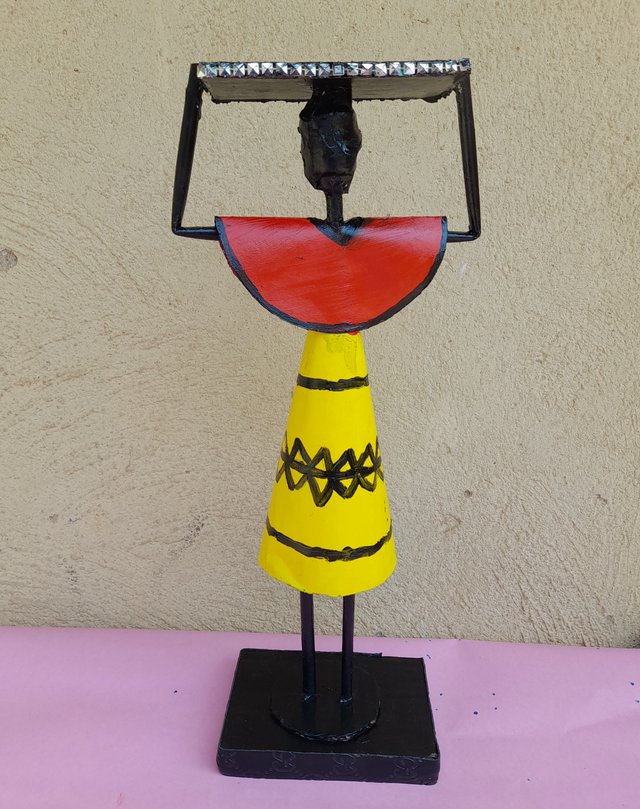
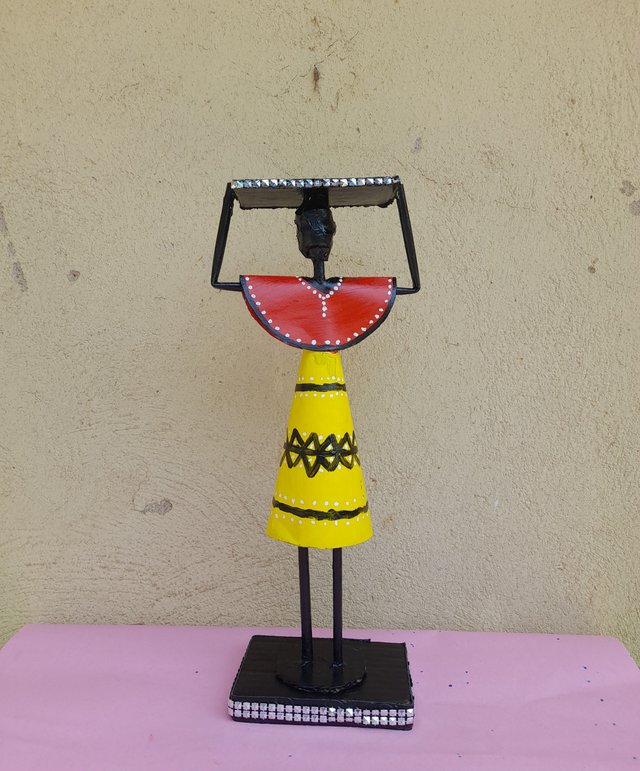
I cut a rectangular carton to serve as the tray on the girl's head. Then, seal the edges with a fabric mesh and mount it on the girl's head using an Evo-Stik gum. Finally, at this step, I folded the hands of the girl to hold the tray.
Step 9
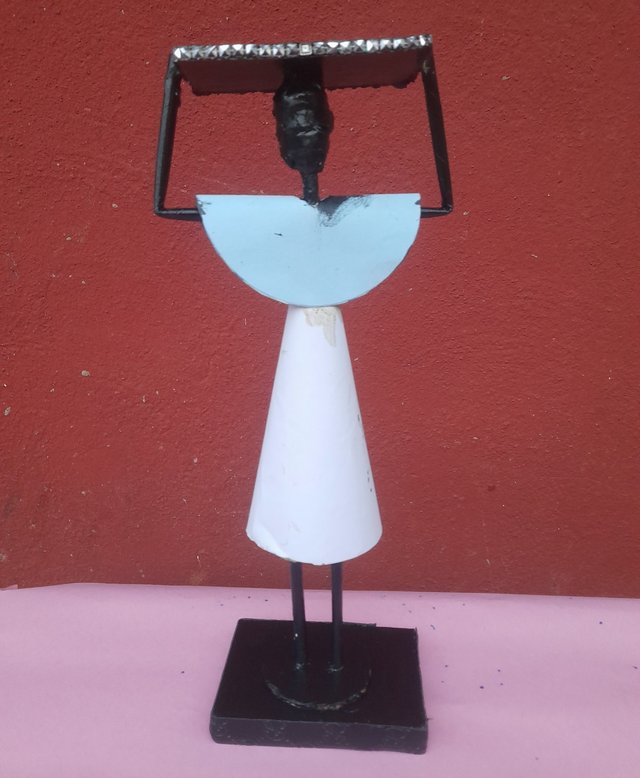
I coloured the body of the young girl, the tray and the base of the construction black using Acrylic colour.
Step 10
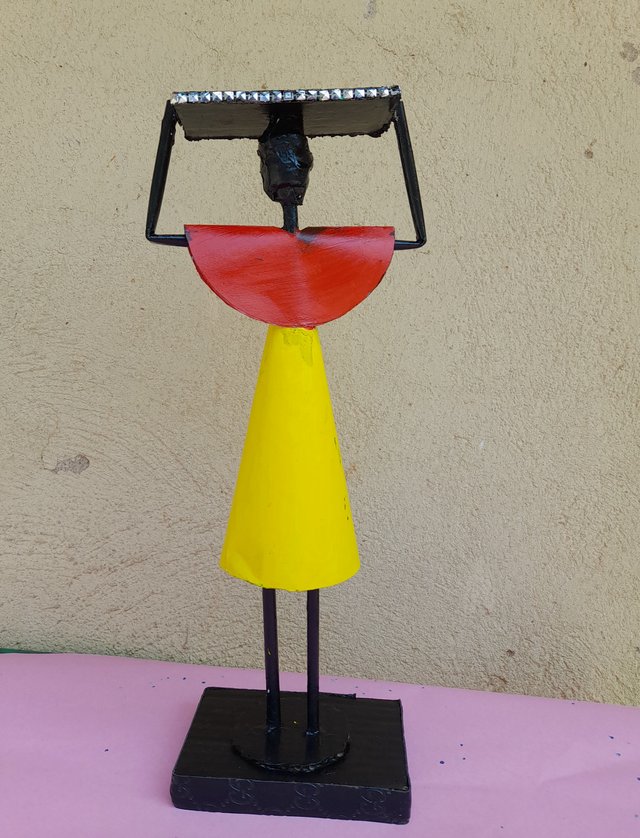
I coloured her shirt using red acrylic colour and then the other part of her clothes yellow.
Step 11
I coloured the edge of her top shirt black and I also designed the lower part of the cloth with black acrylic colour.
Step 12
I designed the top of her shirt with white dots and I also added dots to the design on the lower part of the cloth. Finally, I added fabric mesh at the edges of the base of my craft.
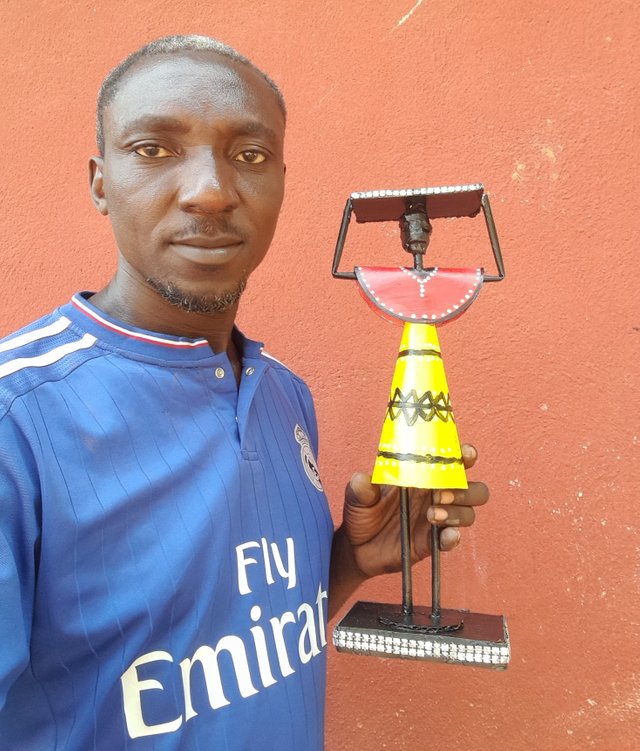
My Selfie
Conclusion
Thank you for visiting my blog once again. Your visit and upvote always encourage me to do better. I appreciate @zisha-hafiz once again for putting this contest in place. Lastly, I invite these friends of mine to also unlock their creativity:
@whitie
@richy20
@m-princess
@ninapenda
Cc
@zisha-hafiz
10% support to @hive-126193
X Share (Twitter) Link
https://x.com/Manasseh3600/status/1909210188063621171?t=CsVN_vpsGTdAcnfZpTmxFg&s=19
The carving is very sharp, I really like it.
Thanks my brother
You're welcome 🙂
Congratulations, your post is upvoted by CCS curation trail from CCS - A community by witness visionaer3003.
Vote for visionaer3003 as witness.
Thank you.