#LEARNWITHSTEEM || HOW TO ADD COLORED AND TEXS BACKGROUNDS TO PHOTOS|| BY @CHOPPER46 || CLUB5050
Hello friends of steemians
With me again @chopper46 how are you all I hope you are all well

On this occasion, I want to share a tutorial on how to add text and colored backgrounds to photos through the Picsart application
Without further ado, let's see the steps;
Select the colored background menu
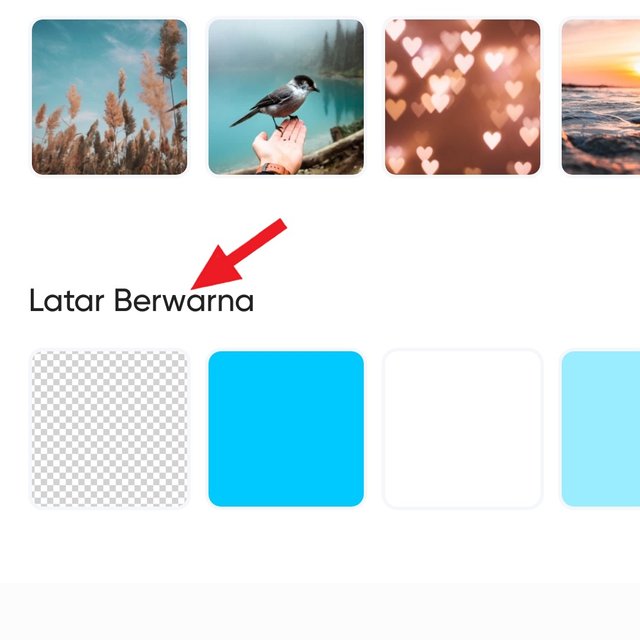
The first step is to open the picsart application, then scroll down to see you with a colored background menu like the one in the photo
Choose the color you want And the photo you want to edit
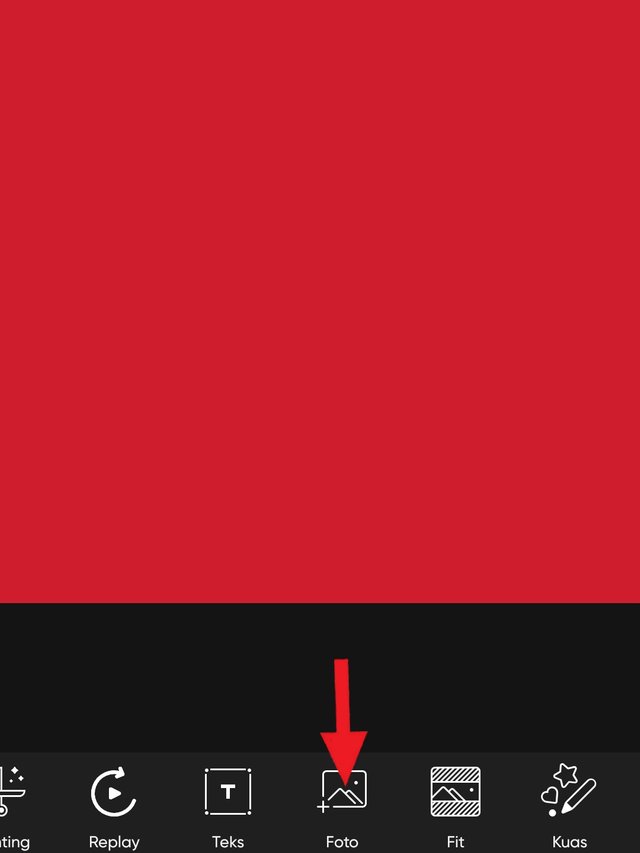
The next step after choosing the background color we want, select the add photo menu as above to add the photo we want to edit, for example I chose red and a photo when I was on duty
Set the layout of the photo
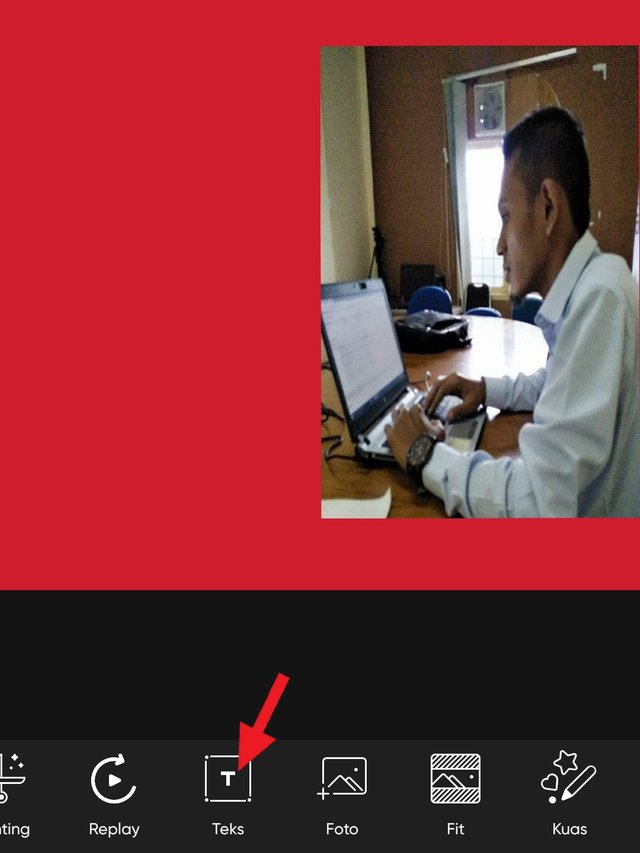
The third step, after successfully selecting a photo, arrange the layout according to each other's wishes, and select the add text menu
Write text and choice of writing style
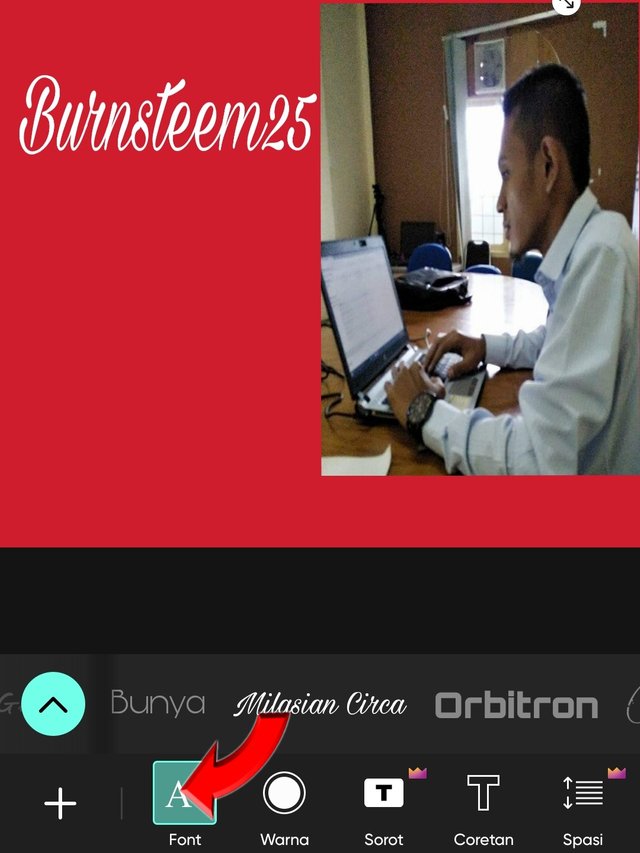
Next, after selecting the menu, add text, write what you want to write and choose a writing style according to your own taste
Beautify the writing style and photos
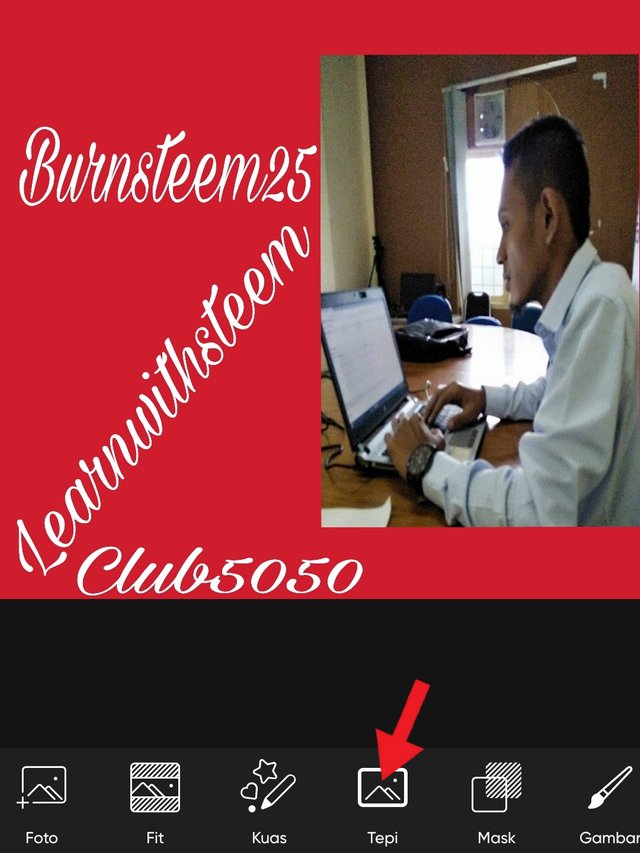
After writing some text that we want to arrange the layout so that it is neat and pleasing to the eye, here I chose the milasian sirca writing style for my text, actually there are many writing styles on this menu you can choose a different writing style for each text and to beautify select the menu edge as in the photo
Arrange the outside and inside of the photo to beautify
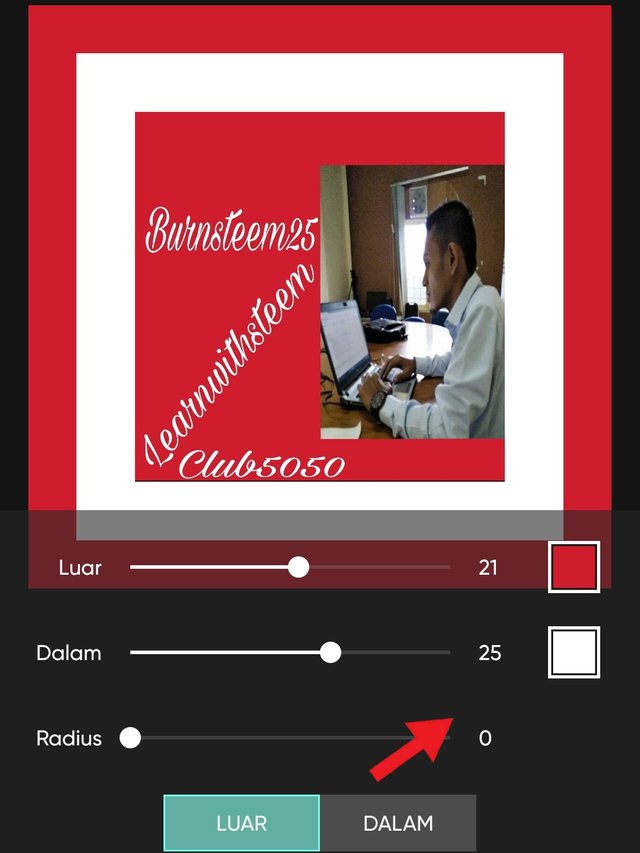
The last step is to set the inside and outside of your photo frame as you wish, to beautify the frame you can add colors for the outside and inside, follow the arrows in the photo to choose a color
Final result
After following all the steps that I described above you can directly save your photo to the gallery and your final result will be saved
Here I don't use much text and effects to make it easier to understand I make it as easy as possible to understand, you can also add some effects to increase the quality of your photo view
That's all for my post this time, that's all I can write for this tutorial, thank you to all my friends who have read it
My best regards to @faran-nabeel @sameer07
Please don't use #burnsteem25 tag on your post because you didn't set any beneficiary rewards to @null account.
For this tag must be add 25 % payout of your post to @null (steemit account)
Oke, thanks for the suggestion
Hi, @chopper46
Thank you so much for sharing your post at #steemit-graphics community. We are extremely happy to see your post.
Suggestions : I suggest you to increase your voting CSI.
Thank you for contributing to #LearnWithSteem theme. This post has been upvoted by @daytona475 using @steemcurator09 account. We encourage you to keep publishing quality and original content in the Steemit ecosystem to earn support for your content.
Regards,
Team #Sevengers
The #learnwithsteem tag focuses on teaching through tutorials and lessons some knowledge, skill or profession that you have. Please avoid using it if it's not about that. Thank you!
Thanks for the support sc09, and regards to @daytona475
Hi Dear Friend,
Thank you so much for make post in steemit graphics community. Please always remember these instructions to made a good member of our community.
501002003004005001000200030004000500010000