Learn With Steem | Tutorial | Create Youtube Thumbnail Through Canva | By @azmat545
My name is ali azmat and my steemit user name is @azmat545 .I belongs to pakistan and i am a student and a blogger.First of all i would like to congrats mr @faran-nabeel who has developed a amazing community name steemit graphics with his great team.

That's my first in this amazing community steemit graphics.In this post i will share with you guys how to create a youtube thumbnail.Everyone knows youtube is a huge platform and billions of peoples using this platform.Some many peoples have their youtube channel.They add thumbnail in thier video to make thier video beautiful.Basically thumbnail is the of the most important thing for youtube video.If your thumbnail is attractive you will attract many peoples to watch your video.In this post i will share a tutorial of how to make a youtube thumbnail in canva.Canva is a amazing application for graphic designing.I hope everyone will like my post.So let's start.
First of all we need to download canva app in our mobile phone.We can download it easily form good play store.Then we will login canva with gamil and open it for creating youtube thumbnail.

After open canva app we saw a this type of interference on canva page.
In my second step of creating youtube thumbnail i will select youtube thumbnail option as you can youtube thumbnail option in screenshot.Then i clicked on youtube thumbnail option.

After clicking on youtube thumbnail option we saw a this type of interference as you ca see in the screenshot given upper.
In the third step of creating youtube thumbnail i clicked on the blank page with many options as you can see the balnk page given below in the screenshot.

That will show you this type of interference.
In the fourth step of this tutorial after clicked on blank page you can see a new interference given below in screenshot.

You can see this type of interference.
In the fifth step of creating youtube thumbnail after saw the new interference you can see many option thier as given below in screenshot.

I clicked on (+) option and you can see many option like color edit text and soo many option.firstly i clicked on color.I has select color for my youtube thumbnail as you guys could shows this in the giving picture.

In the next step of this tutorial after selecting color i clicked on (+) option and you can see a new interference as in the given below screenshot.
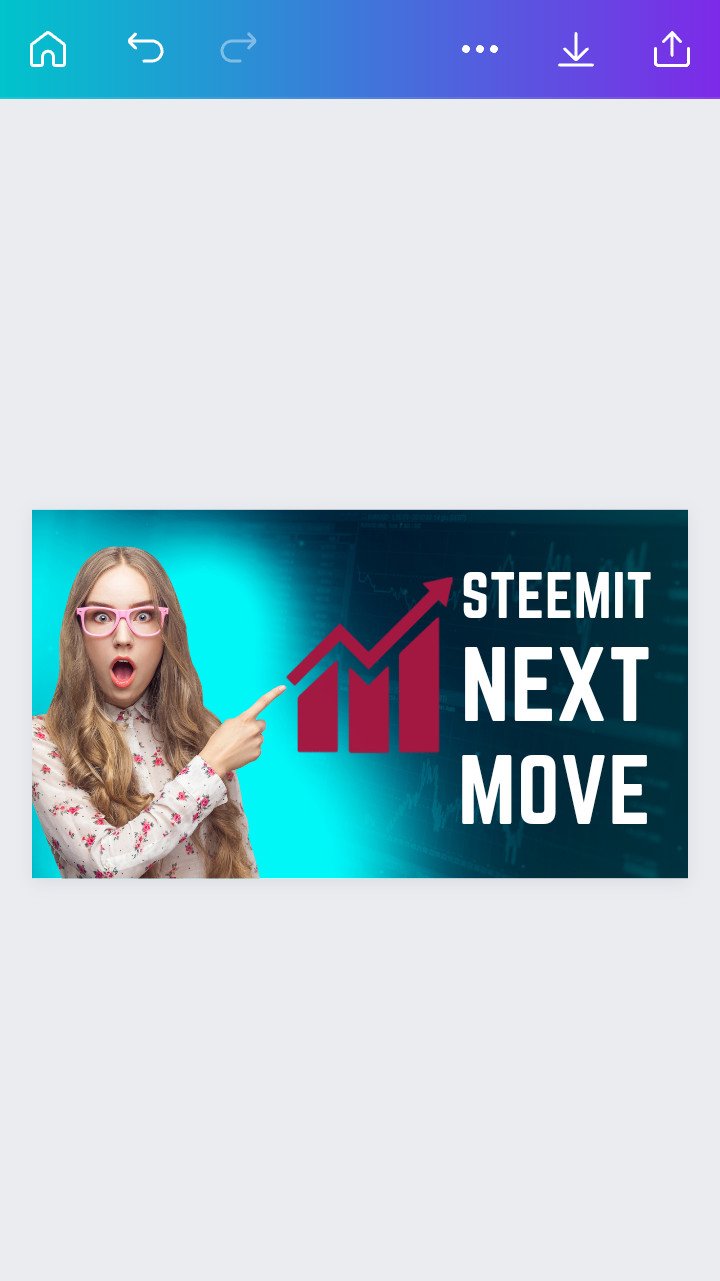
Here you can see many option i clicked on template option for adding a template in my youtube thumbnail tutorial.After that i selected template for as you ca see in the screenshot given below.In this step you can also replace the template and add also photo from gallery and you can also increase and decrease the size of the photo clicking on the template or photo.

In the seventh step of this tutorial i added a text to my youtube thumbnail as you can see in the screenshot given below.Simply clicked on the (+) option then clicked on text option and you can write anything and also can change the color and the font style of text.

You can see this type of interference after adding text to in thumbnail creation.

In the next step of this tutorial i added a element in the thumbnail tutorial.Simply clicked on the (+) option then clicked on element as given below in the screenshot.

After adding element you can see this type of interference.You can also replace the element and you can also increase and decrease the size of element and can also change the position of element.
In the ninth step of this tutorial you can see this type of interference given below in the screenshot.

In the last step of this youtube thumbnail tutorial you can edit and change anything.After that you can save this thumbnail by clicking save option.
.png)
Special Thanks
@hive-123895
@faran-nabeel
@sameer07
@aaliarubab
Regards By
Nice tutorial dude keep sharing with us and educate our community members. Thank you so much for making a wonderful post.
Nice post dear friend thank you for sharing your great post with us..
Thank you for contributing to the #LearnWithSteem theme. This post has been upvoted by @maazmoid123 using the @steemcurator09 account. We encourage you to keep publishing quality and original content in the Steemit ecosystem to earn support for your content.
Regards,
Team #Sevengers