As-salamu Alaykum (Peace be upon you)
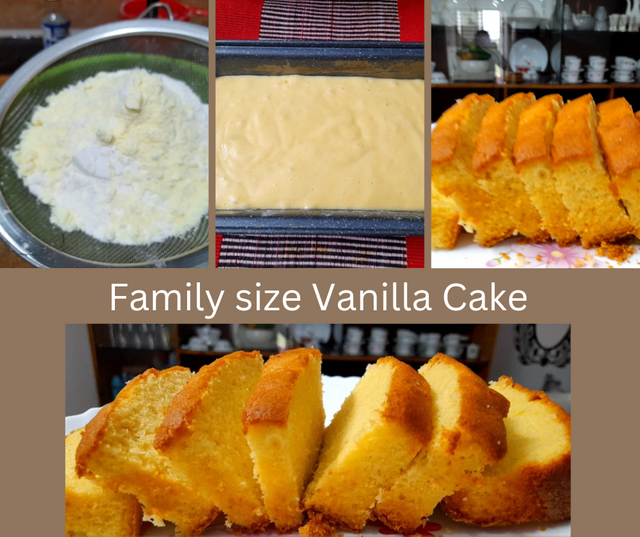
Made with Canva
| Key Ingredients | Amount | Picture |
|---|
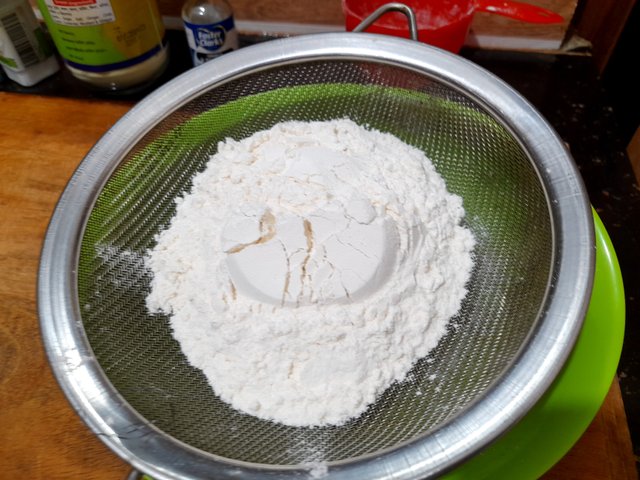
| White flour | 1 cup | 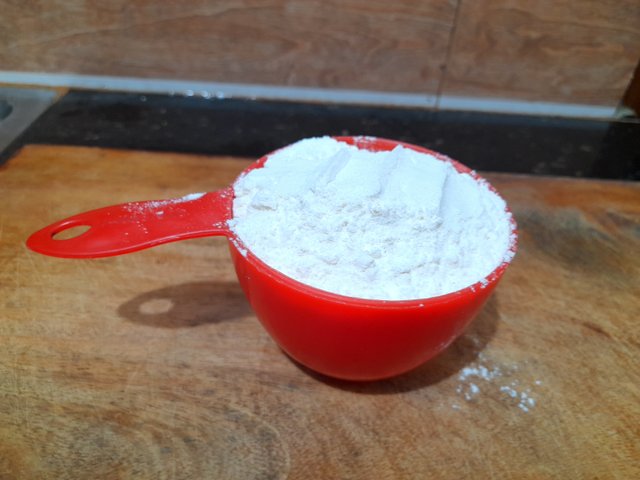 |
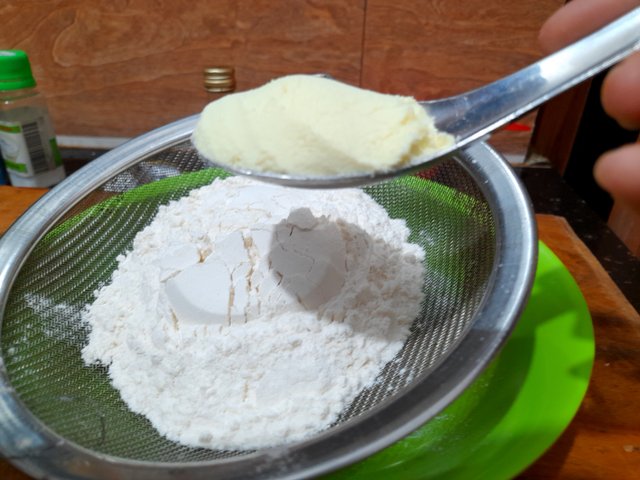
| Powder milk | 2 tablespoon | 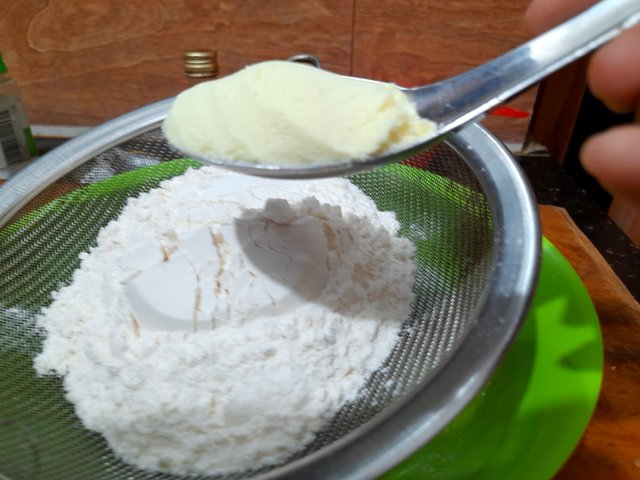 |
| Egg | 3 | 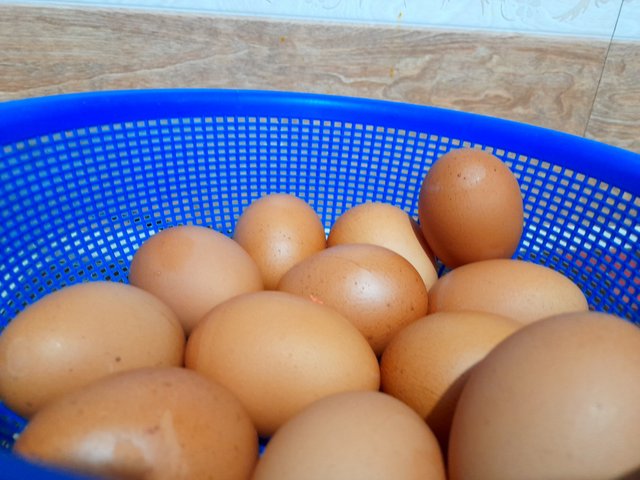 |
| Sugar | 1/2 cup | 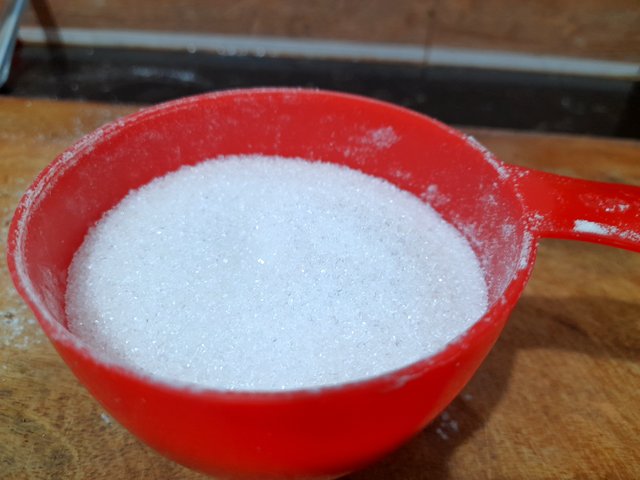 |
| Vanilla essence | 1/2 tbs | 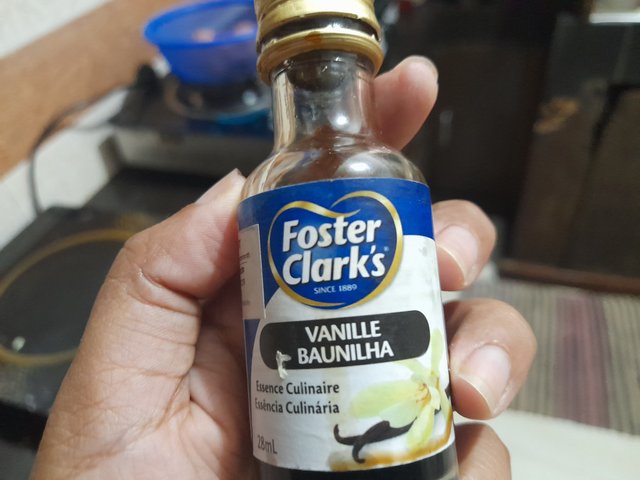 |
| Baking soda | 1/2 tbs | 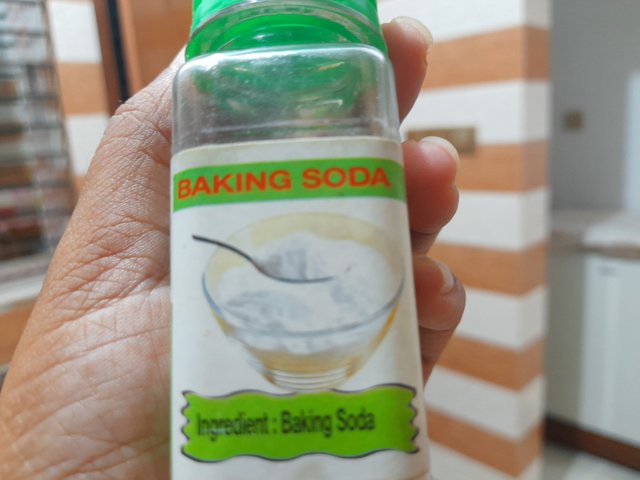 |
| Baking powder | 1/3 tbs | 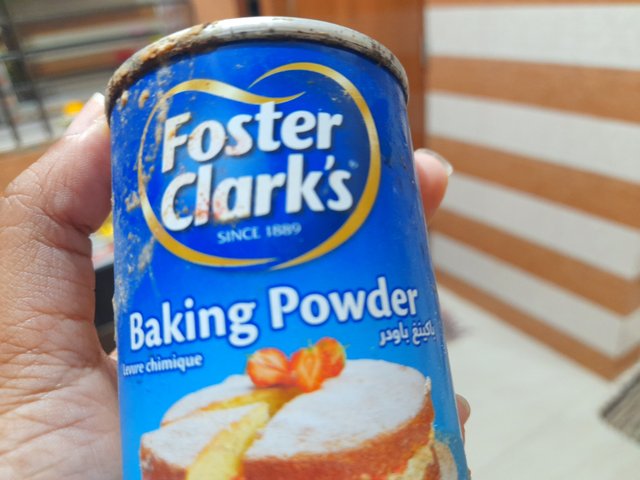 |
| Salt | a pinch | 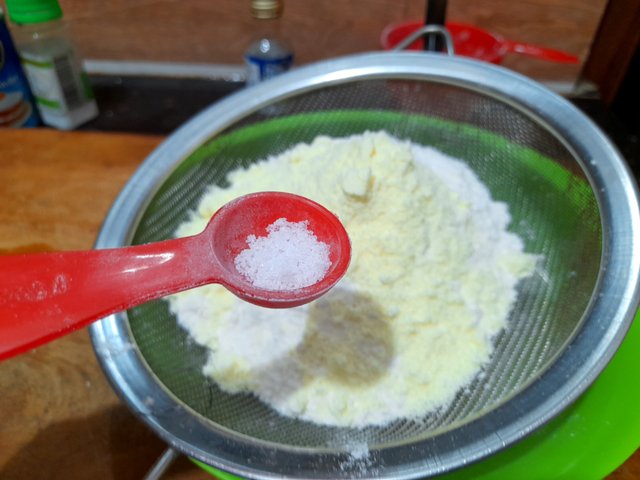 |
| Oil | As required | 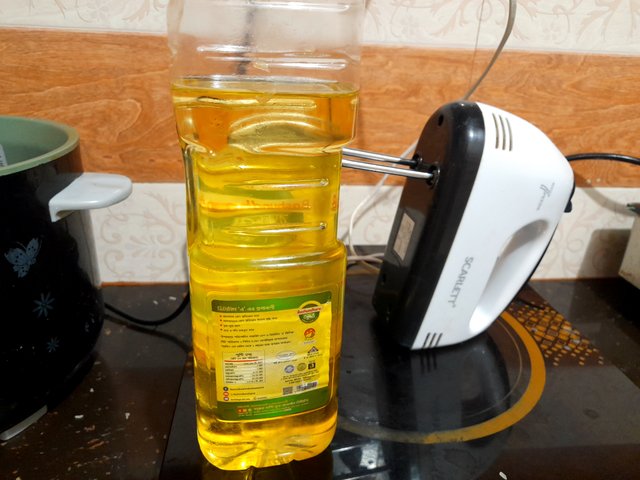 |
Cooking Process
Step-1
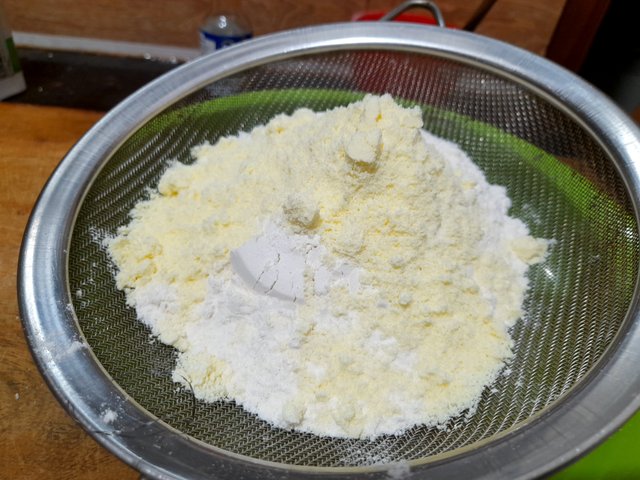
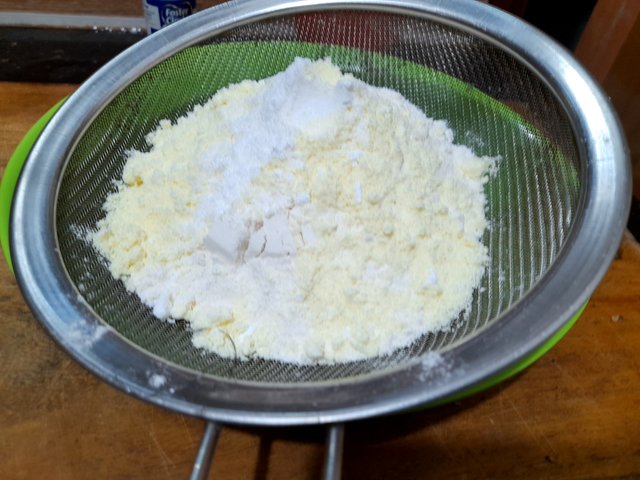
First take one cup of flour in a measuring cup. It is better to sift the flour than to use it directly because it can separate out any grains in the dough. So I use a small sieve to sift the flour into a large bowl to discard the grainy bits that appear on top. This is a basic method of any baking, hope you can understand it well by looking at the pictures.
Step-1
Step-2
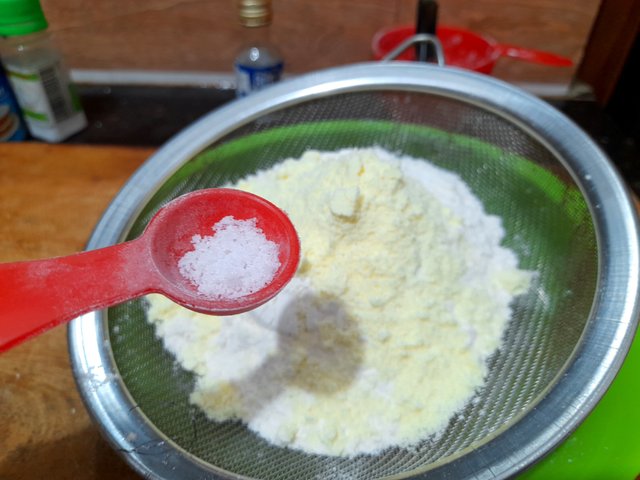
Now I will add the dry ingredients to the sifted flour. First I mix two tablespoons of powdered milk with the flour. Then I add very little salt. Hope you understand the amount of salt by looking at the pictures. We often don't want to use salt in preparing sweet foods but we should all use salt in all kinds of food because it enhances the taste of food.
Step- 2
Step-3
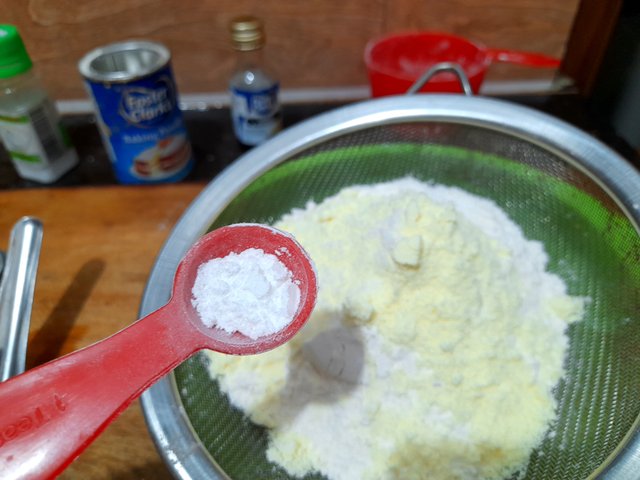
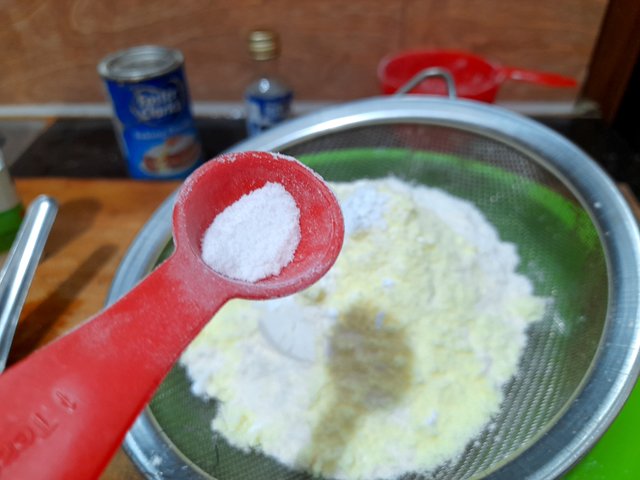
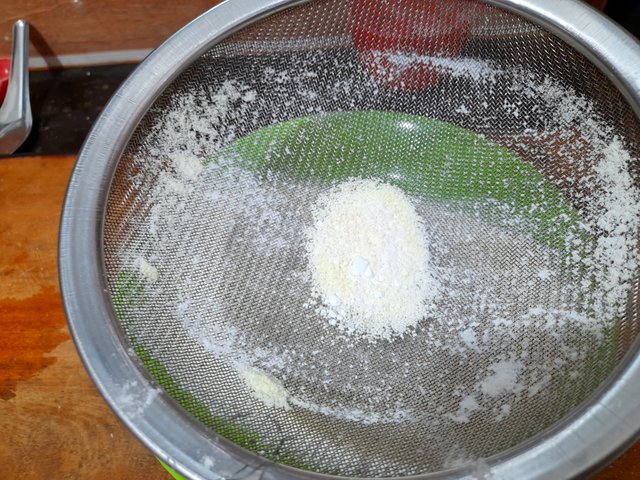
In this step, I add two more dry ingredients. I add baking soda and baking powder here. Since I am making a cake, baking soda and baking powder are very important to make it puffy.
Step- 3
Step-4
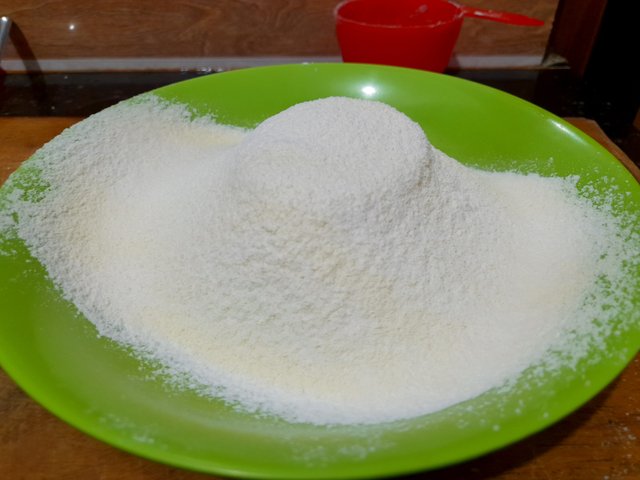
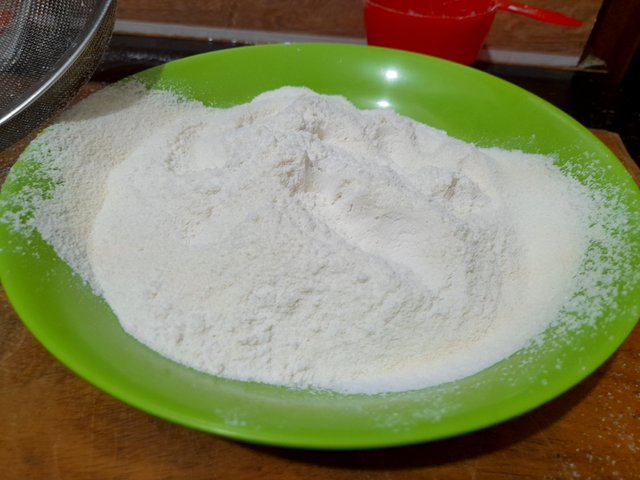
All the dry ingredients are finished mixing to prepare the cake. Now I strain it and discard the grainy material inside.
Step-4
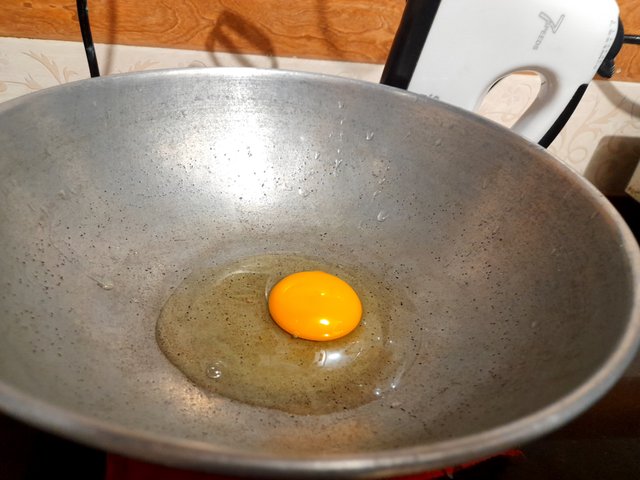
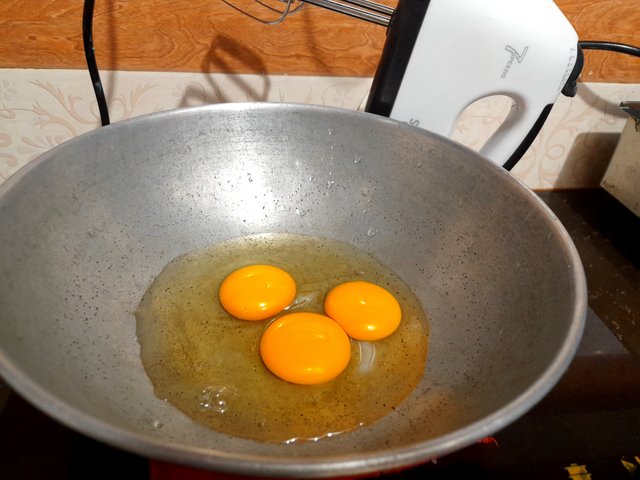
Step-5
As I mentioned earlier I used three eggs to make the cake. The eggs that will be used to prepare the cake cannot be taken out of the fridge and used directly. Room temperature eggs should be used, so take the eggs out of the fridge about half an hour before. I crack the eggshells into a large bowl and beat the eggs with an electric hand beater.
Step-5
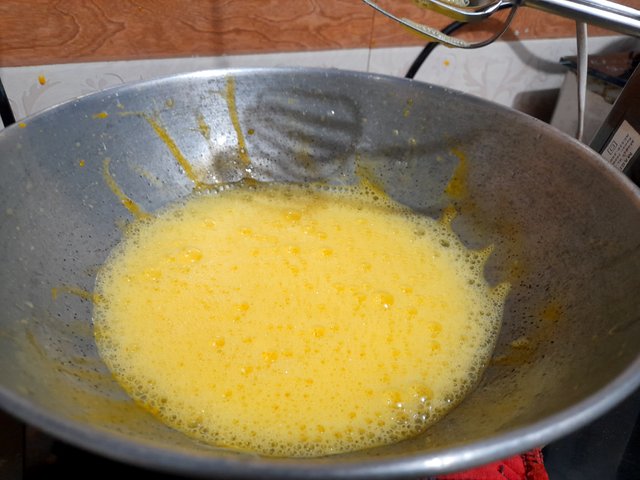
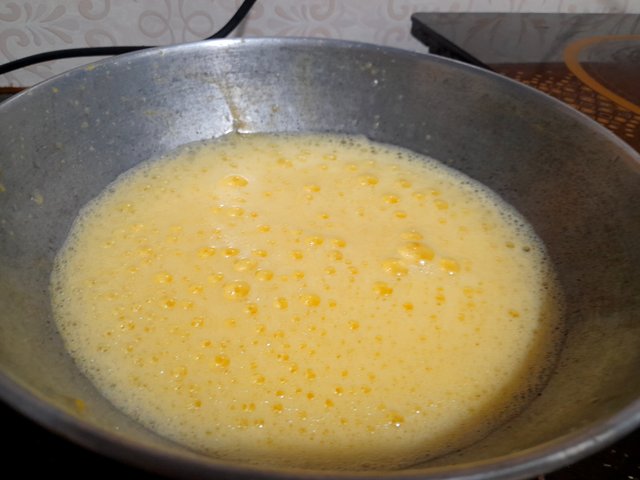
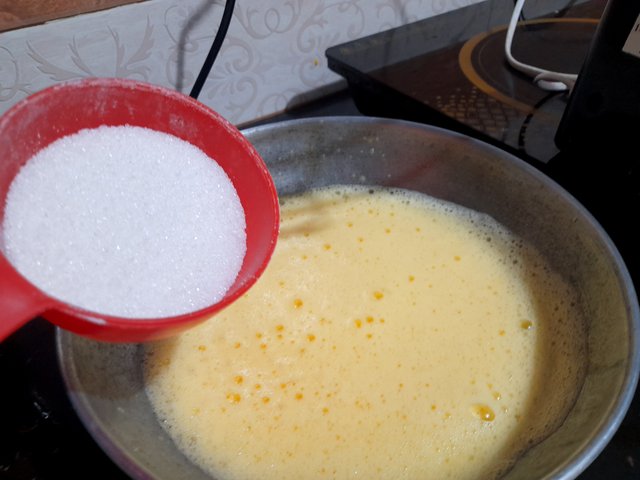
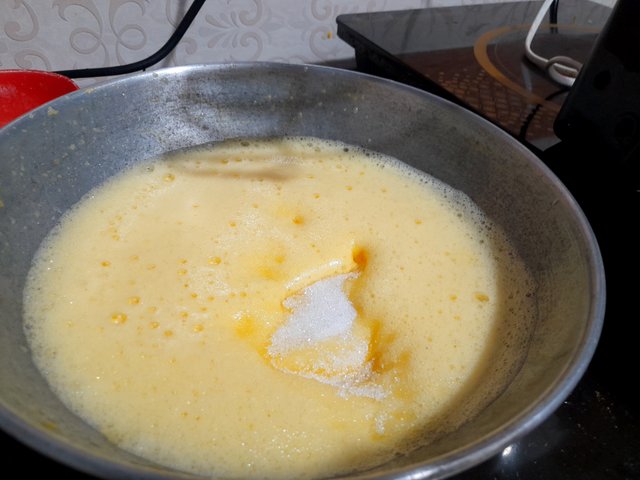
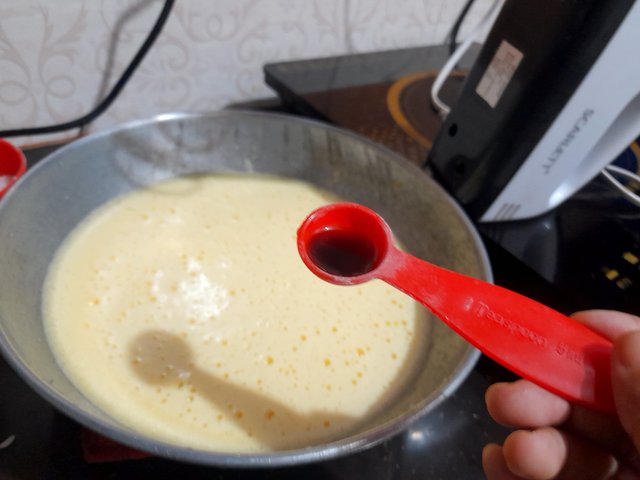
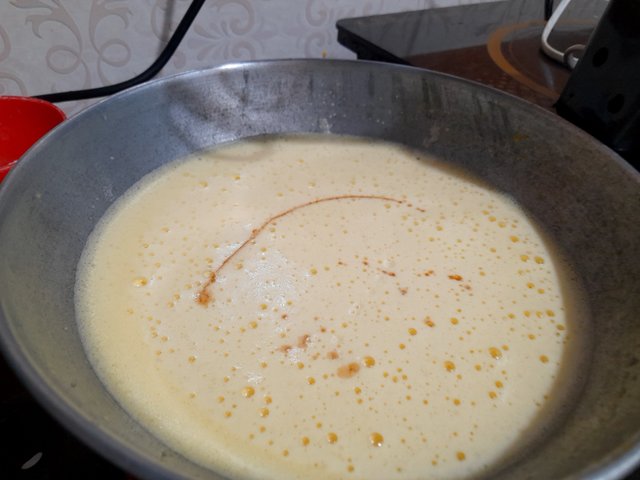
Step-6
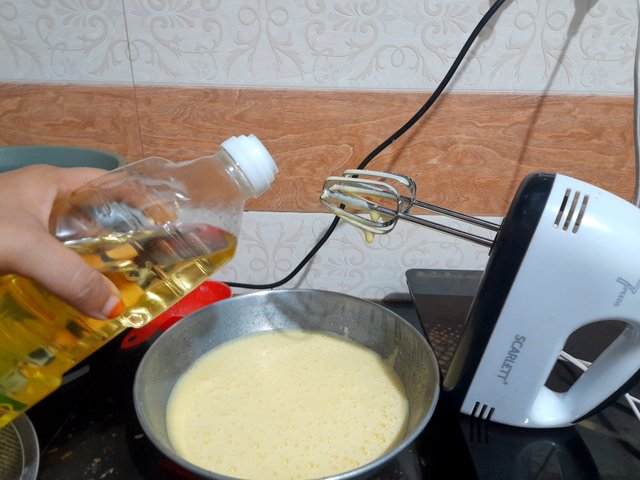
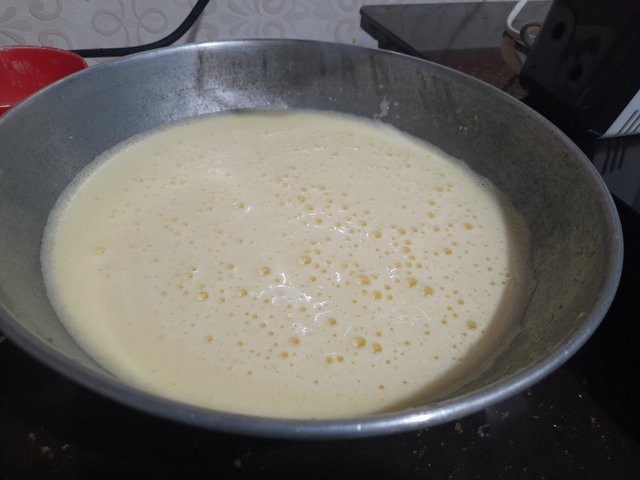
Beat the eggs for 2 to 3 minutes then add sugar. I have used half a cup of sugar here. We prefer a less sweet cake so used less sugar. Sugar should be added little by little to the egg batter. At this point I will beat the sugar together with the vanilla essence and oil. After beating like this for 7 to 10 minutes, our cake batter will be ready.
Step-6
Step-7
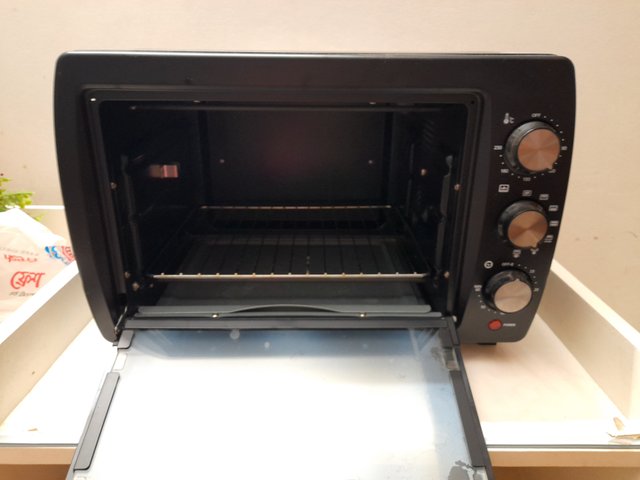
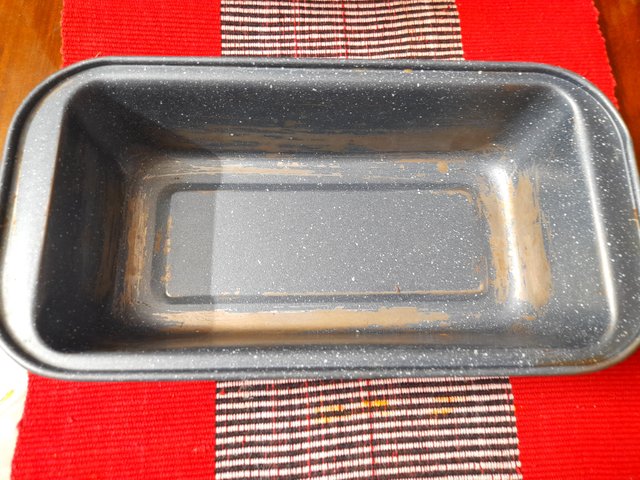
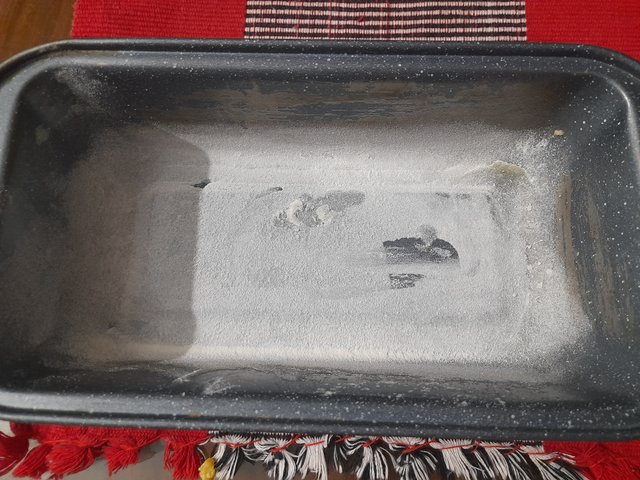
I will be making the cake using an electric oven so I preheat the oven for ten minutes and brush oil into a cake mold. Lightly sprinkle flour on it. This will prevent the cake from sticking to the mold.
Step-7
Step-8
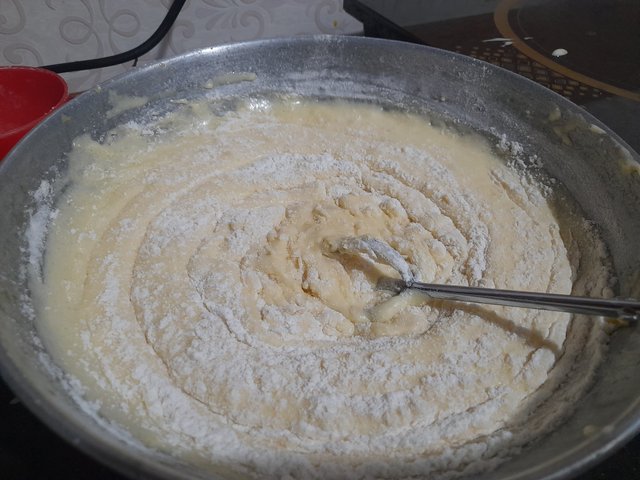
This step has to be done carefully. Now I have to lightly mix the dry ingredients with the egg batter with a spatula. This task should not take much time.
Step-8
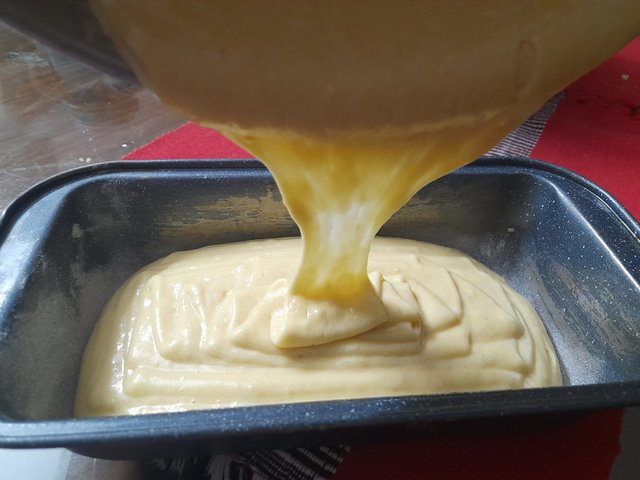
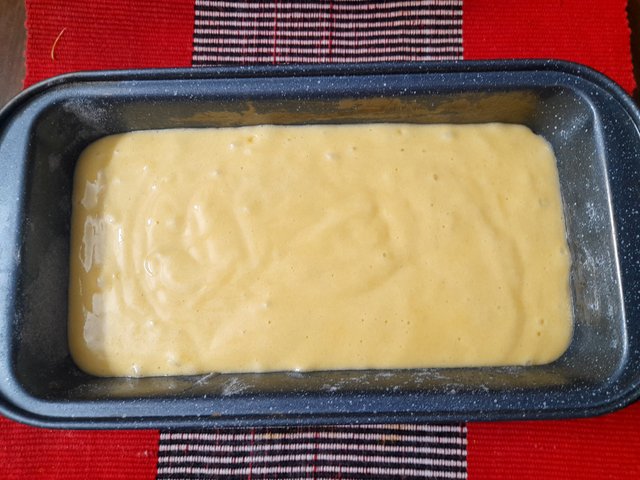
Step-9
Now I have to pour the cake mix into the pre-prepared cake. After pouring the mixture, it should be dabbed so that if any air forms inside, it comes out in the form of bubbles. Otherwise, the cake is less likely to be puffy and spongy.
Step-9
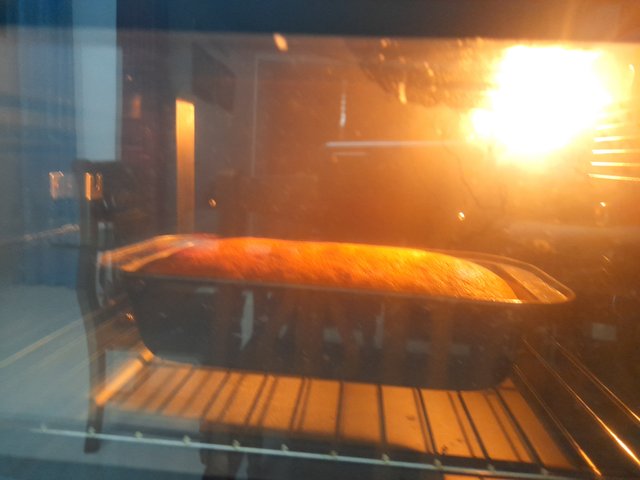
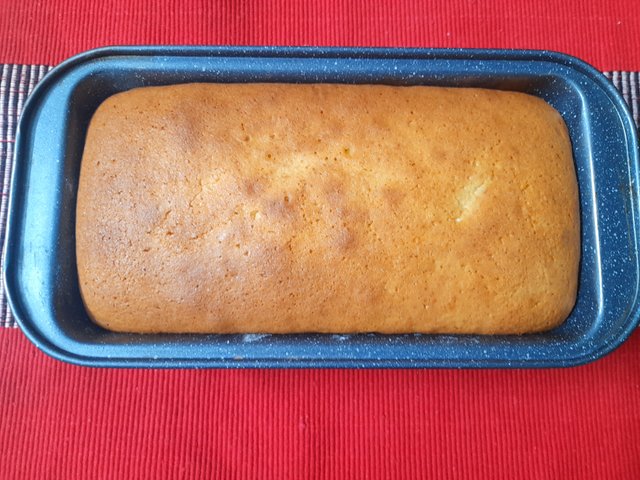
Step-10
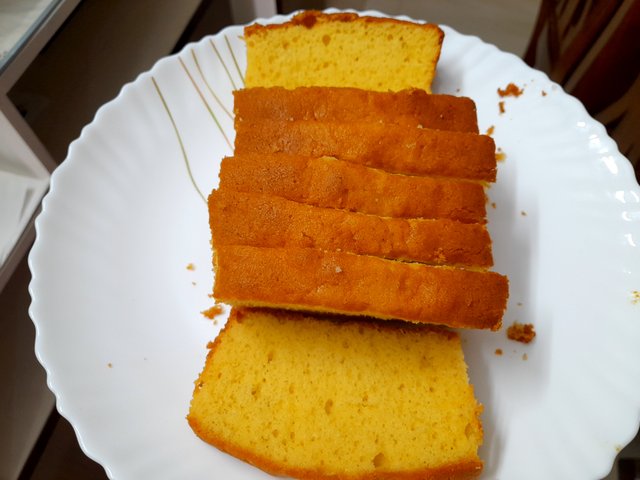
This is the last step in preparing the cake. The cake mold is placed in the oven at a certain temperature and time for baking. Here I let the cake bake for 35 minutes at 165°F. This will make healthy homemade family size cakes that you can serve to your kids for tiffin or breakfast.
Step-10
| Device | Samsung Galaxy A12 |
|---|
| Photographer | @pea07 |
| Thanks everyone for reading my post |
|---|
Regards
@pea07


Congratulations!
This post has been supported through the account Steemcurator06. for containing good quality content.
Curated by : @harferri
Wow, very informative post! We really like how you describe each step so clearly and illustrate it with photos. Thank you sis @pea07 for sharing this recipe, the cake looks very delicious.
Kind regards,
Steem Entrepreneurs Team
I hope this food is very testy. One-day invite me for eat cake & Ice-cream 😀