My First PC Build!
My First PC Build!
So, this is my first PC build and maybe the first question I need to answer is why?

I have been making YouTube videos on my channel (The Reel Sym) for almost two years now and each video prior to this build has been recorded, edited and encoded on my laptop.
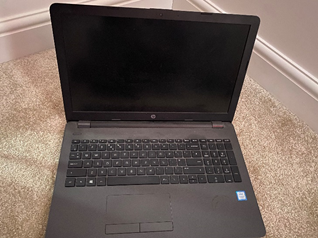
Yes, my HP 250 G6 Notebook and I would be lying if I said it was up to the task, this old boy had a good run but was clearly the bottleneck in my productivity. Let me list the issues I faced with it on a daily basis-
• It would constantly crash if I run multiple programmes at once which I needed to do frequently.
• It would overheat at the slight sniff of work which in turn would make the fans spin to the point it would sound like it was about to take off. This was unbelievably bad for me if I needed to record. It pains me to think back to the times where I had to wait patiently for the fans to stop running before I could start a recording.
• Storage was maxed out and I found myself having to delate previous media to free up space for others.
• Finally, the battery was ruined which meant that I had to have it always connected to the mains to turn it on. Yes, there were sometimes were the mains wire got caught and boom the laptop went dead while editing or recording…not cool.
So, you get the picture I was well overdue for an upgrade, so what to get??
Build or Bought
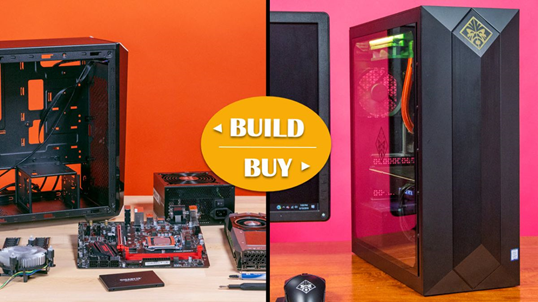
Well, my first choice was to build my own or buy one prebuilt. Now there are whole articles dedicated to this subject and this is not one of them so to summarise –
Bought – More expensive, the potential of lower quality parts per £ spent comes typically with a warranty, time saved as it is a straight plug and play and technical support available from the provider.
Built – The cheaper cost for equivalent parts as labour costs are removed, learning and understanding of components in a PC and what each one does, time-consuming vs a bought equivalent, the possibility of getting things wrong and damaging components.
These are the typical ones I could think of and I am sure there are more, but the build version appealed to me more and that is the route I decided to take.
Components
Case
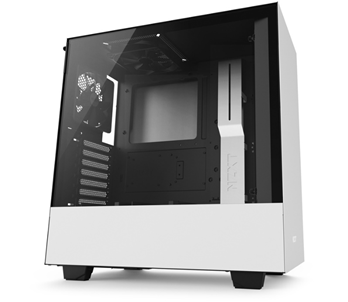
So, the case I went with was the NZXT 510i due to the minimalistic look which is what I wanted plus the white and back colour design really appealed to me.
GPU
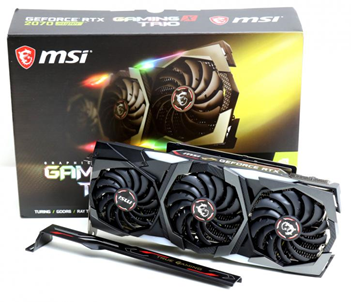
Initially, I was set on the 1660s as it was midrange in terms of performance and was still able to deliver on my requirements which were occasional gaming. However, I managed to get a good price point on the 2070s and the key factor that finalised my decision was its reviews on its heat and sound performance. The trio x is best in class in terms of noise which was an important attribute after coming from the boom box I had before.
CPU
Initially, I wanted to go for the 3600 but after hunting around they seemed to be either sold out or being resold at inflated prices. After a bit more digging around and researching what CPU best suited my requirements, I settled on the 3700x. The 3700x has more cores and for video editing which is what I do this is the better choice, I was able to purchase this for a lower price than the 3600x too which made it an obvious choice.
RAM
I went for 2 x 3600mhz 16GB as this provided more flexibility and future proof vs the 8gb version, the price difference between the two was worth this for me. Fast processing power was high up on my list of what I want from my PC so 36gb will be sufficient for now with the option to add on another 32gb in the future.
Storage
This was a key issue on my laptop as it was always maxed out and compromising my content creation. I decided to go for a 1TB Seagate HDD and a 500GB Samsung evo pro SSD.
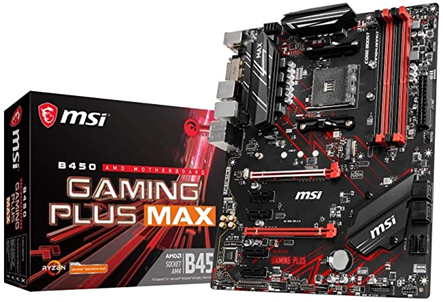
Motherboard
This is one area where I would have done things differently if I could do it again. The MSI B450 Gaming Plus Max did not have Bluetooth capability so I ended up buying a Bluetooth dongle. The H510I also has a front port USB type C connection, and yep you guessed it the MB isn’t compatible. The lesson learnt is to make sure your MB matches up with all the other components you have and want to use.
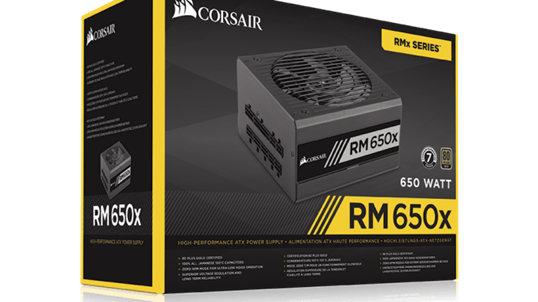
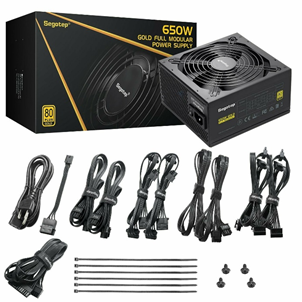
PSU
I went for a fully modular RM650X for two reasons. The first was for its noise scores which were among the best in class and secondly, fully module allowed the flexibility to only use the cables that I needed. In terms of voltage after to some checks on the estimated voltage, a 450 volt PSU would have been suitable but I decided to go for as a slightly higher rating to future proof my build.
Comparison
Temperature
After running four separate music video tabs at once for 4 minutes the temperature reads as follows-
Laptop
CPU = 76° GPU = 62°
PC
CPU = 52° GPU =32° (Fans not even running)
Storage
I have well over five times the amount of storage now vs before which is handy as I have quite a lot of media files that I need to keep. The case also has the option to add additional HDD and SDD drives so I do not think I will have to delete files just to be able to save others ever again!
Encoding
So, I tested a sample file on both computers and well the results speak for themselves.
Laptop = 297 Seconds
PC = 29 Seconds (Ten times faster)
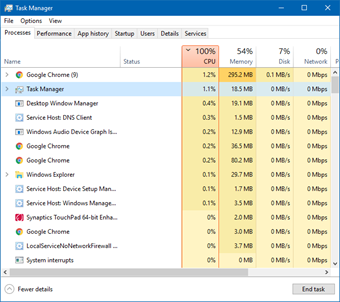
General Multitasking
Opening three separate music video tabs on my laptop would run my CPU up to 100% while my PC CPU never topped 25%. I can play a music video while also uploading a video to YouTube while also encoding a video in Premiere Pro and the PC remains almost silent. If I was to attempt this on my laptop it would probably explode.
Issues Encountered on Build
Audio Not Working
So, when I first got everything running, I quickly realised that the audio wasn’t working, and I proceeded to spend well over an hour online looking at every possible reason for this. I finally decided to have a look at the connection points, so the power connection and then the one to the MB. After looking at these it because clear what the issue was, I had not plugged the pin connectors into the MB correctly.
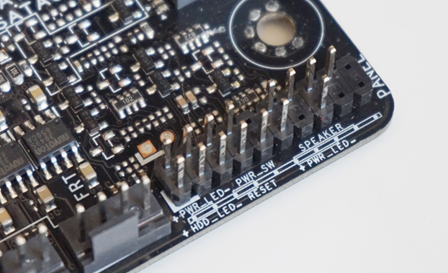
Moral of The Story?? The first thing to check should always be the most obvious. Always go back and make sure the wires are properly connected before moving onto more exotic reasons for the troubles you are experiencing.
PSU cables and management
As this was my first build, I wasn't sure which cables I needed and which ones I didn't, so ended up with excess cables at the end of the build. So, for example, I had two PCI-E cables fitted into the PSU when it turned out I only needed one.
Future Plans
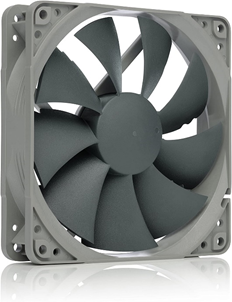
Upgrade case fans
The stock H510I fans are stock and I plan to replace these with some Noctua ones to improve airflow and noise reduction. Prior to doing this, I plan to run some tests on the stock ones to see if the comparison is noticeable or negligent.
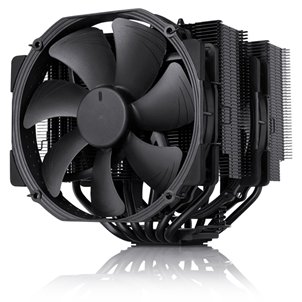
Upgrade CPU Cooler
The cooler currently is a stock wraith prism that came with the CPU, like the case fans I plan to run some tests on this cooler prior to upgrading.
Final Thoughts?
The differences in terms of performance between the two are to be expected and the purpose isn’t to compare directly but to show how the hardware used can be a bottleneck to your productivity as it was so clear to me. After comparing the two it was interesting to see how much I put up with and how much I worked around my laptop inefficiencies.
I am pleased that I decided to go the build it yourself route as I now feel I have a better understanding of the components within a PC, what each one does and it now gives me the confidence to upgrade individual components myself as and when I need to.
Thank you for reading my article and I hope you found this useful!
Follow me on:
Twitter: https://twitter.com/TheReelSym
Thanks For Watching!!