Glossy landscape painting with poster colors
Poster colours are the best cheapest colours we can own to make very beautiful glossy paintings. I came to this conclusion so recently as I started trying to make more and more paintings with these.
These colors are very quickly drying so the speed in drawing is an essential part here if we want to get same gradient of colours. There wont be enough time to mix the colours and plan what to do next in between the painting process.
So I was very careful and fast when I tried these. And the results where awesome for me. We could use these over a various range of papers, bottles, plastic and canvas surfaces, literally almost everywhere.
Here I tried to recreate a beautiful landscape photo into a glossy painting with poster colours. Here is my painting.

For a quick view I also made a gif image.

You can access the reference I used here - Source
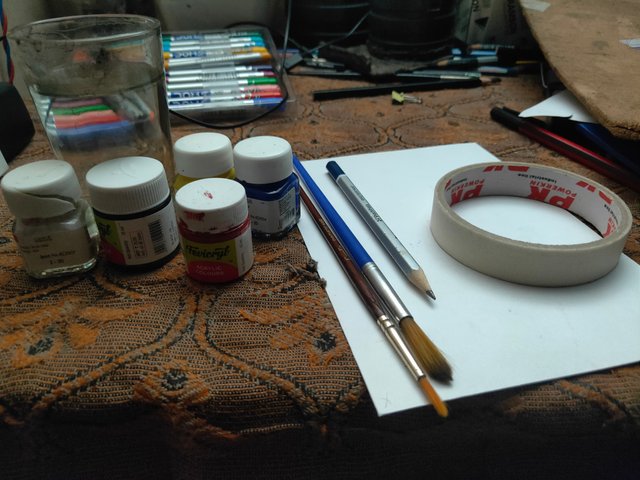
Minimum materials I used
Paper 200gsm
Poster colours
Brush
Pencil
Masking tape
Water
Art making process
Step.1 - Preparing the surface
First I wanted to fix the paper on a plane board. So I used paper taps which will also help to get clean edges for painting.

Step.2 - Painting process
Unlike we follows steps in making Watercolour paintings or oil painting here I didnt have any rules but one - Do fast. So I started applying the colors very fast from the top to bottom.

I was hopping that this will help me to keep my hands clean and I could avoid smudges over the painting part which happens often by mistake.


But here while using poster colours I didn't had a problem like that as it was drying so quickly. So first I started from top to bottom but then I painted wherever I needed as I knew it wont smudge.

The painting process was went with a layer by layer technique. There wasn't any restriction of applying colours like we should use white first and then dark as in watercolourpainting. I was able to try any colour over any other colour after the first layer dried.
Step.3
This is not an another step but in this final stage I was trying to fill the gaps in the painting process. i made some detailing in the bush. Drew sone more flowers, added shadows where it needed etc.

Finally
After I finished the painting, I removed all the tapes from it without damaging the paper.
The final view of the painting.

So that was my whole creation, I hope that was quite enjoyable And I had also took a selfie with my work


Find me here
artographer
Beautiful photography, @artographer. It is a Work of Art. It would be a marvelous experience, to be able to be me, the one to photograph those moments. Nature is fascinatingly magical, I really enjoy it. It gives us some unforeseen scenes that change in a flash. I hope to be able to go to that place one day, it would be a wonderful moment of meditation and relaxation, as the white cat enjoys. If that place exists, I would be very embarrassed to be able to visit that place and enjoy that extraordinary view.
I wish you a lot of success!
#onepercent #affable #venezuela
Thanks for noticing
Muy buena tu pintura eres un gran artista te admiro.
Thank you so much
Una verdadera obra de arte, felicidades tu trabajo es hermoso.
Thanks
Bien detallado tu paso a paso, te felicito, gracias por compartir tu creación con nosotros.
You have been upvoted by @sapwood, a Country Representative from INDIA. We are voting with the Steemit Community Curator @steemcurator07 account to support the newcomers coming into Steemit.
Engagement is essential to foster a sense of community. Therefore we would request our members to visit each other's post and make insightful comments.
Thank you