Craftsmanship In A Country Of Mismanaged Economy
I found out that I need to help myself first before looking for help from others.

Original image
“Heaven helps those that helps themselves”
The above statement is an adage that has lived long before some of us, though, I don’t know how true the statement is, but I like the points it portrays.
Few years ago, one of prominent politicians in my country made a caricature of youths in my country; saying that they’re lazy. Lazy, how?
The youths who managed to succeed the dreadful nature of education system in my country looks up to the government to provide jobs for them.
And the government at the other hand looks up to the youths to empower themselves, and to stop blaming the government for their unemployment. The truth is that most people would prefer to push blames to others for their irresponsible behaviors.
Looking beyond what the government could offer in developing countries
I noticed that our culture and system of governance is different from the westerners where things are more organized, and where the rule of law is respected; I made some shifts immediately through upgrading my skills acquisition.
As a youth in those days, I could manage any amount of bulks in my pocket irrespective of how little it could be, but when responsibilities start increasing, I then testified that I made some right choices by engaging in some skills.
Some of those choices includes; looking for other areas of interest that I could obtain more knowledge in skills and crafting adventures. I depended less on fantasies of lucrative government work.
I loved agriculture, and I deployed some arsenal in learning agriculture; both crop farming and husbandry. I have interest in permaculture. Permaculture in a simple terms is ‘permanent cultivation’ or continuous farming regardless of seasons.
Permaculture in my mind made me to think 🤔 about irrigation system that would grant enough water to sustain my gardens during droughts and dry season.
Becoming a craftsman could help in sustaining oneself
This is another area that I like so much and would that unemployed people can engage in them while they wait for government jobs.
People comes to me when they have need for alluminum window assembling and installation; I often receive such offers from people who has gained trust in my technical know how.
I’m also willing to pass the knowledge to anyone around me that cares, but unfortunately, people prefer quick ways of making huge amount money at once, than to spend time learning a particular skill.
Adding to one’s knowledge through skill acquisition
Finally there’s one who is willing to help himself through learning a skill
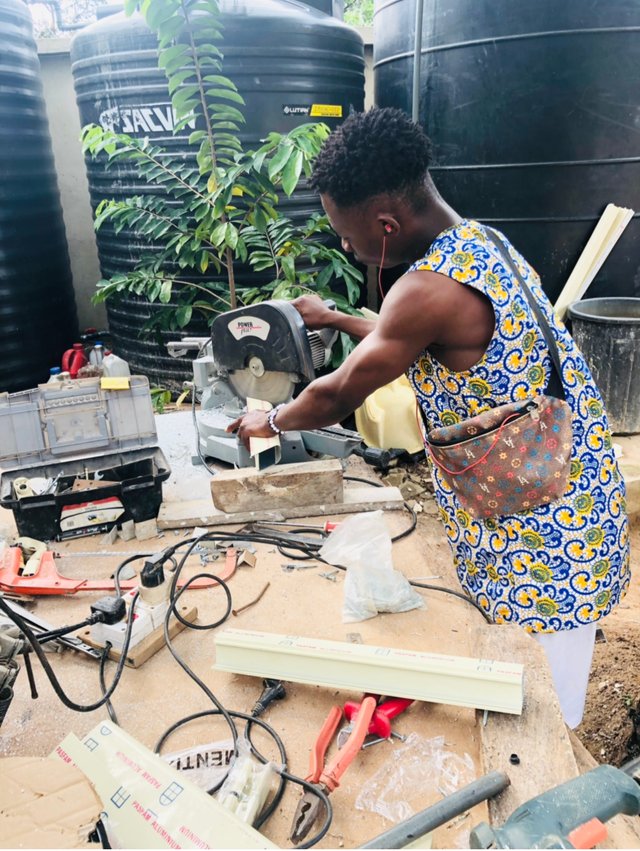
Recently the young man in view approached me and asked that I teach him about crypto currencies and blogging. I promised to teach him the little I know concerning crypto currencies.
I don’t want to stop at helping him understand crypto, I’ll like to build him into a crypto user or possibly as a merchant. I also want to teach him the aluminum cladding which he could render to people for both crypto and fiats as the case may be.
I currently do not have a workshop; I’m using my compound as my workshop for now until I’m able to pay for a workshop if need be. You could see from the background; my plastic reservoirs which I deployed for my water project.
Recently, a job was offered to me; some casement windows. I’m glad to have an opportunity to share the experience and the processes of making windows with my readers here.
The first approach to learning this type of technical skill is to understand measurements; one can learn this by trying to understand from the last unit of measurement which sometimes could be referred as ‘mm’ ( millimeter) and the above.

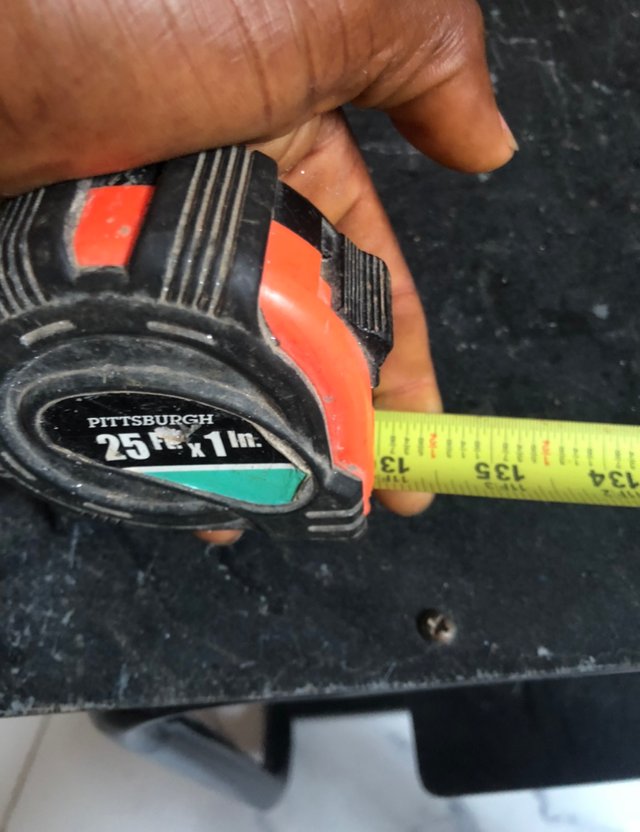
A measuring tape
The tools above is not too costly; could be at the ranged of a dollar to a few dollars; depending on the length and make. Measuring tape is simple and handy, yet it forms the basis and foundation for construction 🚧 works.
For building a window, the craftsman would need to visit the site (house etc) and take measurements of the windows. After taking the measurements, he could then do the material costing. This is the same approach that I deploys.
Costing for materials
Costing for materials needed for a job is another aspect that needs carefulness; considering the fact that your costing accuracy could determine how you set your profit margins, otherwise, you may overestimate or underestimate, any of these may cause problems for the craftsman.
Over estimated proposals can cause one to lose a contract, especially when his client is the type that bargains with multiple service providers which would eventually expose the bogus estimate.
Under-estimated quotation could also make one to run into problems if he runs out of money as a result of underestimation.
I invited the young man who is interested in helping himself over; my aim was to make him practice the things that he is being taught.
I started with window frame using height, width, and other materials

Casement window could be attached to its frame, and both could be installed simultaneously. So in some cases, I would prefer to build the frame which forms the base for inner panel sections.
For framing, you’ll need few materials which I’ll try to cover in this article.
You’ll need a material called ‘HEIGHT’
You’ll need a material called ‘WIDTH’
You’ll need a material called ‘ANGLE CLIP’
You may also need a material called ‘CENTER MULLION’

That’s angle 📐 clips.
Oh, my puppies 🐶 like playing with those little material, maybe that’s their way of helping Max. Meanwhile, the material in view is called the angle clip. Angle clips are used to join two mitered materials together.
In my tutorial, angle clips were used to join both height and width materials together to form a rectangular frame 🖼.
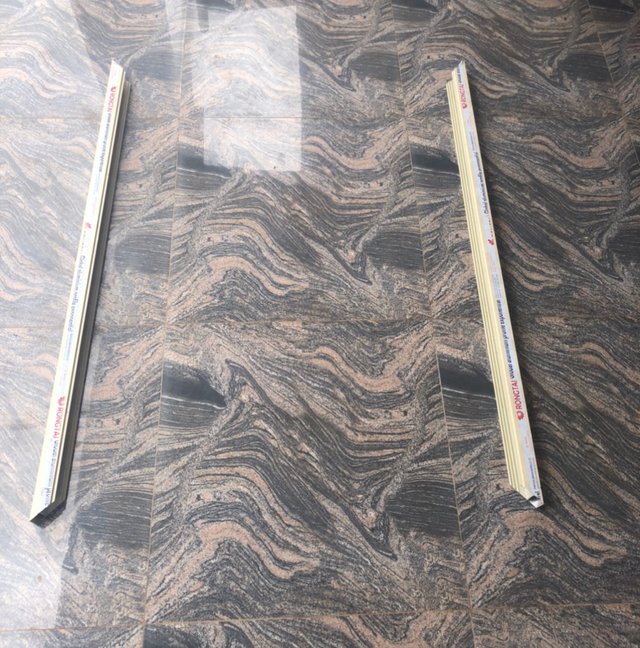
Width and Height materials are placed according to how their name sounds; width stays at the floor and also laps under the lintel beam. You’ll need two width for one window flame.
Likewise the Height, you’ll need two pieces of height material for one window frame. The heights are placed by the sides; these serves as the hangers; where window hinges are attached to.

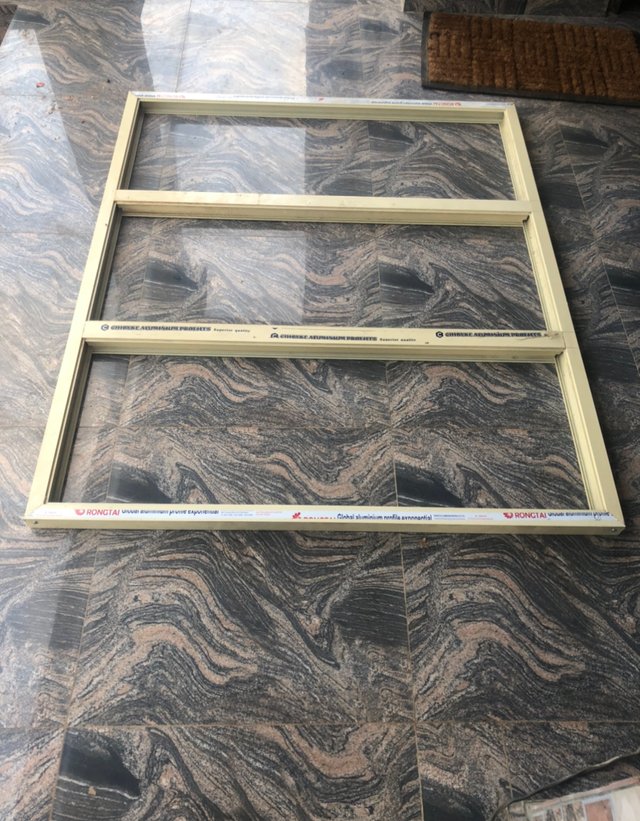
My finished casement frame
Looking at the window frame above, you could see the three mentioned materials; height, width, and center mullions which were used to partition the frame into 3 vents. The only mentioned materials which are not visible in the picture is the angle clips which are already placed inside the heights and widths.
In conclusion:
I tried to explain the basics in building a casement window from scratch. And in this particular article, I tried to explain the materials needed to assemble the casement frame.
I didn’t cover the process of coupling the frame in this article. Maybe I could do that in my next article.
It is important for people in developing countries, especially those found in economic mismanaged countries to adapt the culture of learning skills that can help them to add value to their living and livelihood.
For people in my community, I’m more than willing to teach them these skills that I’ve acquired. I paid to learn those skills actually, but I’m willing to teach others free of charge. So feel free to contact me if you’re living around Southeast Nigeria, or you can subscribe to my blog page for more information, tutorials, questions, answers etc.
I’ll explain in detail the process of assembling casement window frame in my next article.
Thanks for reading.