Crypto Academy Topic 5: Understanding Decentralized Finance Part 2 – by @yohan2on
Hi everyone, welcome to this week’s amazing lesson. This is the part 2 of the ongoing course on the topic decentralized finance. In this post, I will be sharing my knowledge and giving my opinion about DeFi as the short form. I have to say, this lesson by the Steemit crypto professor @yohan2on has been really amazing, explaining all about DeFi.
Like I said in the part 1 of this DeFi course, the past months have seen the rise of DeFi platforms in the blockchain and crypto space, making them one of the most talked about topics in the blockchain world right now and crypto at the moment. In the previous part, we looked at a few DeFi projects, in this part, we will be looking at a DeFi web3 wallet and how to use it…
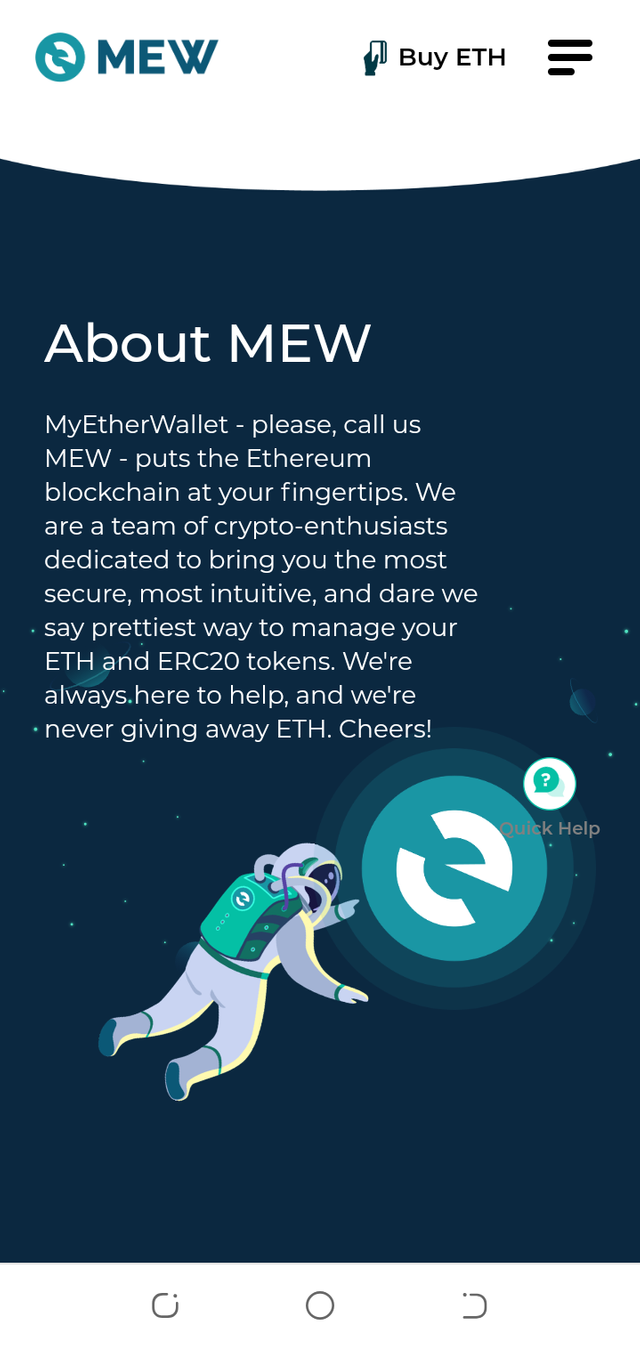
Myetherwallet and What it is all About
Web3 wallets have remained very popular and widely used in the cryptocurrency space and myetherwallet still remains one of the best web wallets out there. Myetherwallet is simply a website interface and a gateway that allows users interact with the ethereum blockchain. One of the great things about myetherwallet is that it gives you full control of your funds and assets by providing you with your wallet private key, keystore file and mnemonic phrase. With these, you are in full control of your funds and your funds are safe as long as you keep them safe.
How to Make Use of Myetherwallet
One of the main benefits of myetherwallet is that it is easy to use and the interface is very simple and easy to navigate, making it one of the most used web wallets for ethereum and ethereum based tokens… and also its hardware support.
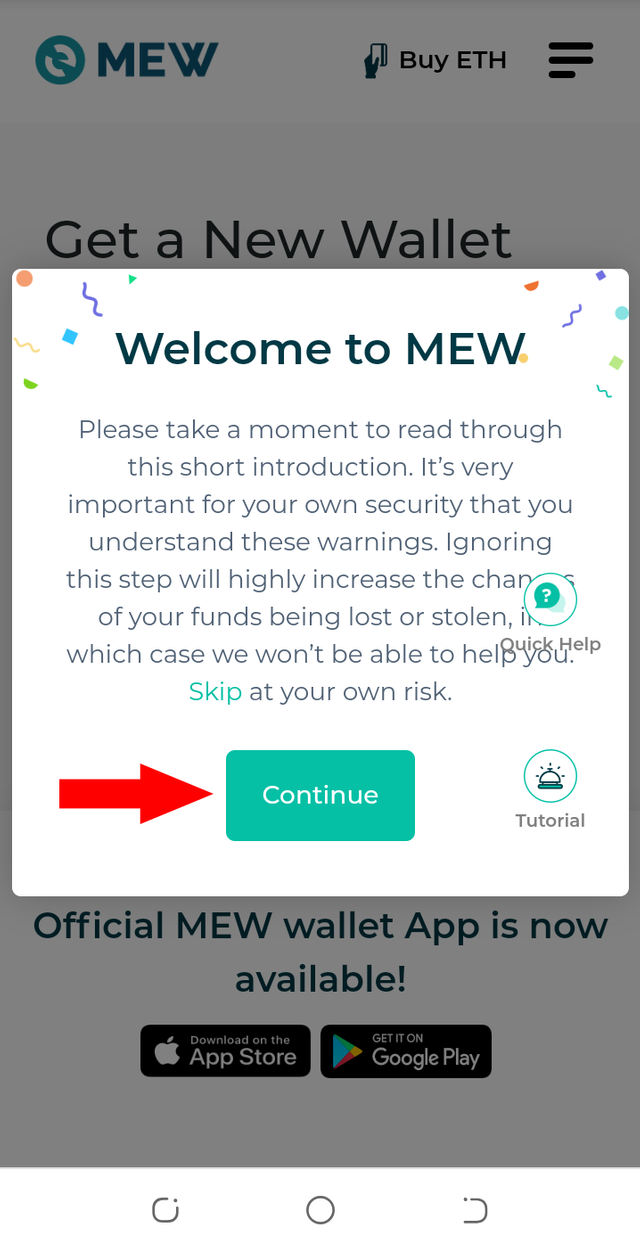
- To make use of myetherwallet, you need to first visit the correct website which is https://www.myetherwallet.com … you have to make sure that you are visiting the correct url.
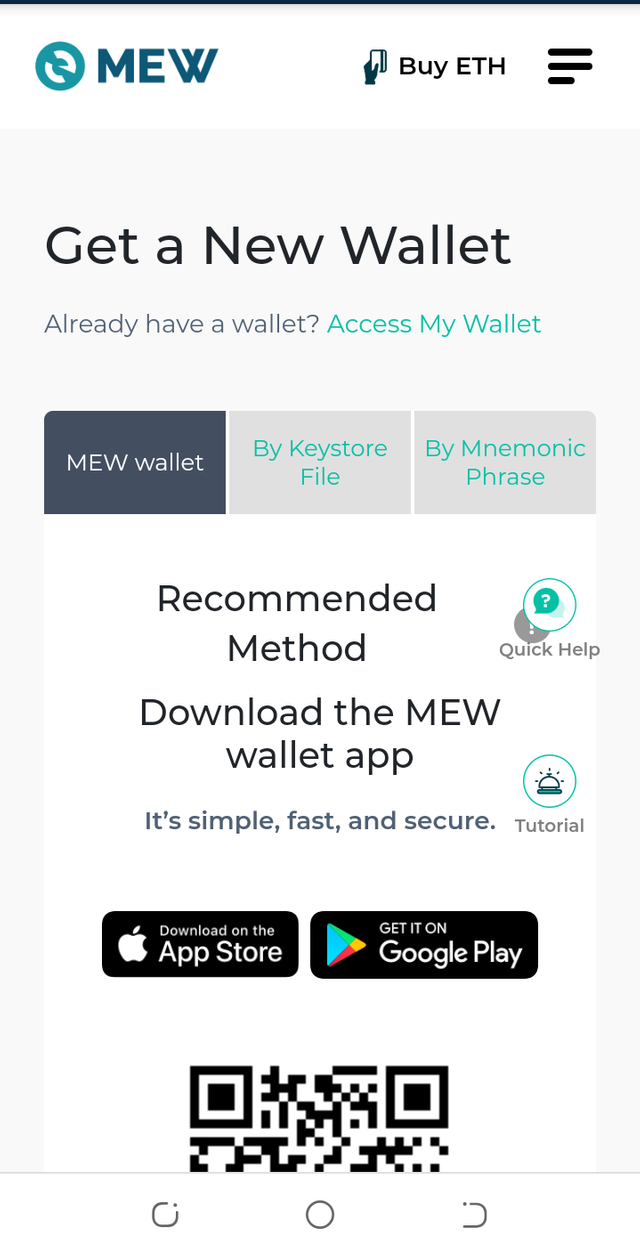
Creating your wallet
- Once you are on the correct url for myetherwallet, on the homepage, click on the “create a new wallet” button

- On the next page, choose your preferred method to access your wallet. For me, I like to use “By Mnemonic Phrase” method and that is the method I will be using in this how to post.
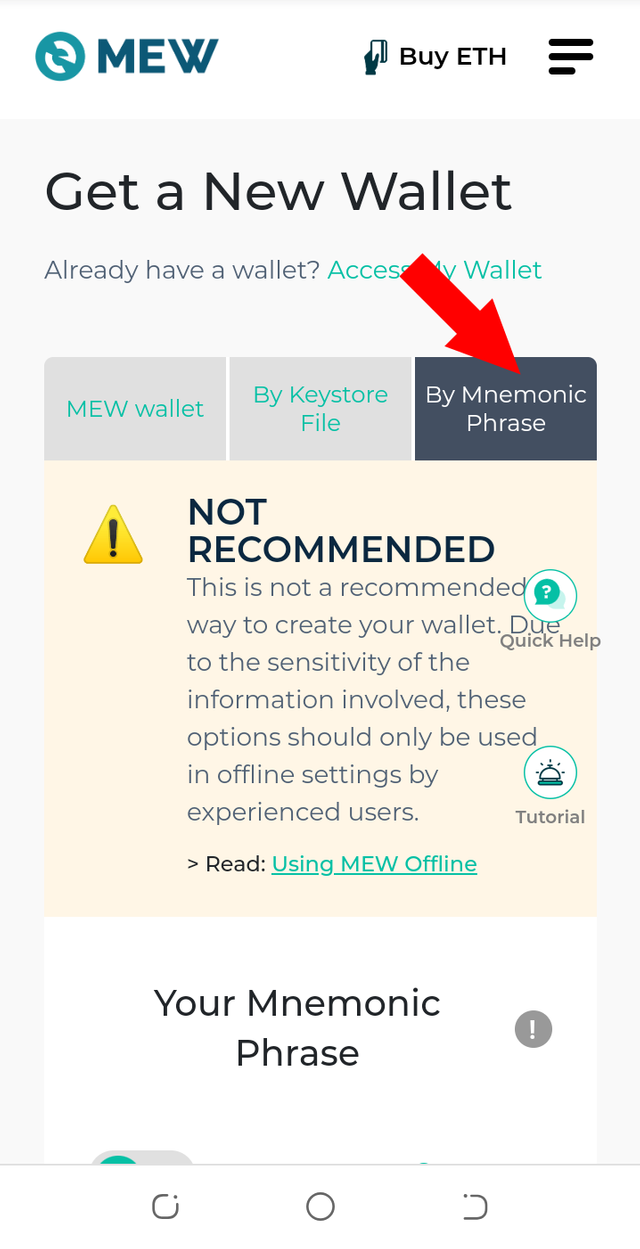
- You will be provided your 12 word seed phrase, this is extremely important and you have to write it down properly in the correct order and keep it safe. Remember, keep it in a securely.
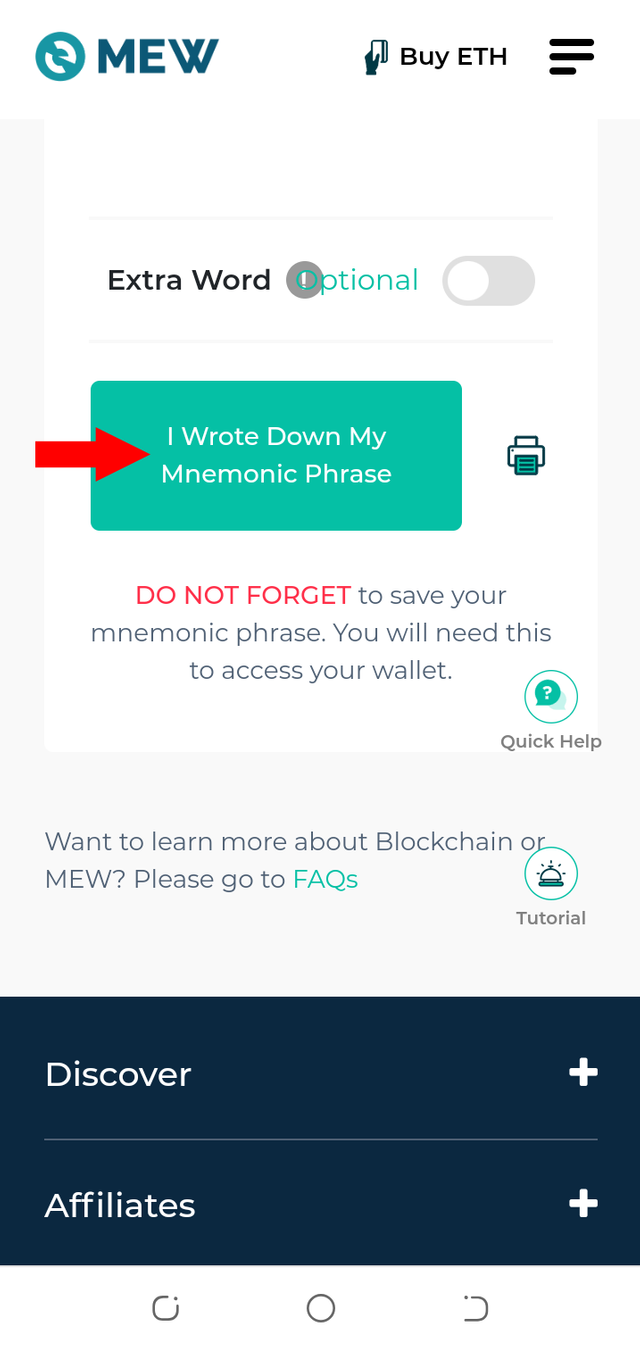
- After you are done writing down your 12-word seed phrase, click on the “I wrote down my mnemonic phrase” button to proceed to the next page.
- The next page is verification
You will be asked to provide some of the words in your 12-word seed phrase randomly in their correct number position.
Complete this section and click on the “verify” button

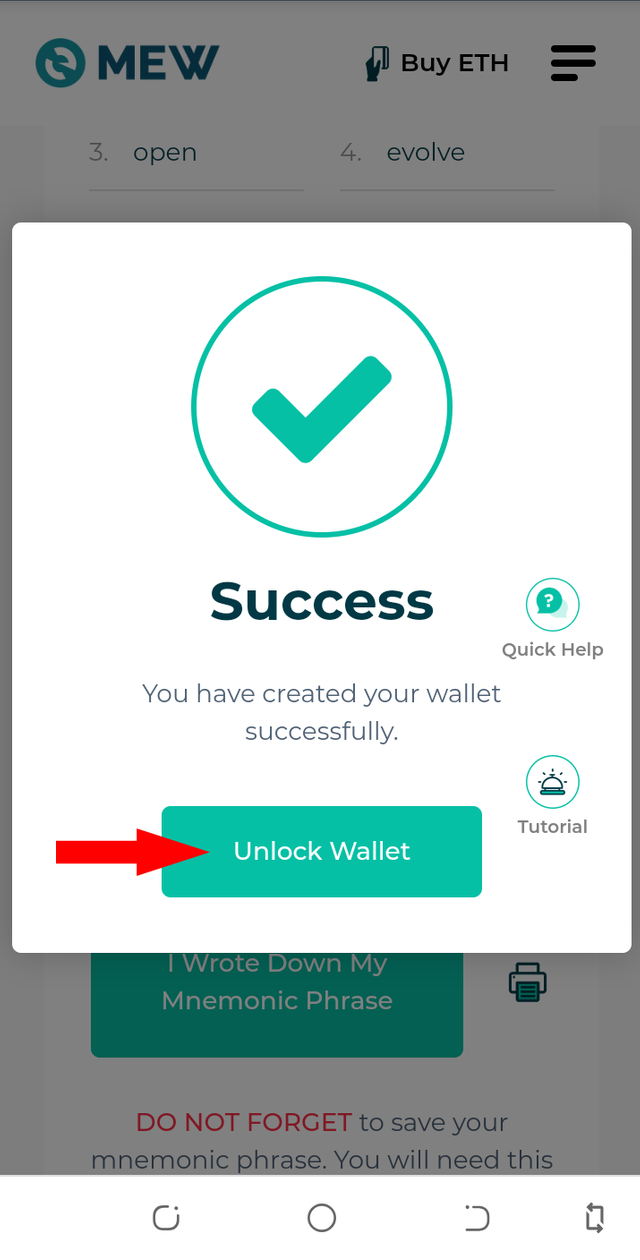
- Success! Now click on the “unlock wallet” button
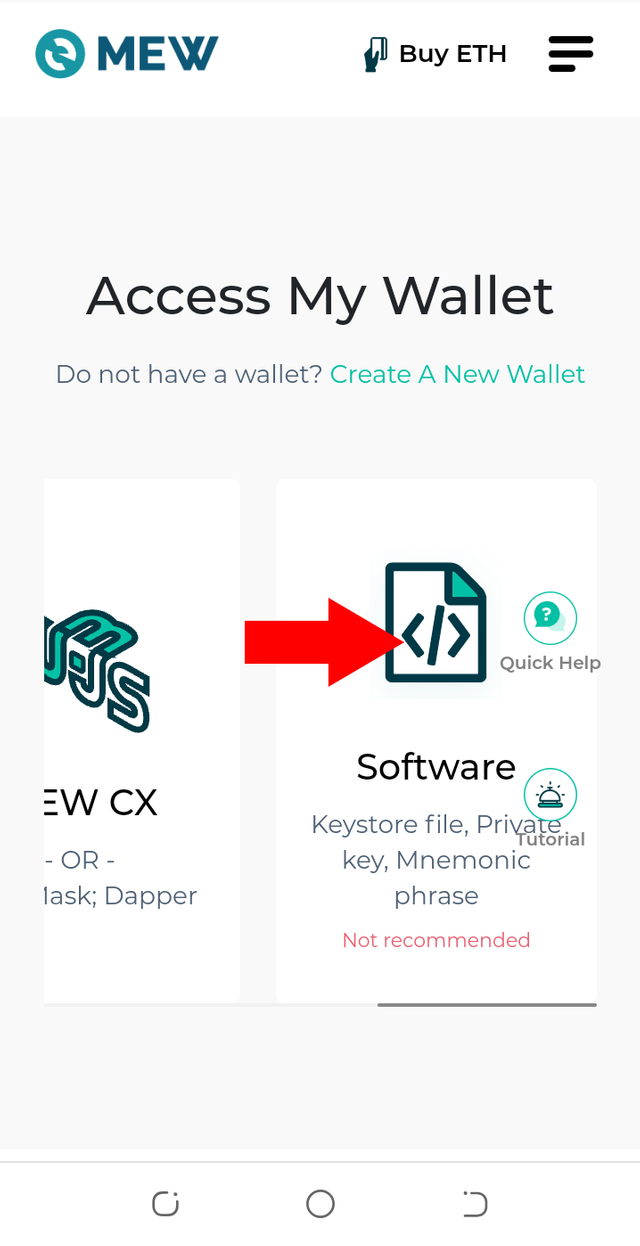
Accessing your wallet
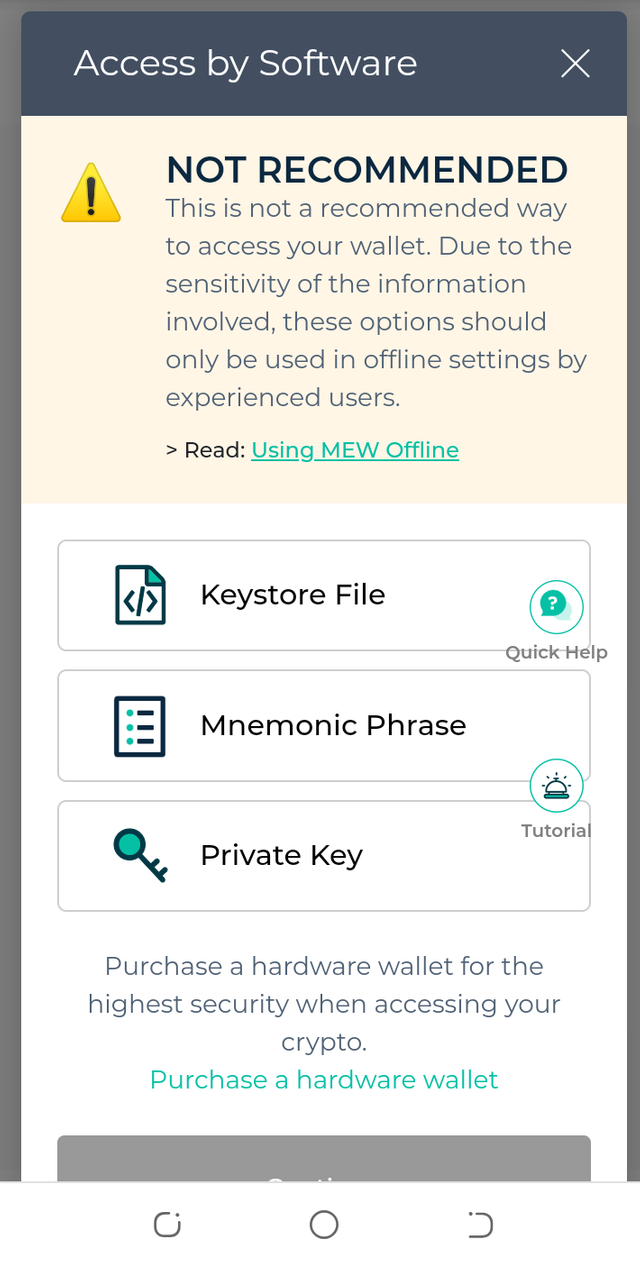
After you click on the “unlock wallet” button, the next page will ask you to select your preferred method to unlock your wallet. In our case we chose mnemonic phrase so you will click on “software” button
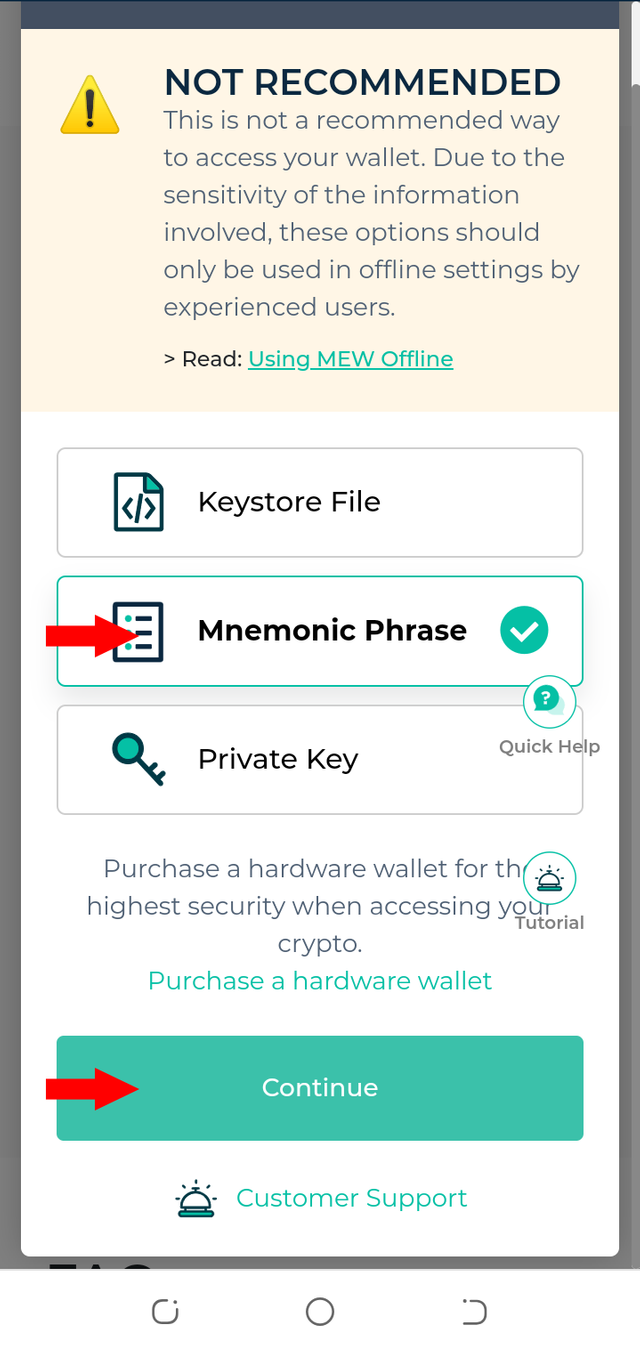
- Next, select the “Mnemonic Phrase” button
- Click on continue
You will be asked to input your mnemonic phrase in order to unlock your newly created wallet
Input your mnemonic phrase and click on continue

Accept the terms and choose your Address to Interact With and click on “Access My Wallet”
You are all set
Inside Myetherwallet
Now that your wallet is created and you can access your wallet, I will be showing how to use the wallet. The wallet comes with amazing features and I will be showing how to make use of the main features.
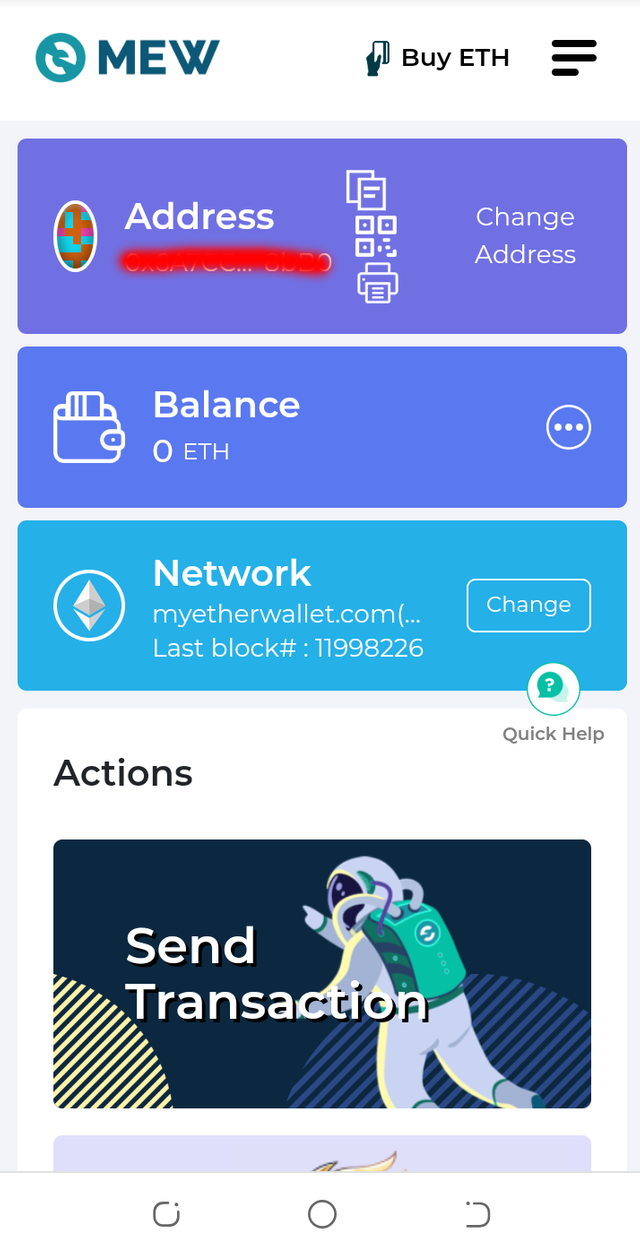
Once you are inside your wallet, you will find your dashboard that shows your main balances, address and tokens
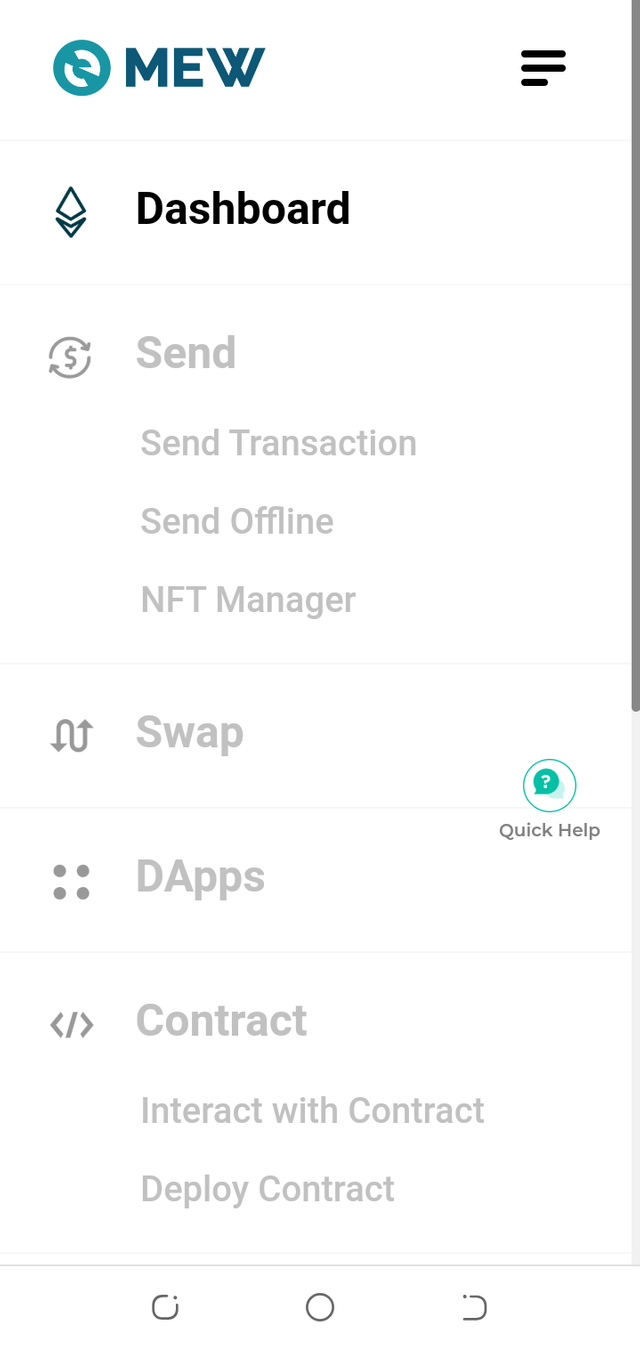
Click on the 3 lines at the top right to access the other features like send, swap, which are the main features in this section
The send tab is where you want to send transactions to other addresses and also you will find the nft manager.
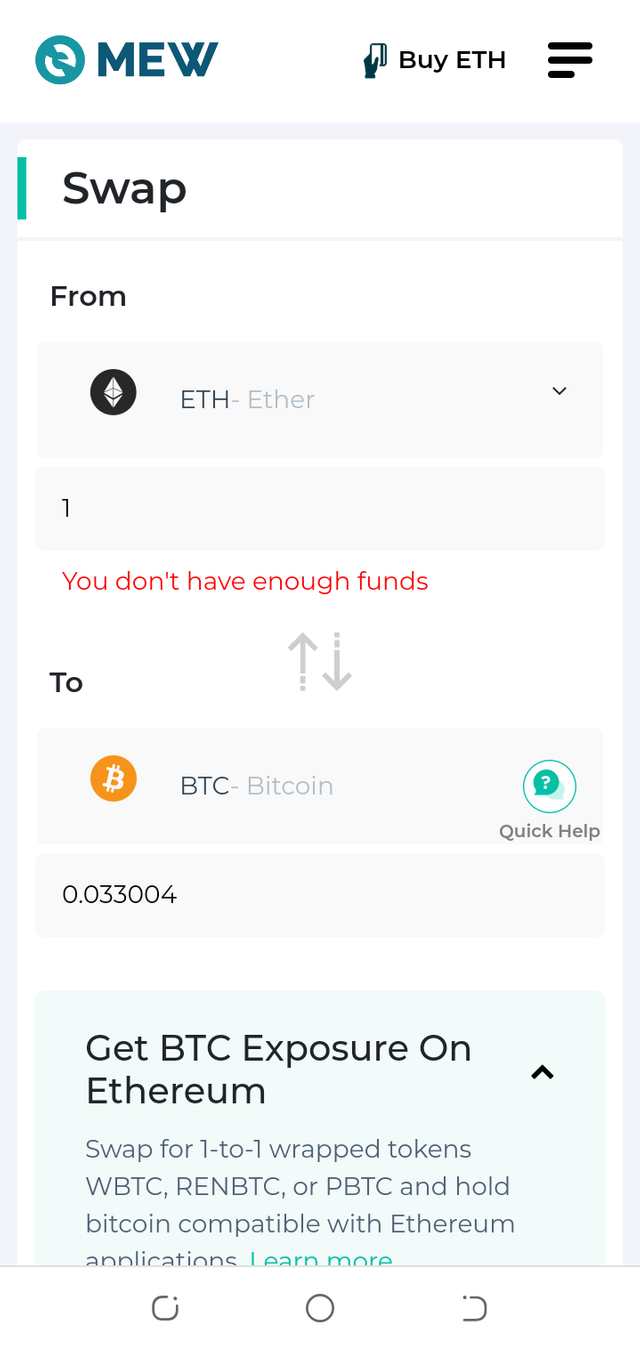
The swap tab allows you to swap between eth and other coins or token
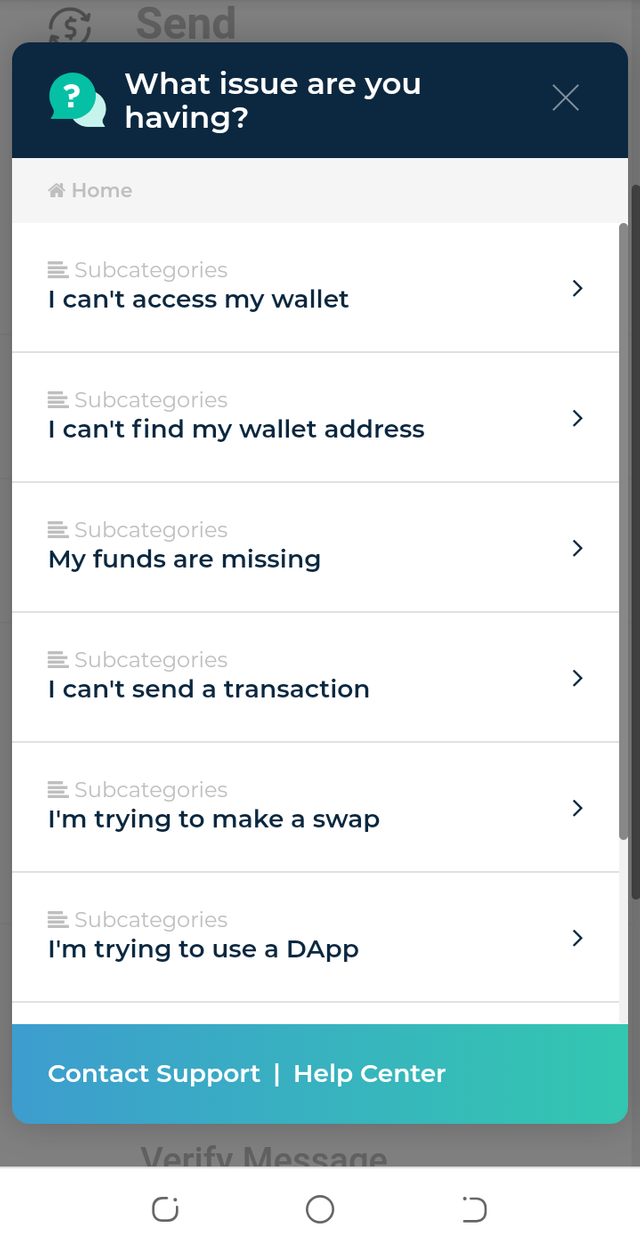
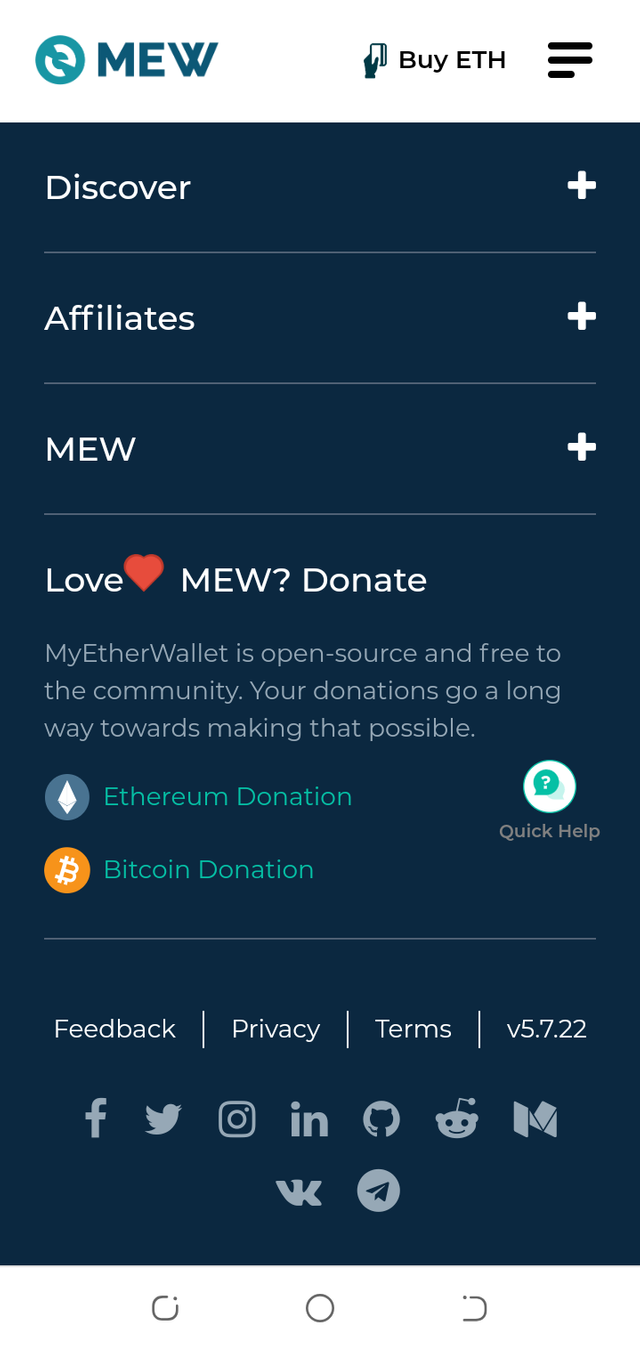
Clicking on the floating quick help button brings out
You can also find you transaction history tab, info tab and buy eth tab

hi @designieplay.
Thanks for attending the 5th-week Crypto course and for your effort in doing the homework task.
Feedback
Its a good step by step guide on how to create a Myether wallet account coupled with the briefly explained and highlighted features found within My ether wallet including swap,send, receive and so on.
You needed to do some edits on your screenshots, they were way too huge, otherwise thanks for demonstrating to us how the various features operate even though you had no ether balance.
Homework
8
Thanks so much
Hi @yohan2on This is the repost... original post here
https://steemit.com/hive-108451/@designieplay/crypto-academy-topic-5-understanding-decentralized-finance-part-2-by-yohan2on
Nicely explained about this Myetherwallet and most importantly explained how to open account with step-by-step photograph which is very easy for the readers to understand about opening the account full stop the verification is also showing simple with 12 secret keys. Well done.