 Edit by Canva Edit by Canva |
|---|
Hi friends, after reading around I am interested in participating in an amazing challenge this week. The challenge is titled: "The Object Approach In JAVA" by Mr @kouba01 following the contest link.
Task 1
| 1 | What is a class in Java? |
|---|
| Answer | (A) A blueprint for creating objects. |
| Reason | Because the class is likened to a blueprint or first design. Therefore here, we can create an object with data and functions according to what has been designed in the class. If it weren't for the class, the object wouldn't have a guide to exist. |
| 2 | What is the function of the new keyword in Java? |
|---|
| Answer | (B) Create a new object from a class. |
| Reason | new is like a very important key in order to create an object from a blueprint (class). So, new will spawn the object so that it can be used as designed by the class. |
| 3 | Which of the following statements is true about attributes in a class? |
|---|
| Answer | (C) Attributes store data for an object. |
| Reason | An attribute is like a place that can store information that is very important for creating objects. For example, if we have an object Car, then the attribute could be color, brand, or speed. So in conclusion, the attribute is the identity of an object. |
| 4 | What is the purpose of the constructor in the class? |
|---|
| Answer | (B) To initialize the fields of a class. |
| Reason | Because Constructor is similar to a first setting in creating an object. So, when the object is created, it will directly be given the first value or condition to suit its needs. The name of the constructor is definitely the same as the name of the class so that it is easily recognizable. |
Task 2
In this second assignment we are given a java project about laptops and displaying their prices. In this project I will name the project with LaptopProjectWalictd. Then later I will use 2 classes namely Laptop and Main. Let's go straight to practicing step by step. Here we again use the Eclipse application that we have installed like the first lesson last week.
- First we will create open Eclipse
- Next we create a new project by going to File --> New --> Java Project. Then I give it the name “LaptopProjectWalictd”.
- After creating a project, the next step is to create a package in order to create a class. The method is quite easy, namely by clicking once on the project that we created earlier then going to the File menu --> New --> Package. I named the package with “laptopwalictd”
- Next, I created a new class in the project. The method is quite easy, namely by right-clicking on the project and then going to the File menu --> New --> Class. Next, I named the class “Laptop”. Before pressing the finish button, we must check the “Public static void main(String[] args)” section, then Finish.
- In the Laptop class that I have created, I will enter the code below where there is a constructor with the aim of initializing the attributes. Here is the code that I entered:
- Next, I created another new class in the project. The method is quite easy, namely by right-clicking on the project and then going to the File menu --> New --> Class. Next, I named the class “Main”. Before pressing the finish button, again I checked the “Public static void main(String[] args)” section, then Finish. In this Main class, I entered the following code:
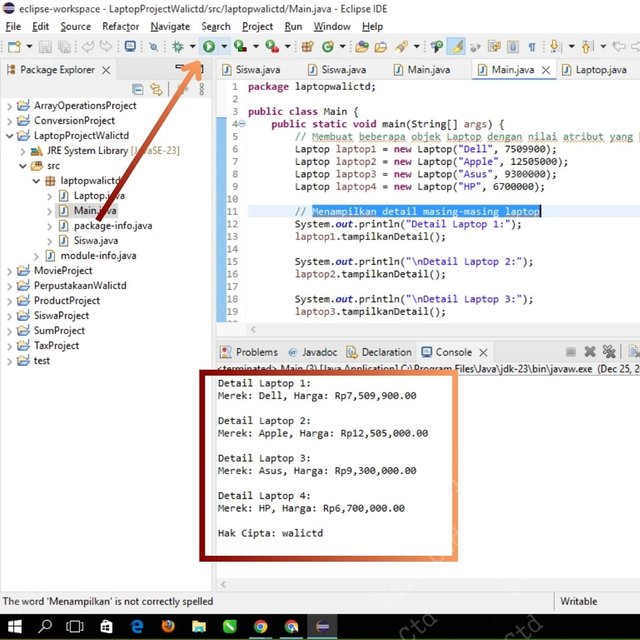
In the coding above there are several Laptop objects with different attribute values, and also to display the details of each laptop.
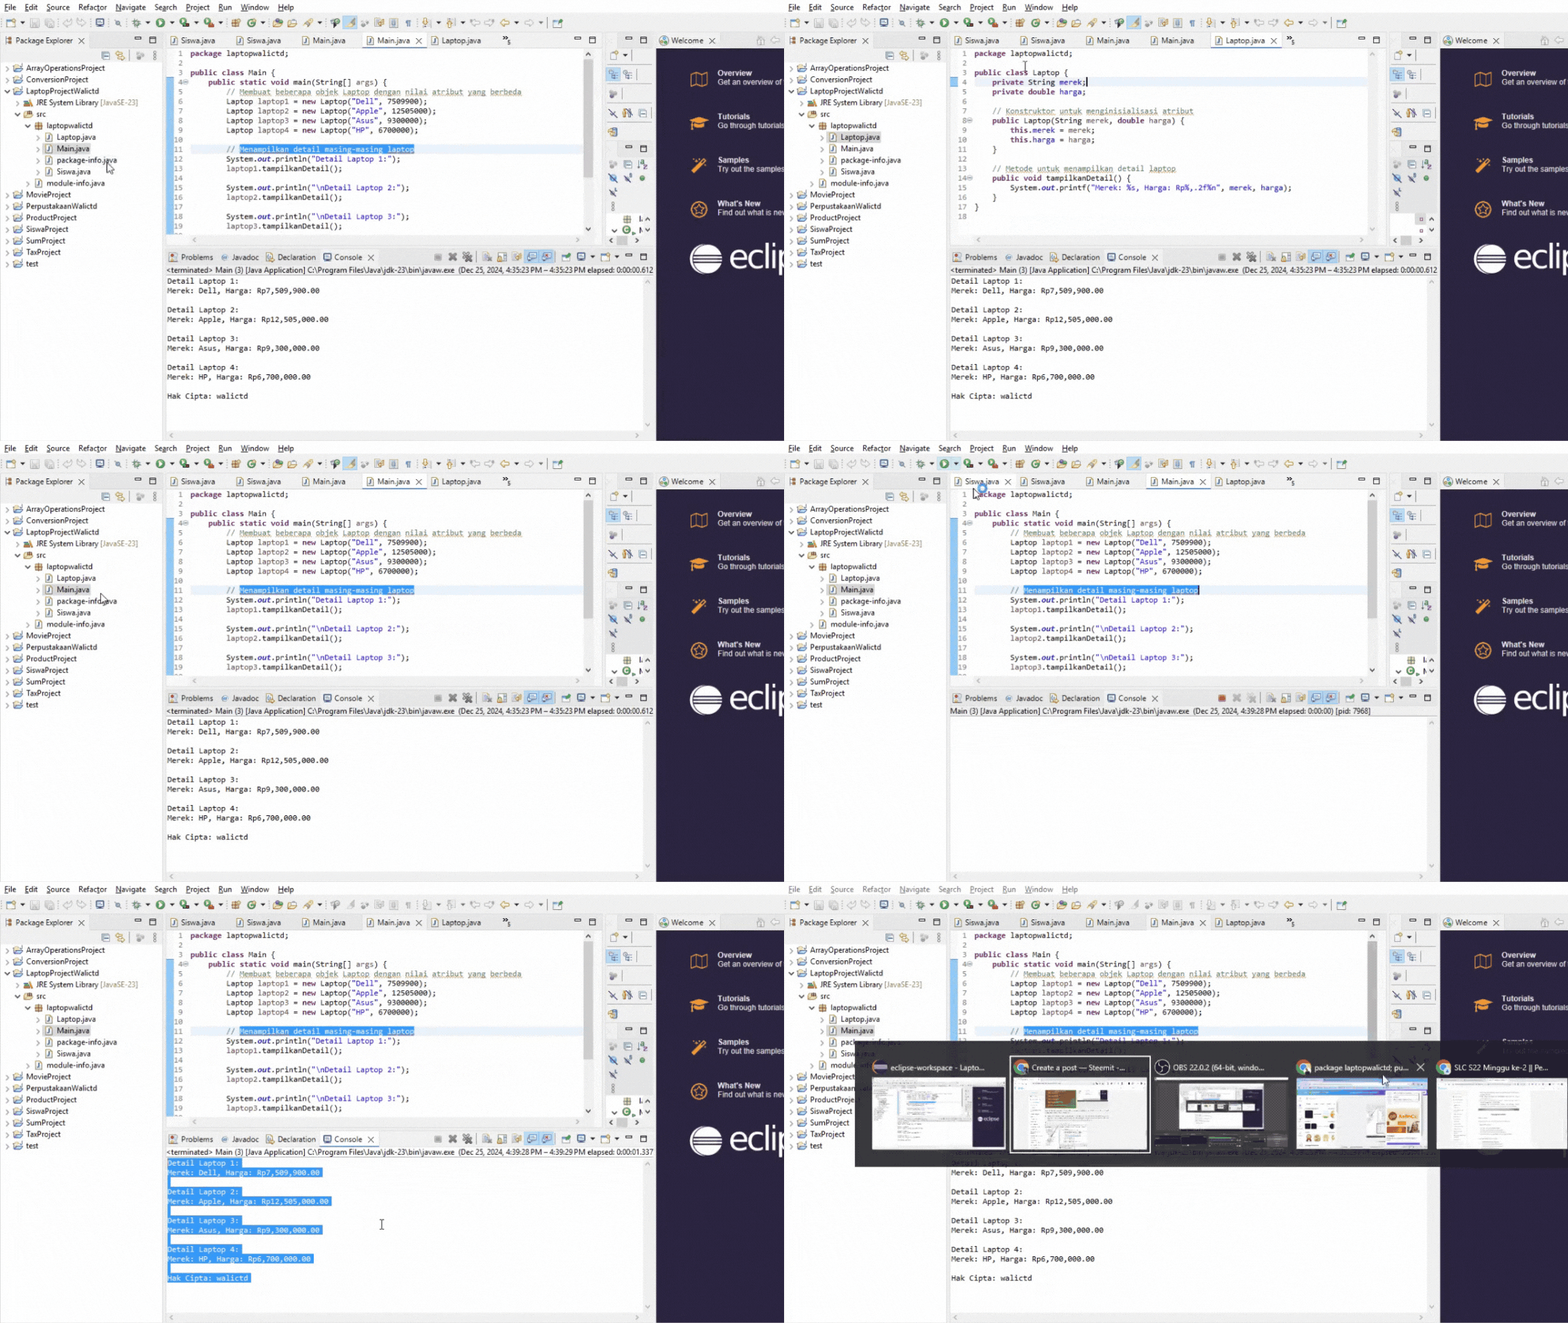
- Next is to run the java program from the project we have created. The trick is to go to the Main class file that we have created, then just select the run icon at the top and if there are no obstacles, the results will be displayed below, as follows:
%20%7B%20this.merek%20=%20merek;%20(2).jpg)
.gif)
Task 3
In this third assignment we are given a java project about Movie which there are several things that must be made in it such as : Apply the constructor and displayInfo() method and in the Movie project there must be an array so that it can store three Movieobjects, the contents of the array must be equipped with details for each movie, then to call the displayInfo() method so that each object can display its details respectively.
Let's practice this step by step.
- The first step is to create a new project by going to File --> New --> Java Project. Then I give it the name “ProjectMovie”.
- Next we create a package so that we can add classes later, so the method is to right-click on the project and then select the File menu --> New --> Package. I gave the name of the package with “Movie”.
- Then we will create 2 classes, the first class with the name Movie and the second class with Main.
- In the Movie class, we will enter the following code:
In the code above, there is already a constructor that intends to be able to initialize the attributes and there is also already a method so that it can later display movie details.
- In the Main class we will enter the following code:
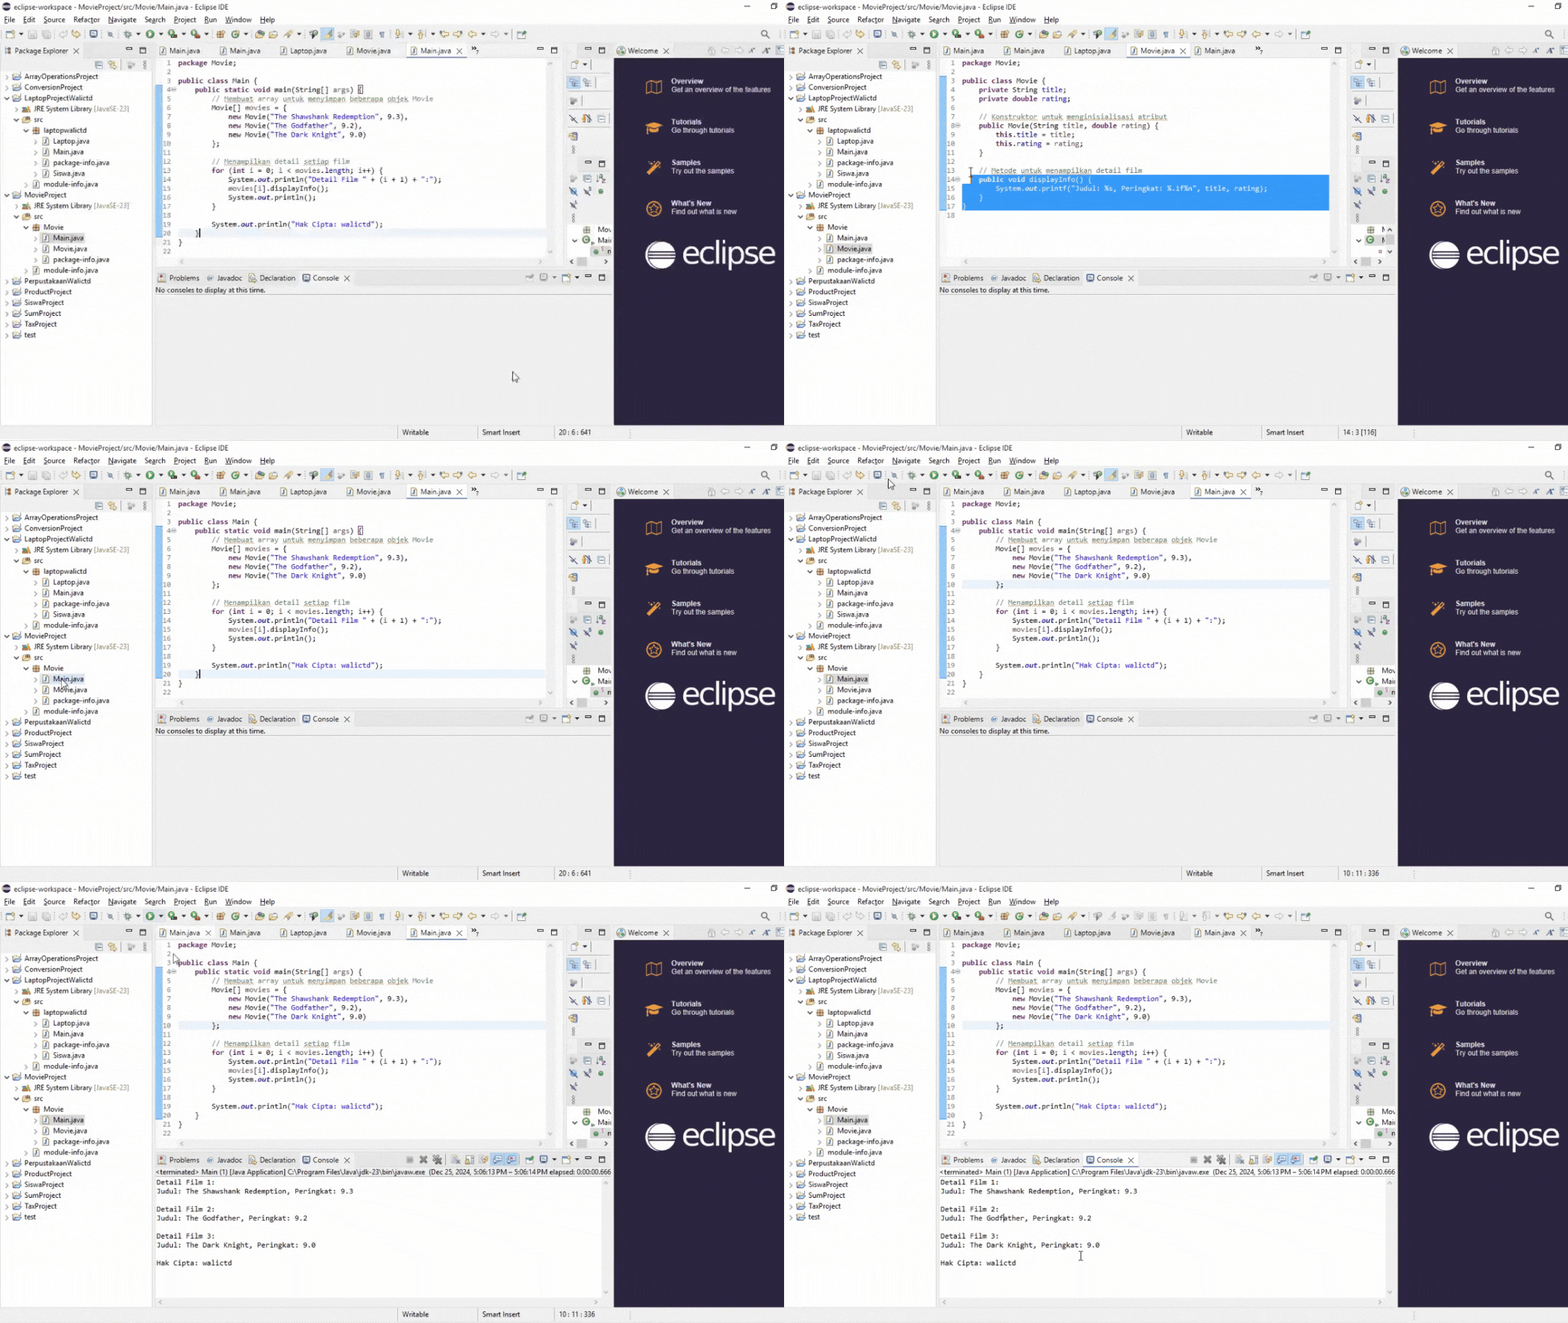
In the main class code above, there is already an array so that it can store several Movie objects and can display all the details of each movie.
- After that, let's run this program by opening the Main class file, then clicking run on the top icon and the results will appear below, as follows:
%20%7B%20this.merek%20=%20merek;%20(2).png)
.gif)
Task 4
In task number four we will practice running a java program that contains Products where we have to implement constructors, calculateTotalPrice() method, displayProduct() method, and so on in order to display the product details and its total price.
Let's practice this directly, using Eclipse.
- The first step is to create a new project by going to File --> New --> Java Project. Then I give the name “ProductProject”.
- Next we create a package so that we can add classes later, so the method is to right-click on the project then select the File menu --> New --> Package. I gave the name of the package with “Product”.
- Then we will create 2 classes, the first class with the name Product and the second class with Main.
- In the Product class, I entered the following code:
%20%7B%20this.merek%20=%20merek;%20(6).png)
- In the Main class we will enter the following code:
%20%7B%20this.merek%20=%20merek;%20(3).jpg)
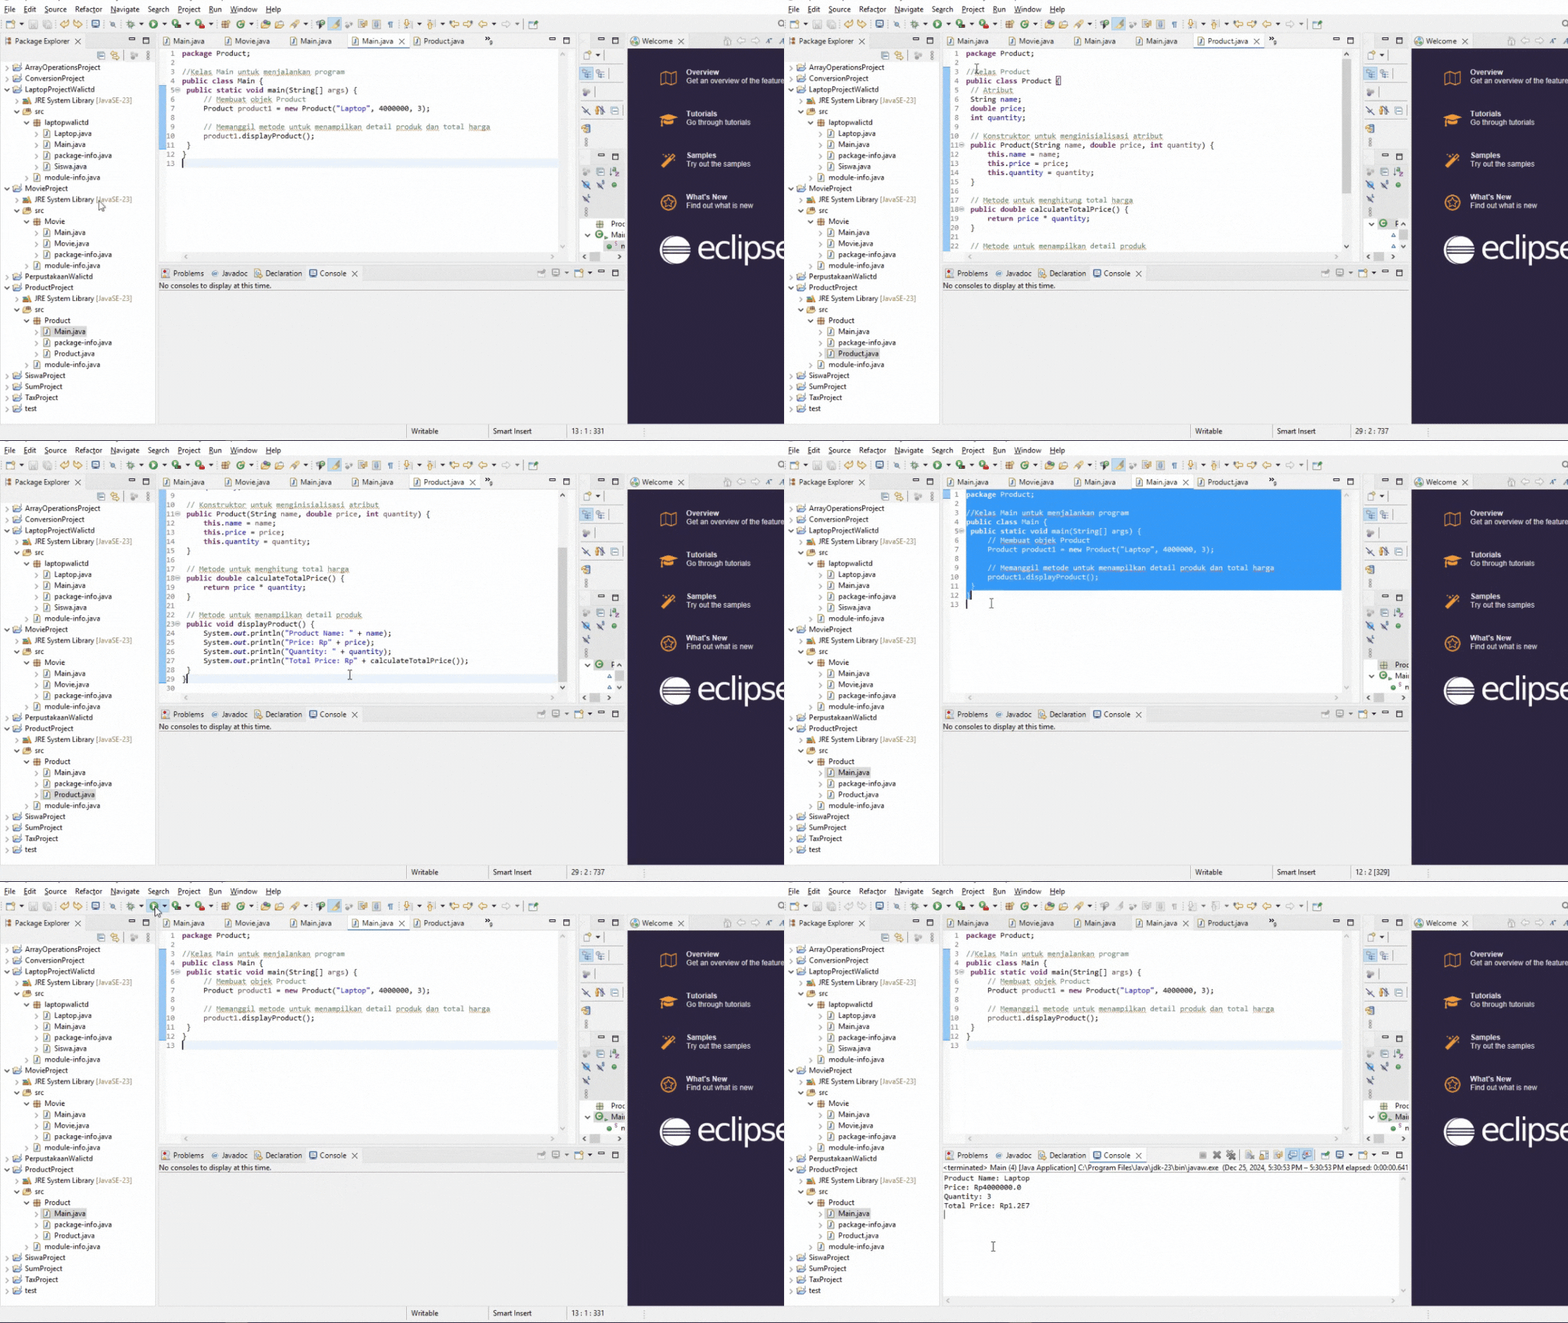
- Let's run the java program:
%20%7B%20this.merek%20=%20merek;%20(5).png)
.gif)
Task 5
In task number five we will practice running a java program that contains Student data where we have to implement constructors, calculateAverage() methods, displayDetails() methods, and so on in order to display their individual information, including their average scores.
- The first step is to create a new project by going to File --> New --> Java Project. Then I give it the name “SiswaProject”.
- Next, we create a package so that we can add classes later, so the method is to right-click on the project then select the File menu --> New --> Package. I gave the name of the package with “Student”.
- Then we will create 2 classes, the first class with the name Student and the second class with Main.
- In the Student class, I entered the following code:
%20%7B%20this.merek%20=%20merek;%20(8).png)
- In the Main class, I entered the following coding:
%20%7B%20this.merek%20=%20merek;%20(9).png)
%20%7B%20this.merek%20=%20merek;%20(4).png)
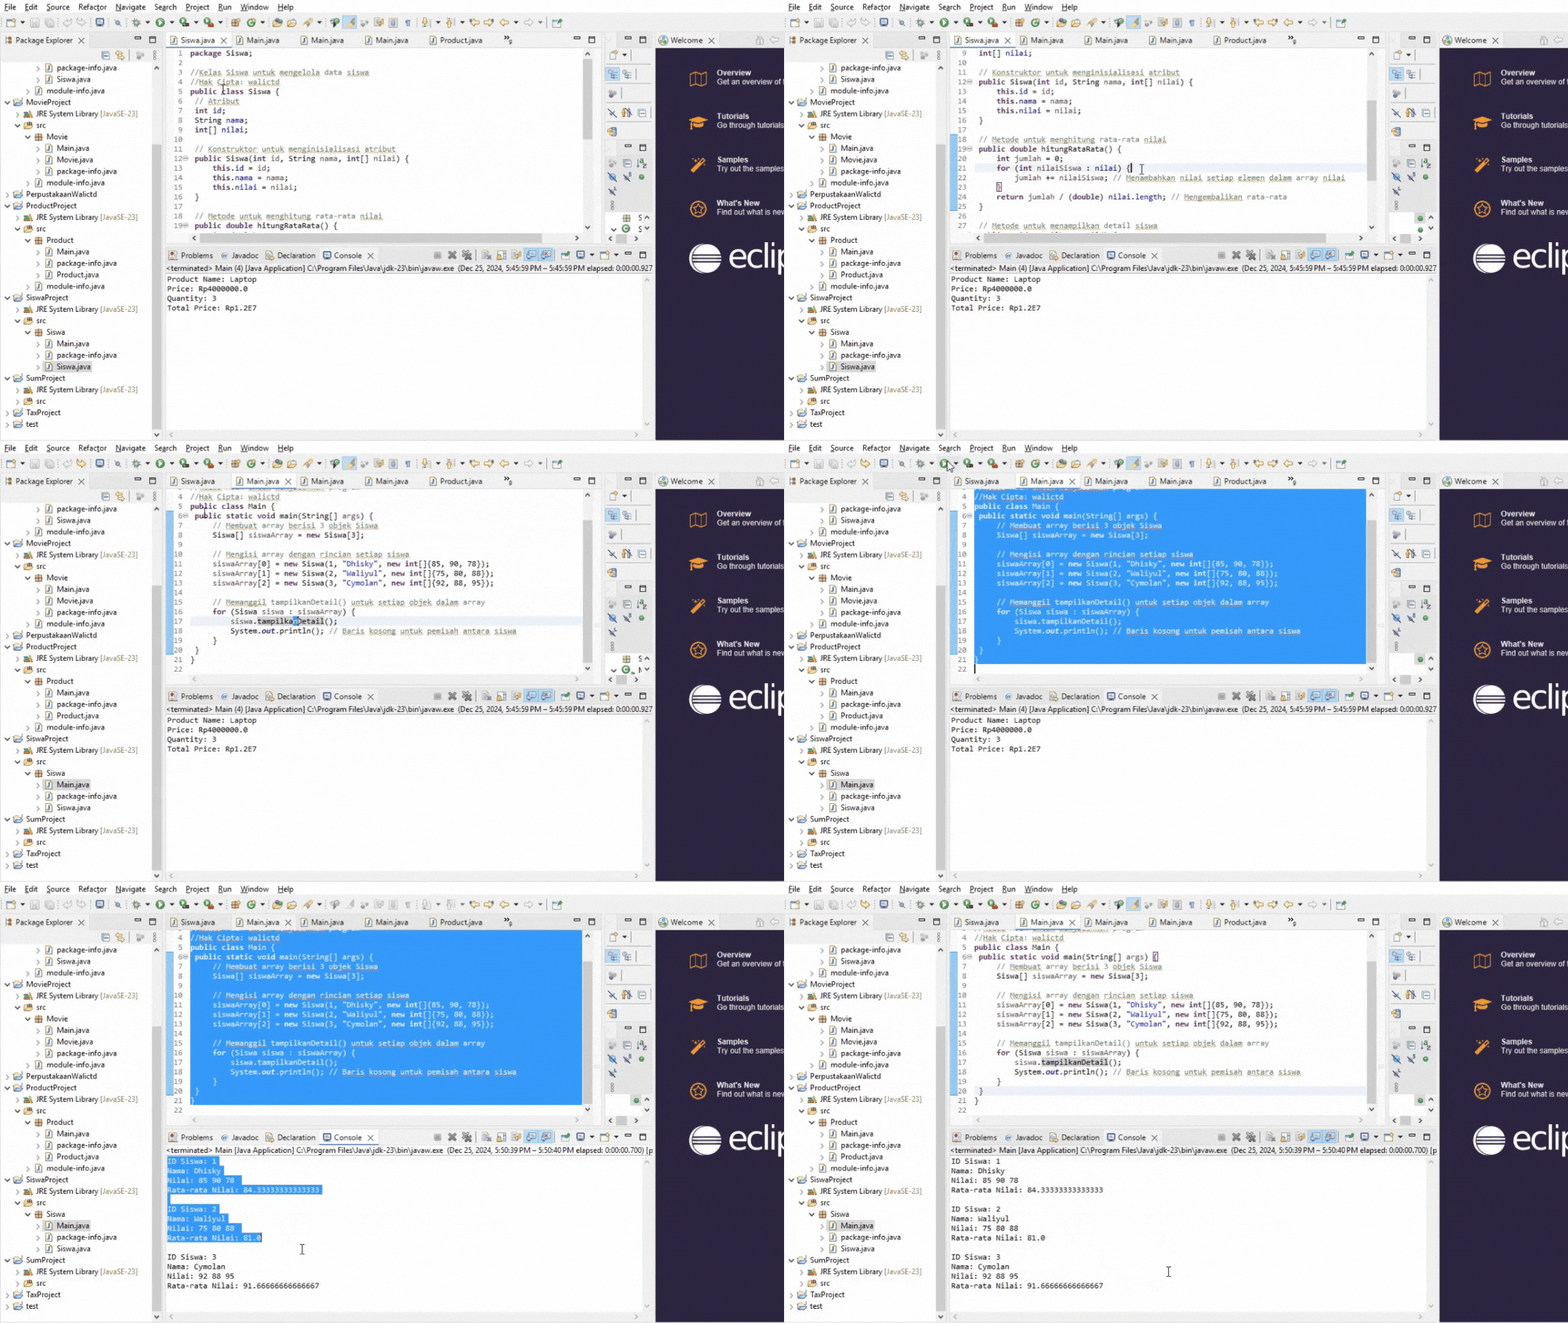.gif)
Task 6
Write a program to simulate a simple Library Management System.
- The first step is to create a new project by going to File --> New --> Java Project. Then I gave the name “LibraryWalictd”.
- Next we create a package so that we can add classes later, so the method is to right-click on the project and then select the File menu --> New --> Package. I named the package “Library”.
- Then we will create 3 classes, the first class with the names Book, Library and Main.
- In the Book class, I entered the following code:
%20%7B%20this.merek%20=%20merek;%20(10).png)
- In the Library class, I entered the following coding:
%20%7B%20this.merek%20=%20merek;%20(11).png)
- In the Main class, I entered the following coding:
%20%7B%20this.merek%20=%20merek;%20(12).png)
- The results are as follows:


%20%7B%20this.merek%20=%20merek;.jpg)

%20%7B%20this.merek%20=%20merek;%20(1).jpg)

%20%7B%20this.merek%20=%20merek;.png)

%20%7B%20this.merek%20=%20merek;%20(1).png)


%20%7B%20this.merek%20=%20merek;%20(2).jpg)
.gif)
%20%7B%20this.merek%20=%20merek;%20(2).png)
.gif)
%20%7B%20this.merek%20=%20merek;%20(6).png)
%20%7B%20this.merek%20=%20merek;%20(3).jpg)
%20%7B%20this.merek%20=%20merek;%20(5).png)
.gif)
%20%7B%20this.merek%20=%20merek;%20(8).png)
%20%7B%20this.merek%20=%20merek;%20(9).png)
%20%7B%20this.merek%20=%20merek;%20(4).png)
.gif)
%20%7B%20this.merek%20=%20merek;%20(10).png)
%20%7B%20this.merek%20=%20merek;%20(11).png)
%20%7B%20this.merek%20=%20merek;%20(12).png)
You've got a free upvote from witness fuli.
Peace & Love!