Homemade Kefir - Yummy and Healthy
What is Kefir? Kefir is a special mixture of beneficial bacteria and yeasts that provide various health benefits. Because kefir is loaded with valuable vitamins and minerals and contains easily digestible complete proteins, it can help reseed your digestive tract and help eliminate harmful bacteria, thereby resulting in a healthier digestive system. The microorganisms that comprise kefir may help lower your risk of stomach cancer. Kefir can also help to maintain sugar levels.

There are tons of other benefits which can be found on the internet. In short, it’s a ‘yogurt like’ drink that good for your digestive system.
Now, the best part of it is Kefir can be homemade, and it’s pretty simple.
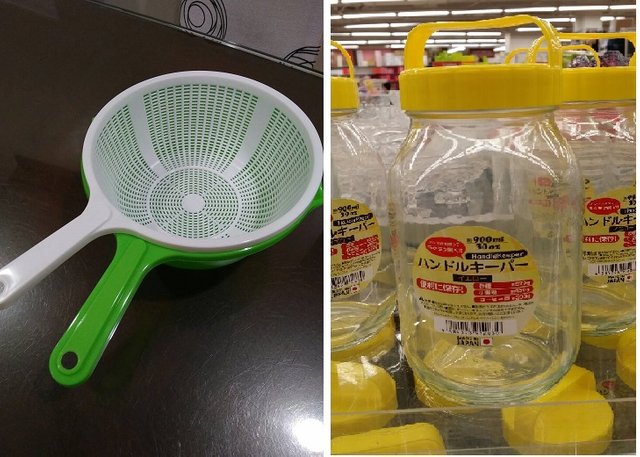
To start, you will need three glass jars and plastic container such as the picture below.
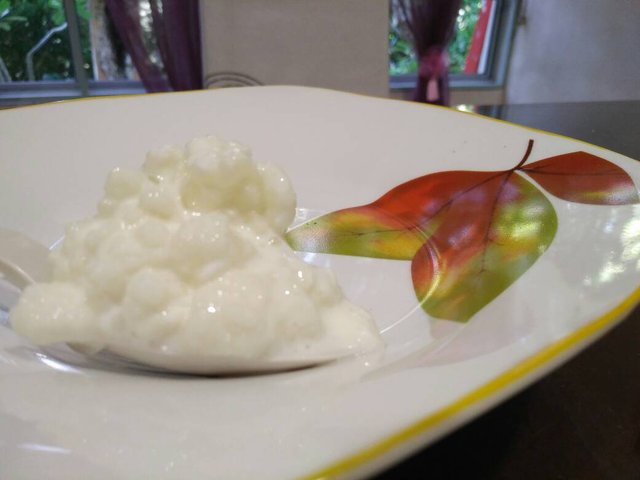
You need to have Kefir grains to grow kefir. Kefir grains look like this..
When you receive the Kefir grains, put them in a glass jar and add 250ml of milk into it, screw the plastic cap on and cover the mouth of the jar with a piece of cloth and rubber band. And let the mixture ferment at room temperature for about 12 to 18 hours.
During fermentation, gently stir the mixture every 3 to 5 hours to get the grains to digest the milk uniformly.
The picture below shows milk with grains that have undergone fermentation for about half a day at room temperature.
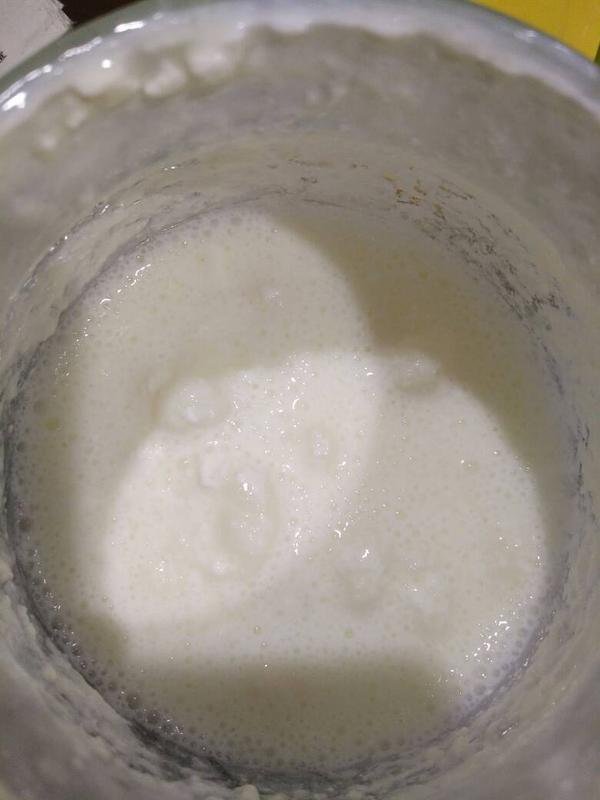
When the mixture gets a little creamy with lots of little bubbles, it is time to strain it – to separate the grains from the fermented milk. You will use the grains to start another batch while the fermented milk needs to undergo another 24 to 36 hours of fermentation at room temperature before it can be consumed.
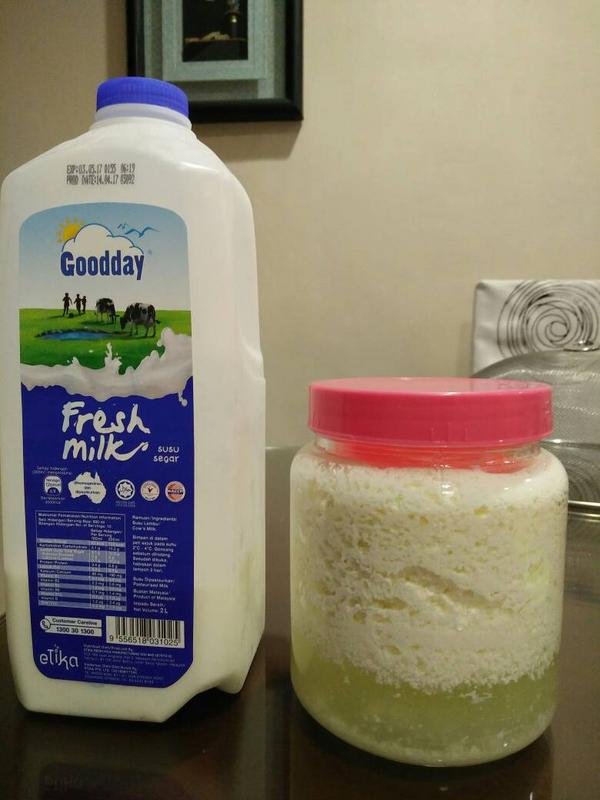
The below picture shows the fermented milk that has undergone a further 24 hour of fermentation at room temperature. It is ready to be consumed. If not consumed, the jar should be kept I the fridge to prevent it from being over-fermented.
In summary, you need to let the milk undergo 2 stages of fermentation.
Stage 1 – Milk with grains for 12 to 18 hours at room temperature until there are lots of little bubbles and mixture slightly creamy when lightly stirred
Stage 2 – After straining, the fermented milk to go through another round of fermentation (without grains) at room temperature for 24 to 36 hours.
After Stage 2, the kefired milk is ready for consumption. The grains, are to be put back into the original jar and added with the required amount of milk to start another batch.
The best way to consume the fermented milk is to pour into blender and add fruits to it and blend for 2 to 3 minutes. Pour out the smoothie into mugs and consume or keep them in fridge for consumption later.
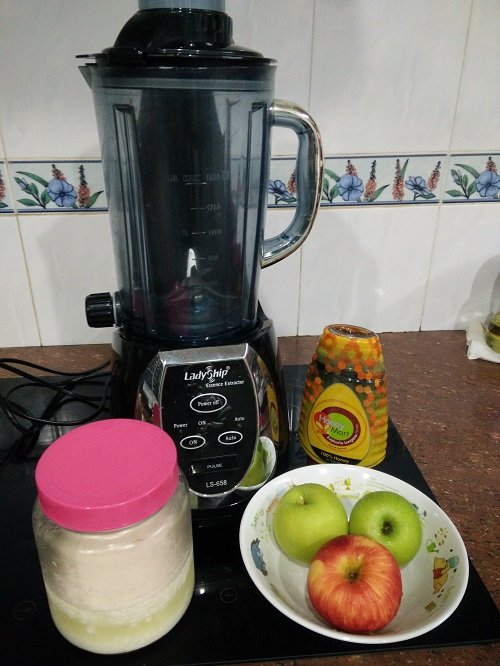
It’s that simple. Why not be good to your digestive system and DYI your own Kefir today?

@zublizainordin says... @kokuryo
This statement I read "You need to have Kefir grains to grow kefir" made My mouth opened in shocked for two years, long and wide. Hahaha...
Thank You for telling You have the "Ibu" Kefir.
#zublizainordin
hahaha.. i will PM you how u can get the ibu grain from me.. :)
Oh kefir , my favourite fermented drink. I've been drinking it for over a month now and it feels good. I am thinking about giving it a rest for sometime though, do you think freezing it is a good idea?
Thanks @kokuryo
@lifeaef. My opinion is that don't put the grains in the freezer. If you plan to stop for a week or two, just put more milk into the jar and put into the fridge (not freezer). It will slow down the fermentation process for sure.