Modification Of Gundam Barbatos Part 1 (Neck and Chest part)
Hey steemians, im back again for another modifications, its been a while that i havent post some modifications and tutorials on a model kit.
Well for now im still modifying my Gundam Barbatos, there are some parts that i replace and some add ons that i putted.
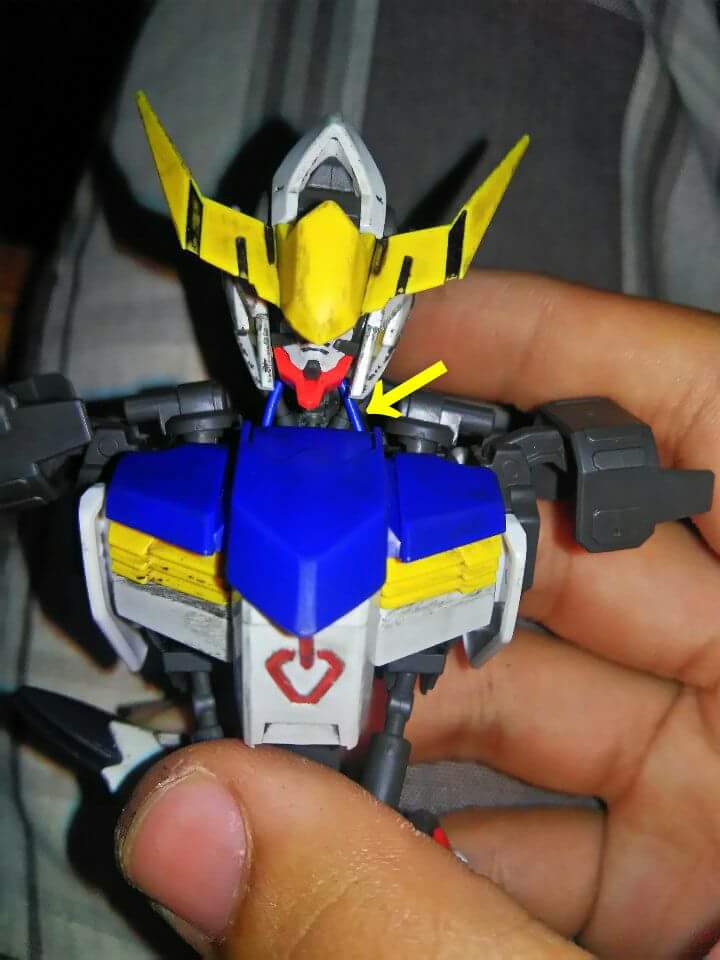
For this modification i put on some real wires on its front neck part, cause you know mechs have wires in real life, so i added a little bit realism on to it.
So heres how i did it.
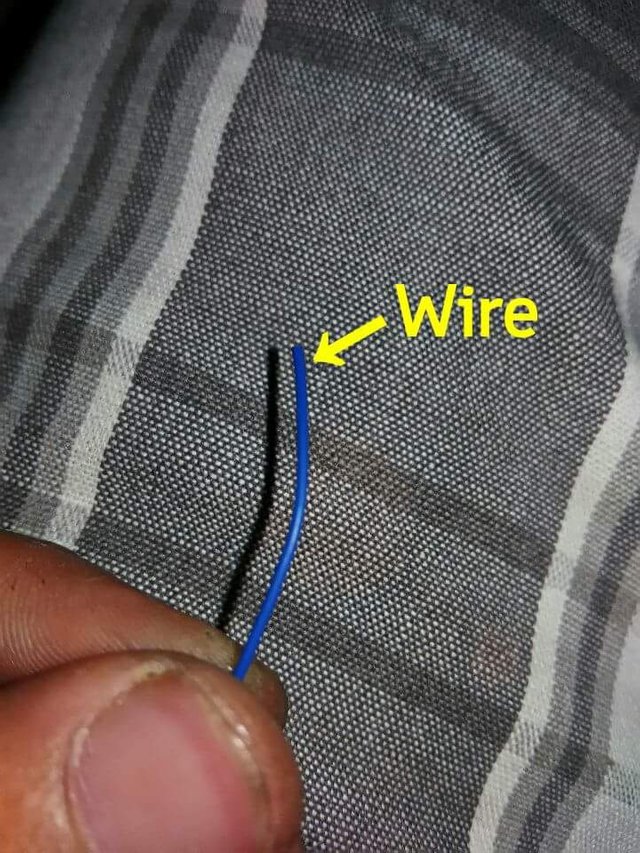
So first i get my self a wire with a blue insulator, you can use any color, this wire is thin like a wire of an earphones.
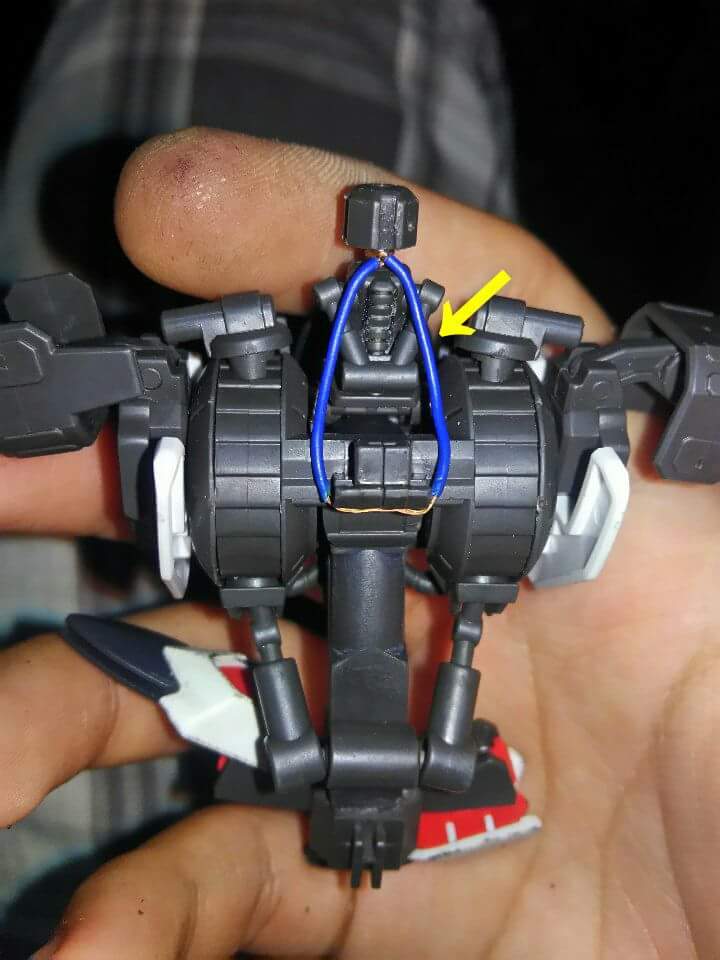
And put it underneath where the chest plate is placed and cut the insulator below, so that it would fit, and i take the both ends of the wire and twist it in its neck.
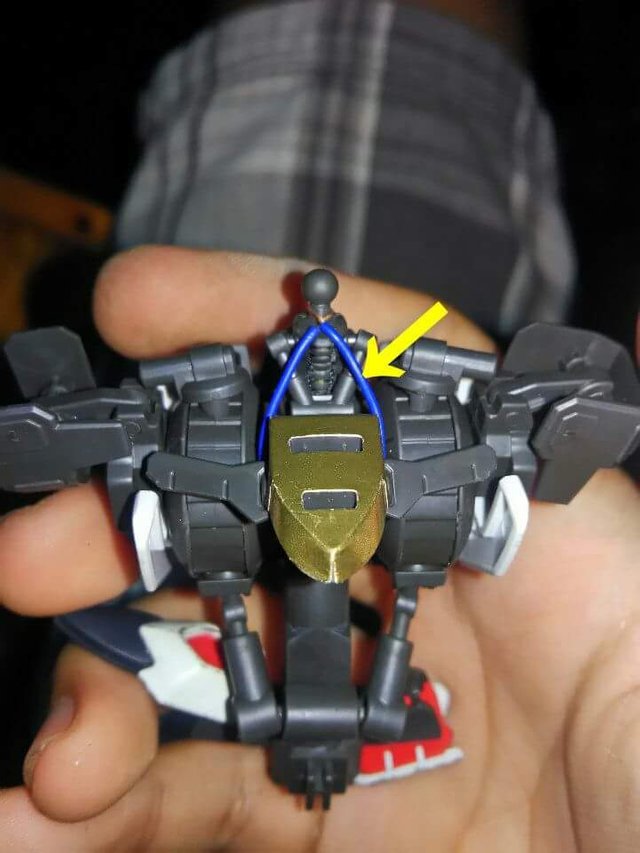
And i put the part that holds the chest plate.
And I put the blue, white and yellow chest plates aswell and its head also.
And now its done, im really happy for the result of this modification, its very simple and creative, and doesn't need any money to modifiy, all you need is wires, patience, your creativity.
Well modification helps you or us to enhance our creativity and skills, its up to you how you do it as long as it will make you happy.
Thats it for my blog today, i hope you've gather some techniques and ideas today and i hope you like reading my blog for today. There will be comming more soon so stay tune
Be sure to upvote, resteem and follow my account. Have a good day steemians and KEEP ON STEEMING!!!.
nice creation bro....keep it up
Thank you very much
Nice...one of my fave anime...😁😁😁