Guitar building - creating a Hufschmid guitar !
My name is Patrick Hufschmid, self-employed artisan, I build unique electric guitars and plectrums in my tiny workshop located in Aigle next to Montreux in the french speaking region of Switzerland !
Since 1996, I take pride in building everything by hand using only small power tools. As a small artisan, I do not use any CNC machine and therefore can only produce a very limited amount of guitars per annum. I need 1 month (approx 100 hours) to complete a guitar. Each instrument is completely unique !
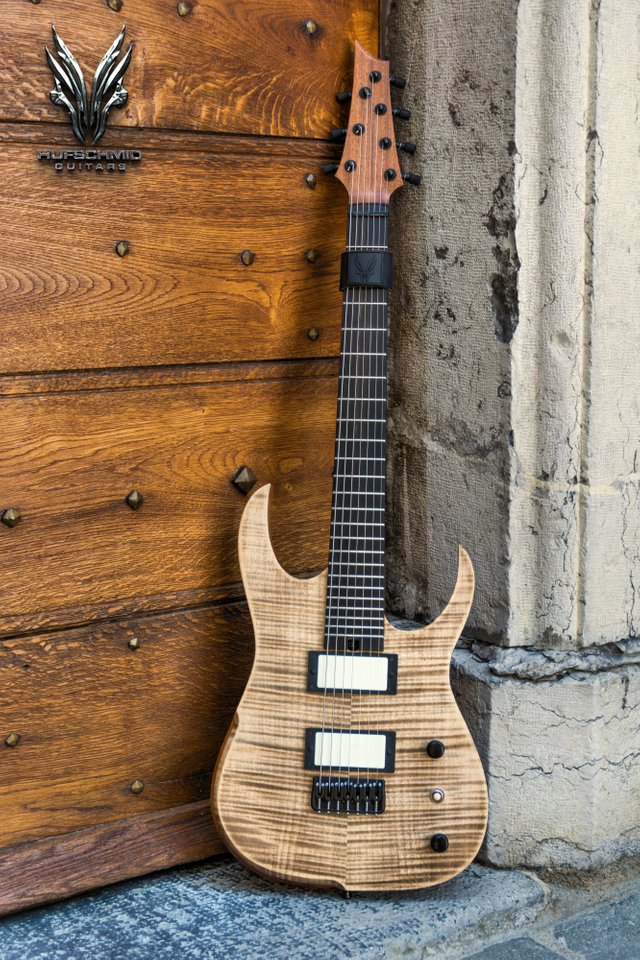
Thought you might enjoy watching me build one of my 'Tantalum' models !
Website: http://hufschmidguitars.com
Online plectrum store: http://plectrum.ch
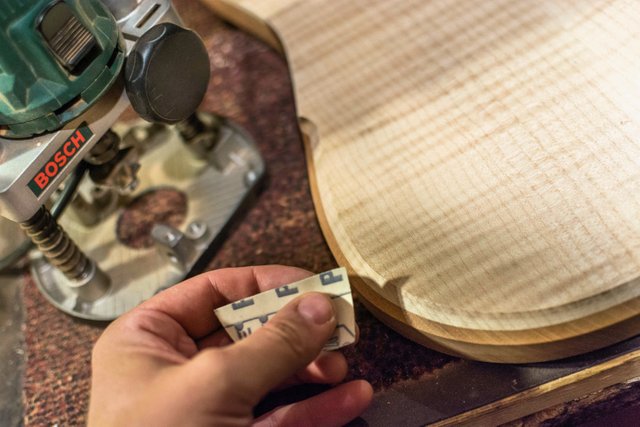
Routing the truss rod cavity !
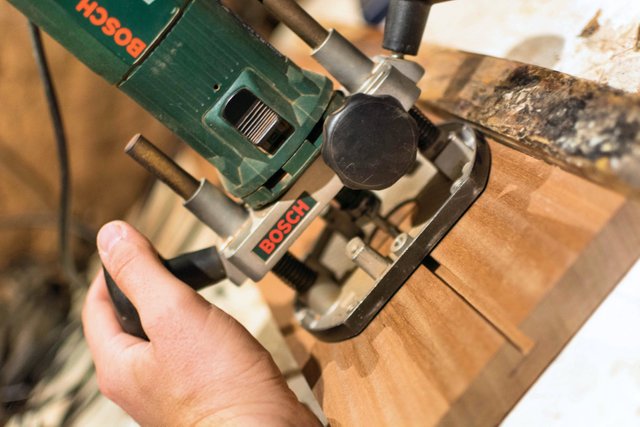
Routing the nut cavity !
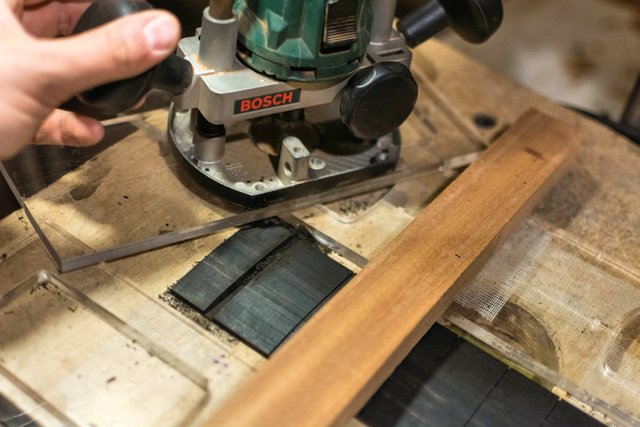
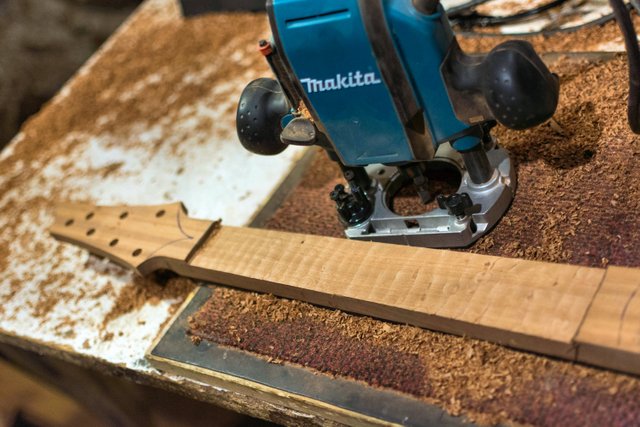
Cutting the fingerboard taper !
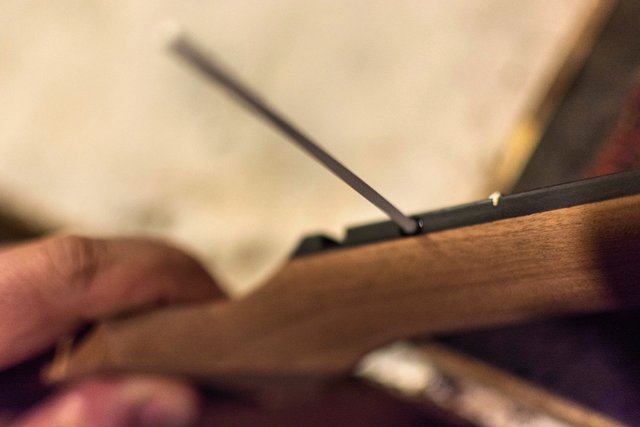
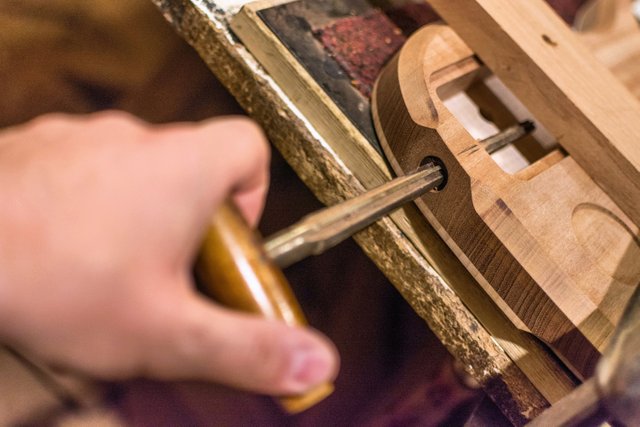
Cutting a notch for the truss rod accessible at the heel...
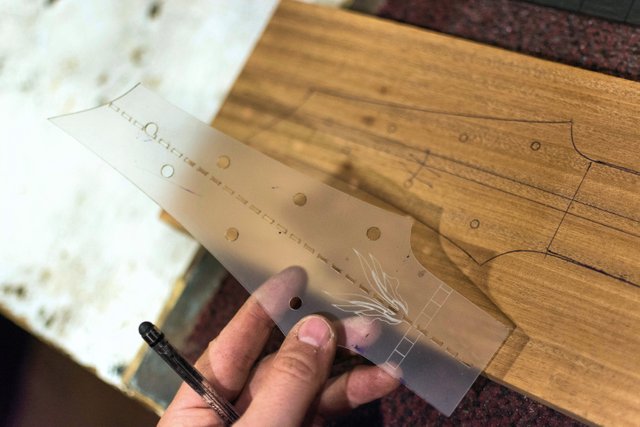
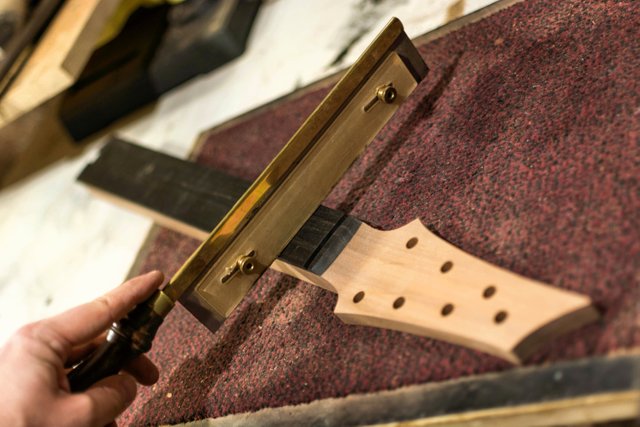
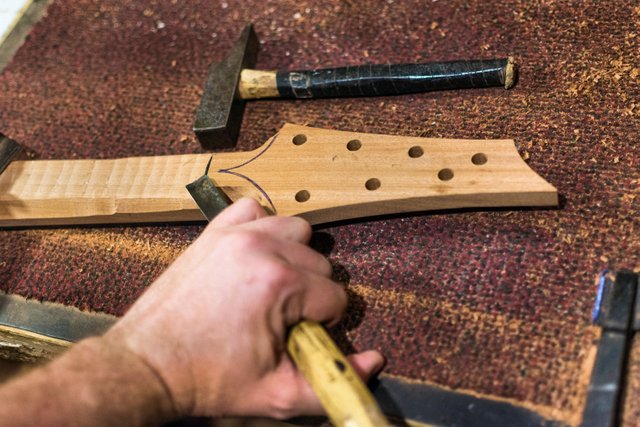
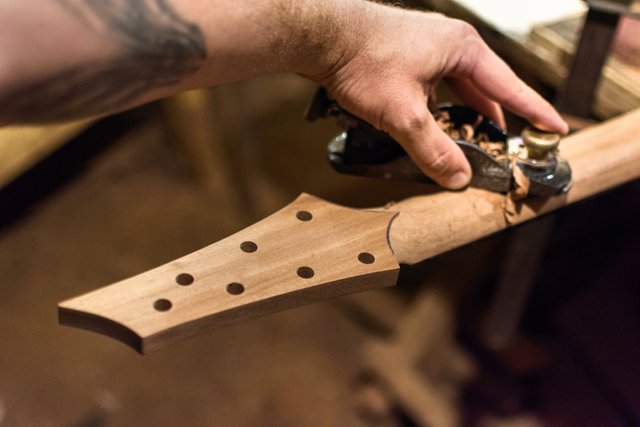
Tracing the headstock outline...
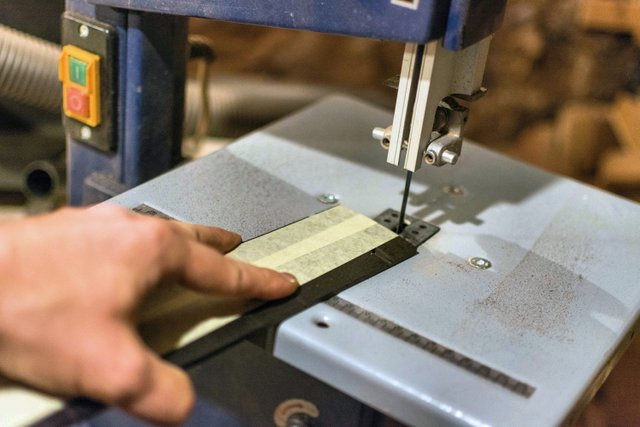
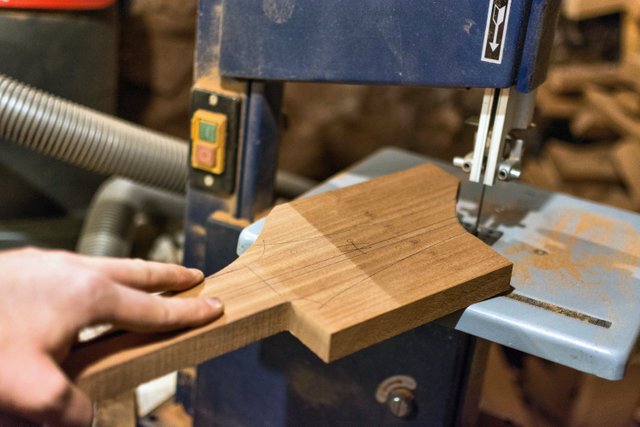
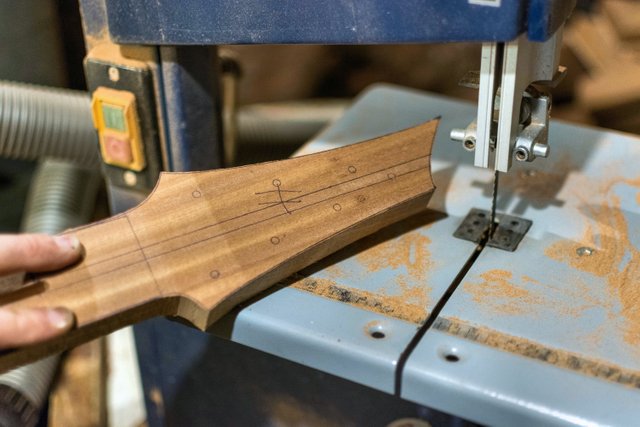
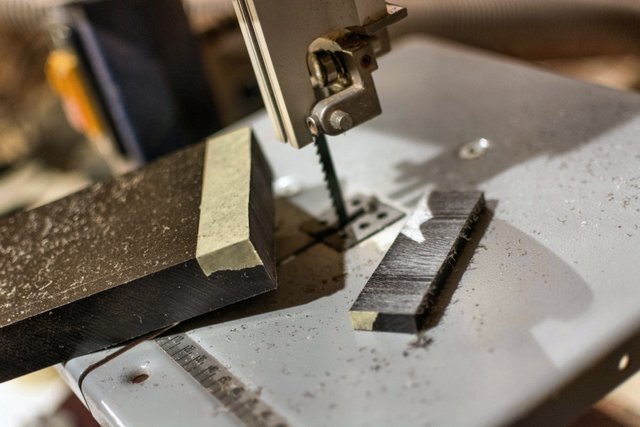
Cutting out the one piece neck on the bandsaw !
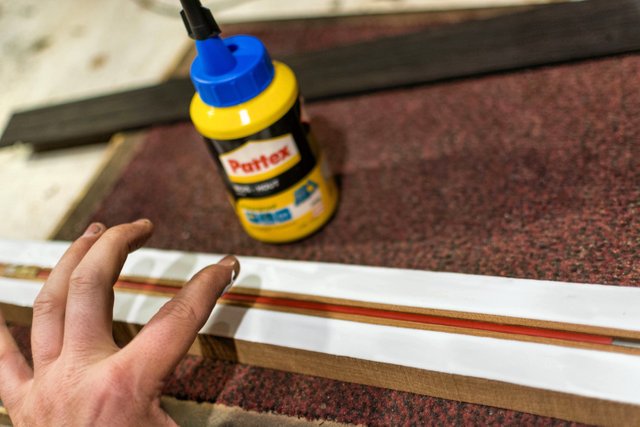
Gluying the fingerboard...
Trimming the fingerboard...
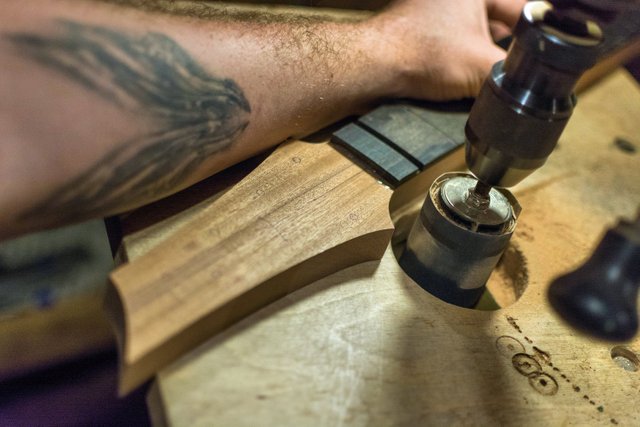
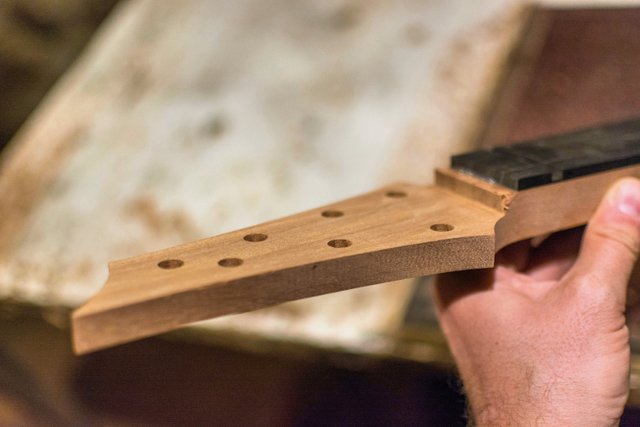
Drilling the tuning machines holes...

Trimming the fingerboard...
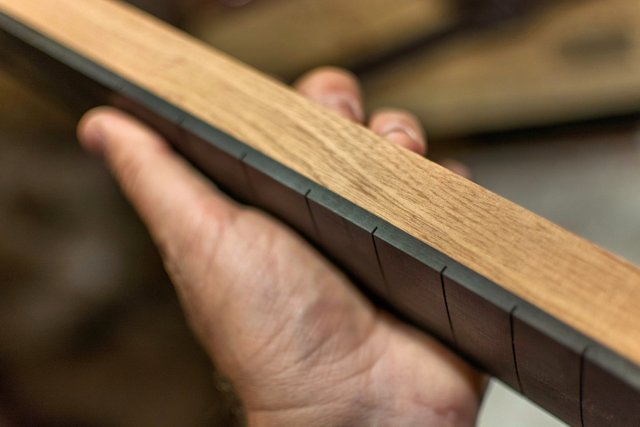
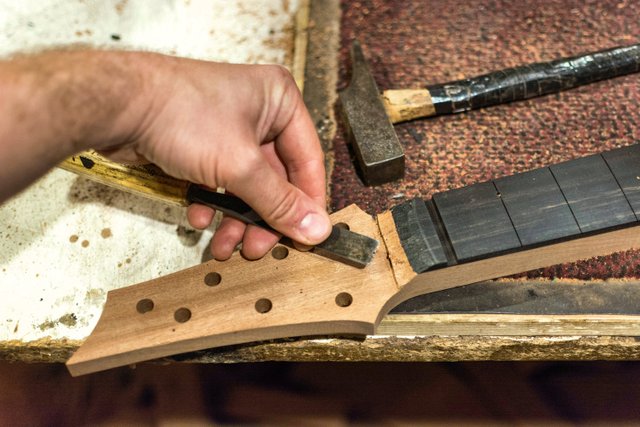
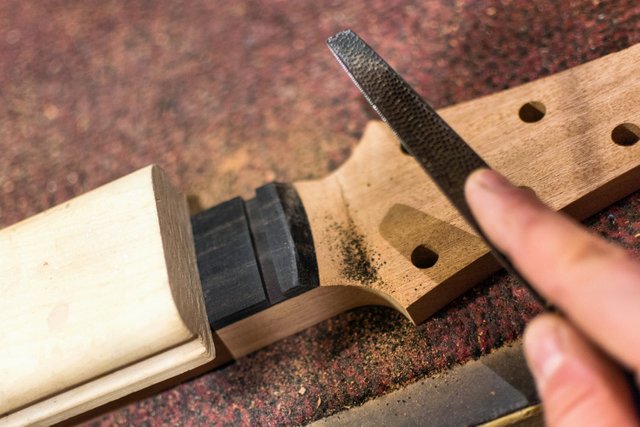
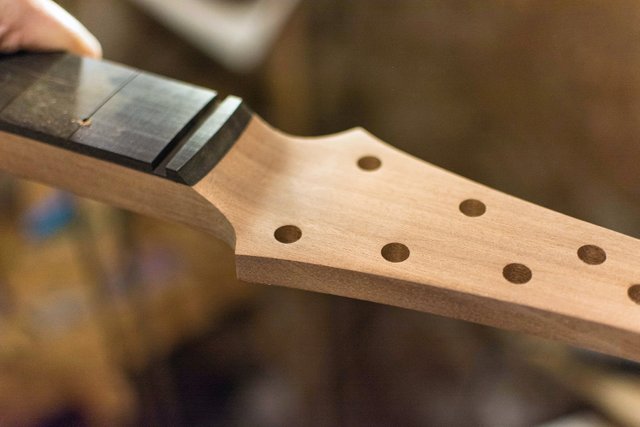
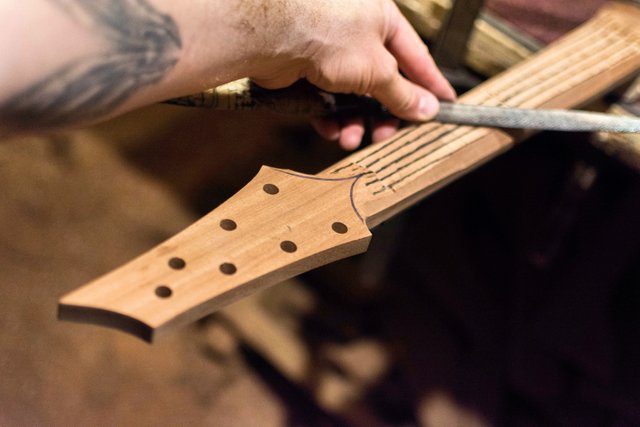
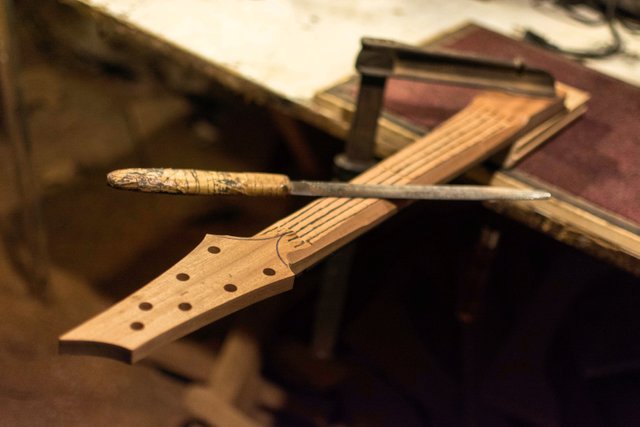
Blending the fingerboard to the headstock...
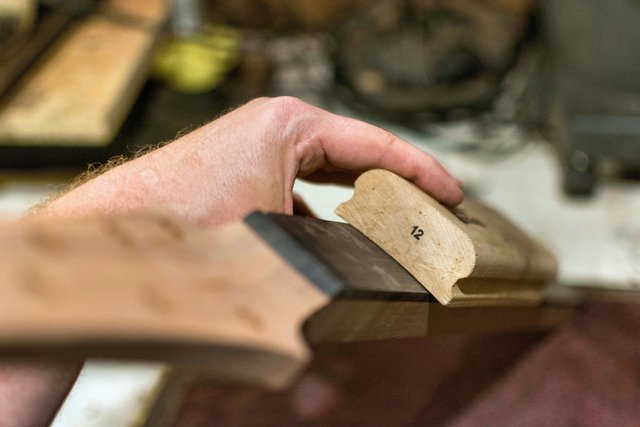
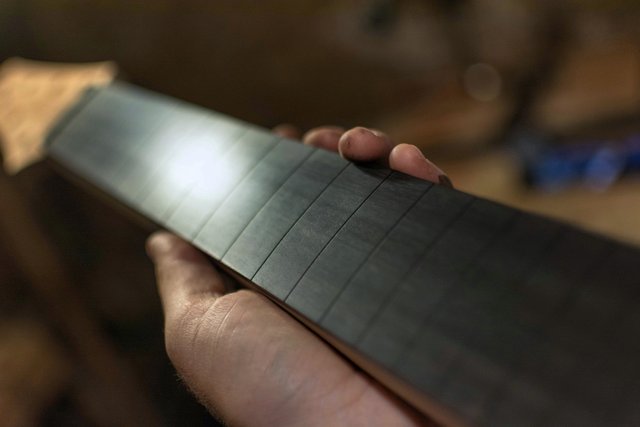
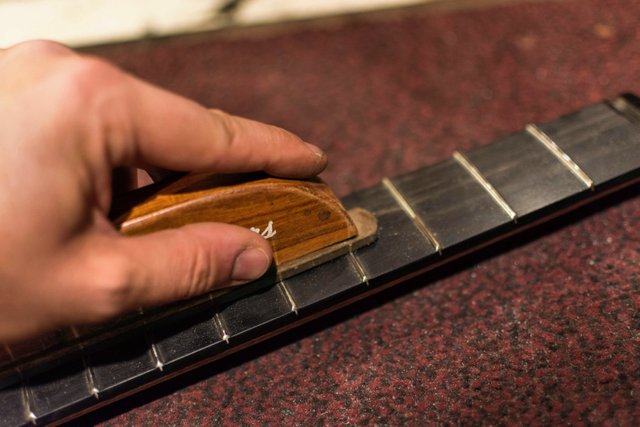
Working on the fingerboard radius of 12''
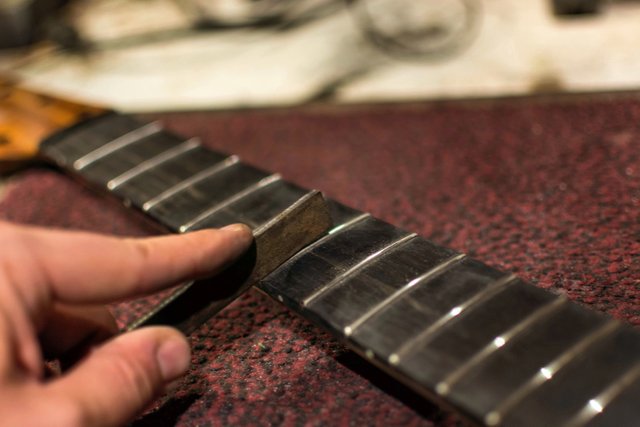
Perfecting the fret slots...
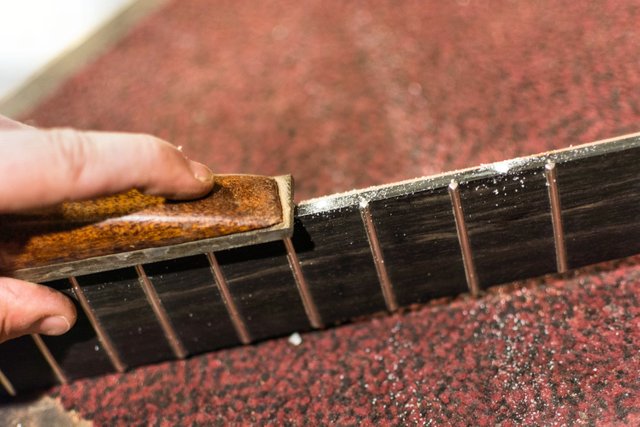
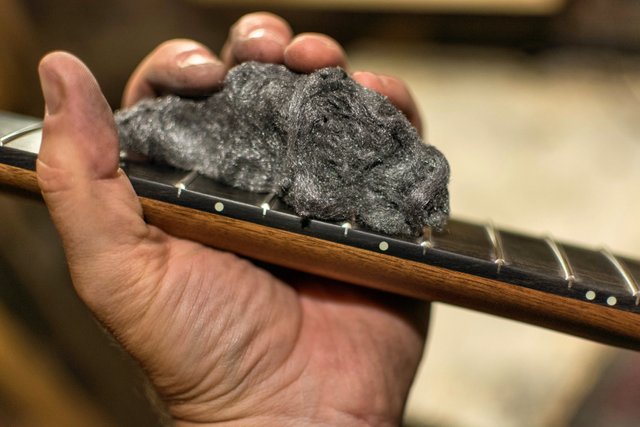
Polishing the ebony fingerboard, preparing for the fretwork...
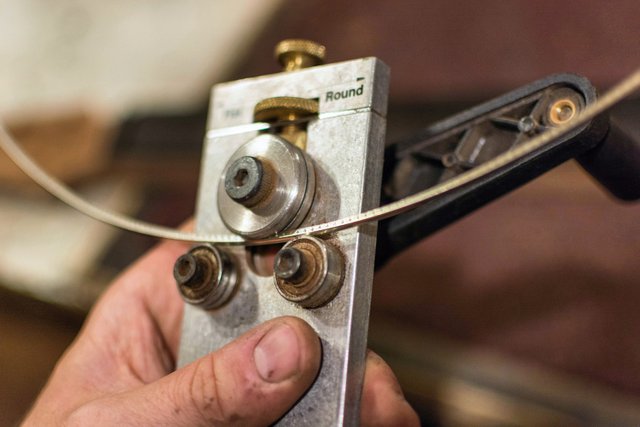
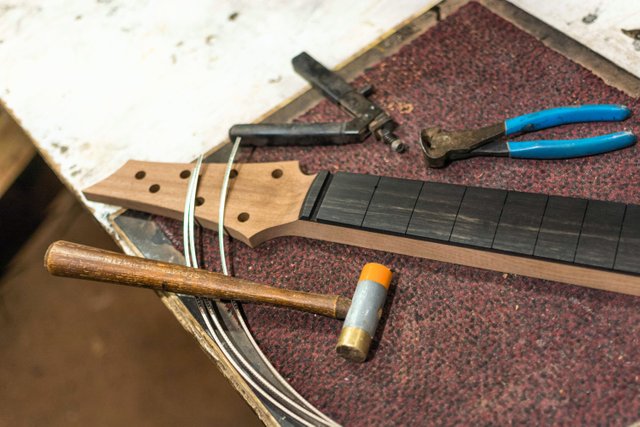
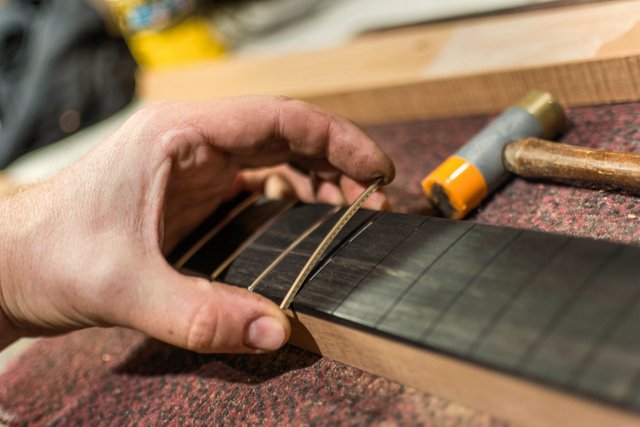
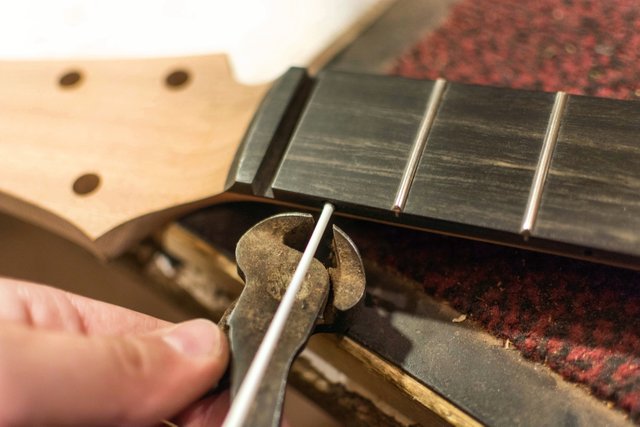
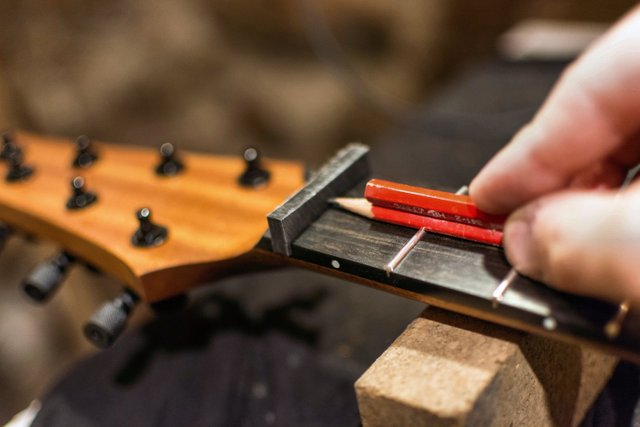
Bending the frets to a 12'' radius...
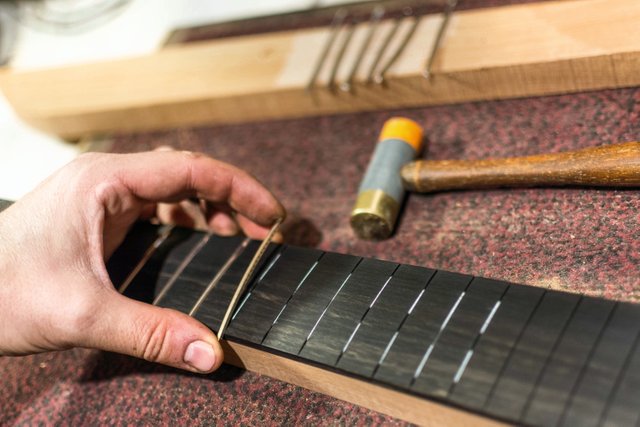
Installing the frets, this has to be perfect, no mistakes possible !
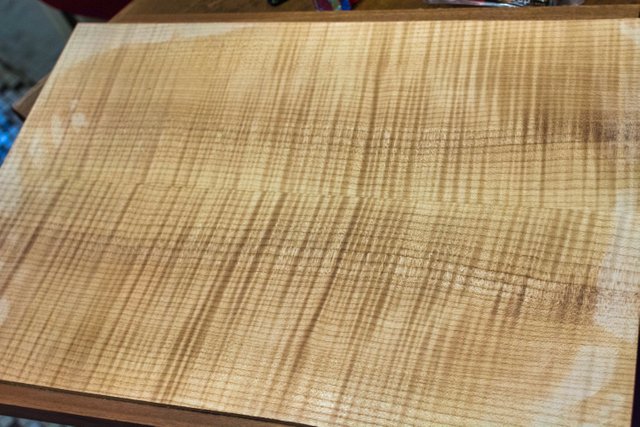
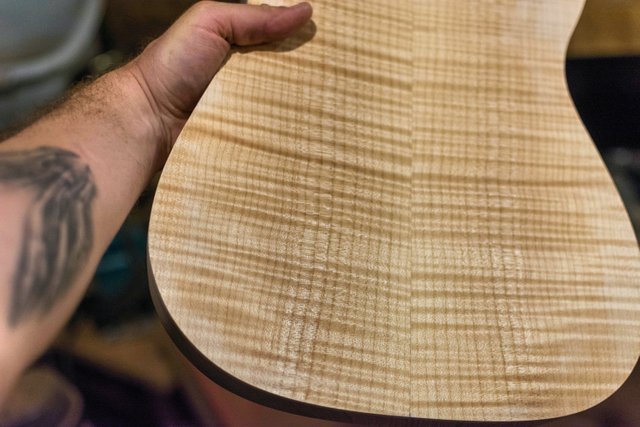
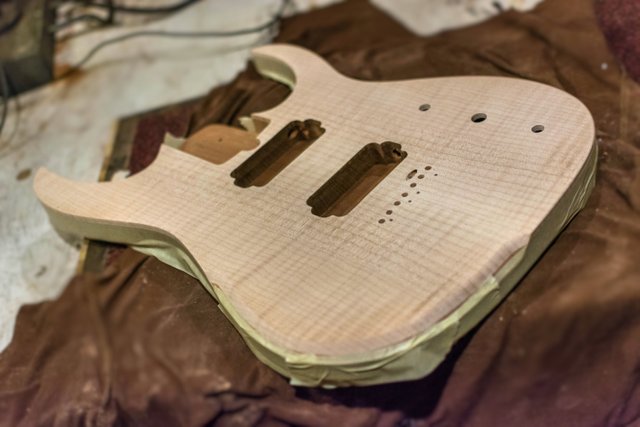
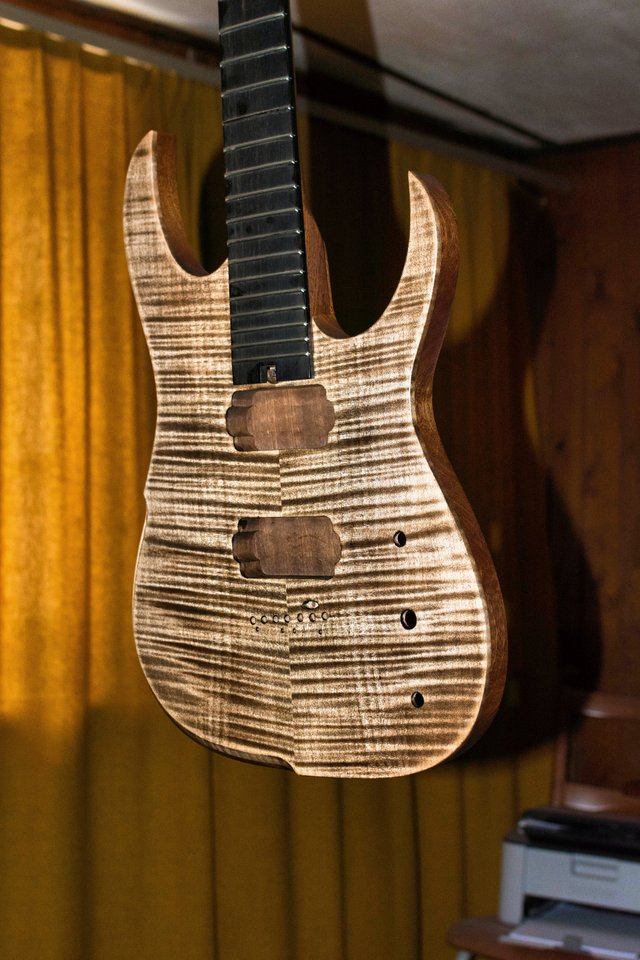
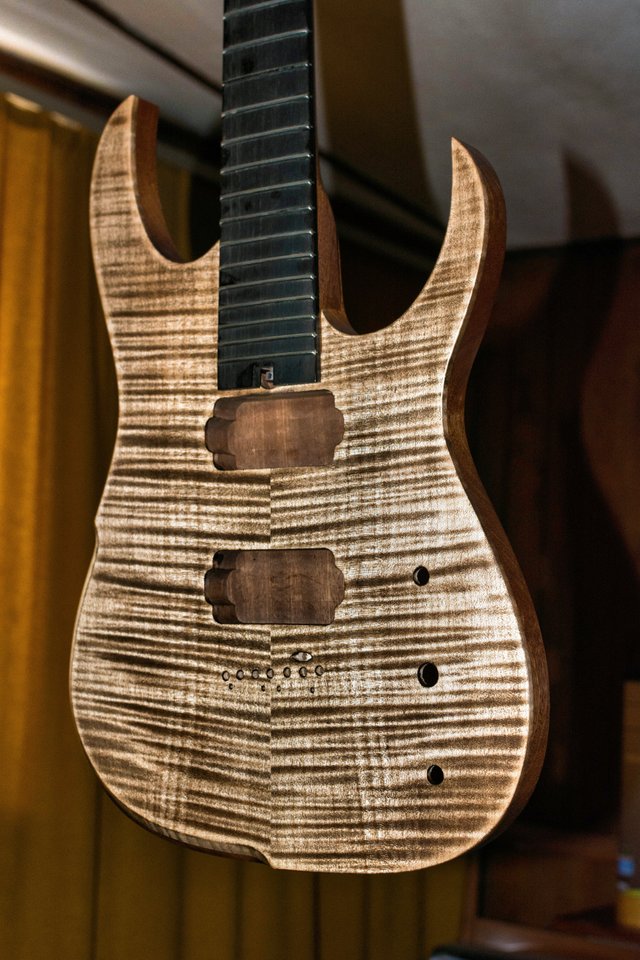
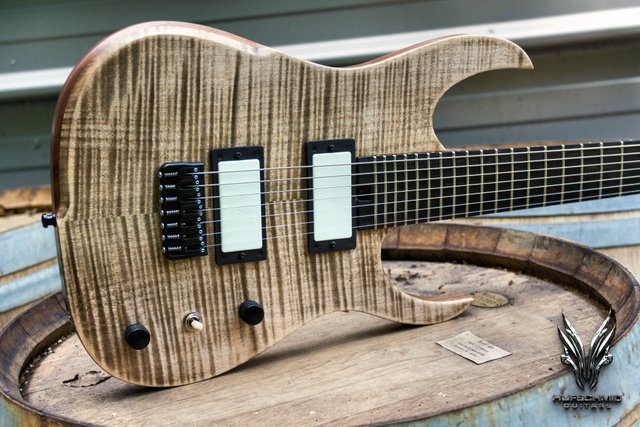
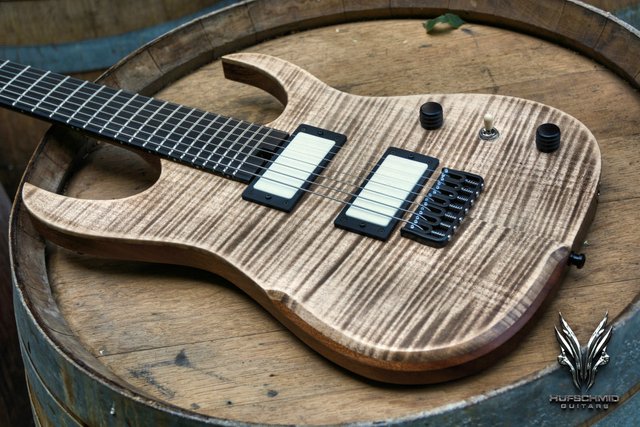
Gorgeous highly figured book-matched 'flame maple' top !
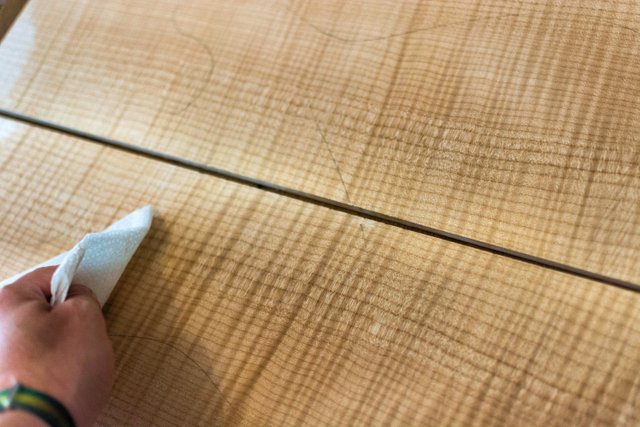
The top is now jointed and glued seamlessly !
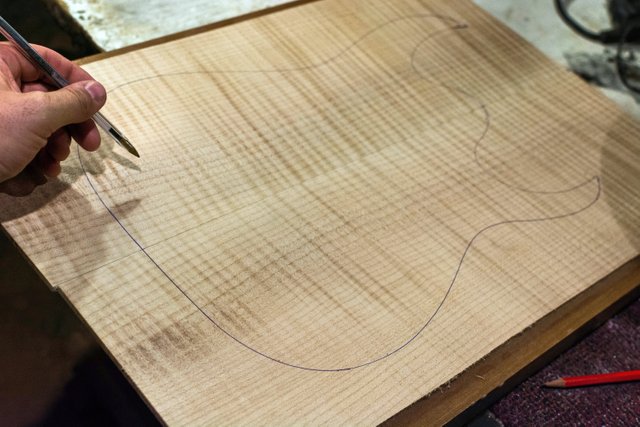
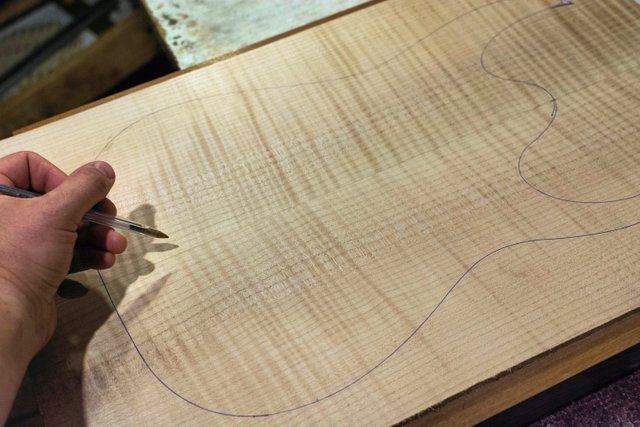
Tracing out the body shape !
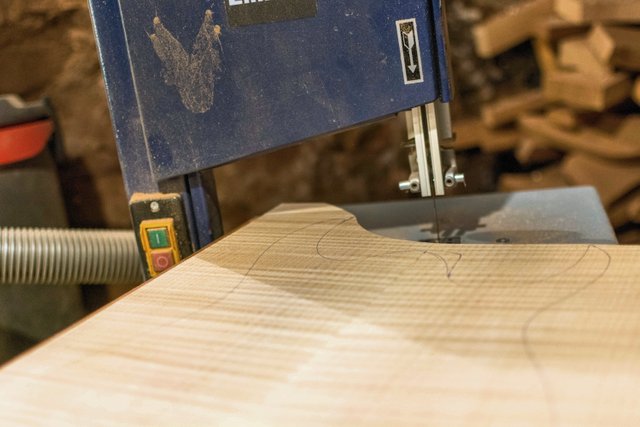
Cutting out the body on the bandsaw...
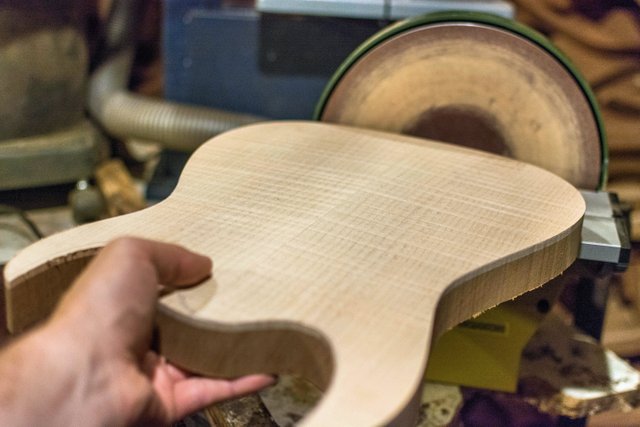
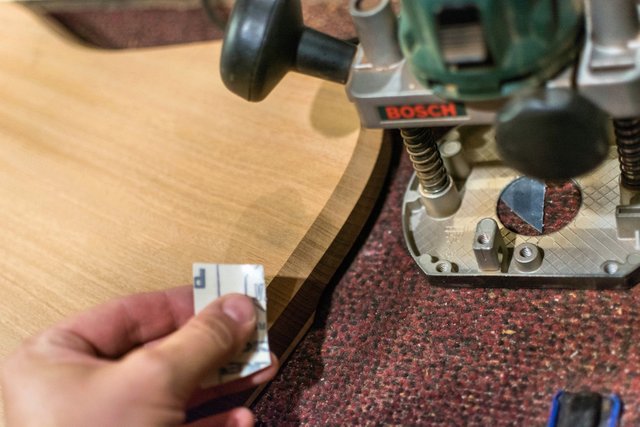
Trimming the body nice and clean !
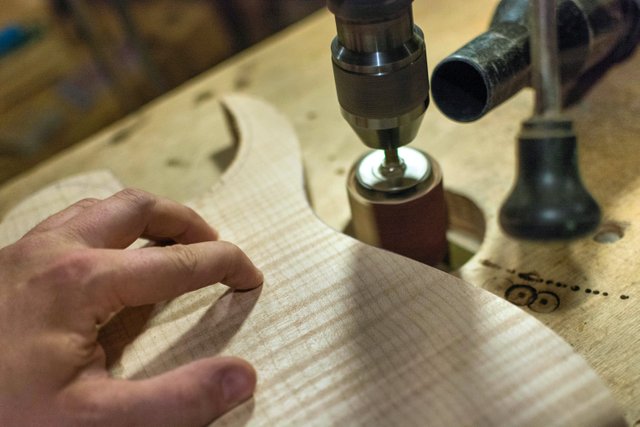
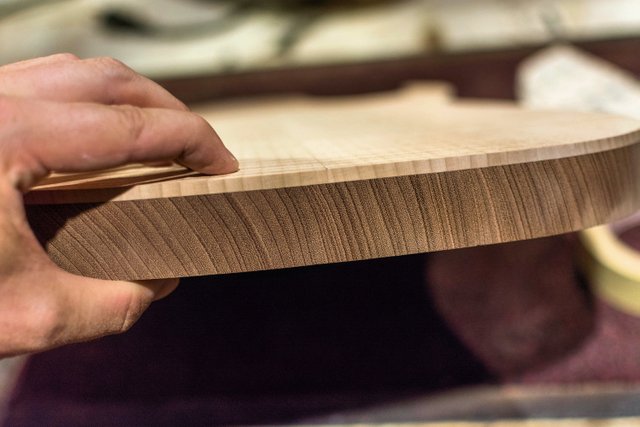
Routing the integrated armrest bevel - my signature !
Routing the body bevels...
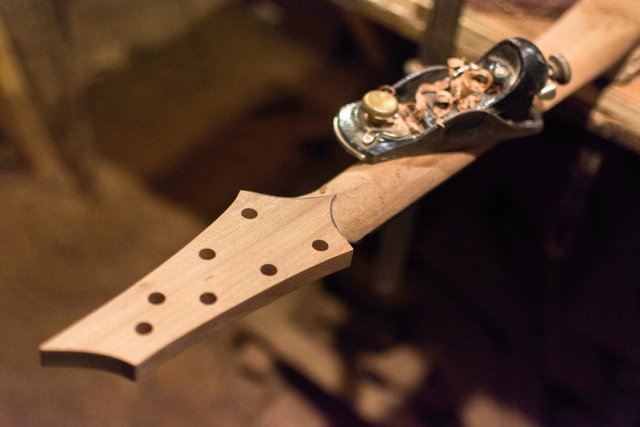
Removing some excess wood behind the neck...
Shaping the neck using a file, a hand plane and a chisel...
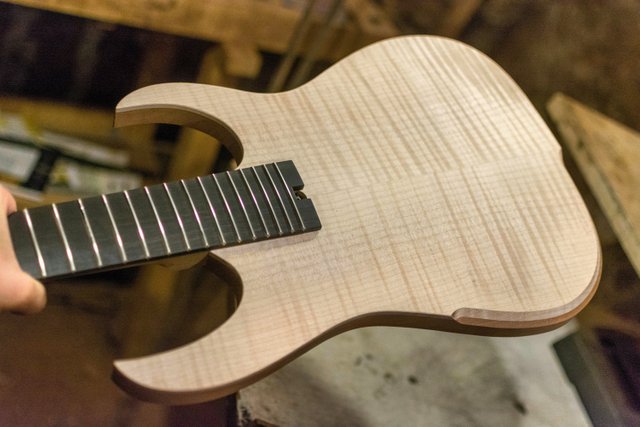
Routing the neck pocket, snug, nice and clean !
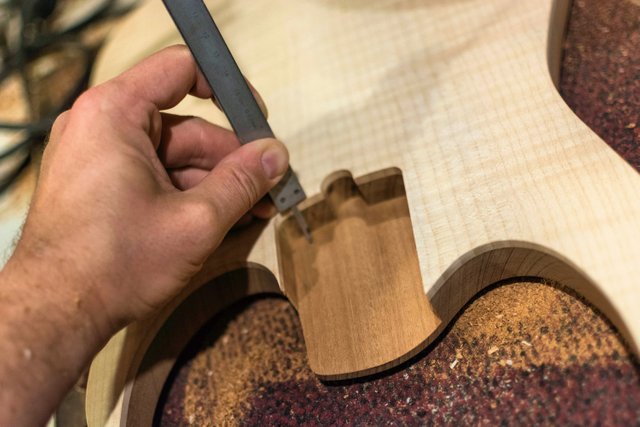
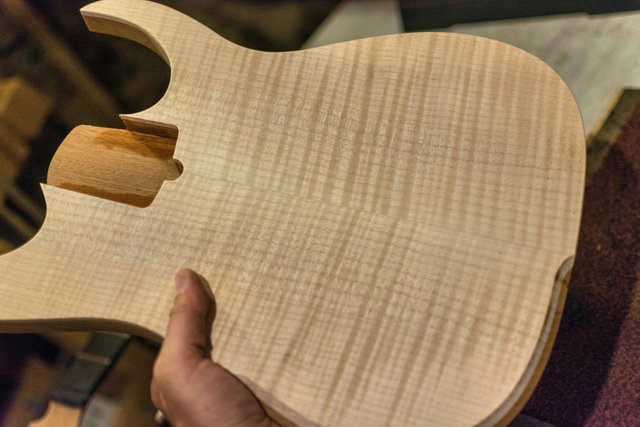
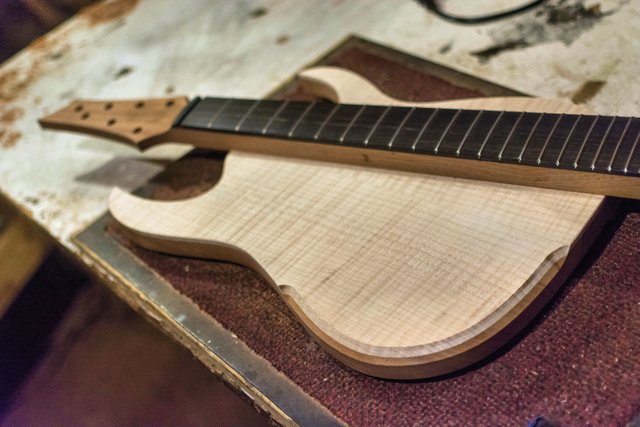
Fitting the neck nice and snug !
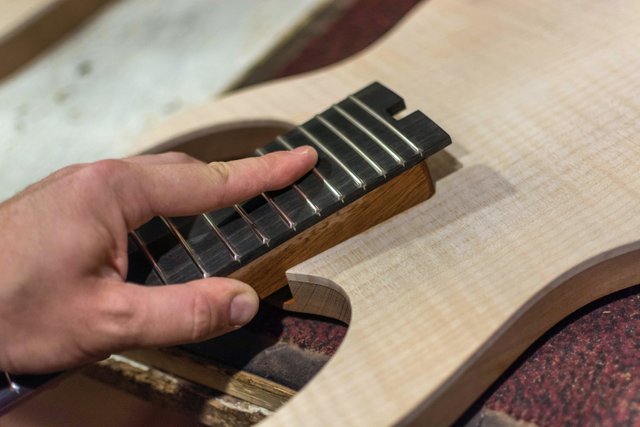
Yay ! \m/
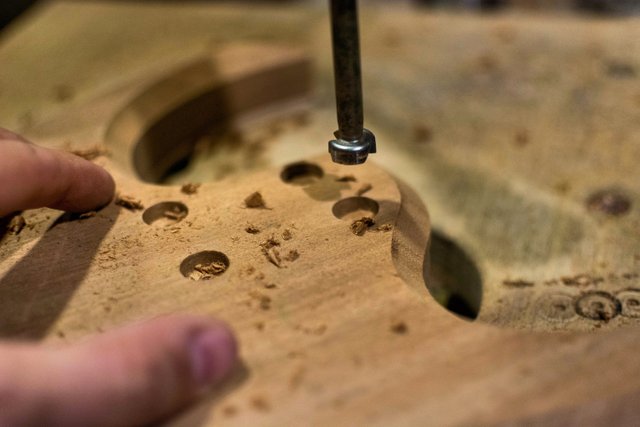
At this point you can either choose to glue-in the neck or to bolt-it which is what I prefer for versatility and also because the less glue, the more tone and sustain. Here I am drilling the neck mounting ferrules...
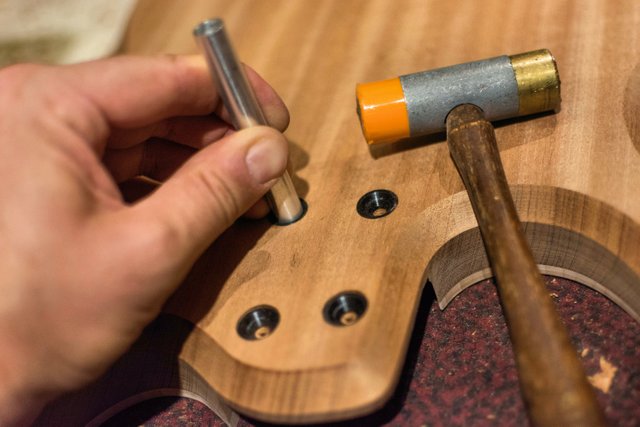
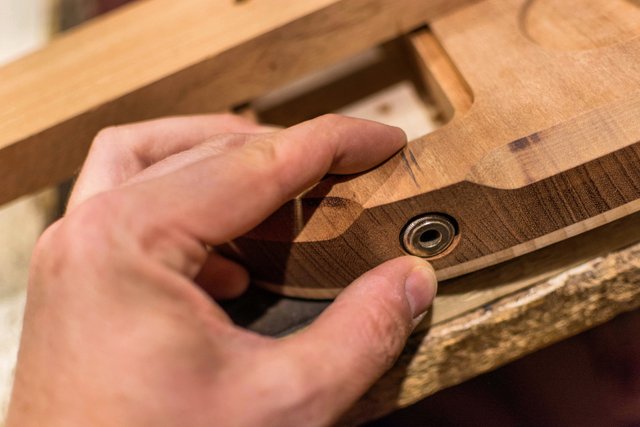
Fitting the ferrules nice and snug but also slightly below the surface...
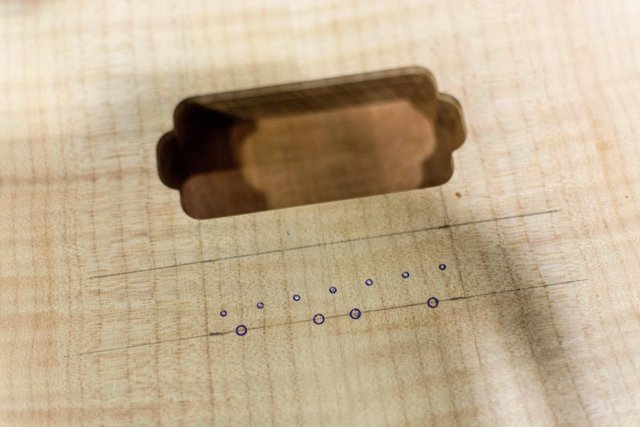
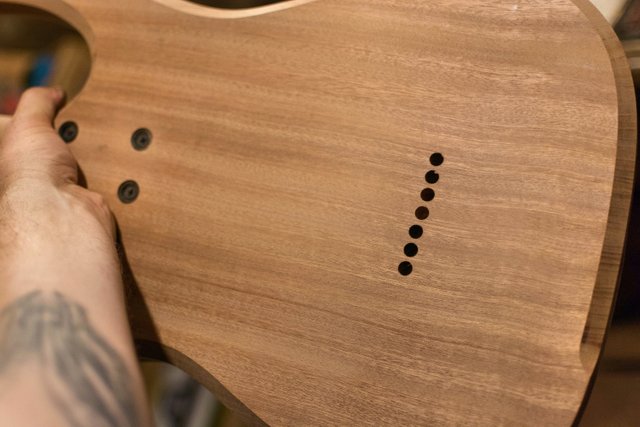
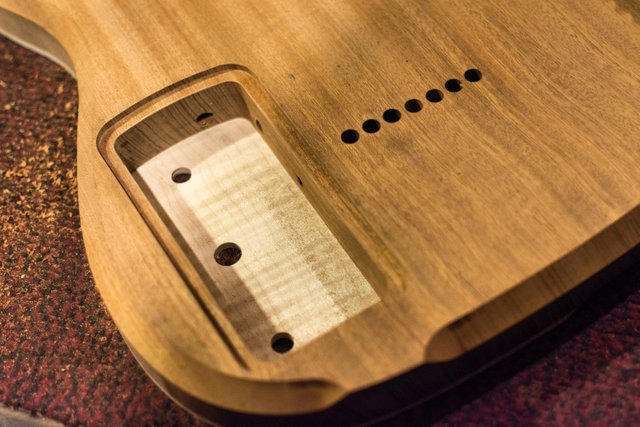
Drilling the holes for the fingerboard glow in the dark side dots/inlays...

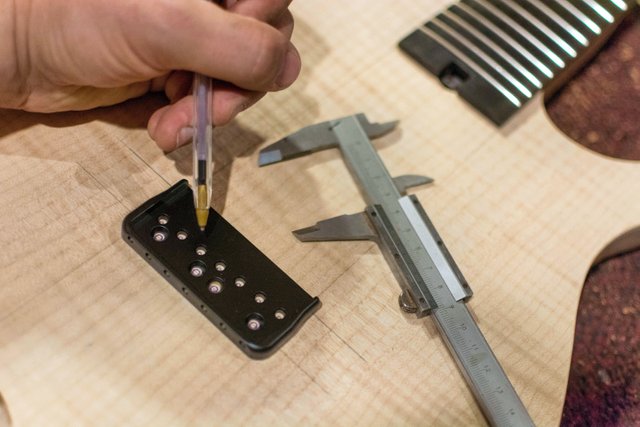
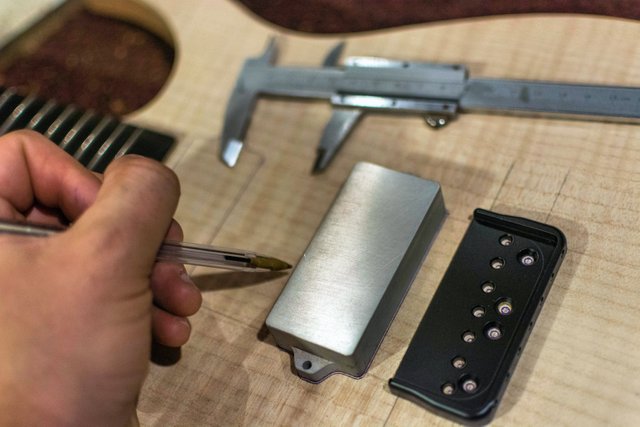
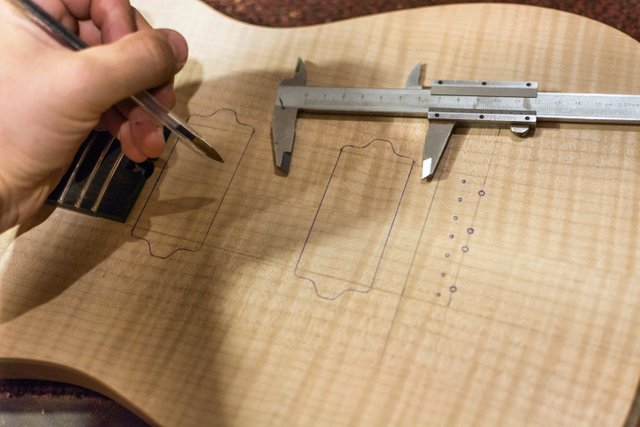
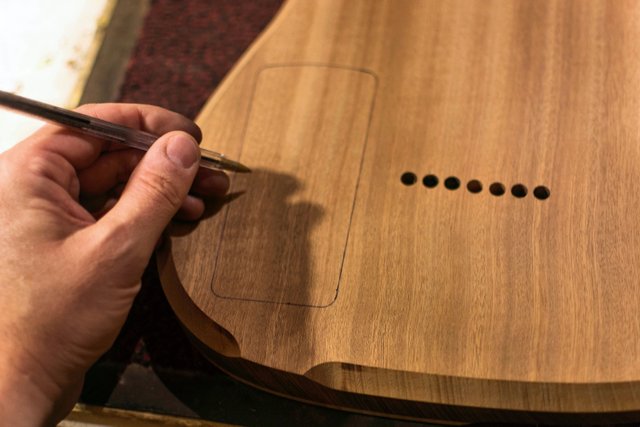
Figuring out and laying down the bridge position...
Figuring out and laying down the humbuckers position...
Ready for routing...
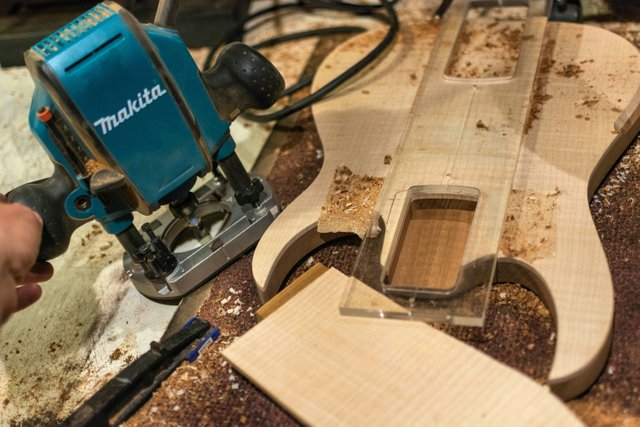
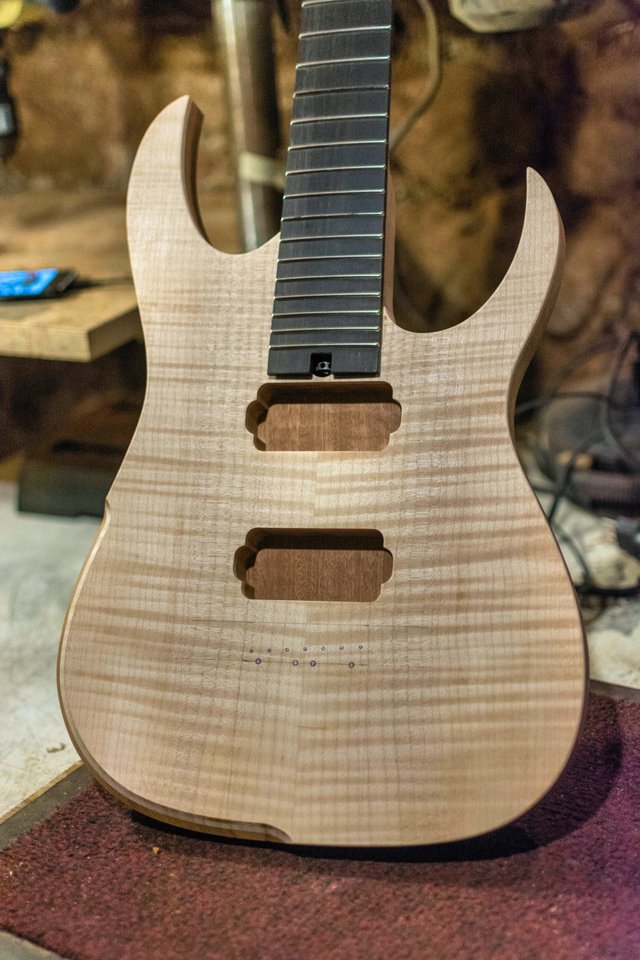
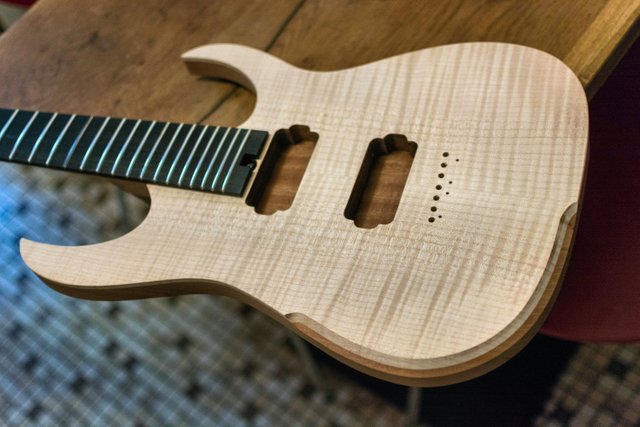
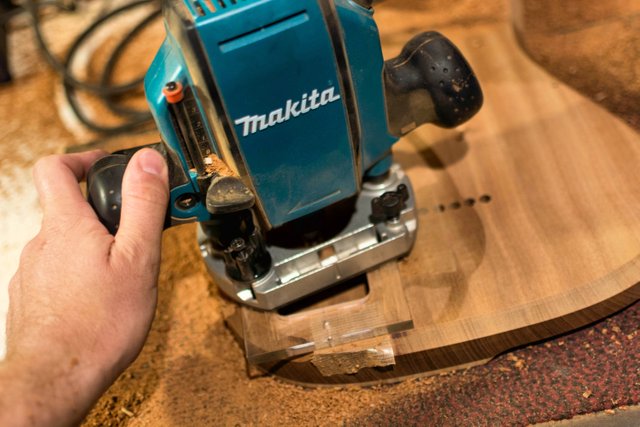
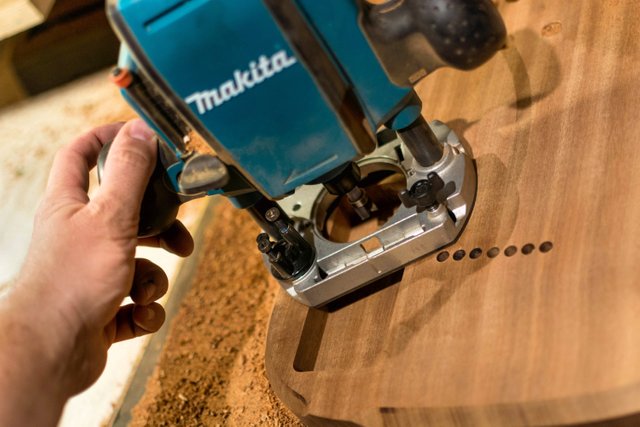
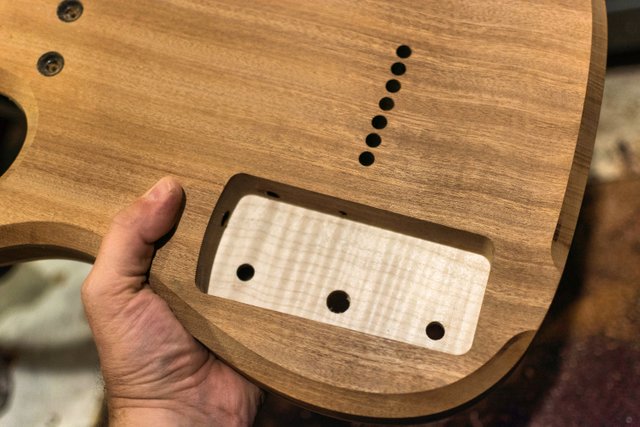
Routing the humbuckers cavity using a homemade template and a custom tungsten carbide router bit, this has to be surgically clean !

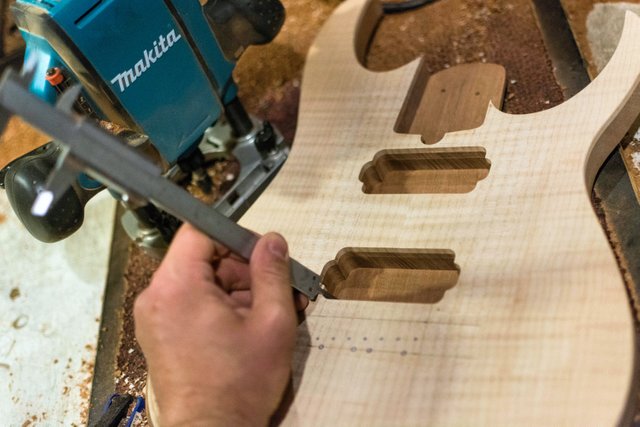
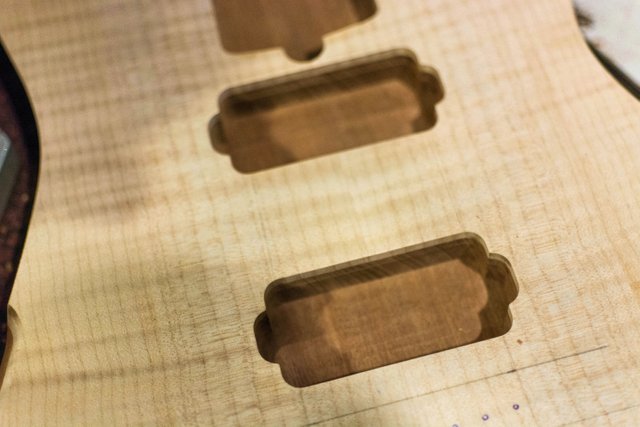
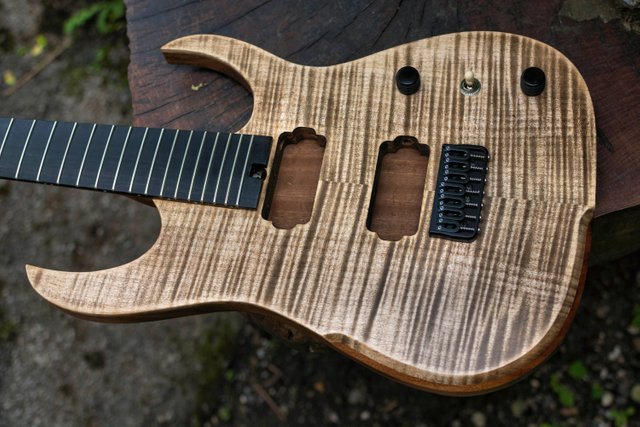
Oh look, it is starting to look like a guitar !
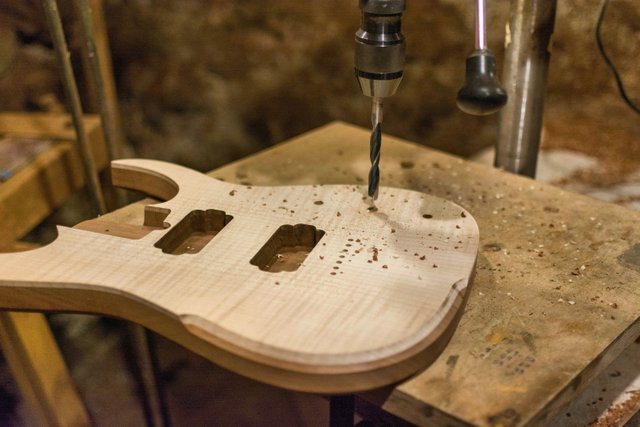
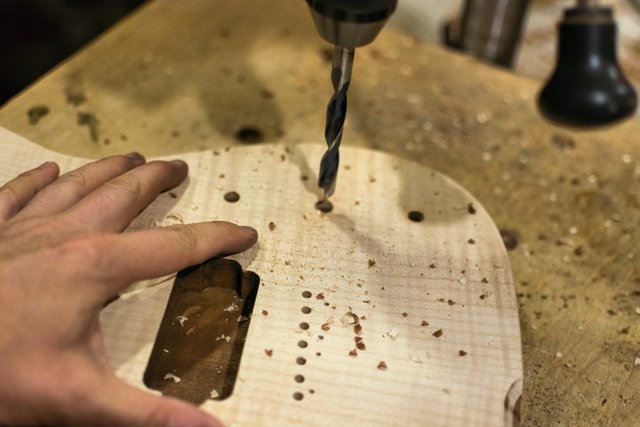
Drilling the bridge and rear ferrules holes...
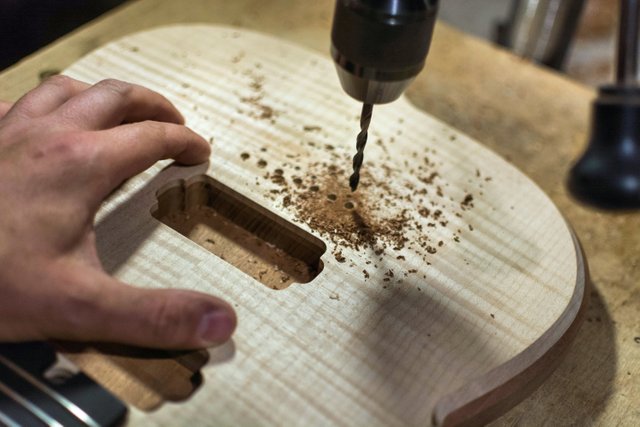
Figuring and laying out the control cavity...
Routing out the control cavity nice and clean + drilling the control holes...
Drilling a recess for the control cavity cover...
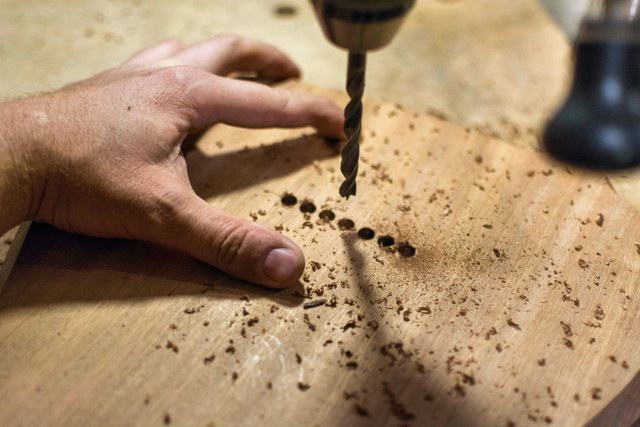
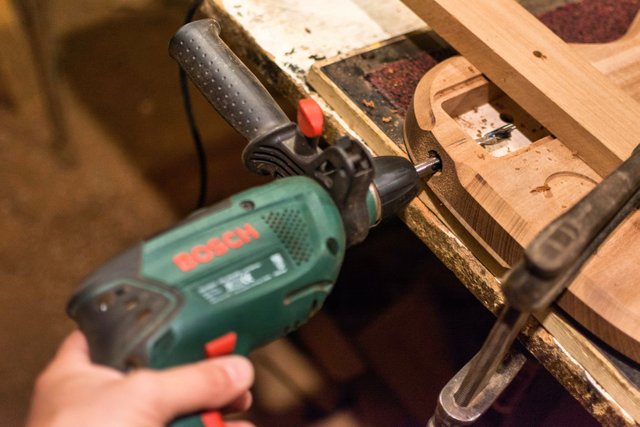
Drilling the channels for the wires, here I am drilling the 'bridge to ground' connexion...

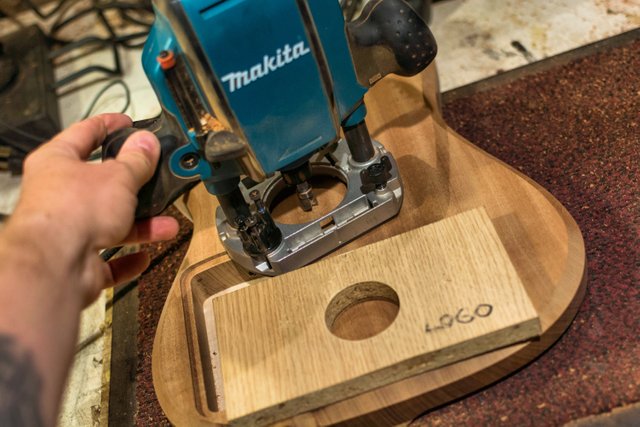
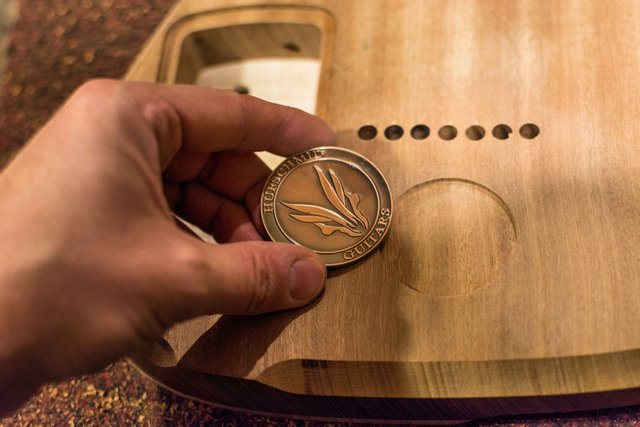
Routing out the cavity for the logo !
Installing the output jack nice and flush !
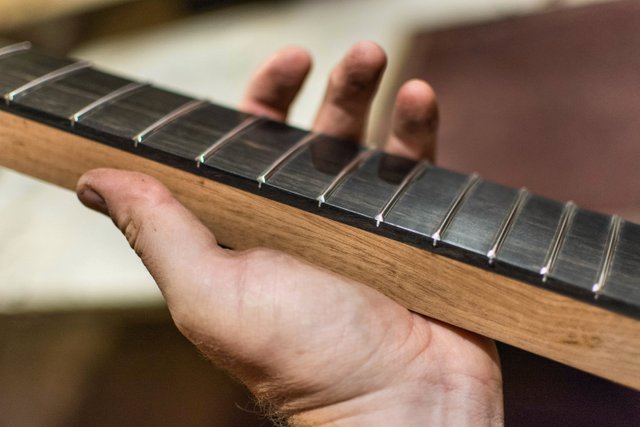
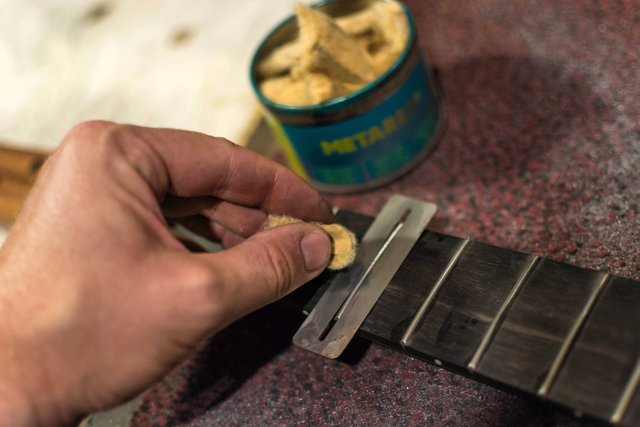
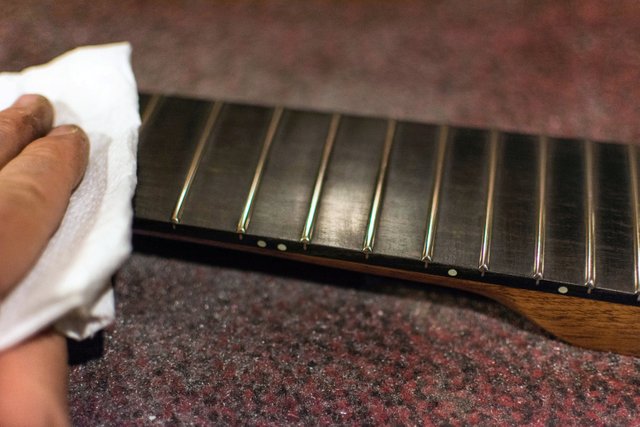
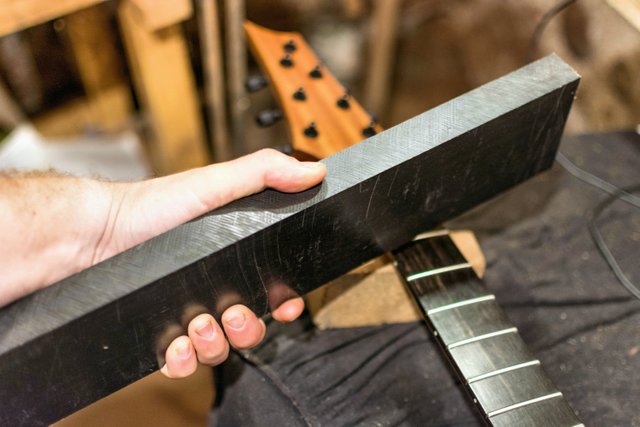
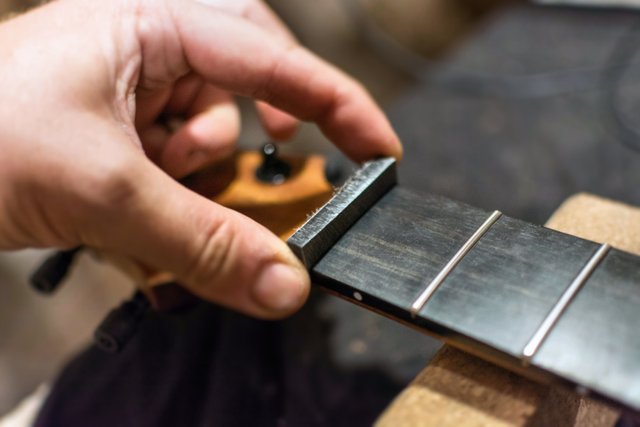
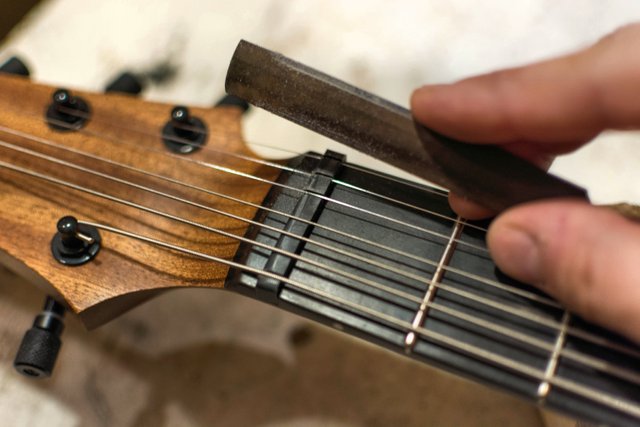
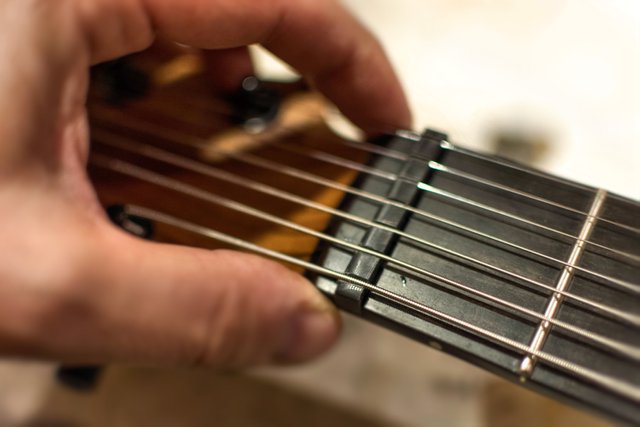
Completing the fretwork, leveling, re-crowning and polishing those frets...

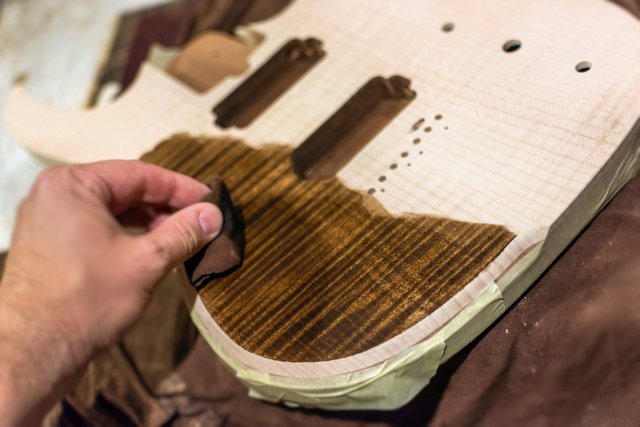
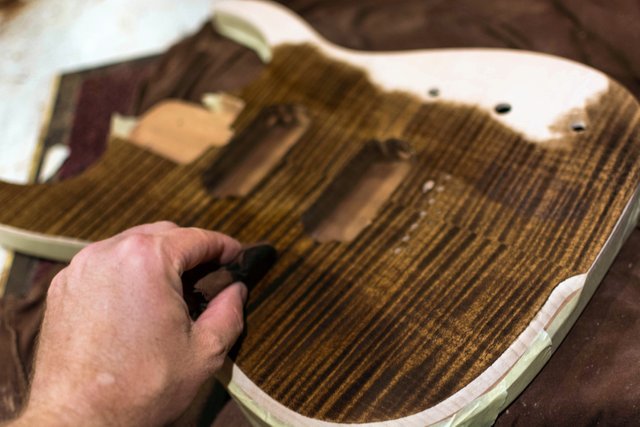
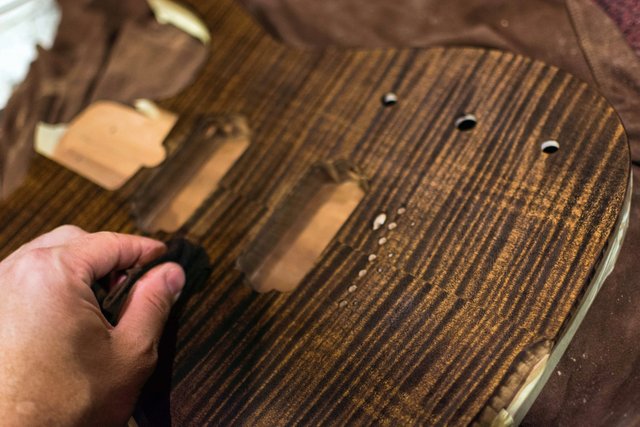
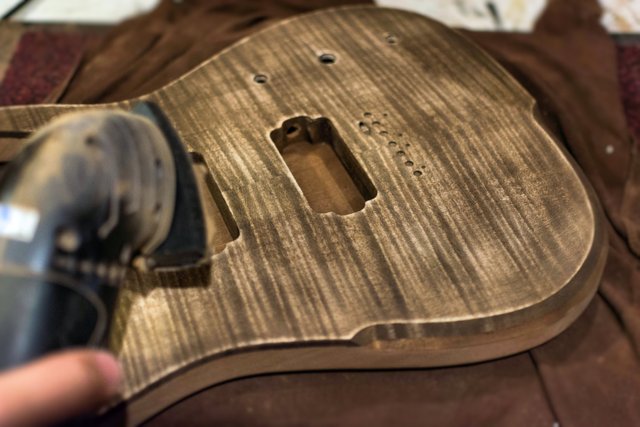
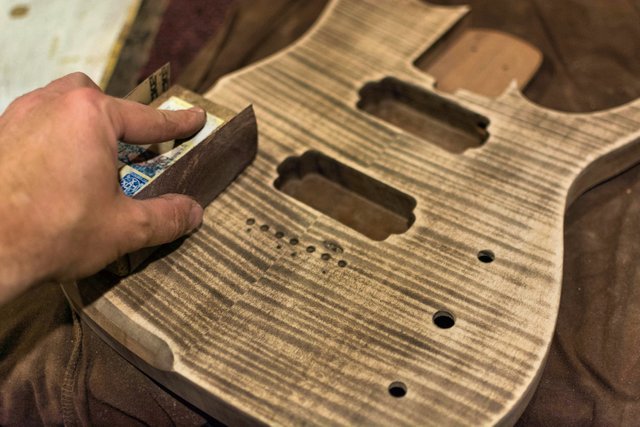
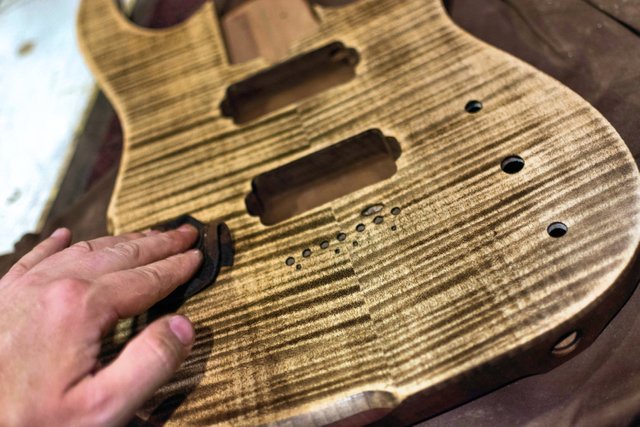
Staining the top according to the customer request...
Adding the first sealer coat of varnish, I like to build-up a durable finish, I do this all by hand of course, approx 15 coats and you must always scuff sand and level out in-between each coat. This is a very long procedure which takes me approx 2 weeks of work, but the result is a very durable and protective finish which feels completely natural !
Building up the coats...
Test-Fitting the hardware before applying the final coats...
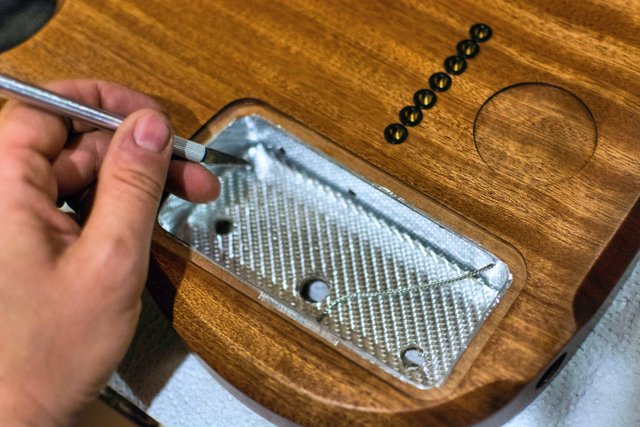
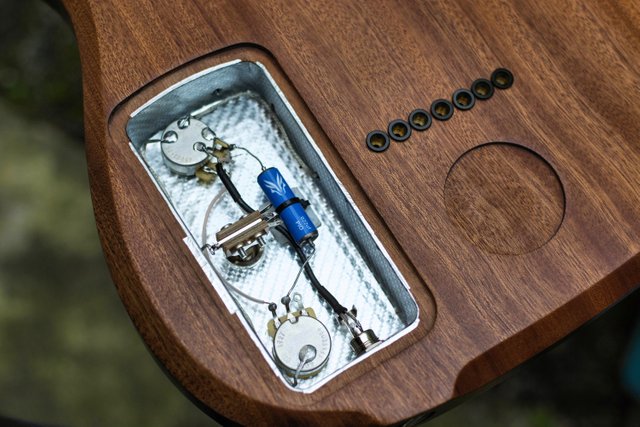
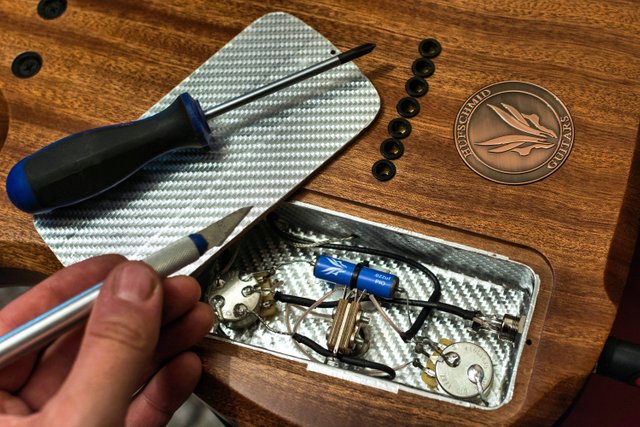
Starting to mount the hardware, also fitting my signature '3D Kevelar' control cavity deco...
All my current guitars are fitted with a very rare 'new old stock' Russian military 0.022uF paper in oil K40Y-90 capacitor ! Why ? Because I do not cut any corners, it makes no difference at all to fit a cheap cap but why would I do that after spending 100 hours building the guitar ? I want every part to reflect my passion and dedication to my craft and this also applies to the parts which are not directly visible.
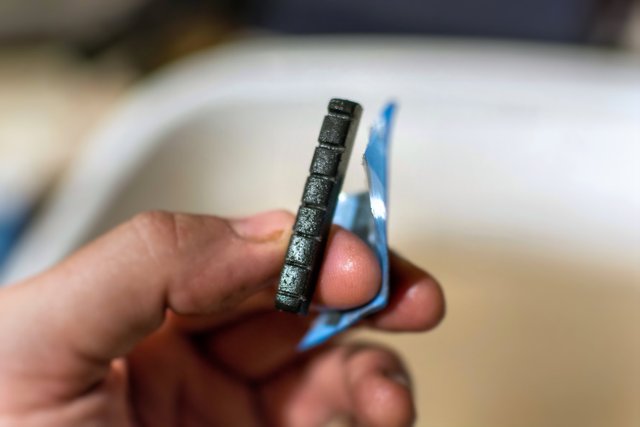
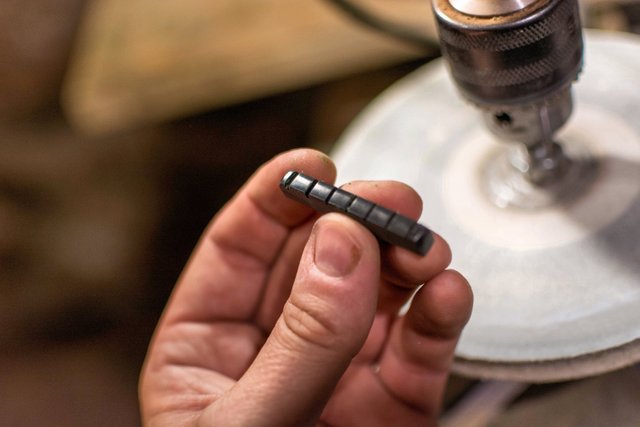
Starting to work on the nut, in this case I am using some 'black Delrin®' (Polyoxymethylene) which is an engineering thermoplastic and the perfect nut material, I also use several other materials but in this case Delrin seams to be the best candidate ! I also happen to have a huge stock of this material, I am sure that this will just be enough material ! haha
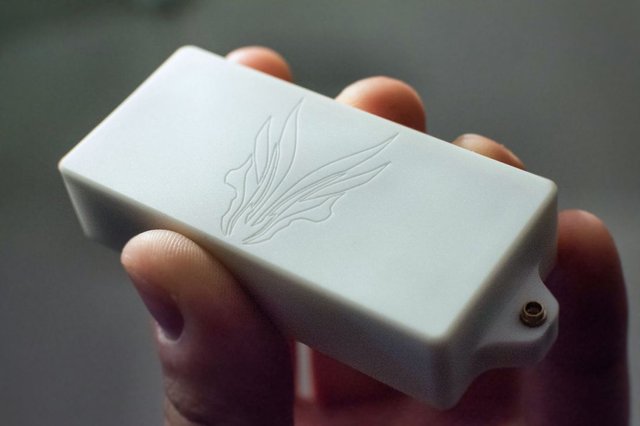
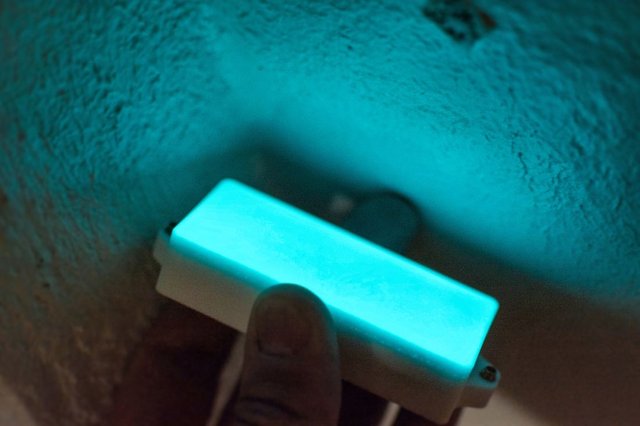
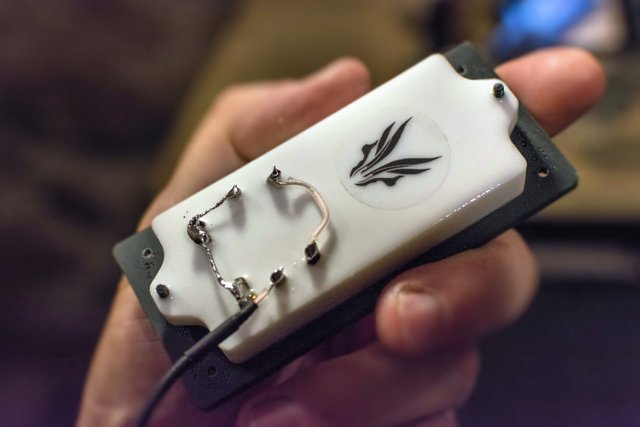
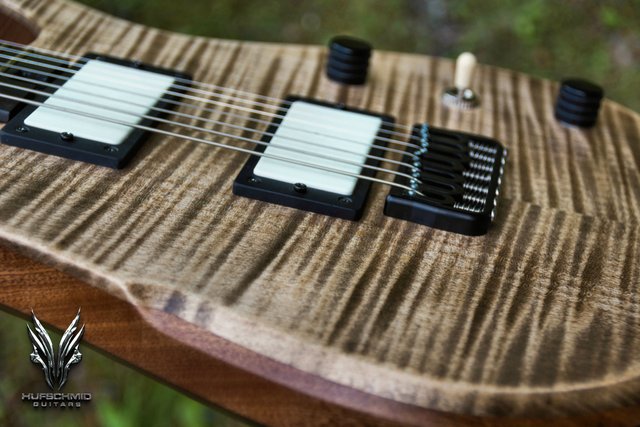
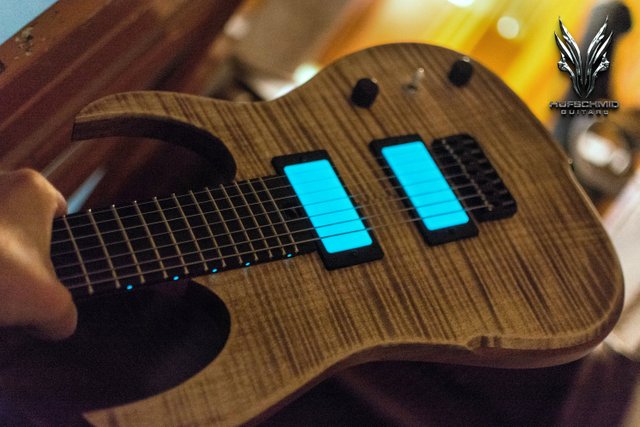
Introducing the world's first solid resin cast 7 string humbuckers which glow in the dark, an exclusivity available when ordering one of my guitars ! Copyright ©wyNW7vxtsXFAGsk6
Ever noticed how high quality 7 string humbucker mounting rings are inexistant on the market ? I've created my very own many years ago, these are solid resin cast and designed to perfectly match my pickups !
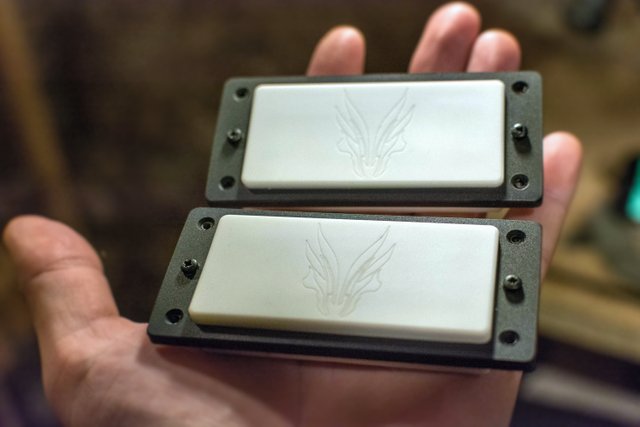
Rear view of my exclusive 'GlowBuckers®' !
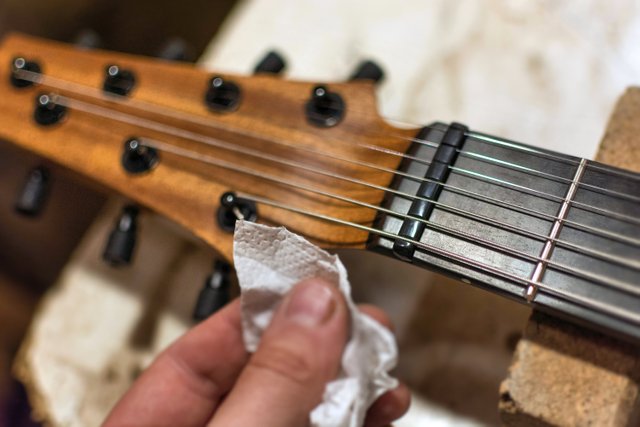
Cutting the nut slots using various files to accomodate for the string guages...
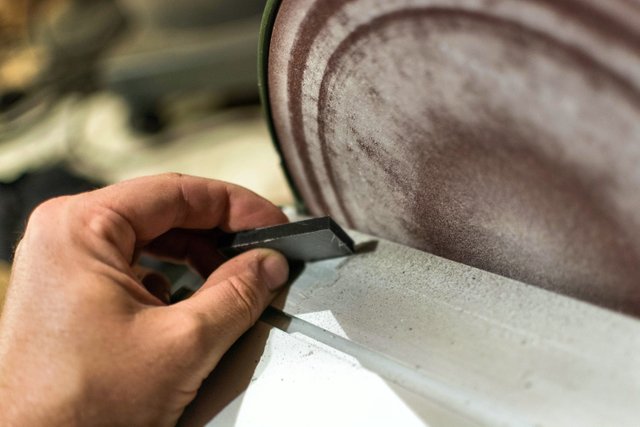
Sanding down the material to a fine grit before polishing it...
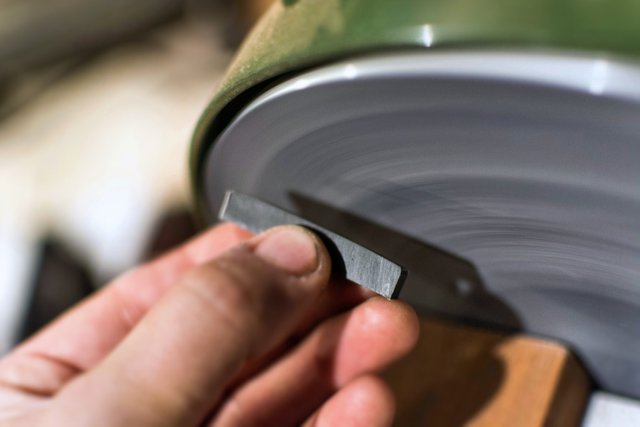
Polishing the nut using various compounds...
To a perfect high gloss !
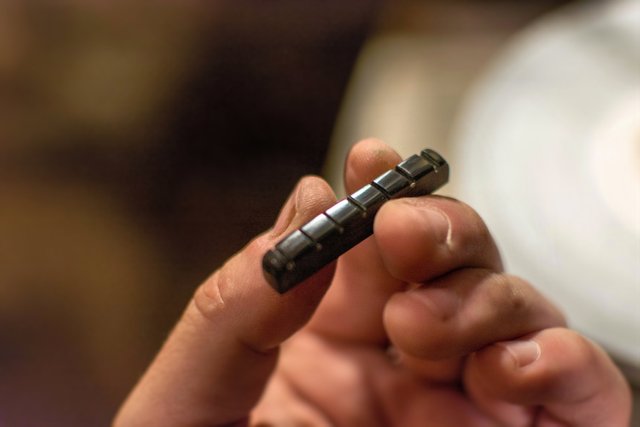
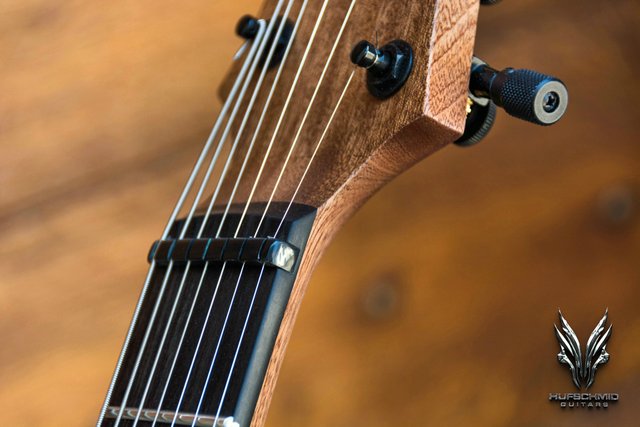
Completed nut !
Starting to wire up the humbuckers !
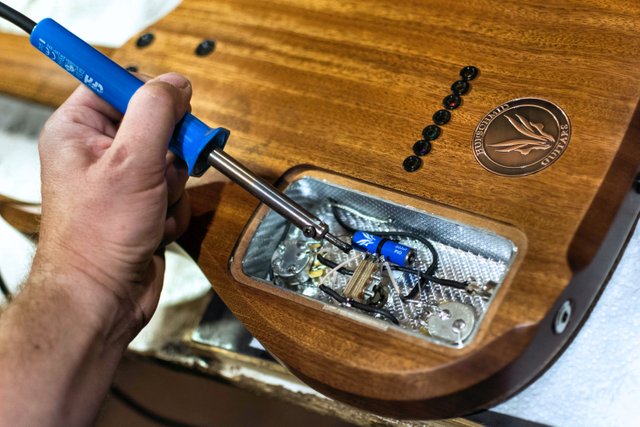
Wiring completed !
Completed guitar !
© 1996-2018 Hufschmid Guitars All Rights Reserved
Wow man! Incredible craft. Nice to see a real luthier around on Steemit. And the photos are very nicely taken, I don't know if you took them but they came out nice. Great step by step content.
Hi hufschmidguitars,
LEARN MORE: Join Curie on Discord chat and check the pinned notes (pushpin icon, upper right) for Curie Whitepaper, FAQ and most recent guidelines.
So cool! Please please I couldn't wait for your next post!
This post was shared in the Curation Collective Discord community for curators, and upvoted and resteemed by the @c-squared community account after manual review.