The great american french drain
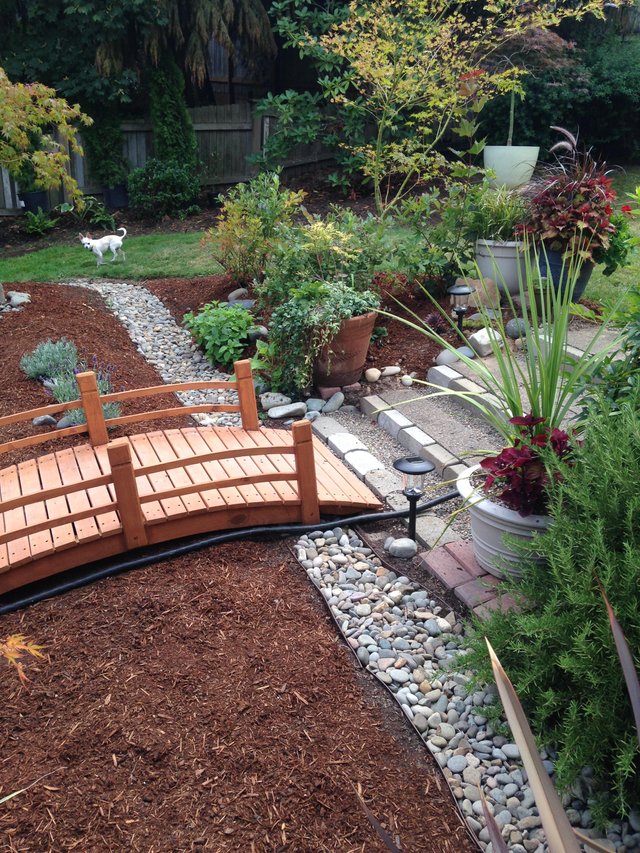
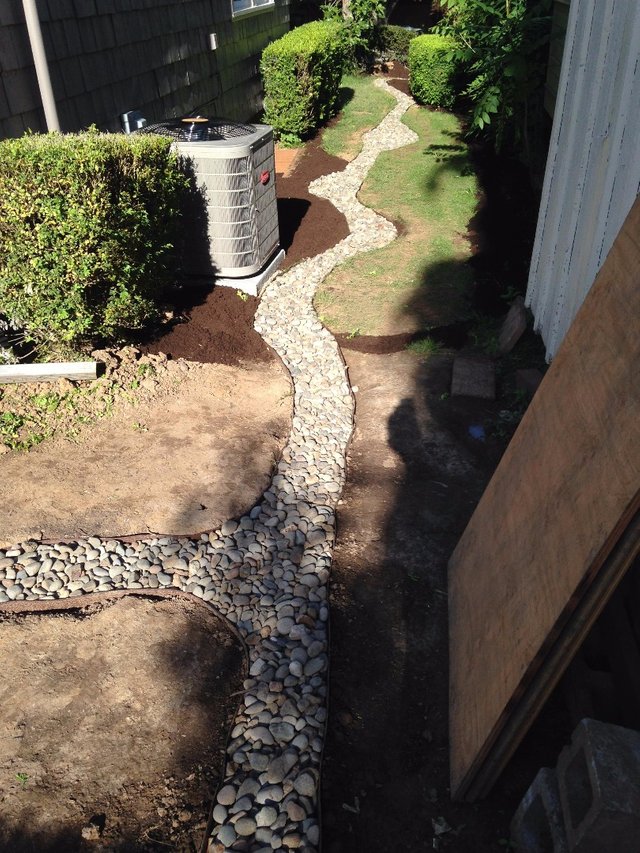
End result
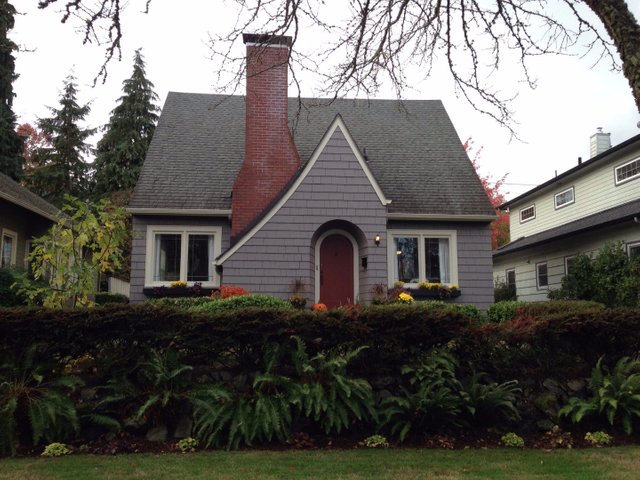
The first time I looked at the backyard, I could tell this house had drainage problems. I bought it anyway because otherwise it’s exactly what we were looking for – an English cottage revival in an incredibly well maintained neighborhood built mostly in the ‘20s with towering trees. Walking distance to my work, good schools, restaurants, coffee, library, and grocery (an independent organic place, too expensive to actually shop at, except for beer). A consistent slope from the back alley right up to the foundation funnels rainwater that collects under the house and seeps into the basement and garage. Also, I believe at least half the problem is due to three downspouts in the back. Two empty into ancient looking concrete tubes that lead to who knows where and have likely failed. The third empties into a perforated corrugated pipe that goes straight down into the dirt that had obviously occluded (surprise, surprise). During the relentless Oregon downpours, the basement sump pump runs one minute on, one minute off, constantly. The french drain was done entirely on my own and took 15 days to complete at a cost of $1500. Renting an excavator or a least a walk-behind trencher would be smart in most situations. But I had so many tight spaces to work in that I figured it would be too much hassle to be effective. I dug the trench using only shovels of various shapes – a trench shovel worked best. The trench totals 180 ft long, averages about 2.5 ft deep and 12-18 inch wide. It is filled with 1-2 inch river rock that comes all the way to the surface. I didn’t want a straight line through the property, so it curves and flows with various widths like a stream. The design and process is pretty simple making this a great DIY project. The basic steps: dig trench maintaining slope greater than 1% (slope is checked/adjusted after each step until the last pipe has been laid), line trench with nonwoven geotextile fabric, add 2 inches of stone to the bottom, lay perforated pipe, cover with 2 inches of stone, lay closed pipe that connects to downspouts, fill trench with stone up to 5 inch below surface, overlap fabric covering the top, add terrace board to reduce dirt infiltration, fill the rest of the way with stone. Can’t wait for winter to see how well this works. If I see any water in my basement I’ll probably lose it and elbow drop that damn fluid.
 COSTS/MATERIALS ($128.74) Permit ($89.38) Mutual NW35 nonwoven geotextile fabric (6’ x 300’) ($27.50) Anchor staples (500 count) ($398.00) 1-2” round stone + delivery (11.5 yards + delivery [3 x $40]) ($704.44) Pipes 4” ADS perforated smooth triple wall pipe (18 x 10ft) terminates to 3” sched 40 PVC (2 x 10ft) 4” sched 40 PVC (12 x 10 ft) Fittings, cleanouts… ($18.45) Flex Grate downspout connector/filter (3 count) ($169.02) Master Mark Plastics 5” x 40’ (8 count) terrace board ($1535.53) Total
TIME SPENT (7 hour days) (1) Site prep (includes demo/removal of a 15’ x 19’ deck) (5) Excavation with shovel, trench grading (1) Fabric lining (2) 2” base layer of rock and lay perforated pipe (2) Layer of rock over perf pipe, add closed downspout pipe (2) Fill trench up to 5in mark with rock (2) Add terrace board and fill remainder of trench (15 days) Total
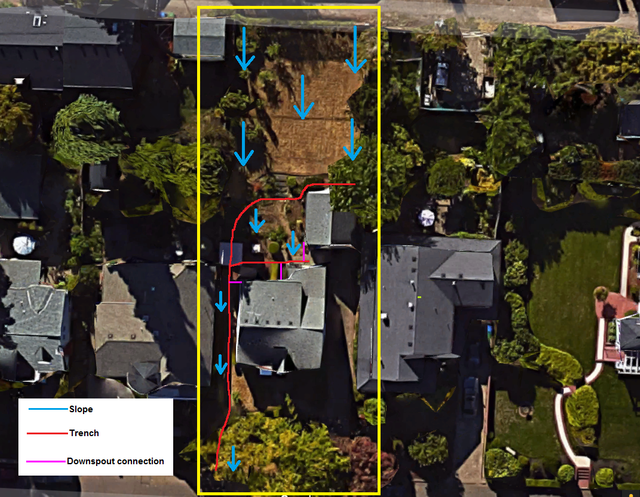
Property slopes from the alley in the back down to the street in the front. The trench has two arms: one to intercept subsurface water headed to the garage and another arm closer to the house.
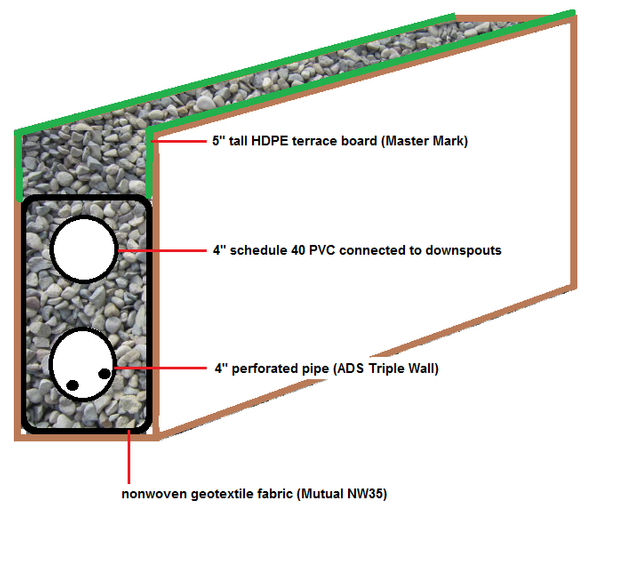

French drain guts. I like to believe my MS Paint skills are second to none.

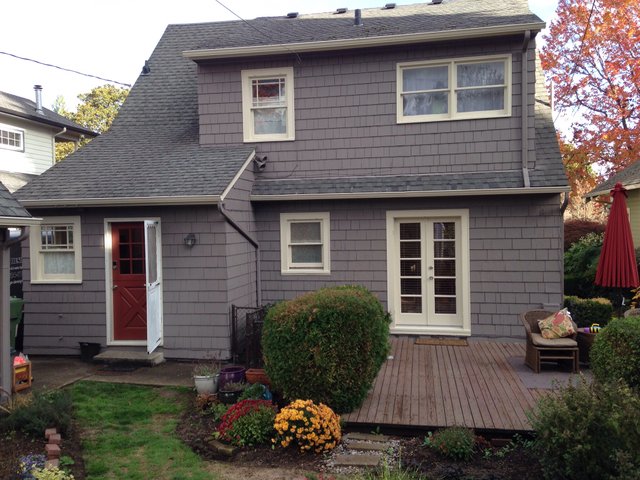
First I had to demo and remove a deck that needed replacement anyway. It was a floating deck that had floated right up against the house rotting out the bottom row of siding. Its construction should provide a few laughs – 4x4 joists, 32 inch OC, set on top of pieces of cinder blocks here, PT scraps there, shimmed up with cedar siding shingles, and just sitting in dirt in other places.
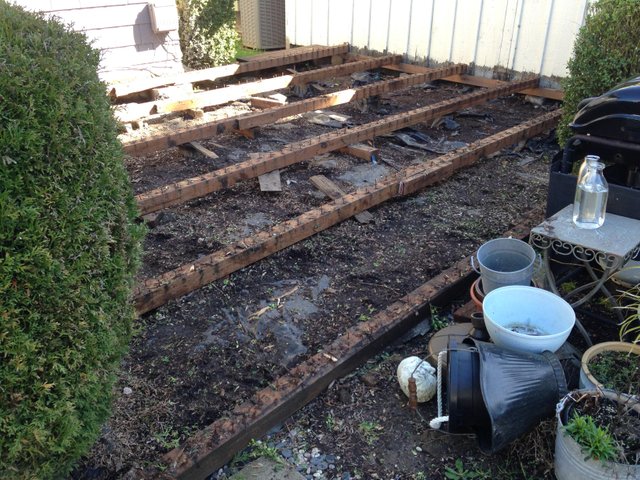
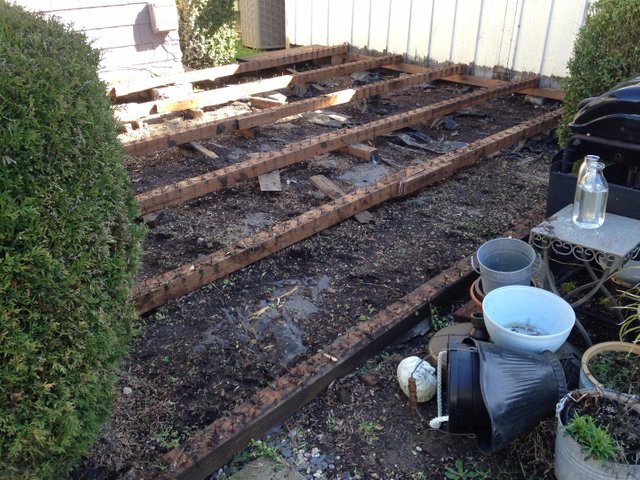
Totally up to code. I like how the deck ties into the fence too. So if you needed to replace the fence, the deck would have to come up.
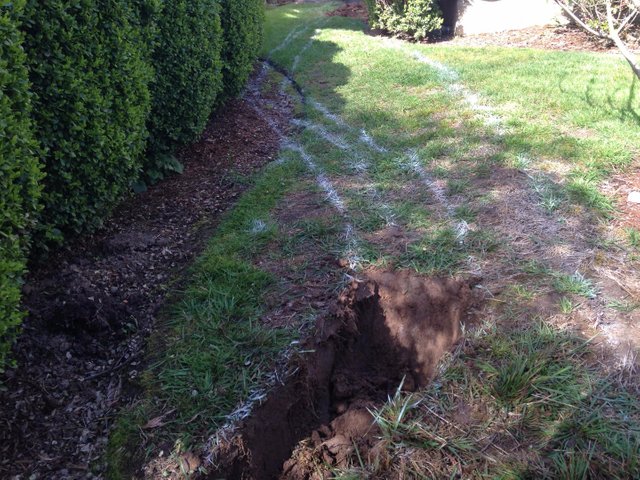
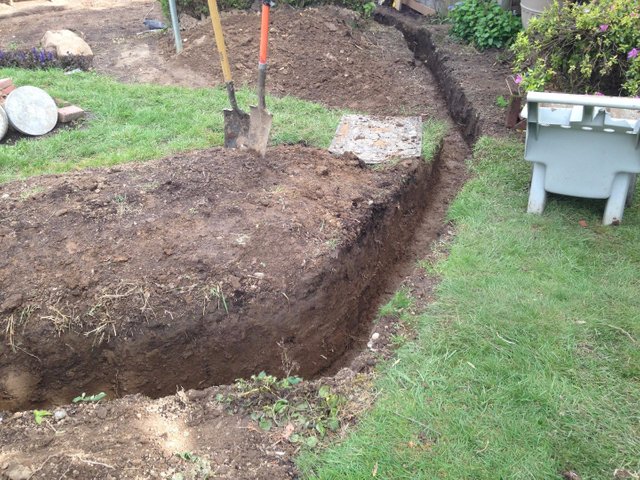
Plot your course then start digging! Start from where your drain will discharge. That way, if it rains before you finish, water doesn't get trapped in your trench.
It appears this section of my lawn was built with Minecraft blocks

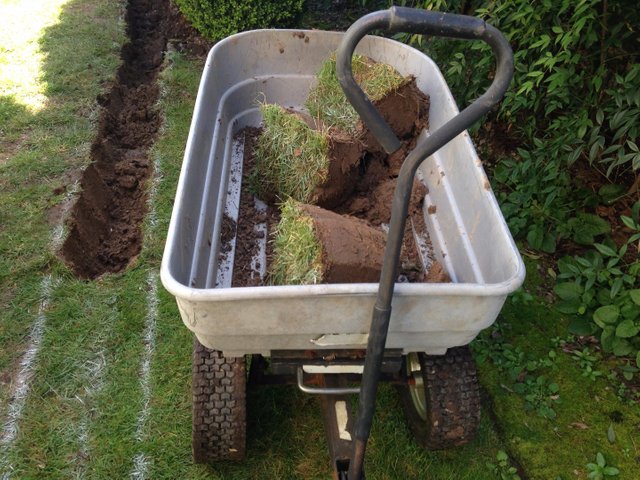
So much dirt. My God, so much dirt. I had to rewatch Shawshank to figure out places to put it all. I built up all the flower beds, improved the slope against the foundation... In the end, it took 11.5 yards of stone to fill in the trench. So, considering the space the pipes take up, I dug out at least 12 yards.
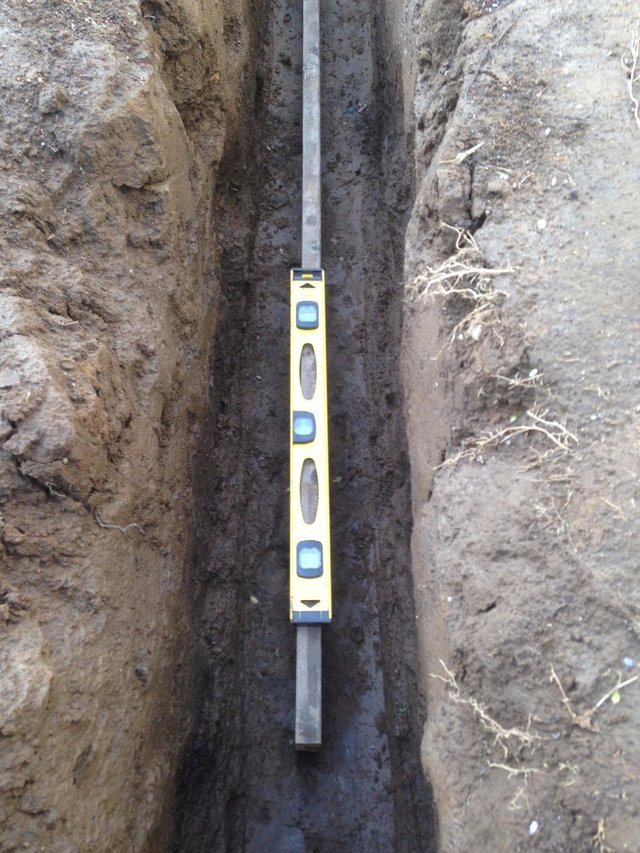 My preferred method of checking slope. Put a 0.75 inch block on the end of a 6 ft straight edge. If a level on top reads level then you have a 1% slope. I made sure I always had more than 1%.

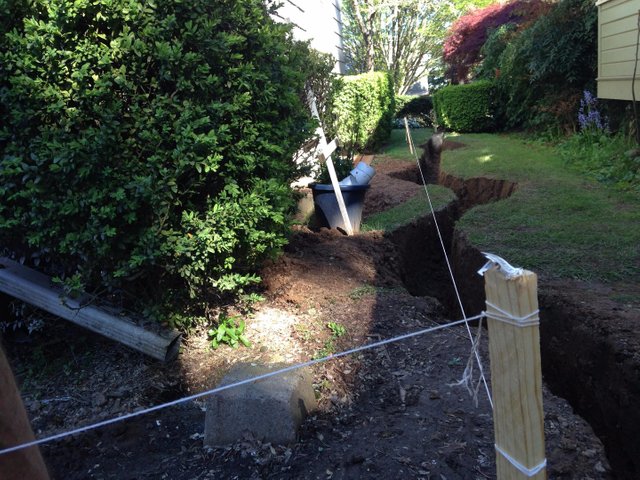
Probably a more common way of checking slope. Make sure your strings are level and you should have at least 1 inch drop every 8 feet (1%) or 2 in drop every 8 feet (2%). I abandoned this method though since It didn't work well with my twists and turns.
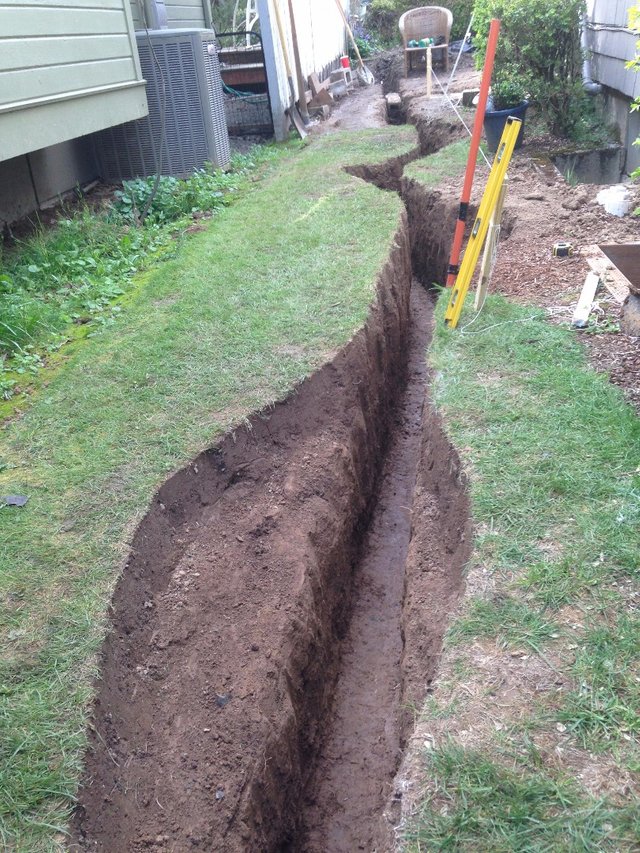
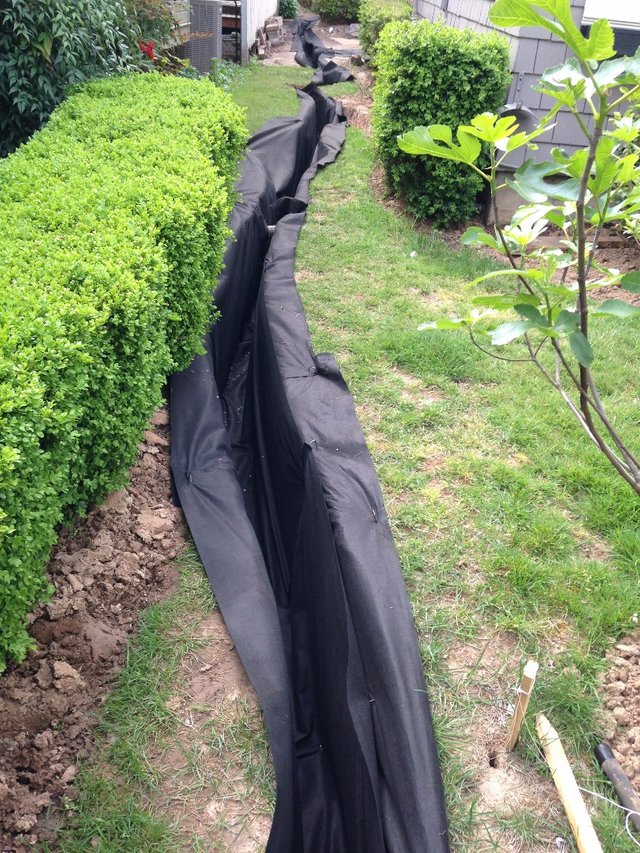
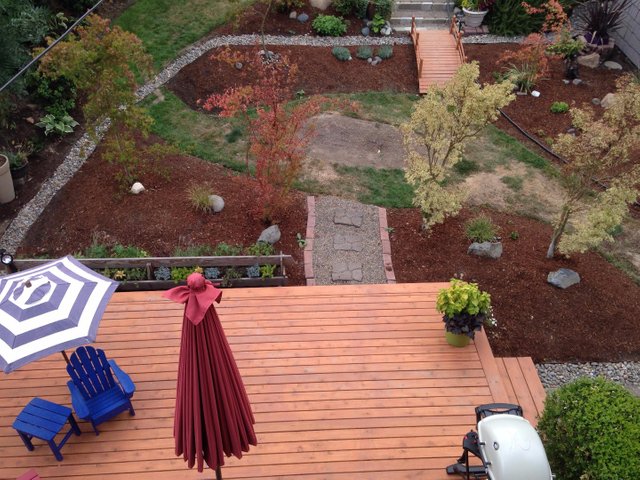
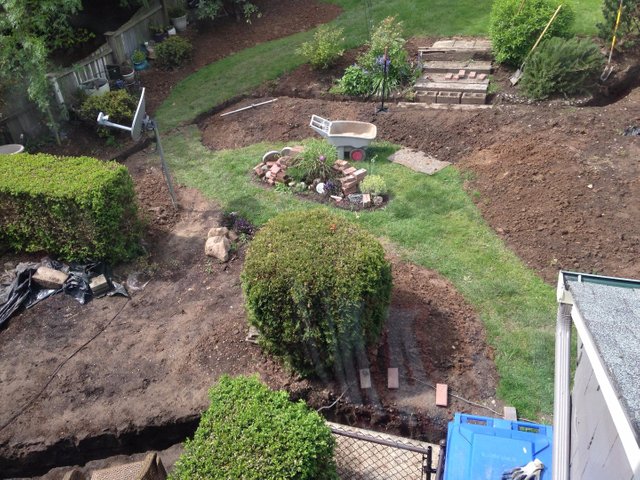 View from above
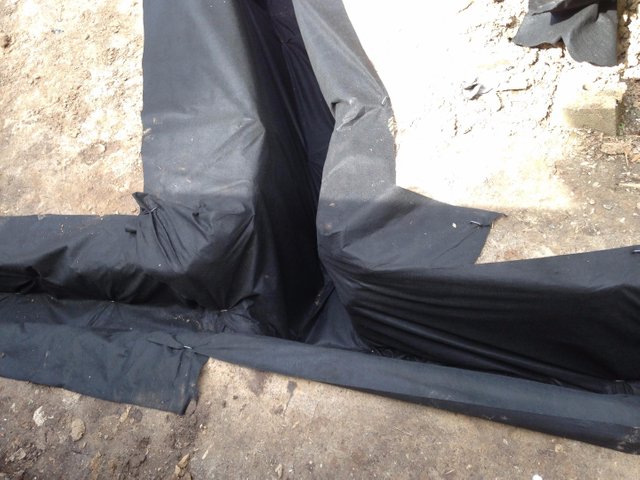
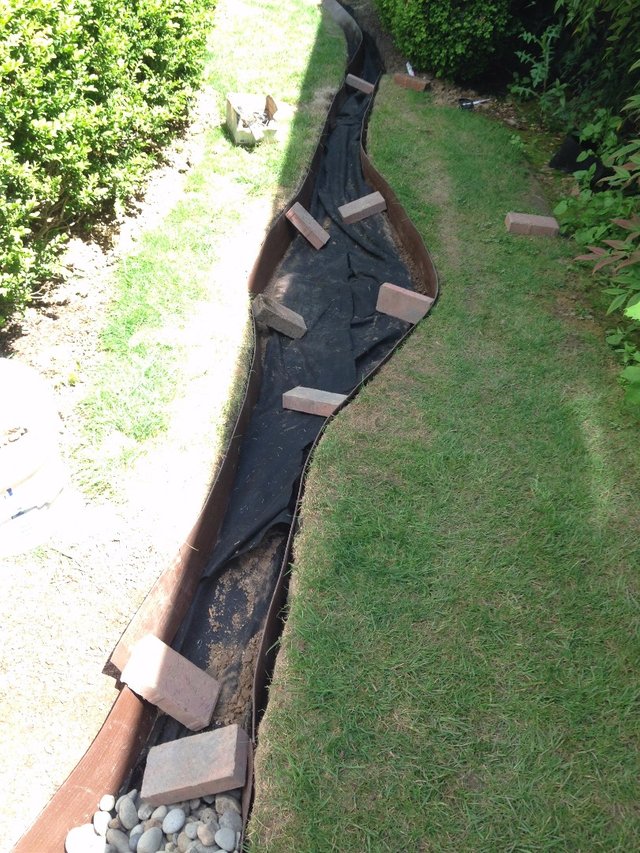
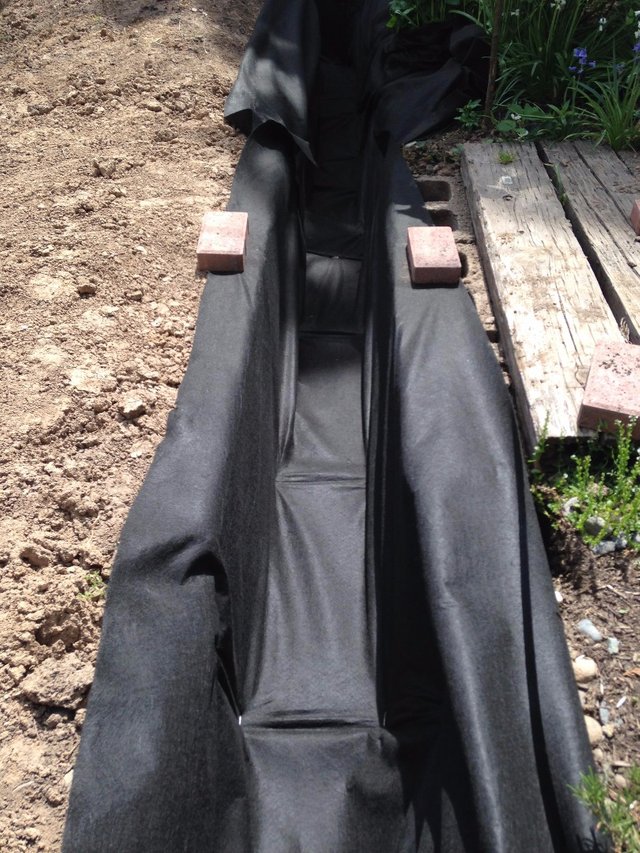 After 5 days of trench digging I started having WWI flashbacks and was happy to start stapling down fabric. This is Mutual NW35 nonwoven geotextile fabric. I got a 6' x 300' roll and had quite a bit left over to do some flower bed weed control.
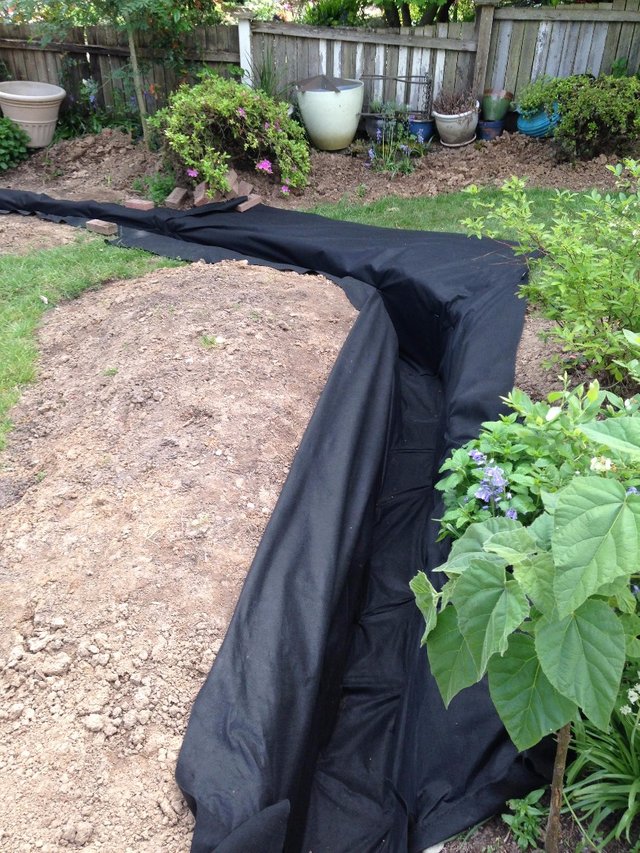
 Here you can actually see where the sump pump line crosses the trench. In a later step, I'll tie it in to the closed downspout drain. The sump pump terminated at a pop-up about 15 feet from the street. Since it was almost constantly running it was eroding the soil and kicked out a bunch of mud into the street.
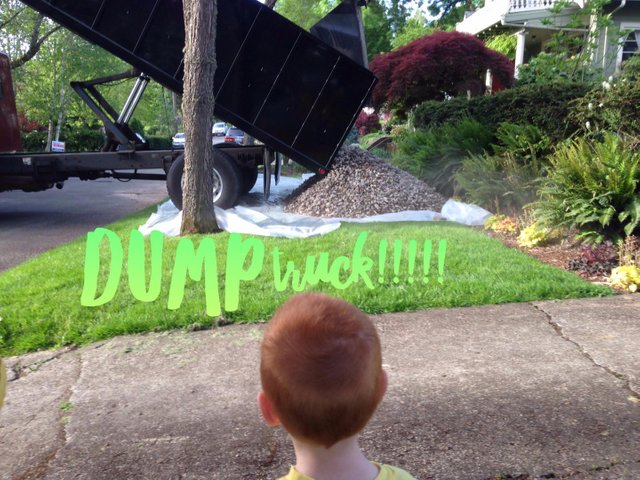 My three-year-old was in heaven. This was a delivery of 7 yards, the max this truck could carry.
  It's recommended to use washed stone to minimize the amount of dirt in the drain. It wasn't available at my local landscape supply so I manually gave each load a wash down (wheel barrow with holes drilled in the bottom).
 First layer of stone approximately 2 inches. Lightly tamped down just to make a smooth surface to lay pipe.
 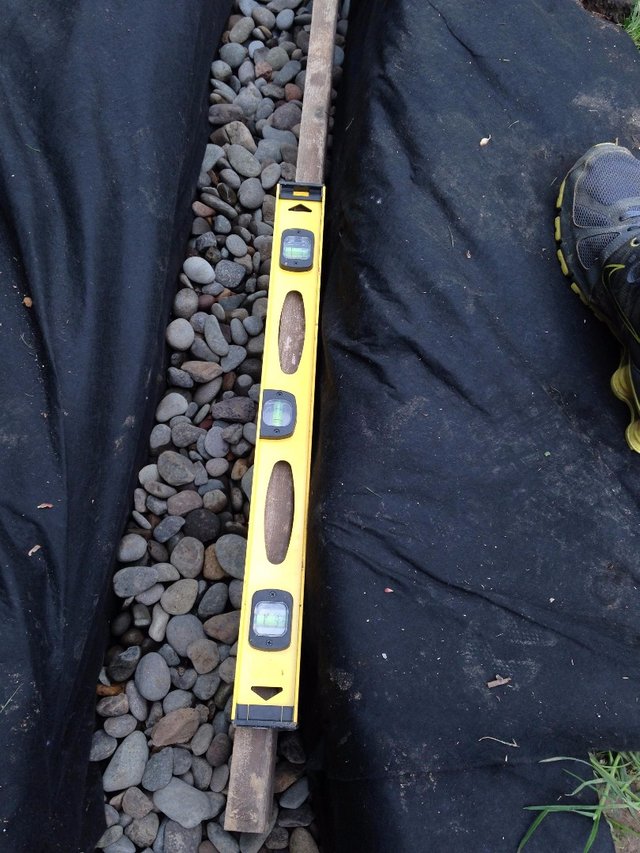 Check slope after each step maintaining desired grade.
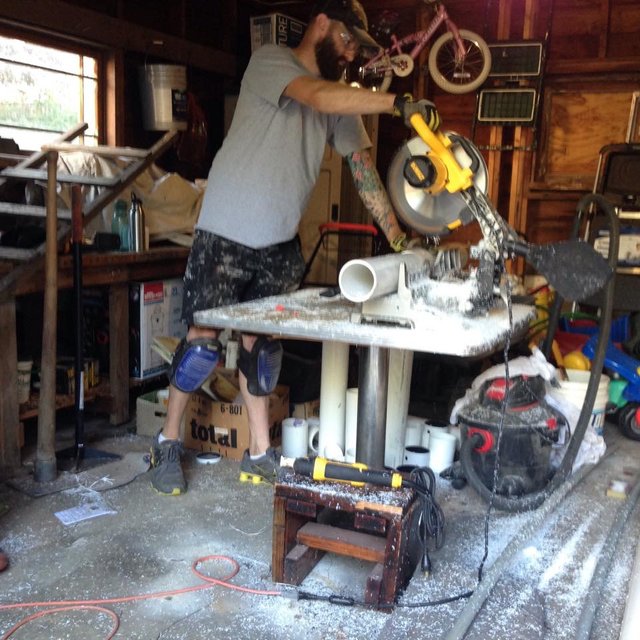
 Perforated pipe. Holes pointed down. ADS Triple Wall is what was available in my area. It has a faint line opposite of the holes that you just need to make sure is always pointing up. The ends are bell and spigot and don't require adhesive (since its not a water-tight system anyway). This step went really fast. I avoided using black, flexible corrugated pipe - the internet tells me it lacks durability, water sits in the system, harder to maintain slope, and will get torn up with a plumbing rooter when it comes time to clean it out. I wish I could have found perforated sched 40 PVC or even SDR35. Maybe I just don't know where to look though. This is the upper arm that will not have the downspout pipe.
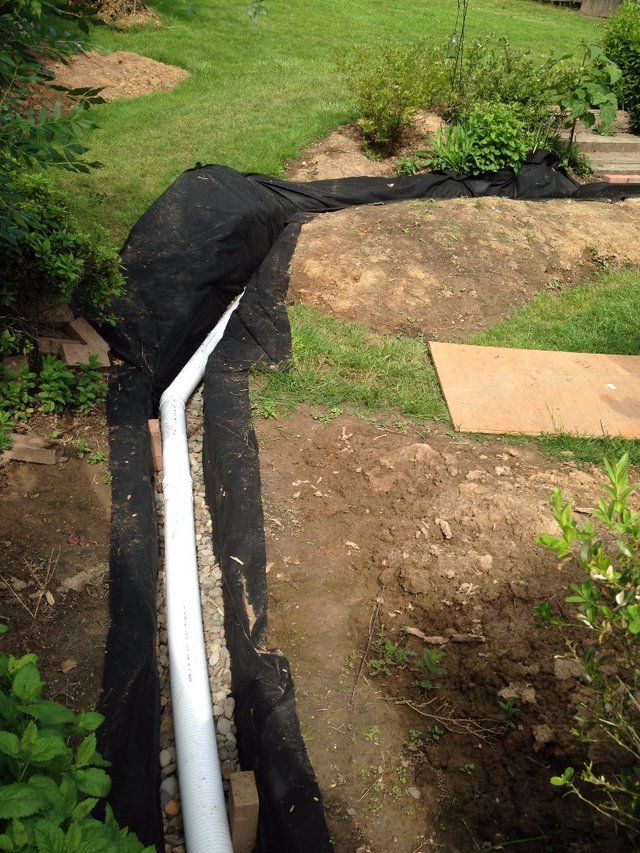
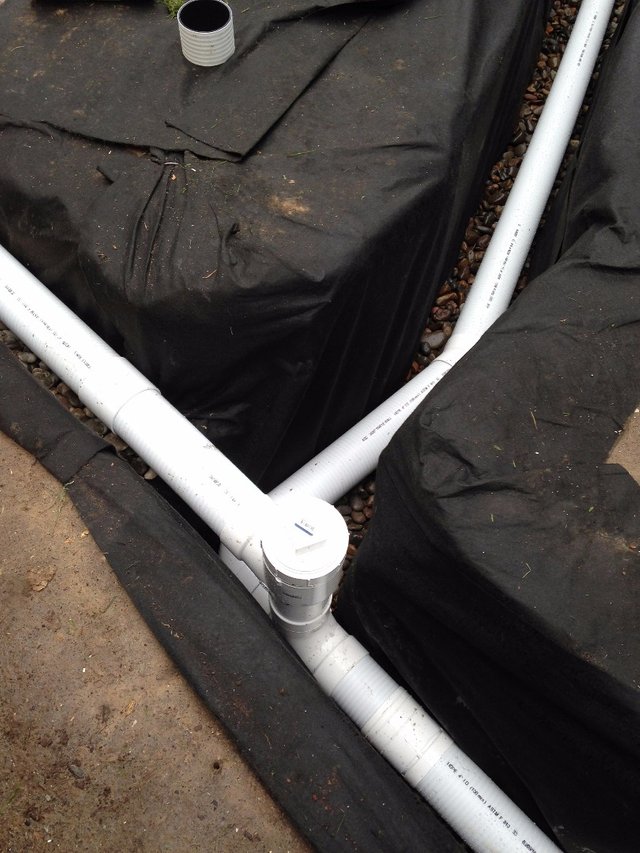 I put several cleanouts throughout on both perforated pipe and the closed downspout drain. In retrospect, putting a 90 deg turn here was probably a mistake. Using two 45's is less likely to clog. At least I have a cleanout here though. This cleanout was later raised to be flush with the deck. Planning is hard.
 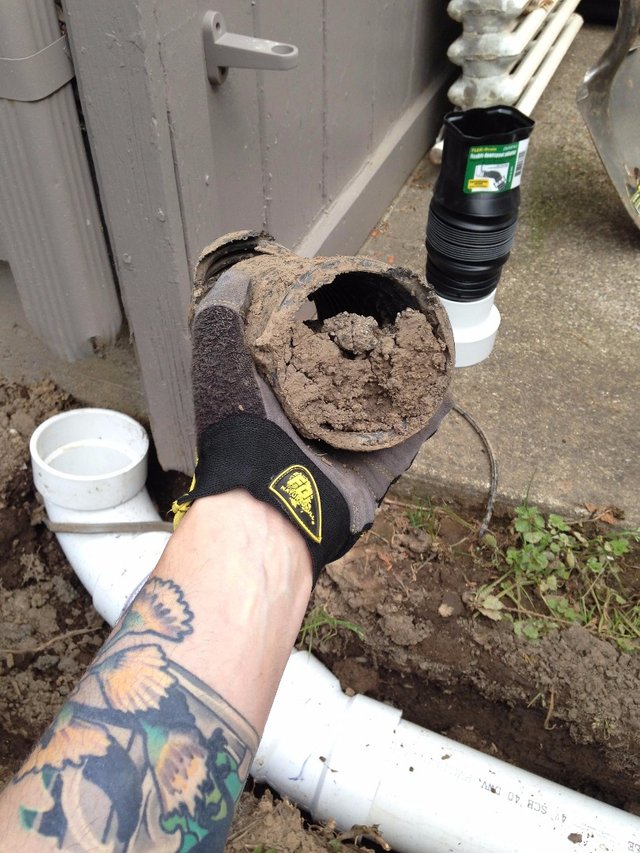 Original buried downspout drain. Ha!
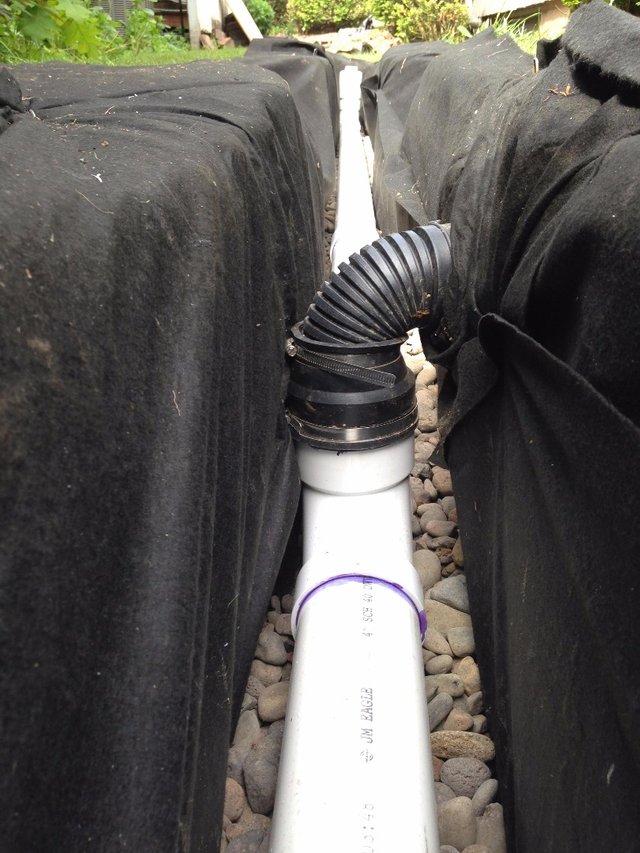
 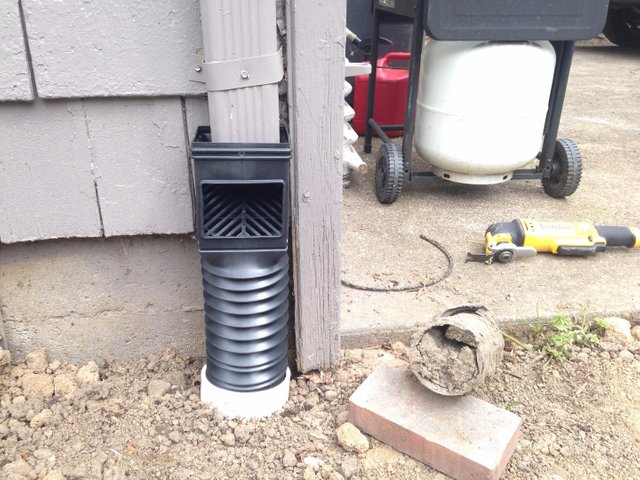 Flexgrate downspout connector. These are pretty cool and I would recommend them. Having an extra debris filter at that point is nice.
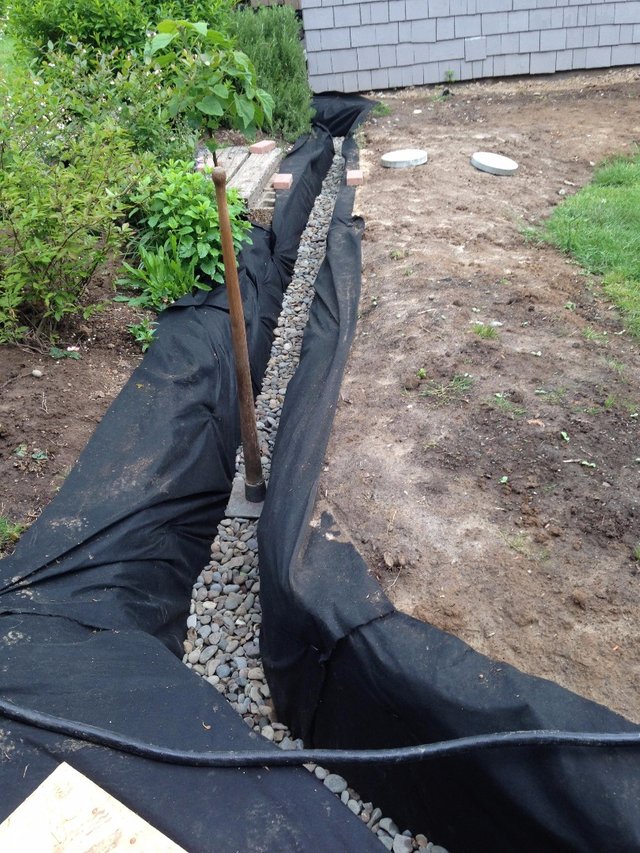
 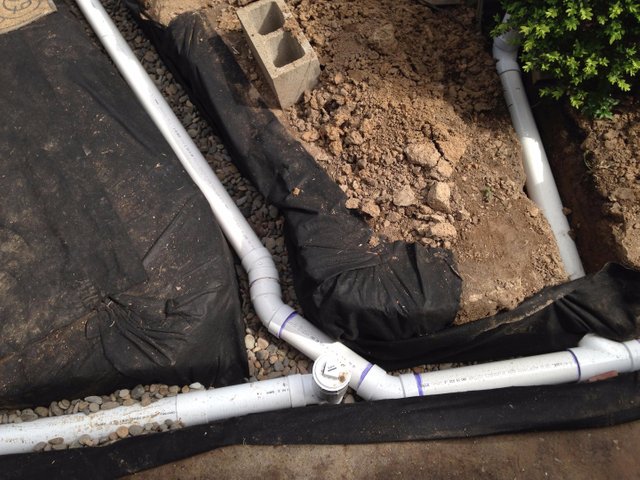 Once the perforated pipe is in, check it's slope, then cover with another couple inches of stone. Lightly tamp to create a smooth surface, check slope, then lay schedule 40 PVC connected to downspouts.
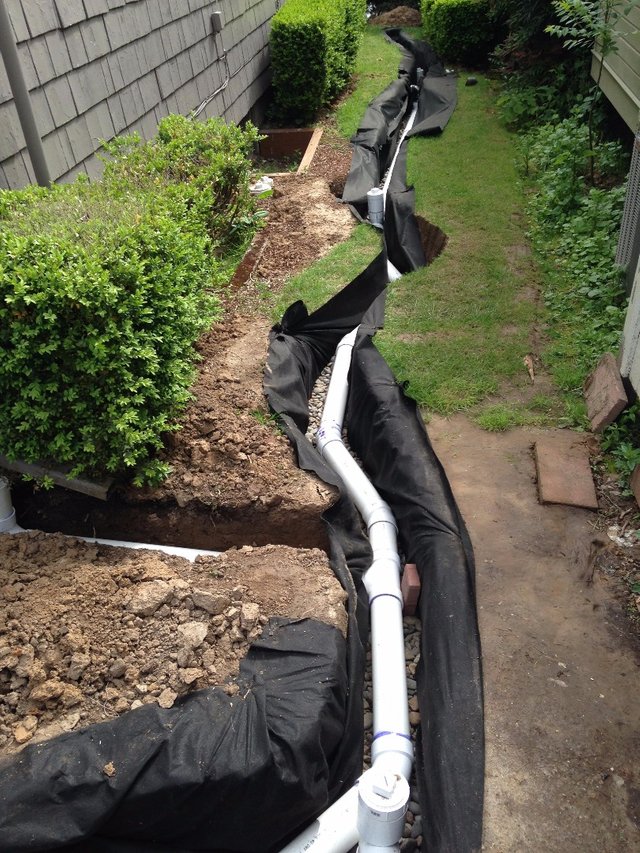
 The sump pump is now tied into the closed pipe and will discharge directly at the street, eliminating the current erosion problem.
 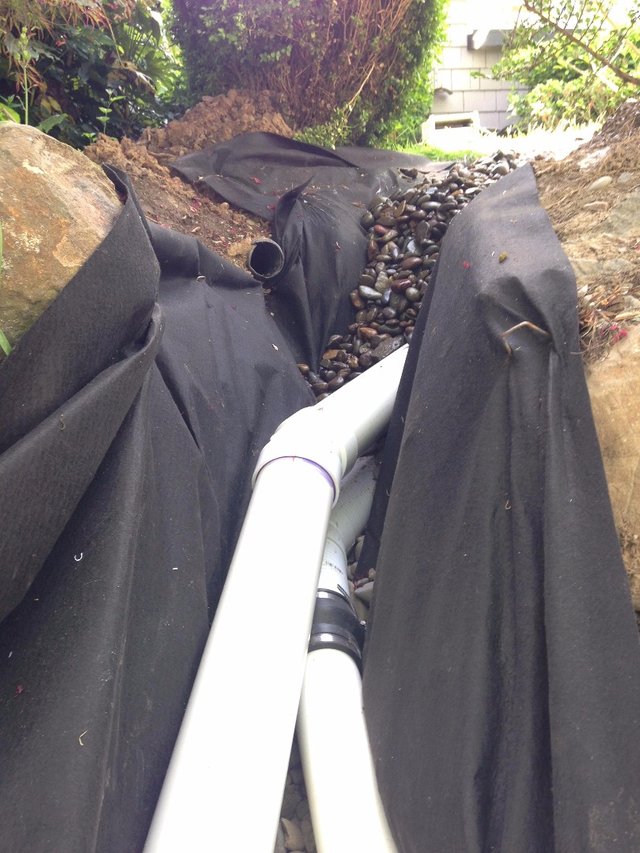 Getting closer to the street. Pipes diverge to come out on the same plane. You can also see where the original sump pump discharge was. The perforated pipe discharges through 3" schedule 40 PVC.
 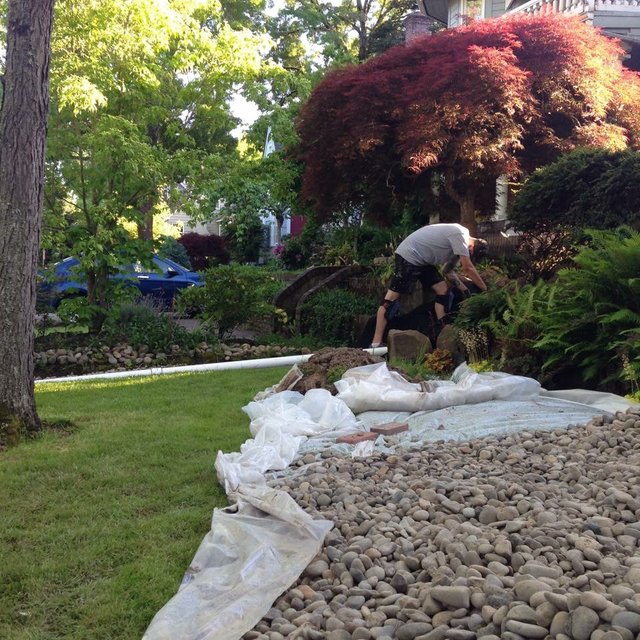 Never ending stone
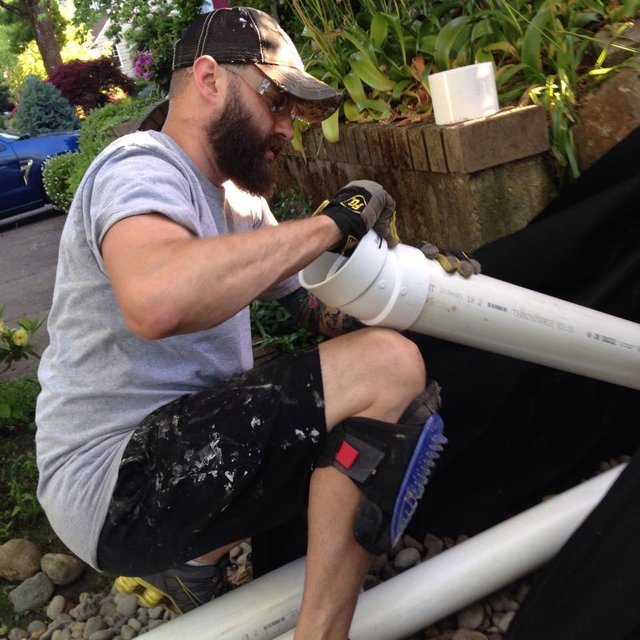
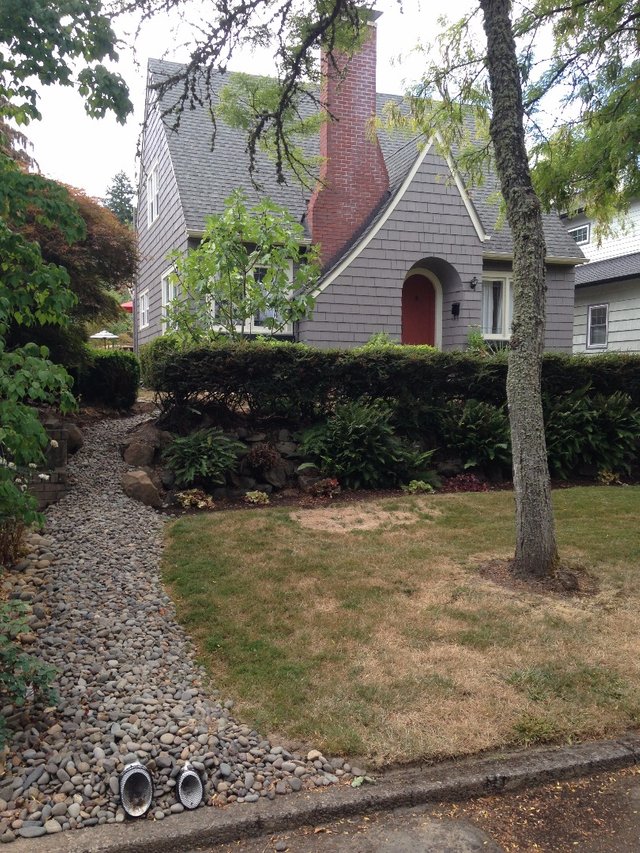
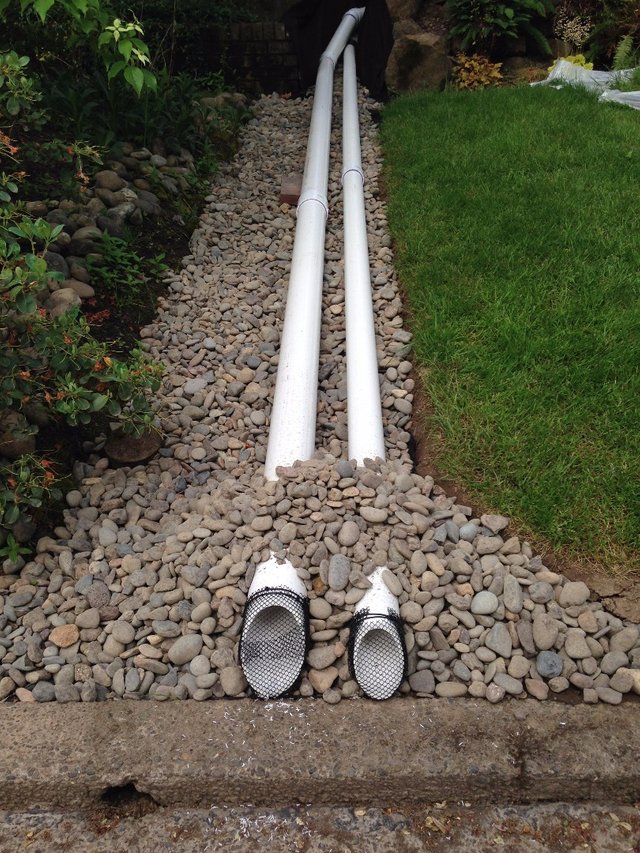 I had a chat with the public works inspector before I did this. The street has been repaved so many times over the years that there is only a couple inches left of the curb - not enough to bore a hole through (something I was not looking forward to doing anyway). The inspector said it was fine if I just terminated the system onto the curb instead. You can also see my neighbors downspout discharge hole...or whats left of it. Grate tied on to ends of pipe to prevent small animals from climbing in.
 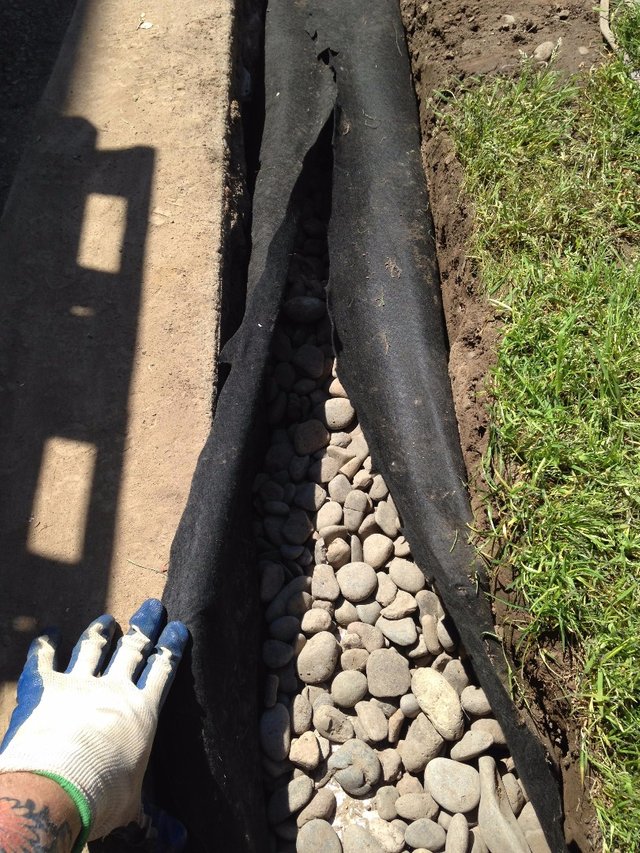 Rock added up to about five inches from the top. Then fold over fabric.
  This is some really tough, thick terrace board. Master Mark brand. 5 inches tall. It's 100% recycled plastic. I added this to the upper edge of the trench to reduce soil infiltration into the top of the trench.
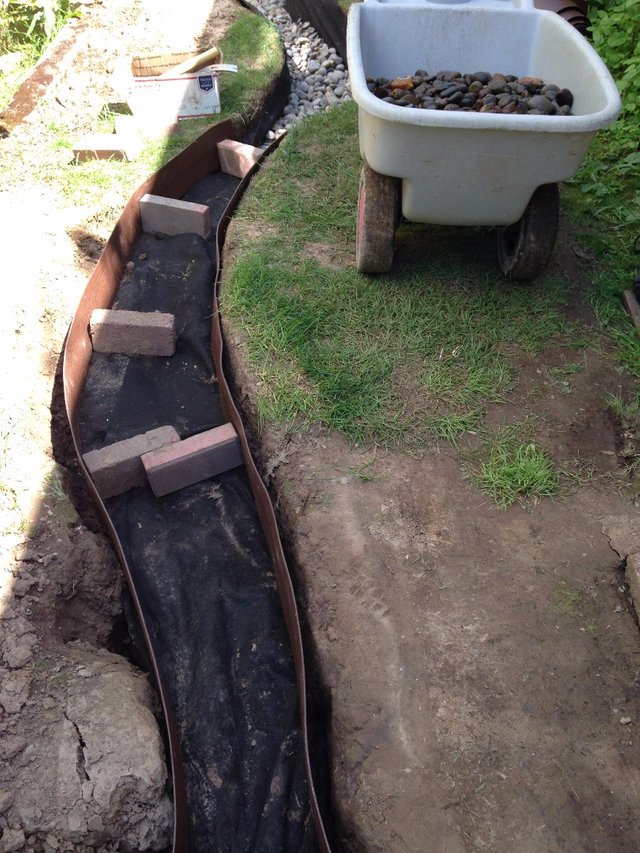
 Finally! Fill 'er up!!!
 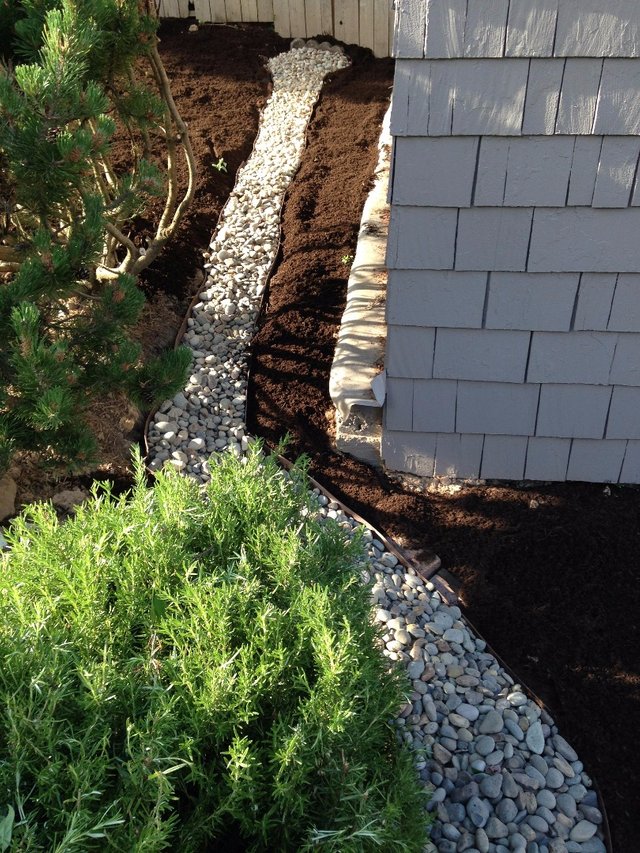 The highest point, behind the garage.
  11.5 cubic yards of 1-2 inch round stone was used.
 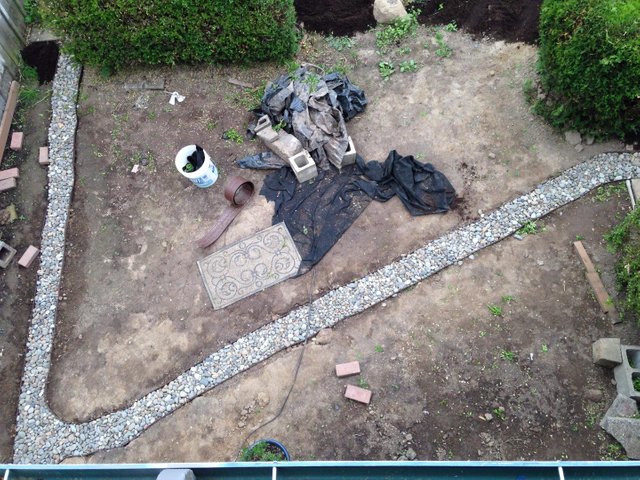 Something is missing...?
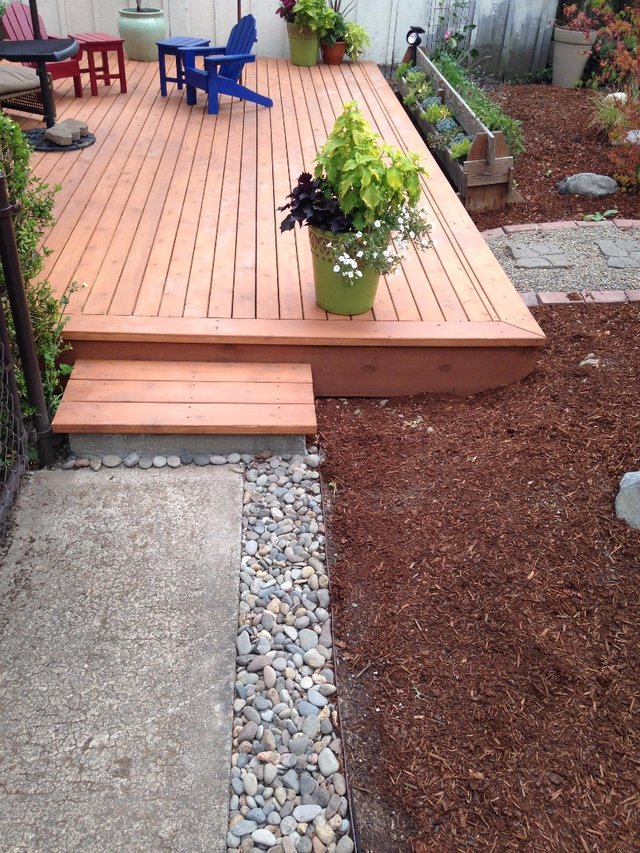
 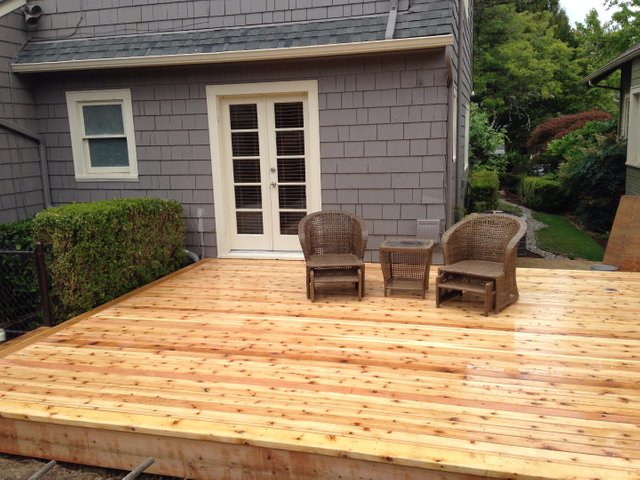 Deck not built by me. I wouldn't post a deck build on here even if I did build it. F that. If you look closely near the top right corner of the deck you can see a French drain cleanout, flush with deck surface (not the grey bucket above the deck).
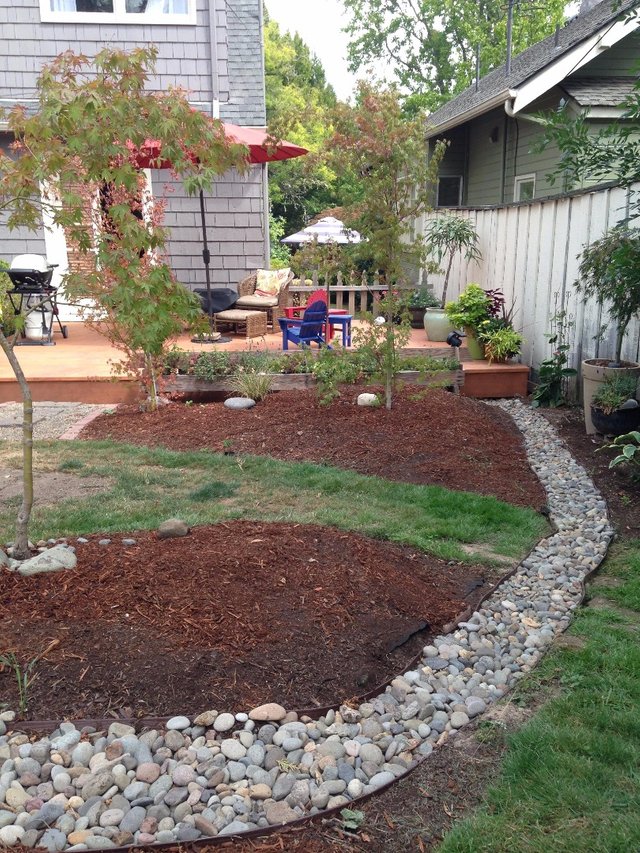
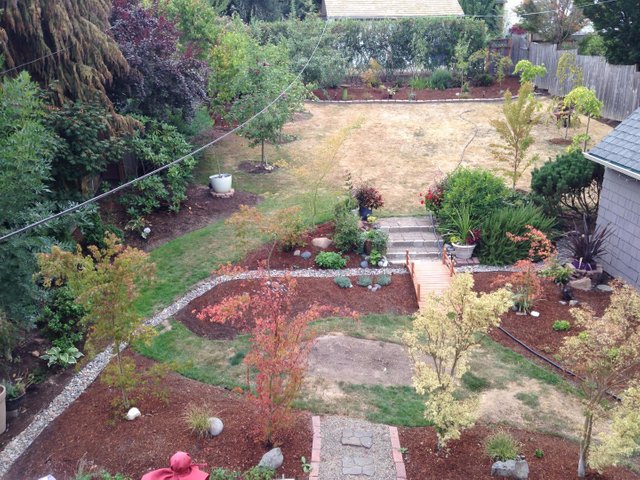 Now I have to work on this grass situation.
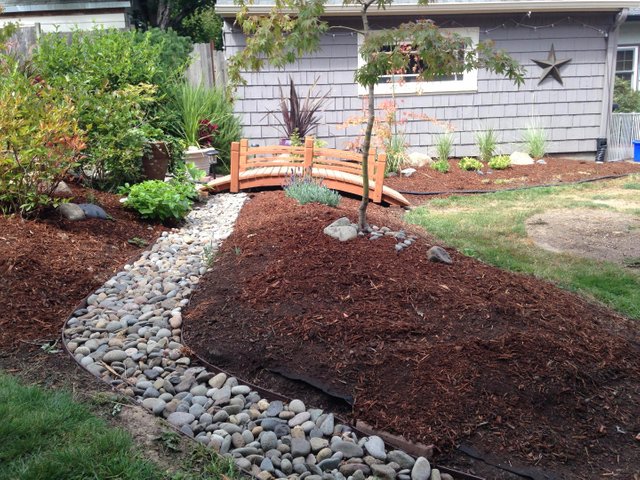
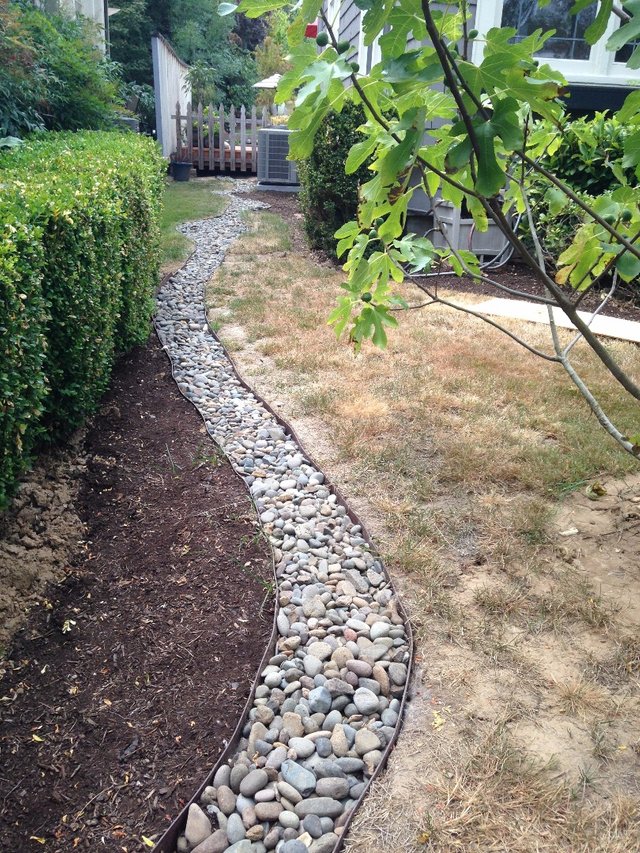 Almost time to eat some figs.
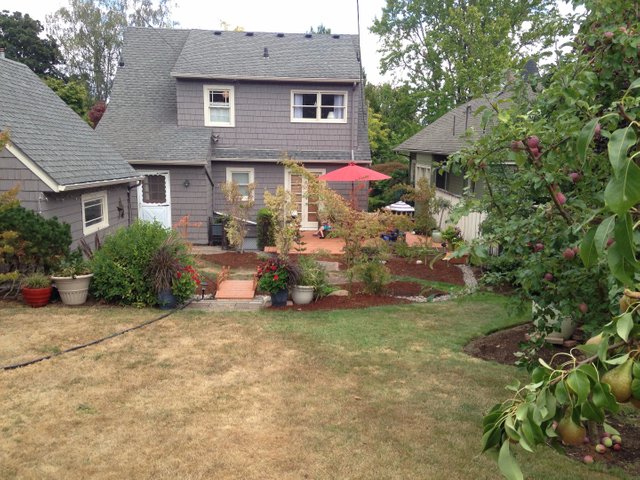
Great use of Terrace Board!