SEC20/WK4: Graphic Design Hands - On practical 1"
 source source |
|---|
Hello teacher!
Yep it's the fourth week and I couldn't just miss this practical section. I have always wanted to learn how to design my own projects so here I am learning how to do so.
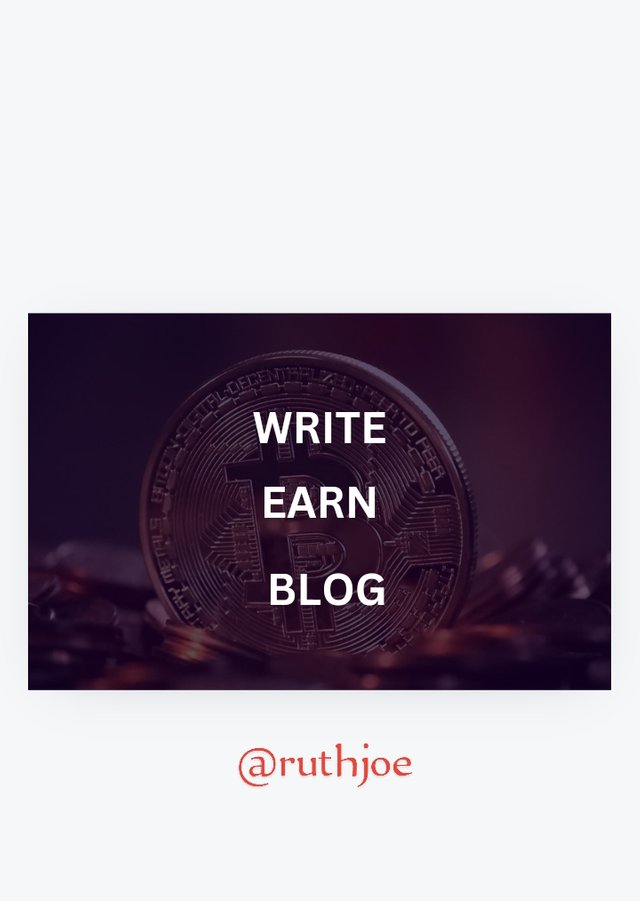
This week we are required to design something similar to this design below and that is what am going to be doing.
 screenshot from teacher's post screenshot from teacher's post |
|---|
Steps to how I made my own design |
|---|
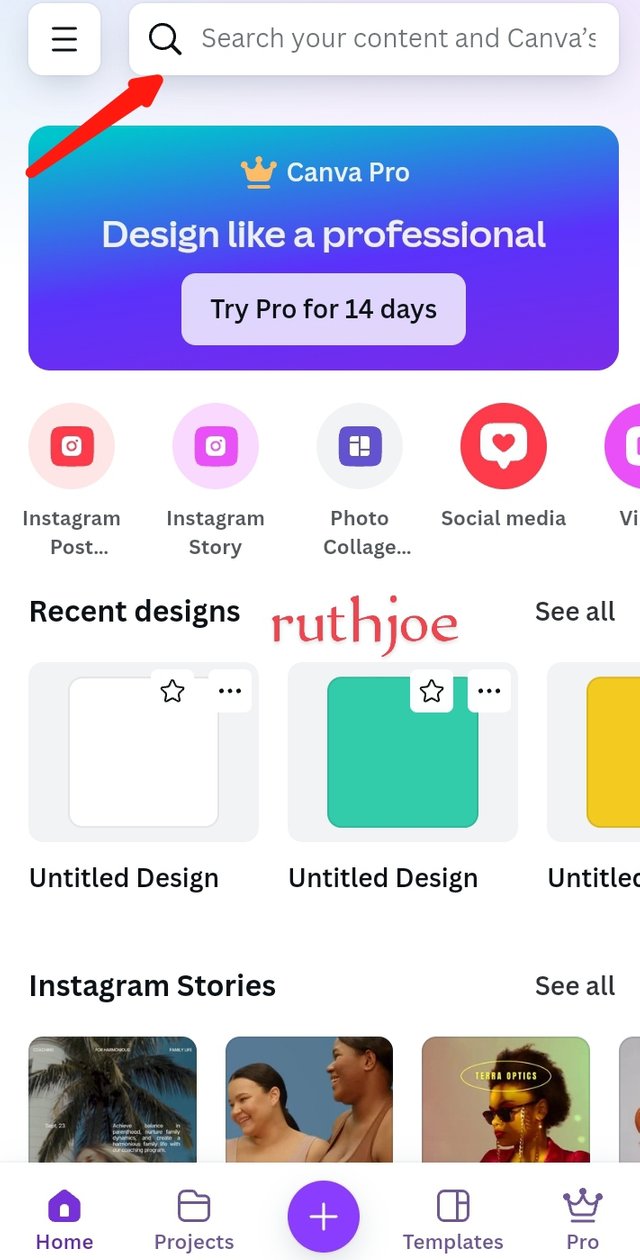
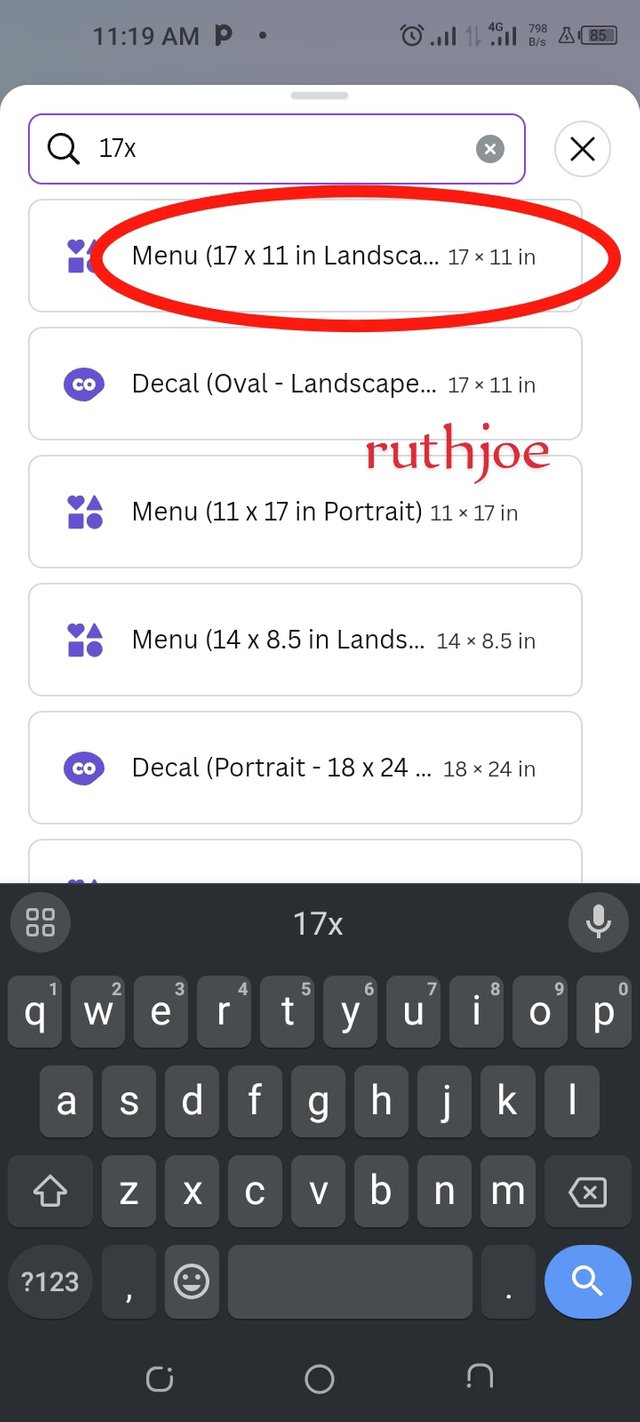
Step 1
I opened my canva app to begin my work. When it opens, on the search option I imputed the dimensions I want to work with. The dimension I imputed was menu 17×11 in landscape. And immediately it reflected as my workspace. As seen in the screenshot below.
 |  |  |
|---|
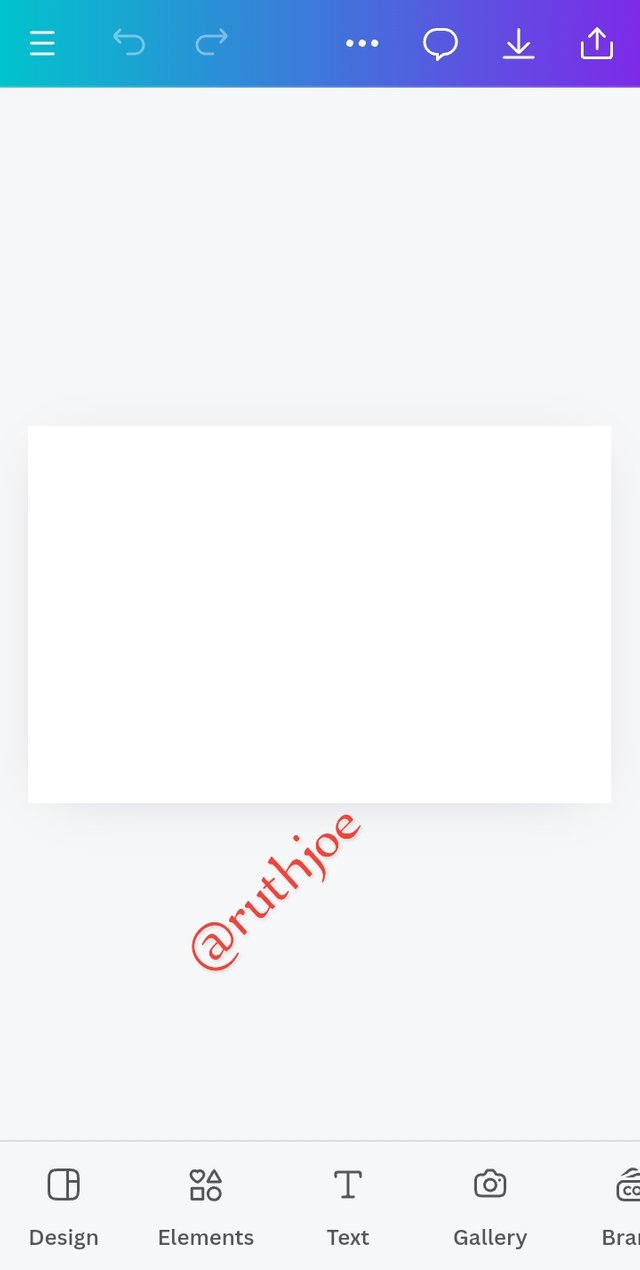
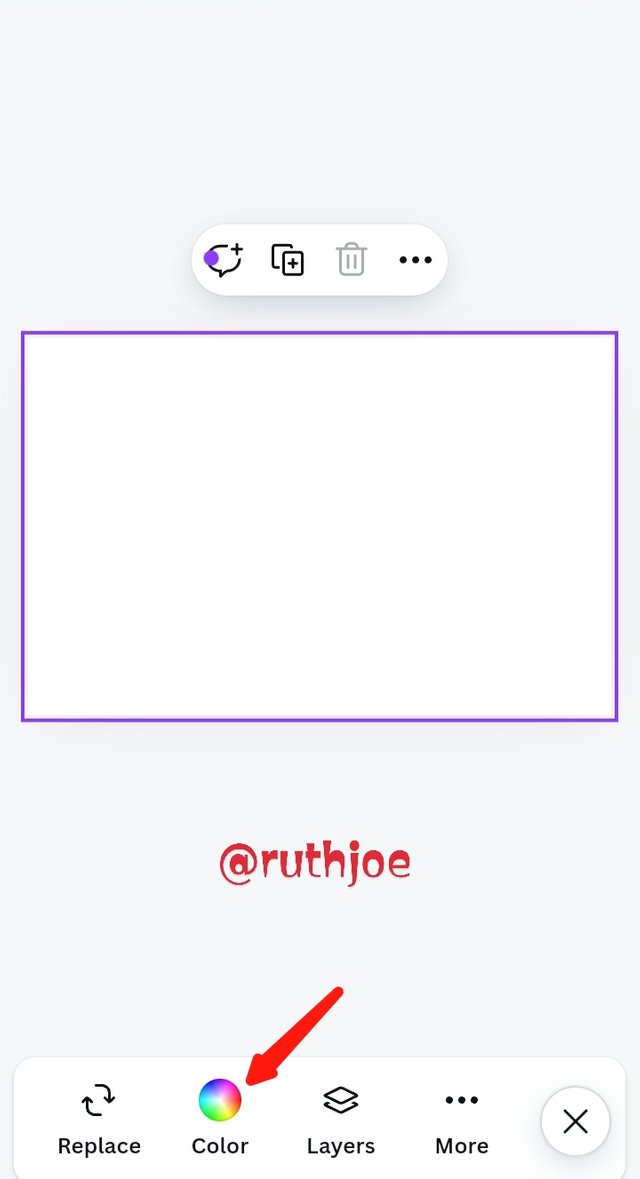
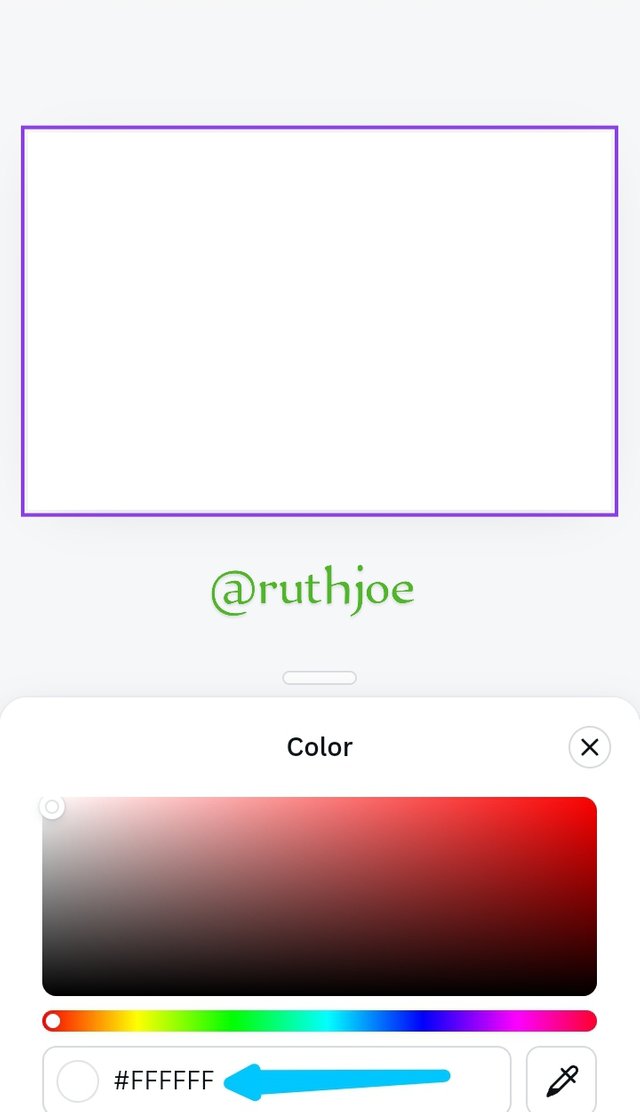
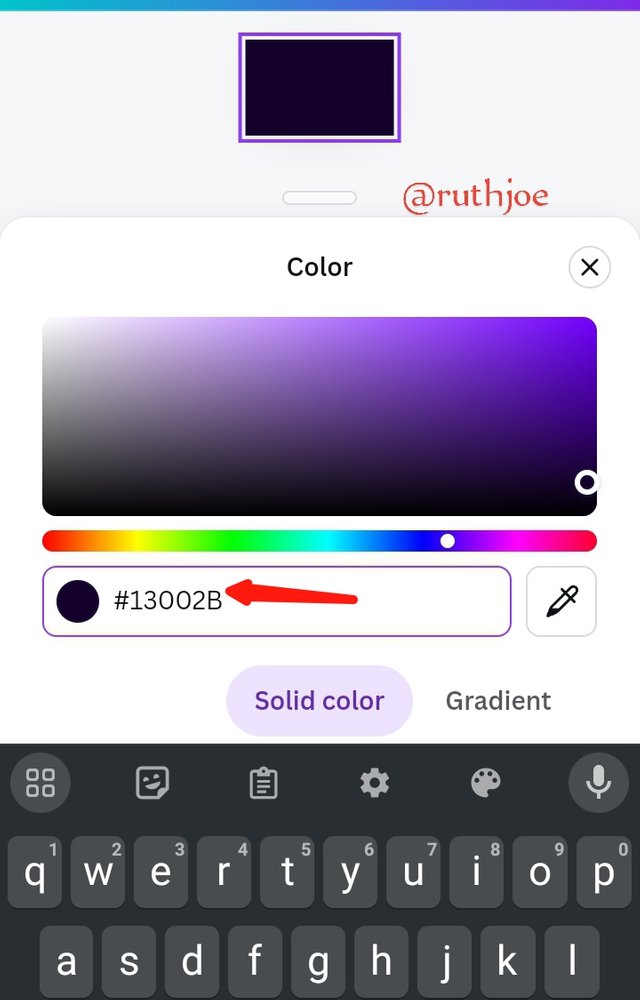
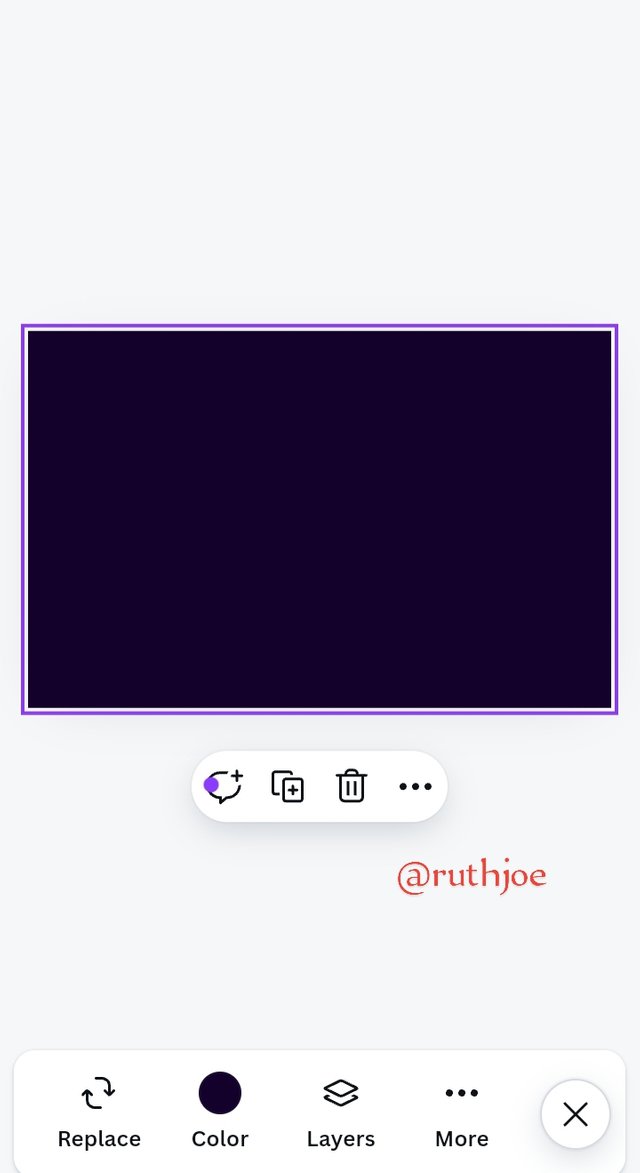
Step 2
I tapped on my workspace and clicked on the colour icon to select the colour I would like to use by replacing the hex code with the hex code colour I want. The default hex code I saw was #FFFFFF replacing it with the hex code #13002B. After replacing the hex code I tapped on my work space to begin work.
 |  |  |  |
|---|
Step 3
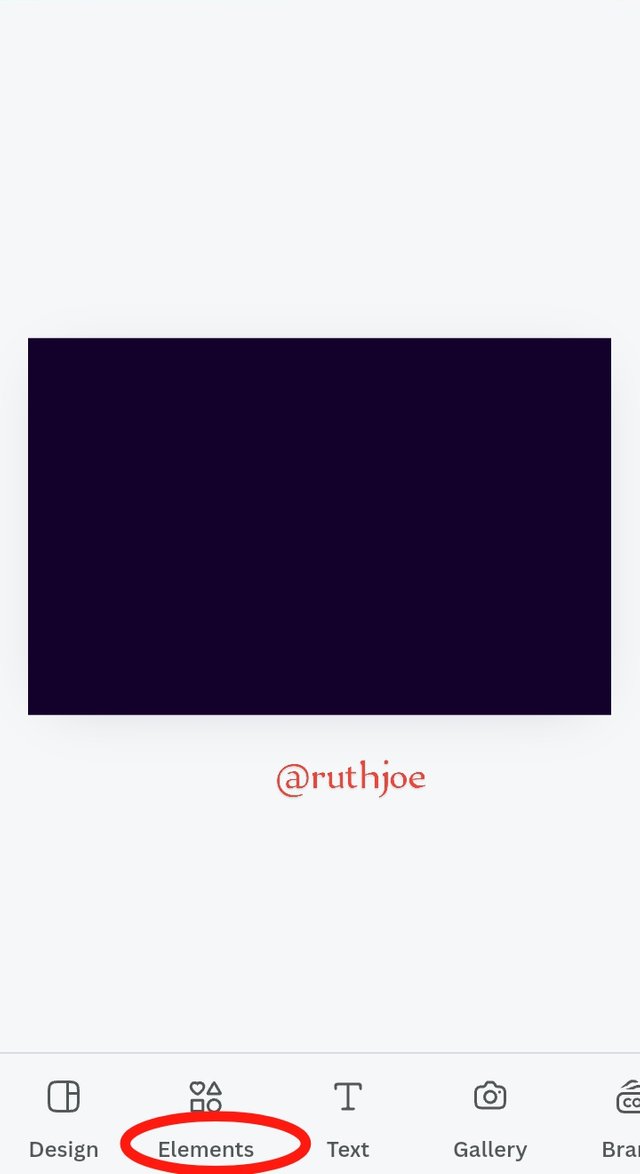
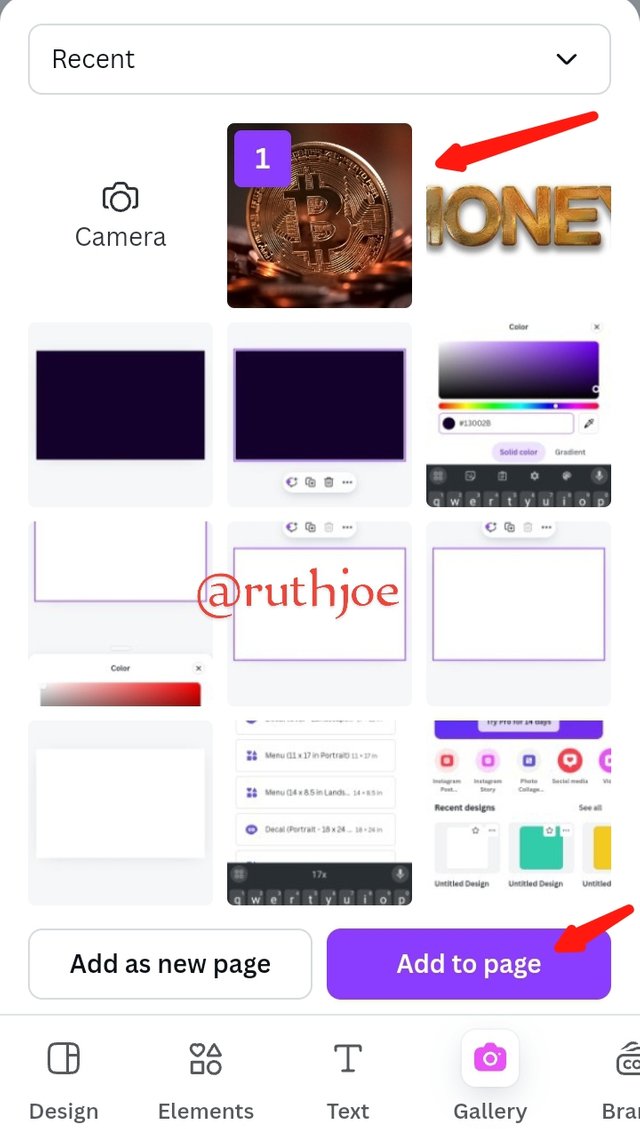
My colour background is ready so I tapped out side my workspace and clicked on gallery. I scrolled up to search for an image I would use for my background image. I found the picture and selected it and clicked on add to page as seen on my screenshot below
 |  |
|---|
Step 4
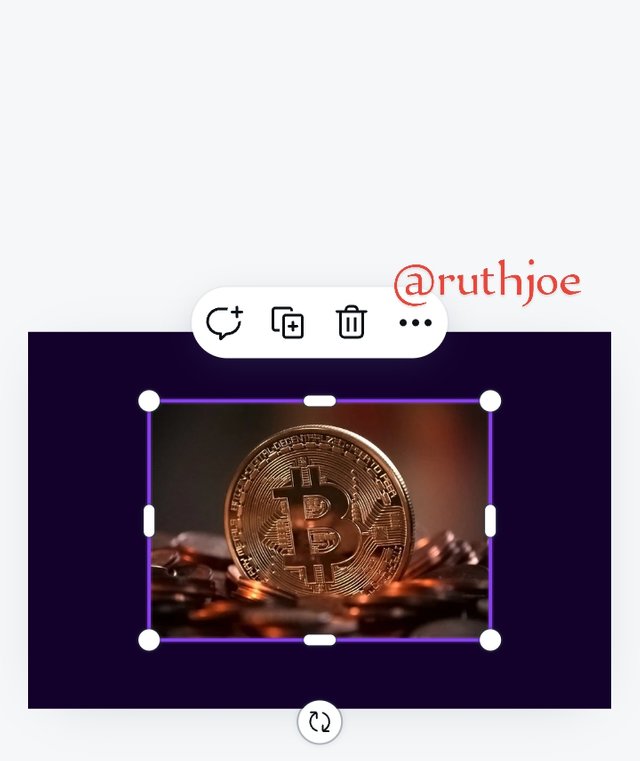
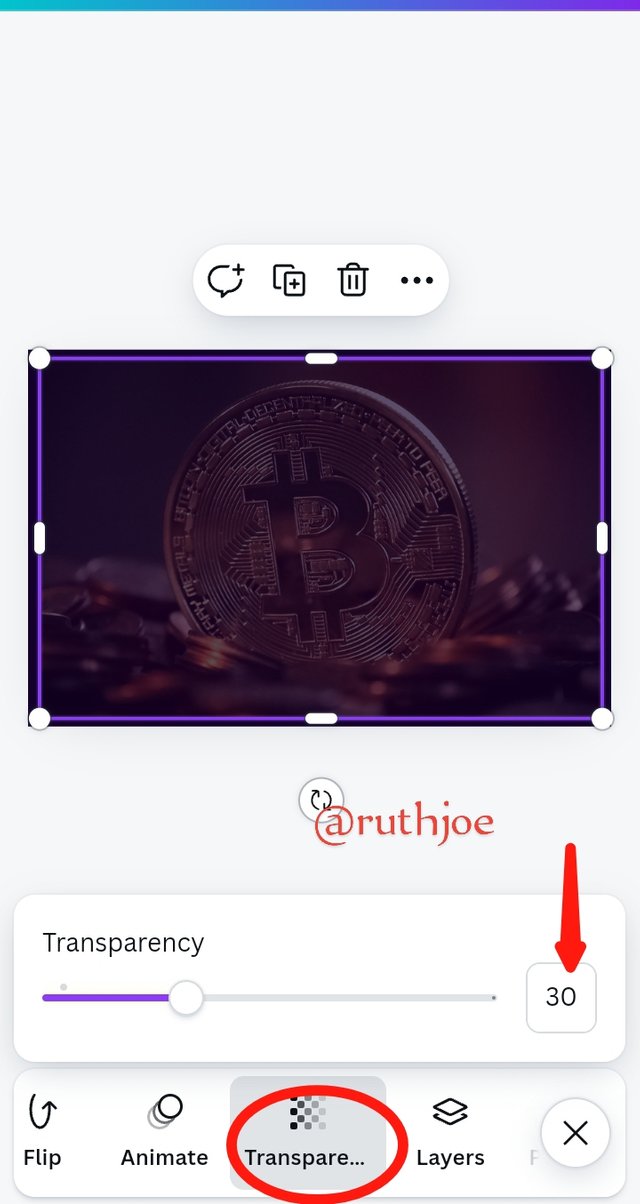
The image appears on my work space as seen on the screenshot then I enlarged it to fill up my workspace. Next thing I did was click on transparency setting it at 30 using the slider as you can see from the screenshot.
 |  |
|---|
Step 5
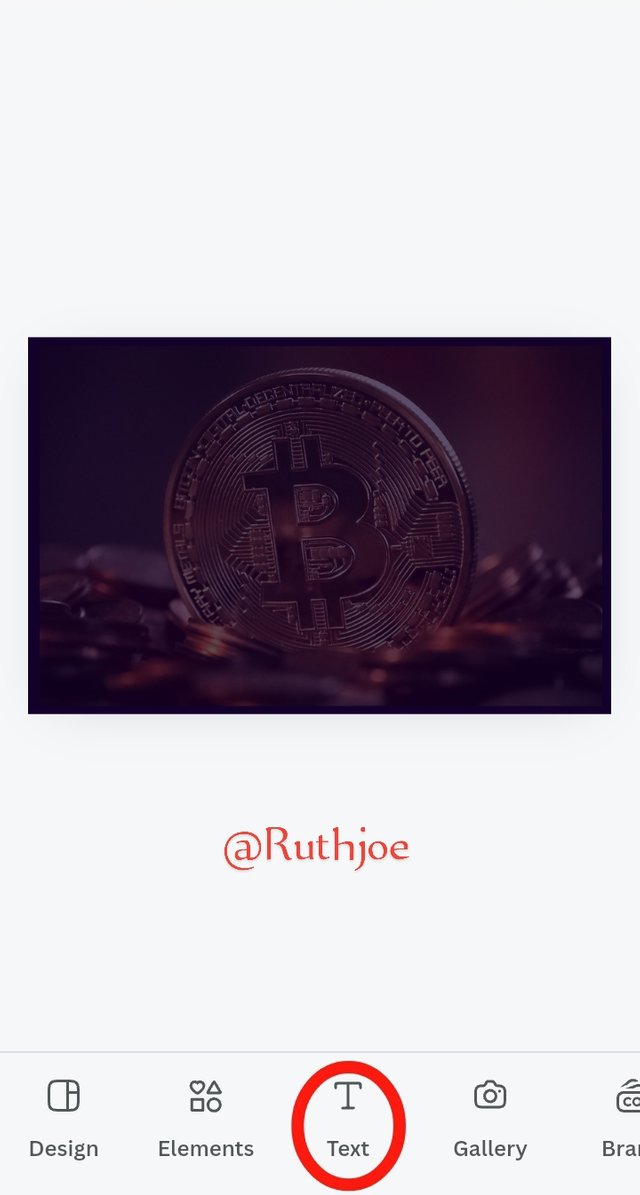
My background is set immediately . The next thing I did was to add my text on my workspace by clicking on the text icon below and I typed in my text and it reflected on my workspace as seen below.
 |  |  |
|---|
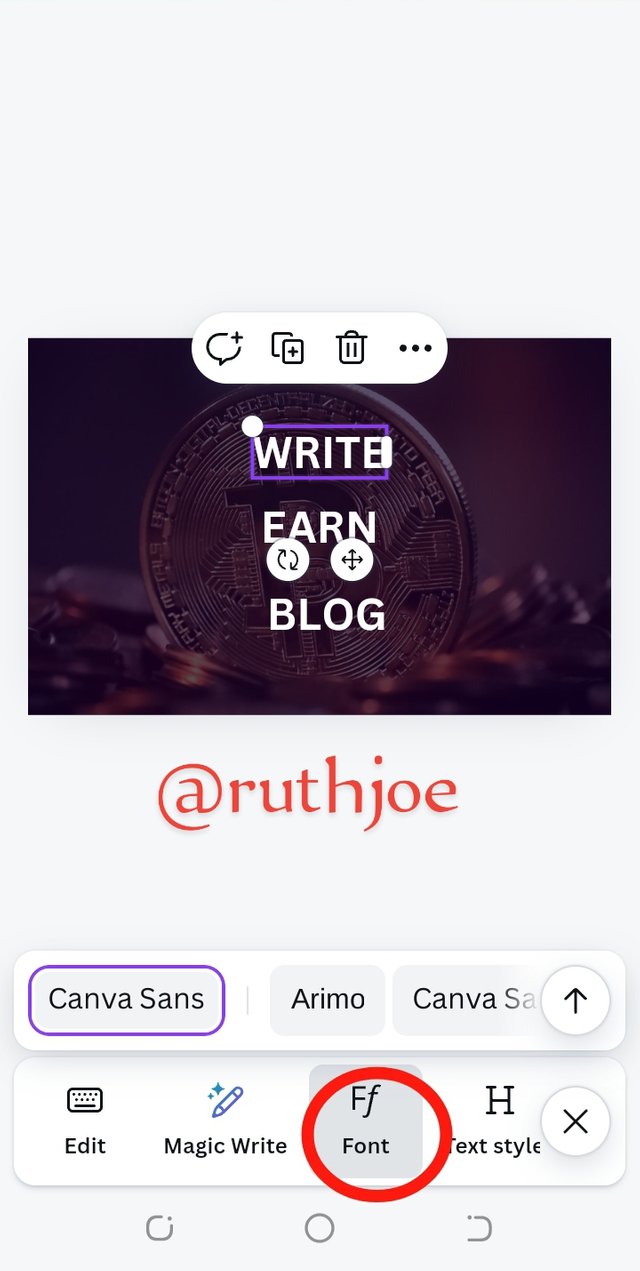
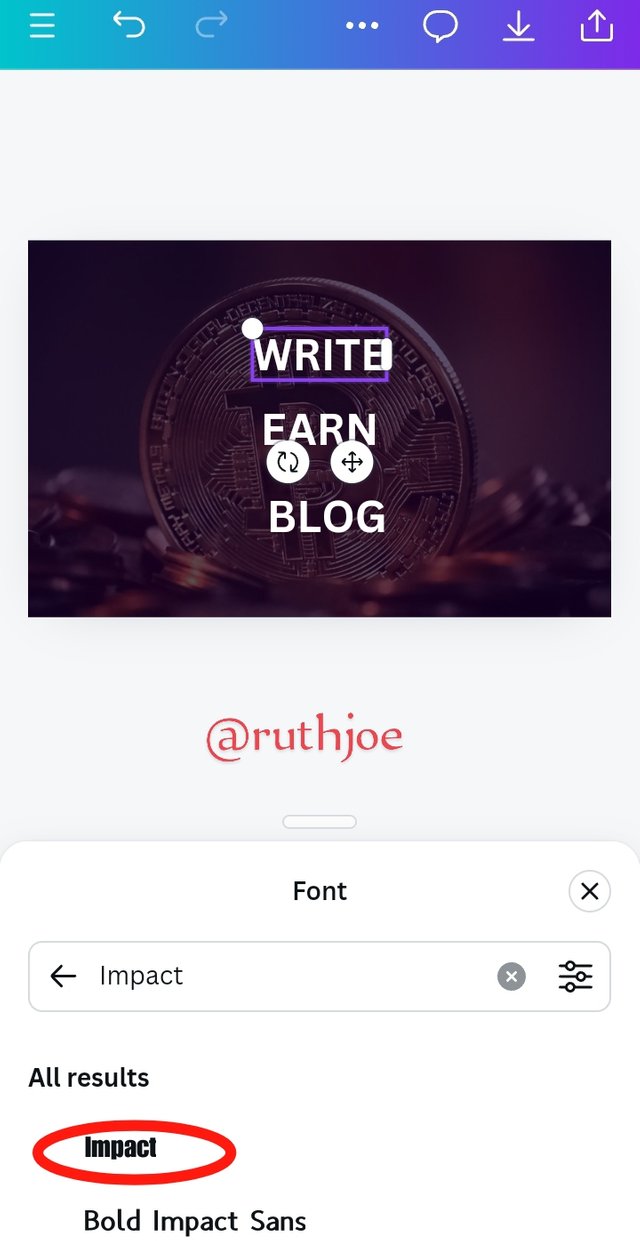
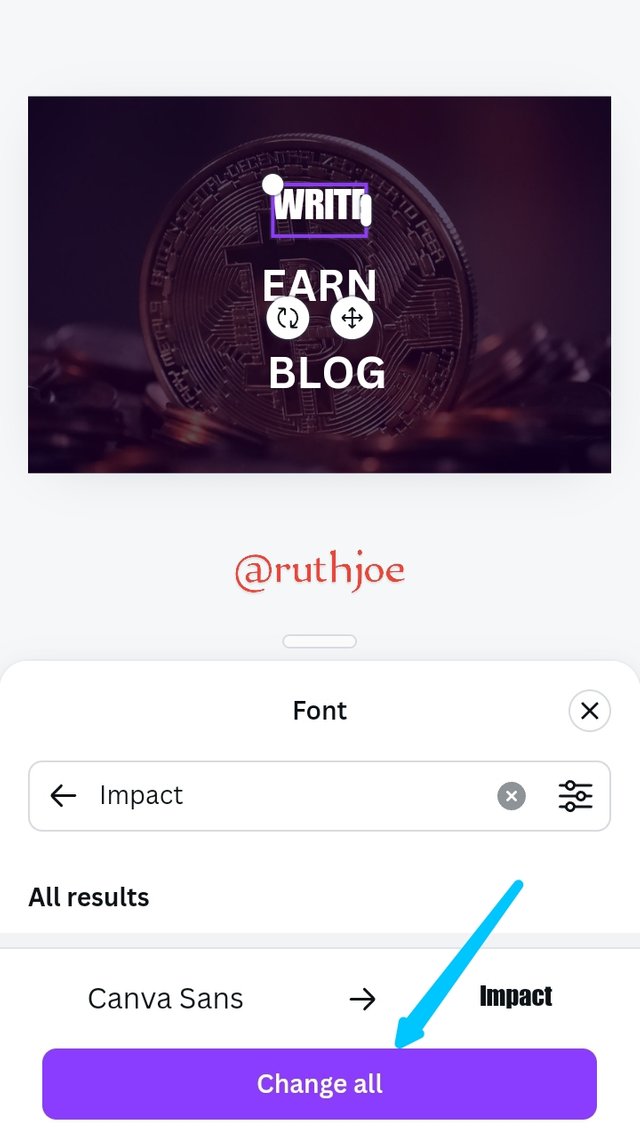
Step 6
To change the face of my text I tap on any of my text and clicked on front then when it opens I select impact. And it reflects on the text I highlighted or tapped on. Then I get an option below that says change all. I clicked on it so that it impact can all reflect on other text on my workspace as seen.
 |  |  |
|---|
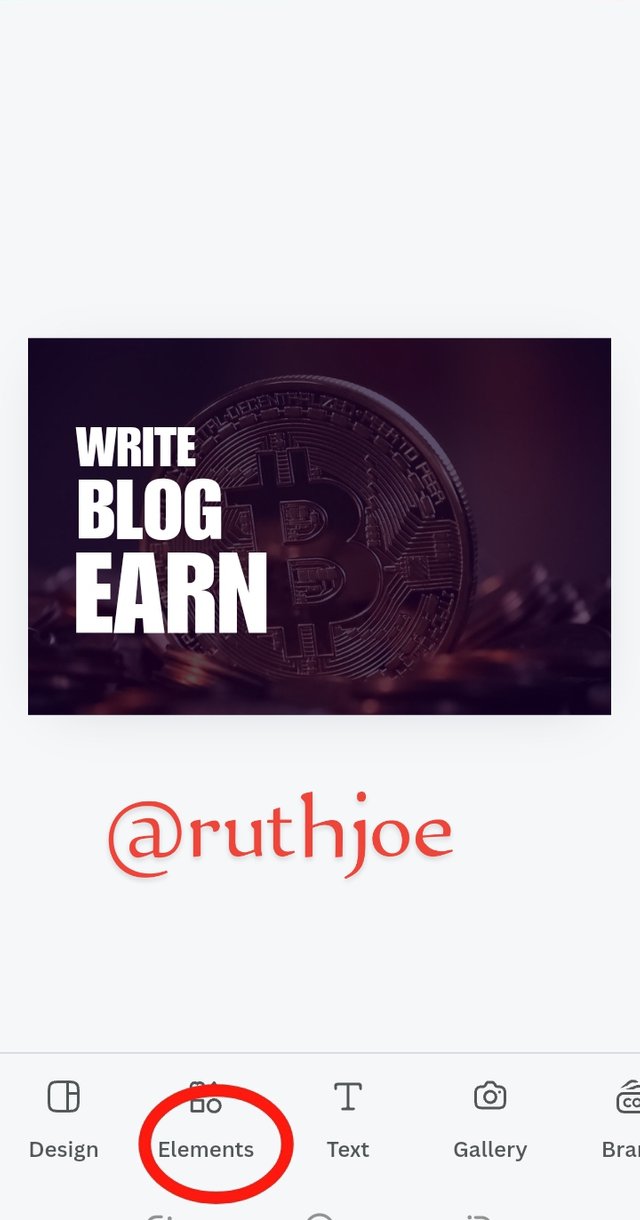
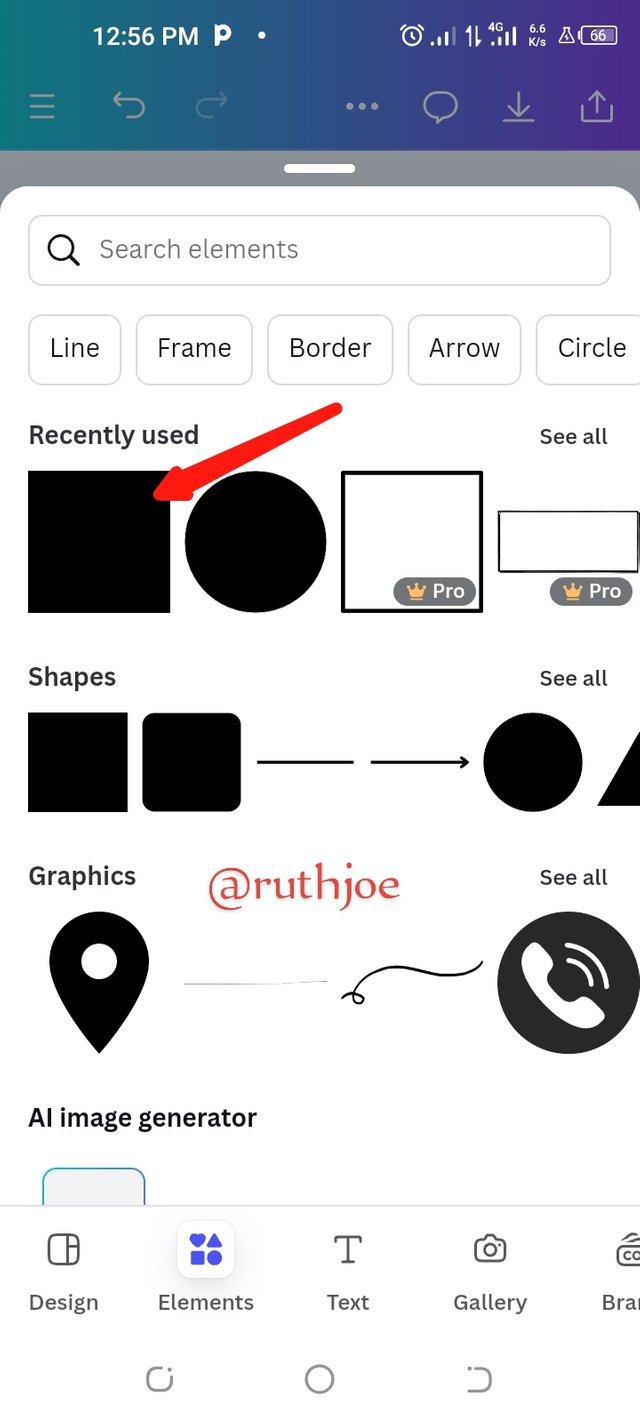
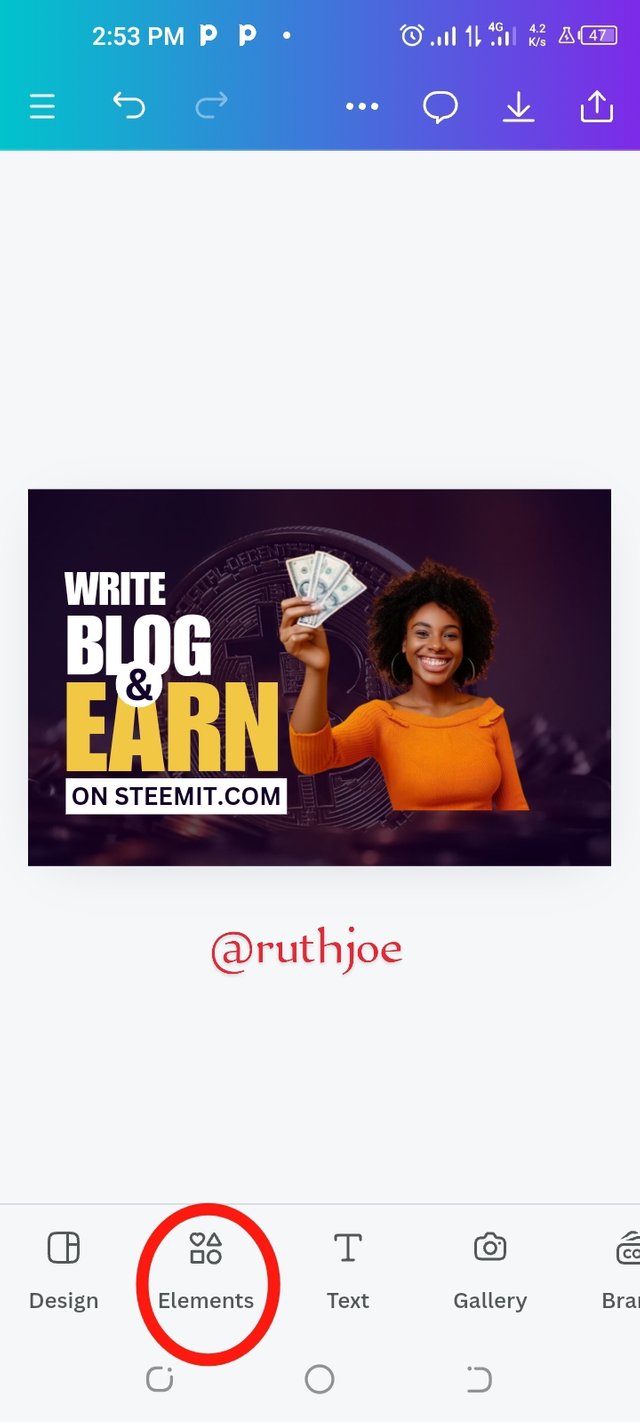
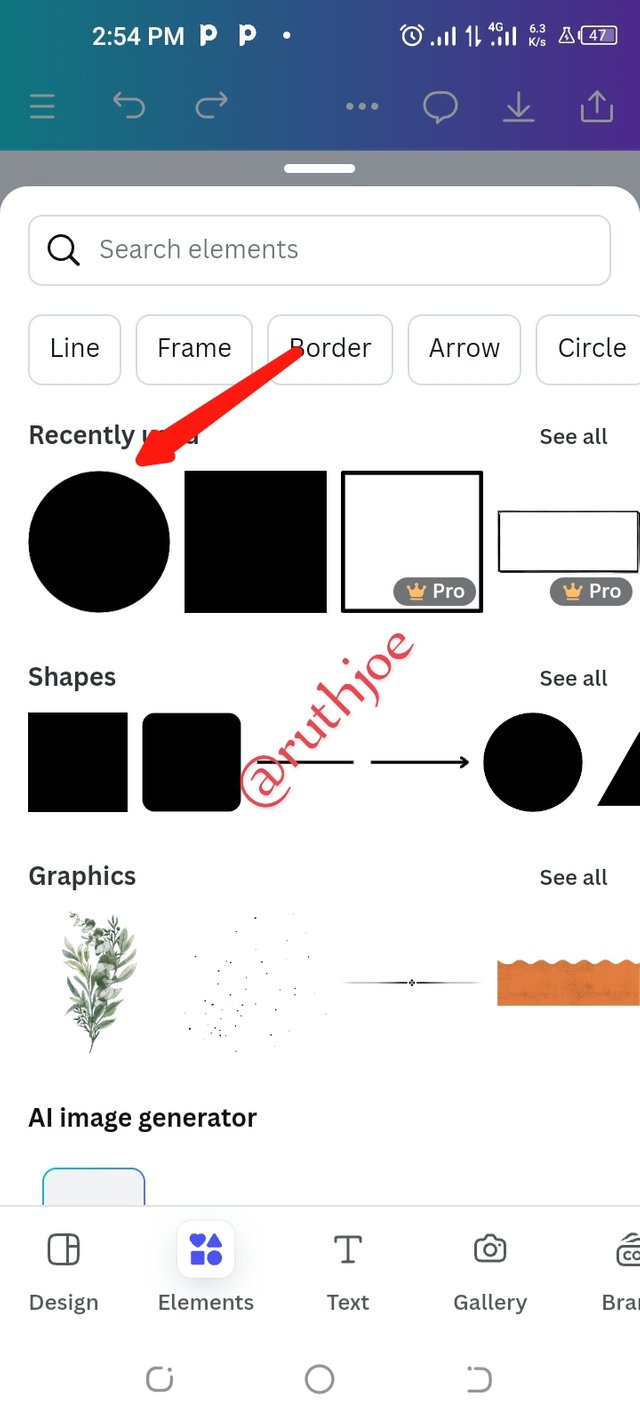
Step 7
I rearranged all my text and placed them accordingly based on the hierarchy principle as you can see. Next thing I did was select the option element below. When it opens I selected the black square shape
 |  |  |  |
|---|
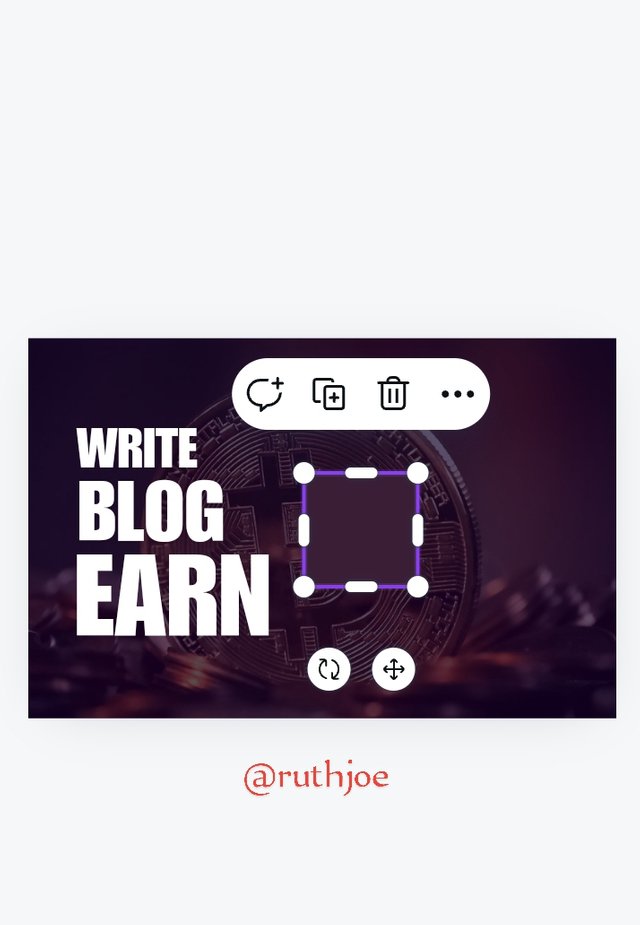
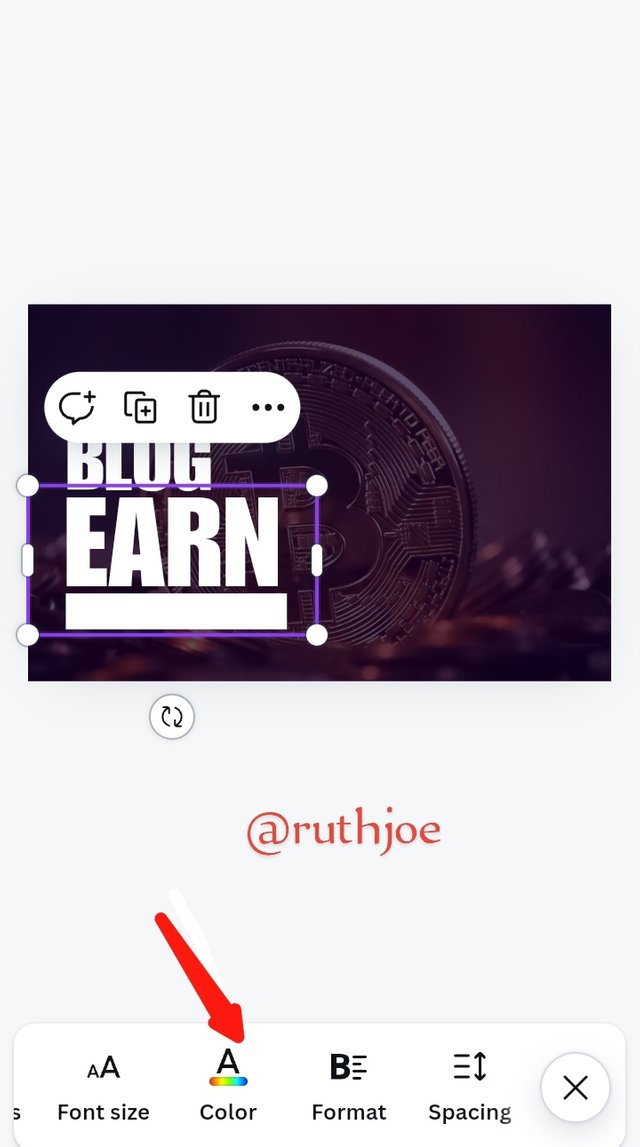
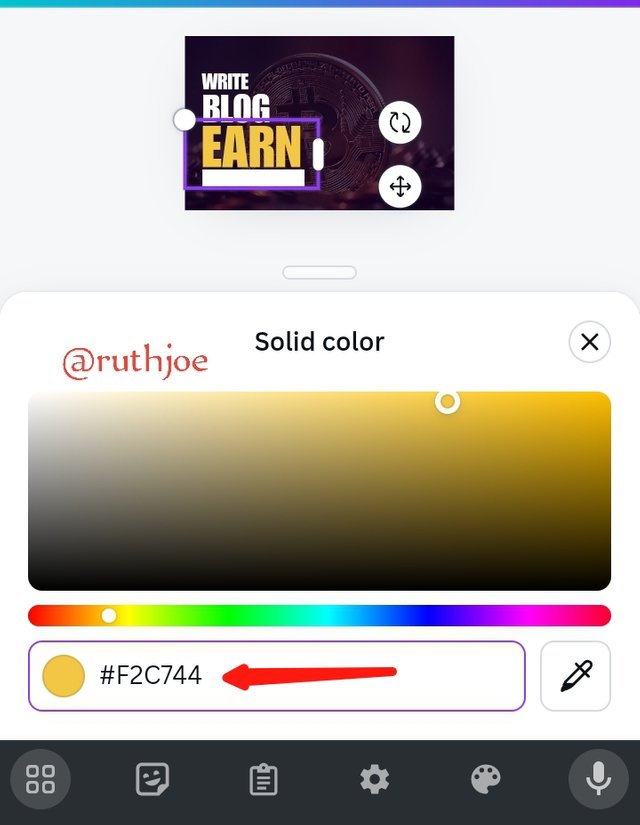
Step 8
I realized the square shape on my workspace and put it under my text. And changed the colour to white. Next I move ahead to change the colour of the text earn as you can see. Then I also changed the colour of my last text "Earn" following the principles of emphasis. I changed it's colour by highlighting on the text earn then I clicked on colour and filled in the colour hex code .
 |  |  |  |
|---|
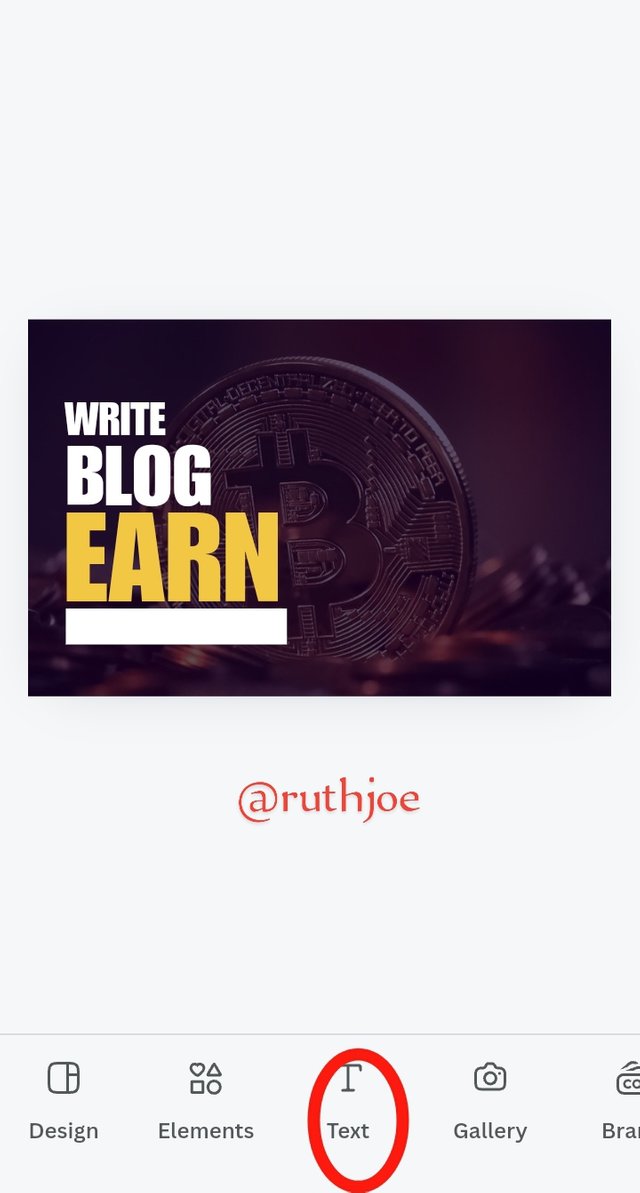
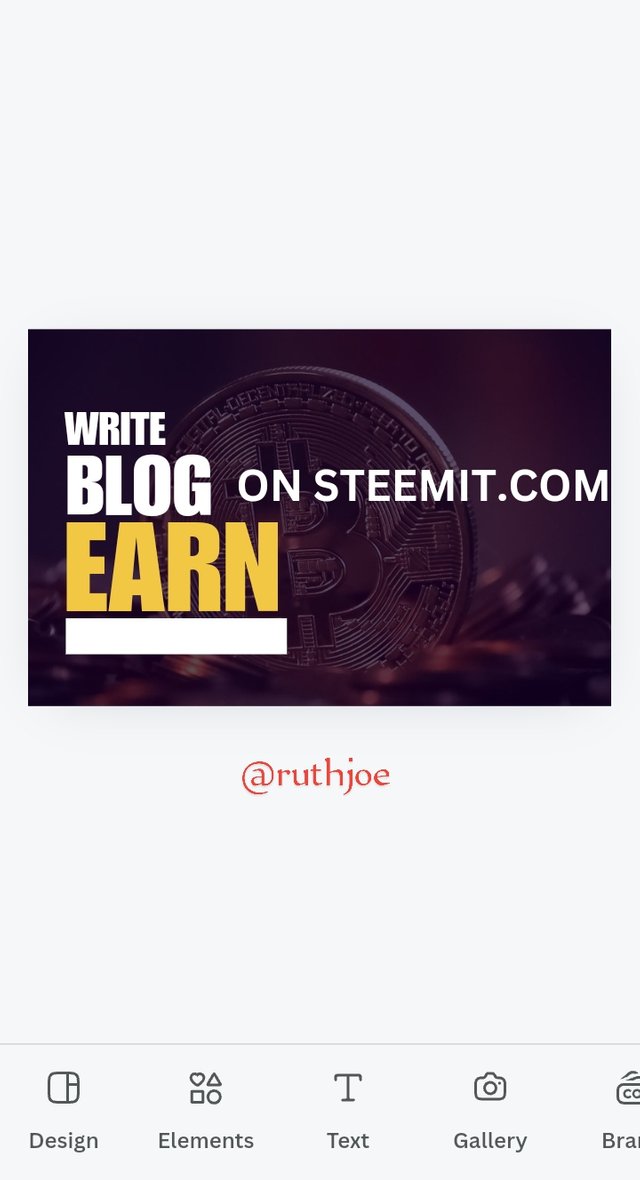
Step 9
After the colour reflects on the text earn I clicked on text so that I can type in the text Steemit.com. I resized this text, changed the colour to black and positioned it into the shape under the text earn.
 |  |  |
|---|
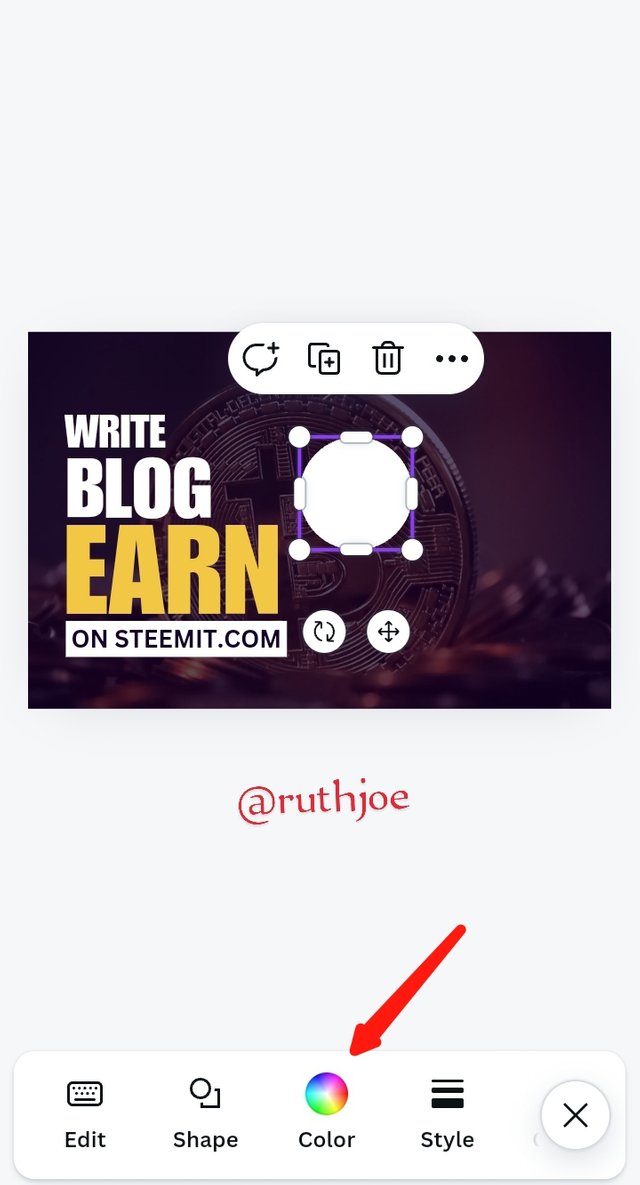
Step 10
To make the image & I clicked on element and selected the circle shape and it reflected on my workspace as seen. And I changed the colour of the circle to white by clicking on the colour icon and selecting white colour. I resized the white shaped circle as seen below. Then I placed it in-between my text as you can see. I clicked on text and typed &, reshaped it and placed it in the little white circle using the previous process of putting in text into a shape.
 |  |  |
|---|
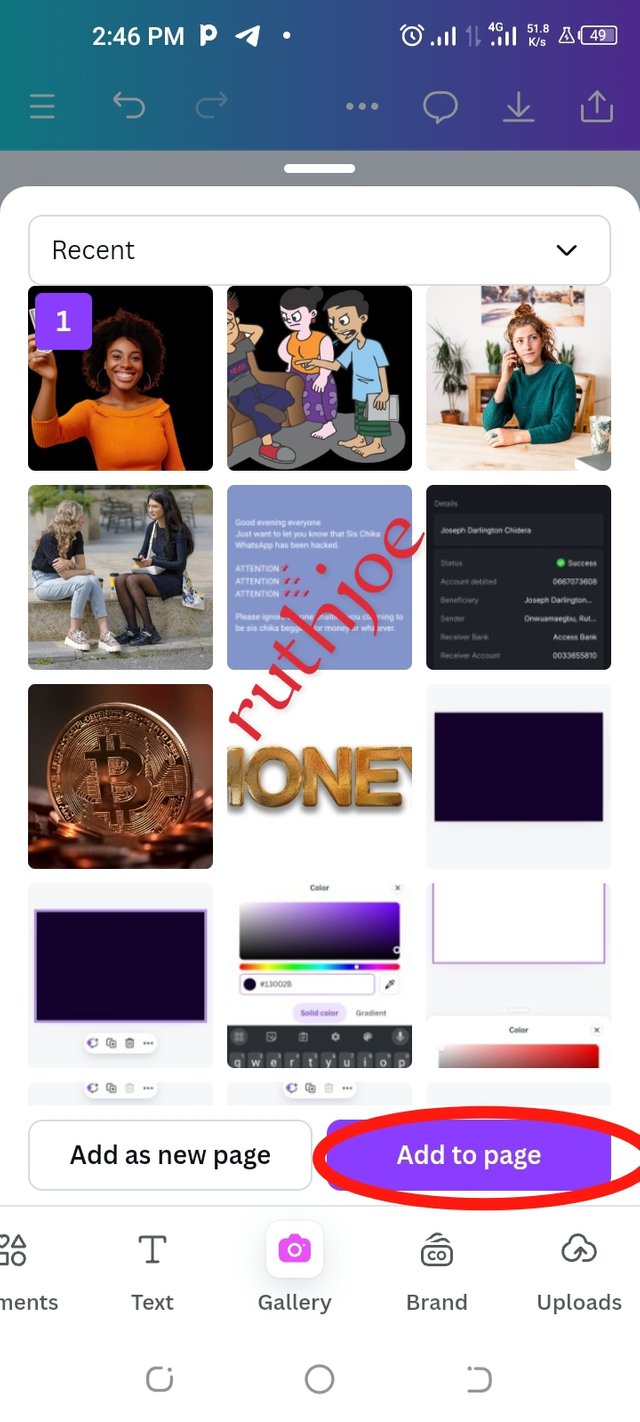
Step 11
It's time to add the human image am using so I clicked on gallery and searched on the image I already downloaded for this work and clicked add to page. The image reflected immediately in my workspace. Then I went ahead to resize the image to suit in perfectly. I selected element and imported another circle shape.
 |  |  |  |
|---|
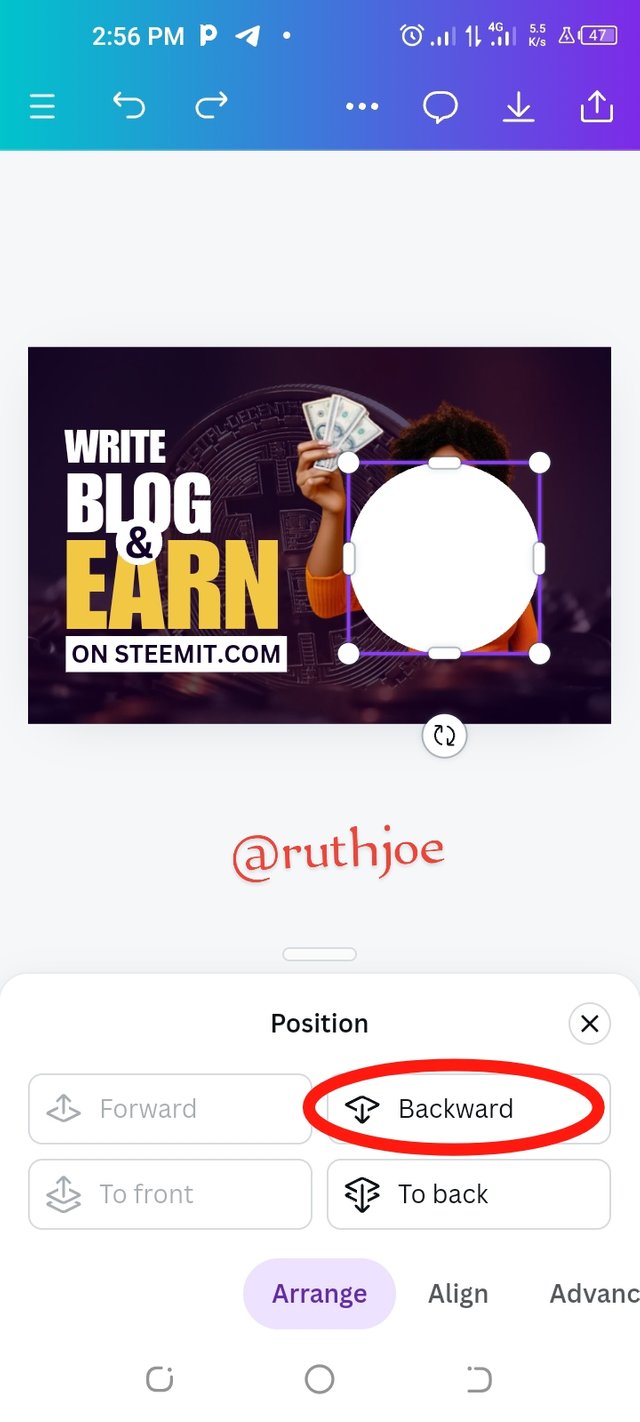
Step 12
As the circle shape reflected on my workspace I changed the colour to white and clicked on the option position below. Then I selected backward to make the circle go at the back of the human image. I went on to arrange both the circle and the image according to get a perfect design.
 |  |  |
|---|
 Final look of my design Final look of my design |
|---|
I hope you love my design because I really do love it. But I would like to know how well I did. I invite my friends to join in this contest @okere-blessing @sahmie @jovita30
¡Holaaa amiga!🤗
Definitivamente la transparencia es un recurso fascinante en el diseño gráfico porque, con esta particularidad además de jugar con elementos visuales, también podemos aplicar un enganche colorido que atrapa más el interés de nuestro diseño y tu, utilizaste una tonalidad fresca y al mismo tiempo consistente.
Te deseo mucho éxito en la dinámica... Un fuerte abrazo💚
¡Muchas gracias por el apoyo!🤗💚
Upvoted. Thank You for sending some of your rewards to @null. It will make Steem stronger.
THE QUEST TEAM has supported your post. We support quality posts, good comments anywhere, and any tags
Thank you so much @sduttaskitchen
Wow! I appreciate you first. Weldon. Your result is not bad you have proved that you understand your principles so well and that is quite commendable. You are well versed in graphic design, especially in-depth knowledge of the Canva app. Don't miss private lessons, learn more about graphic design and upcoming lessons. I can see the balance in the exhibition, the emphasis and hierarchy also played out nicely. All in all you have done beautifully and I certainly appreciate your efforts. Appreciate your efforts.