Heirloom Seeds Part 5: Seed Starting
This post is the fifth in a series on seeds. In this series we'll cover everything from the importance of seeds, how to save seeds, how to start seeds, correct storage and so much more!
Today we are going to talk about how to start seeds indoors.
You can find part 1-4 of this series here:
Heirloom Seeds Part 1: The Importance of Seed Saving & How to Select The Best Seeds
Heirloom Seeds Part 2: SEEDING FEAR | Documentary Short
Heirloom Seeds Part 3: Determining and Using Plant Hardiness Zones
Heirloom Seeds Part 4: When To Start Your Seeds
As the little birds arrive, sweetly chirping their songs of spring, it's time to start seeds and prepare for the gardening season. To determine when you start your seeds you can read back on Part 4: When To Start Your Seeds for guidance. It's important to not start your sees too early.
The first thing I want to mention is that you can start seeds indoors without any special lighting, or equipment. Don't let lack of equipment deter you from trying. It's worth investing in some gear when you decide that you'll be starting seeds every year or if you have a really big garden, but you can do a fine job of starting seeds without buying anything special.
About Seeds
When you purchase packets of seeds, there will be instructions on the back of each package. This will tell you what you need to know to get started. Keep in mind that when a package comes with 50 seeds, not all of them will germinate. There are a number of factors that can impact this including age and storage conditions. It is always a good idea to plant a bit more than you need to account for losses with lack of germination and general mishaps.
Seedlings are delicate little things and need to be handled as such. Never water the seedling and instead lightly water the soil. Keep it moist, not soggy and never let your soil dry out. It's not hard to start from seed but they do benefit from regular attention.
Seeds To Start Indoors
Certain seeds need a lot time to mature and will need to be started indoors, especially if you live in a cooler climate. Others are optionally started indoors or out while others do not transplant well and should be directly sown in the garden. Your seed packets will usually provide details that will tell you about your seeds preference (direct sow or Start indoors) and the length of time to maturity. We talk about this more in: Heirloom Seeds Part 4: When To Start Your Seeds.
The list of plants that transplant into the garden well is rather extensive. They include: tomatoes, cucumbers, peppers, basil, squash, Broccoli, melons, many types of flowers and herbs.
Germinating Seeds
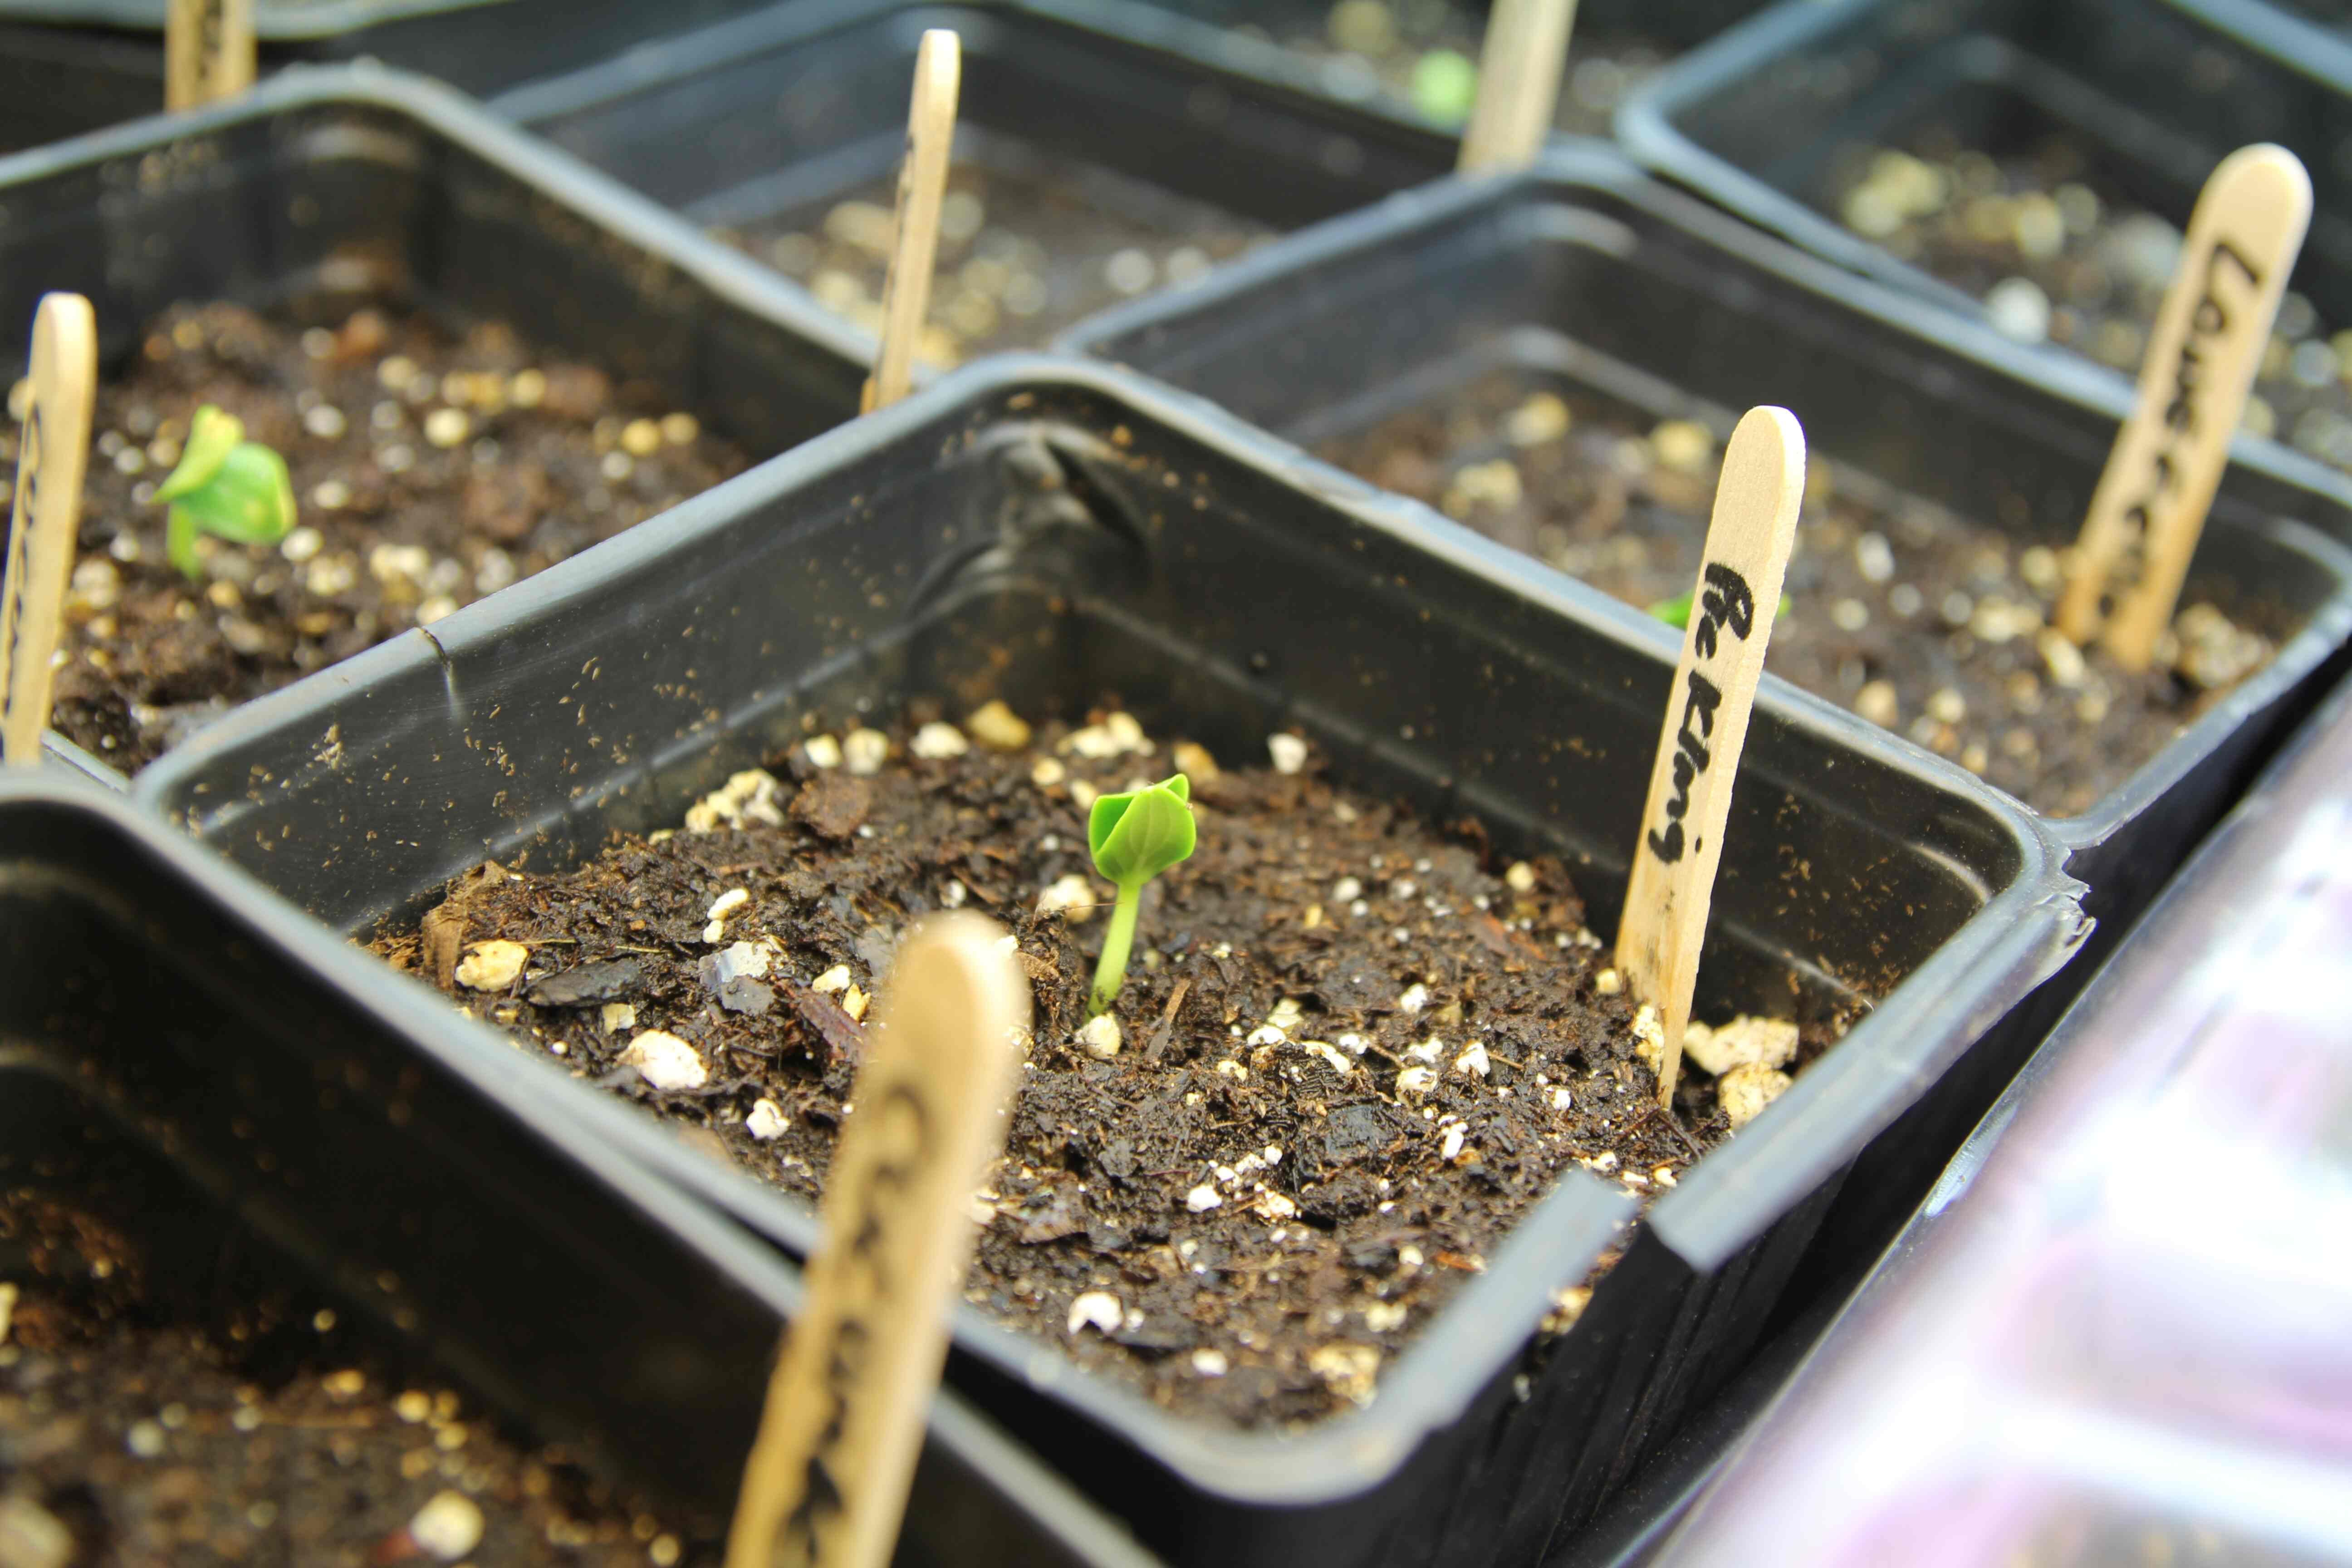
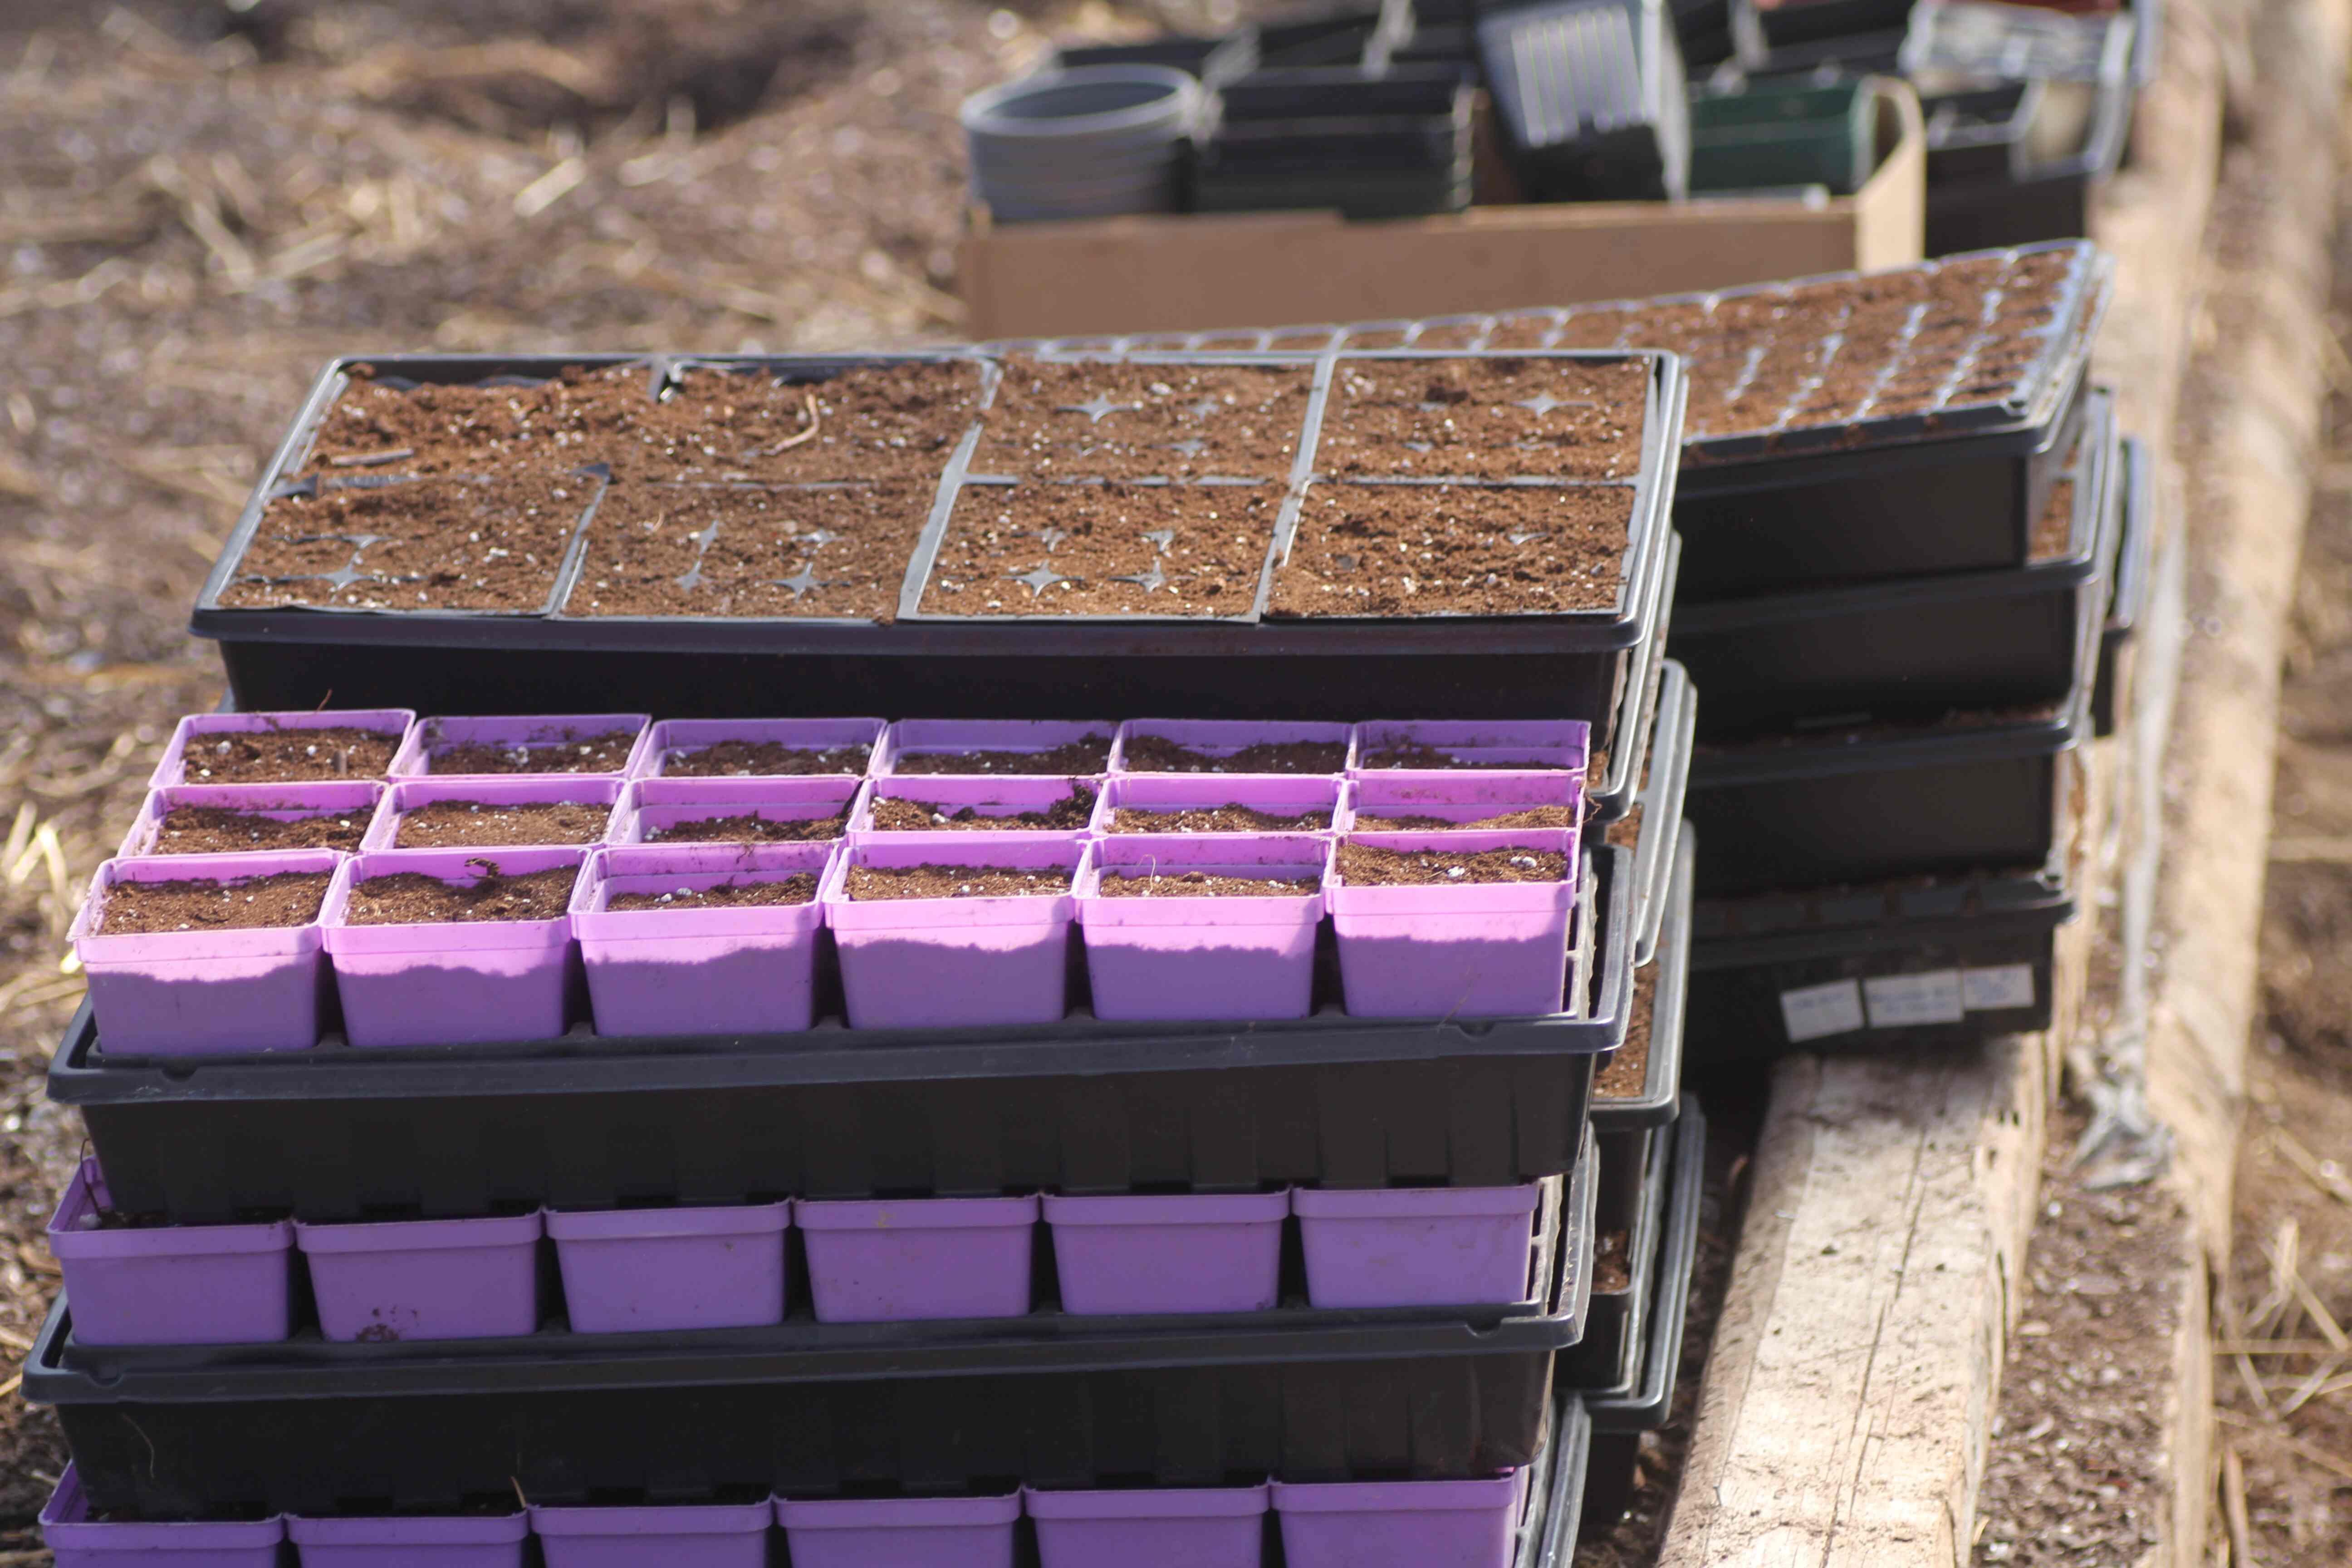
Initially you need to start your seeds in a warm, dark and damp (but not soggy) environment. Check each seed packet to find out how deep you should plant the seeds. Fill your seed starting trays with a damp soil less mix. Small seeds can often be sprinkled right on the soil surface and gently pressed into the soil. For larger seeds, poke a hole in the soil, drop a few seeds in the hole, and then cover lightly with soil. Cover with a plastic dome or loosely with plastic wrap and store in a warm location. Check regularly and keep the soil moist at all times.
Optional Pre Sprouting
Pre-sprouting is an extra step but quite advantageous because you'll know which of your seeds are viable. Take a pie plate or shallow tray and line it with a double layer of warm damp paper towel. Place the seeds on the paper towel and cover with another thick layer of paper towel. You must keep the paper towel damp and not allow it to dry out. You also need to store it in a dark, warm location. Some seeds germinate very rapidly, others can take several days. You'll know the seeds have germinated once the seed splits open and a tap root appears. Once this happens you can gently transplant them to your seed starting pots.
Note: you can also pre-germinate with direct sow plants such as carrots and beets. This can speed up germination and get your garden off to a faster start.
Growing Your Seedlings
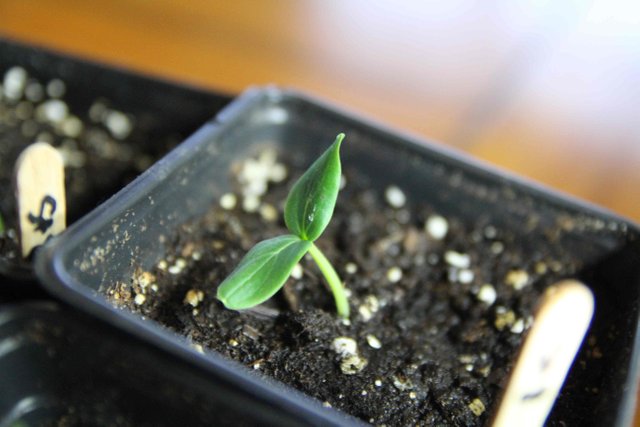
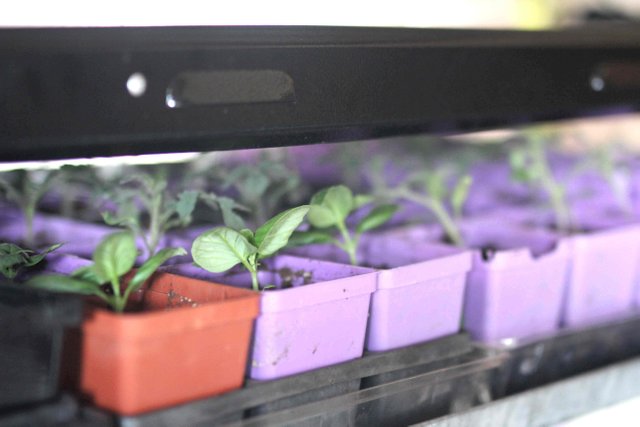
Once the seeds have germinated they need to be moved to a sunny, warm location. Keep them under lights for 16 hours per day. Start with the lights as close to the plants as possible and raise the light up as the plants grow. This will promote nice sturdy stem growth. If you don’t have any lighting, do your best to get them into as much sunlight as possible.
Feed You Seedlings
Once true leaves have developed on your plants they will benefit from a little feeding. Correct nutrition will help keep your seedlings strong. We use a heavily diluted kelp extract. Kelp extract is a natural fertilizer that promotes plant growth, fruit set, disease resistance and resilience. It's also a great soil conditioner. There are many options available but remember to dilute it heavily so you don't "burn" your seedlings.
Legginess
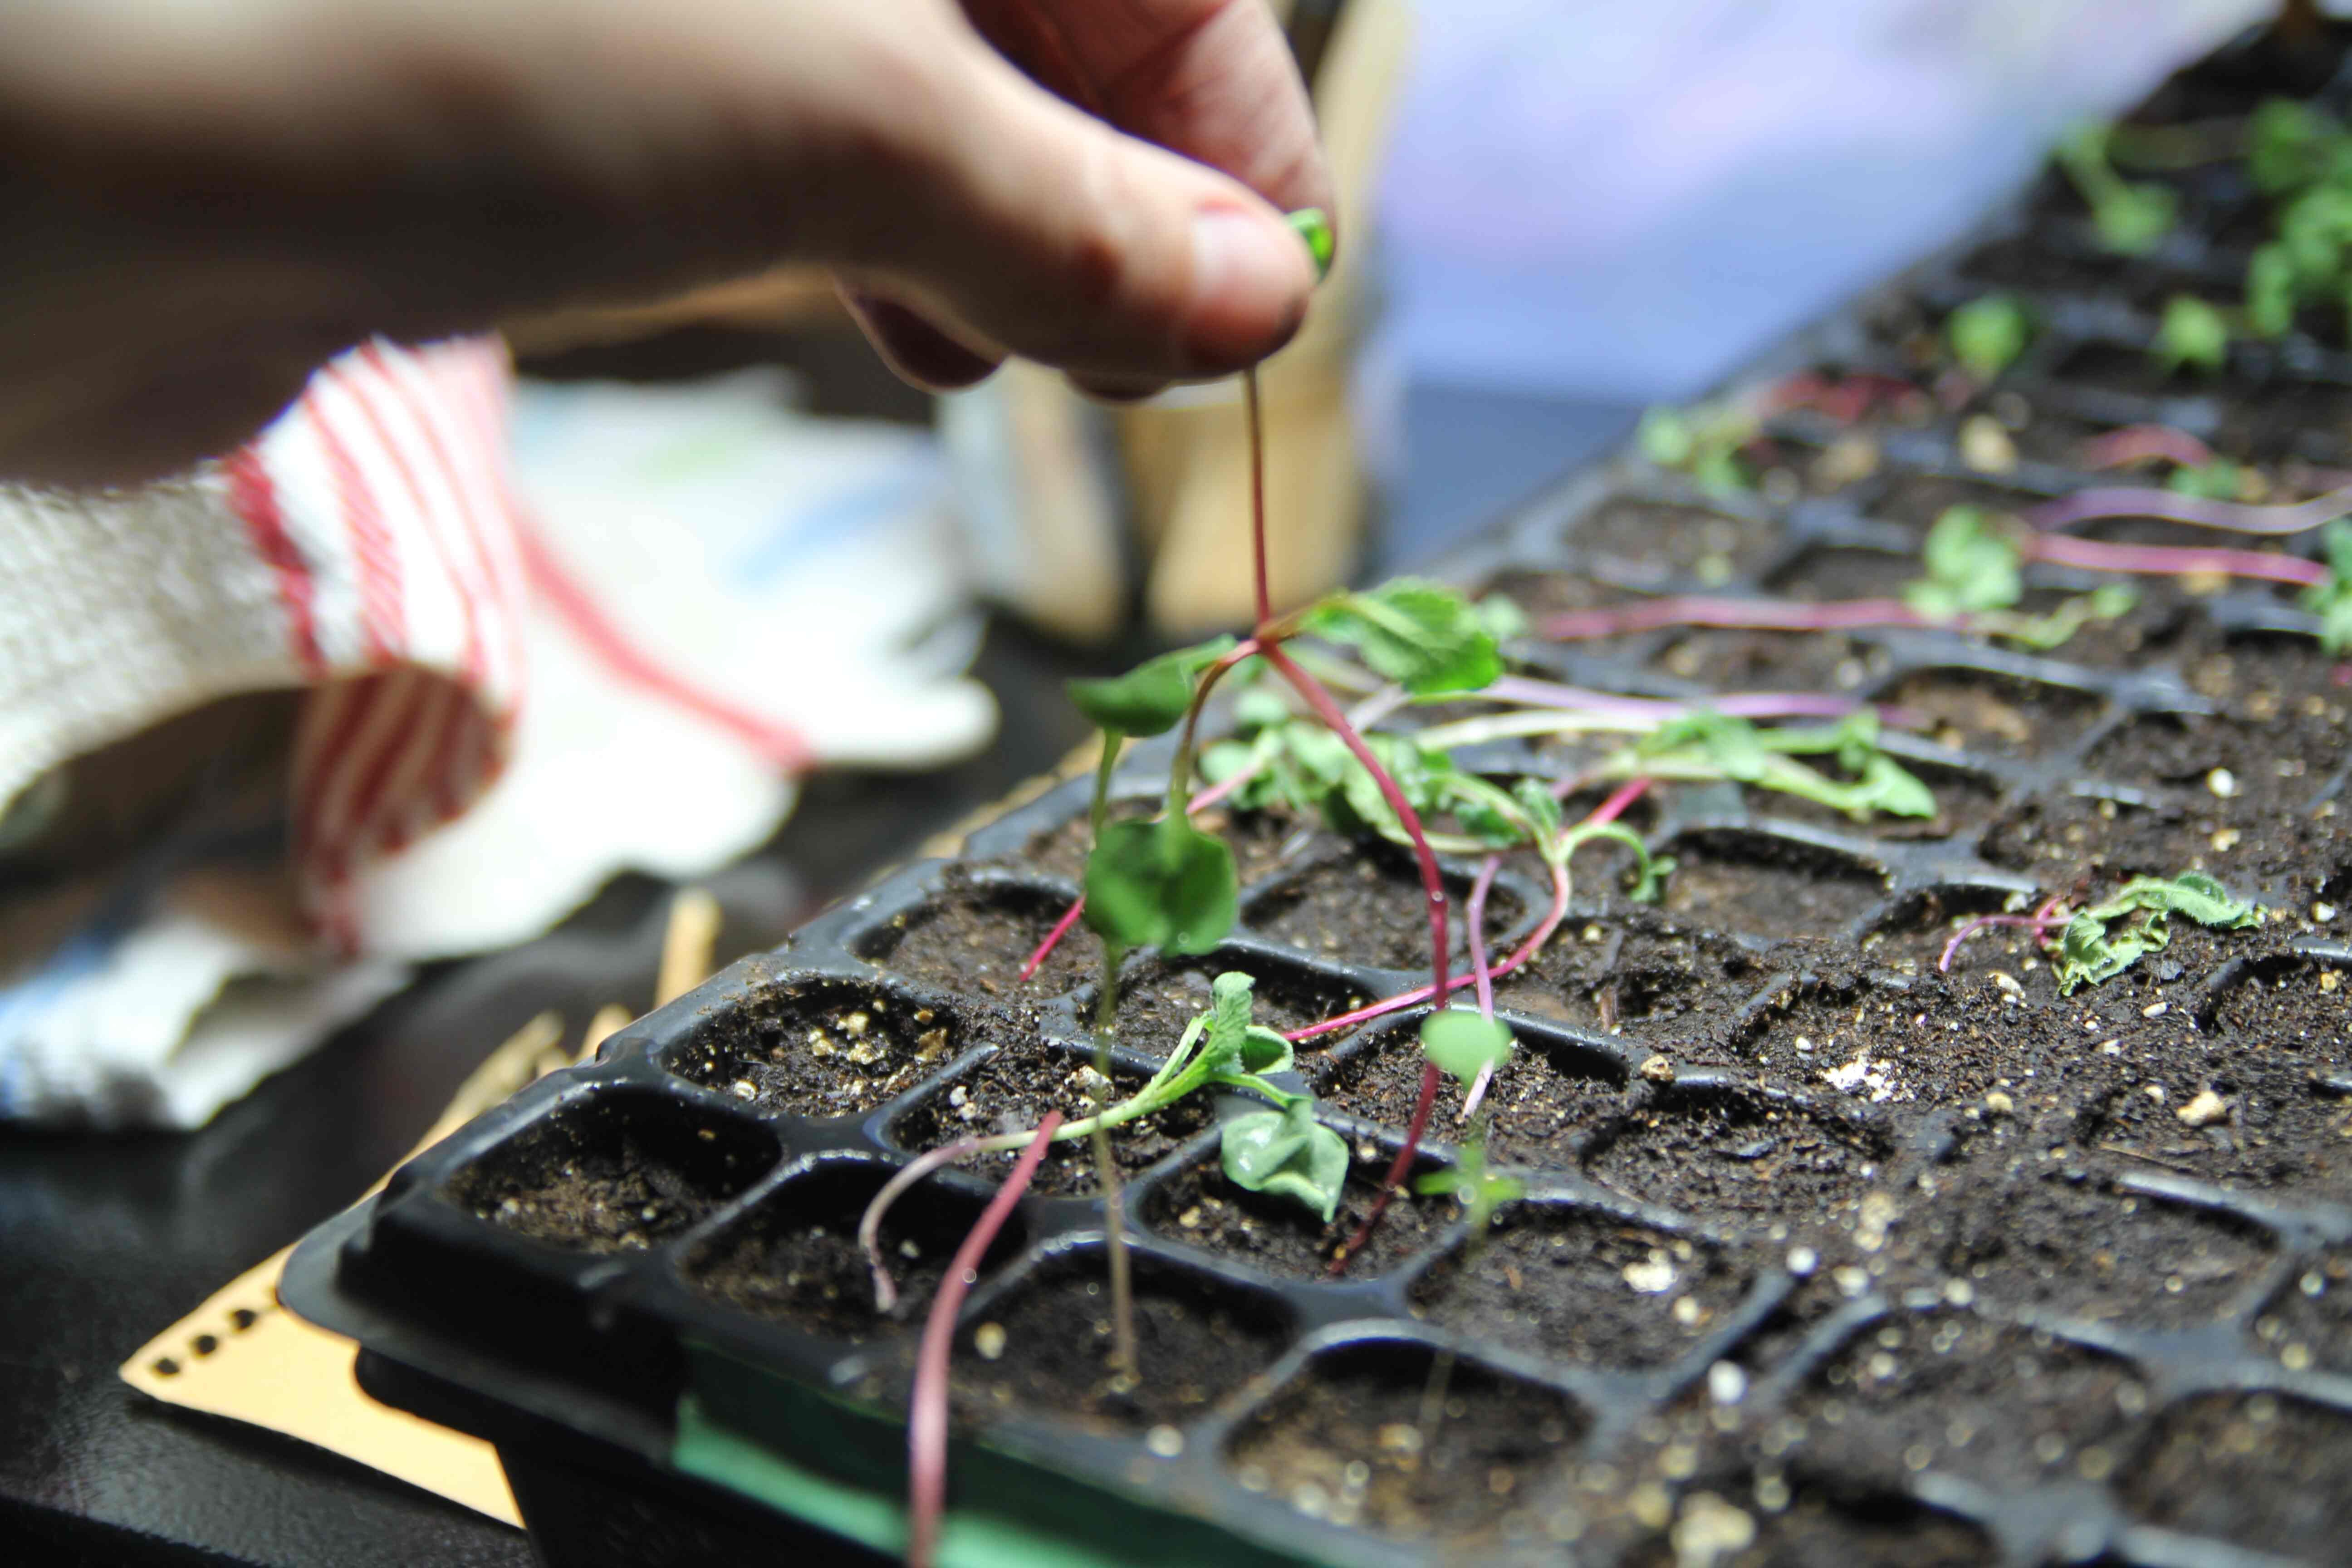
A problem with insufficient lighting can be legginess. This is where the plants grow tall but the stems are weak: they flop over. Don't despair if this happens. Even a leggy plant can grow into something beautiful with a little love and care. To help prevent this, be sure to rotate your trays, especially if you are relying on natural light. If your plants are leaning to the left for example, rotate the tray. Rotating daily will help strengthen the stems.
Watering
Seedlings are very delicate. Water the soil, not the seedlings. Be gentle and keep the soil moist but don't soak it. Never let the soil dry out. I really hate to say it but I have found that plastic containers hold the moisture far better than paper or natural fibre pots.
Soil-less Dirt
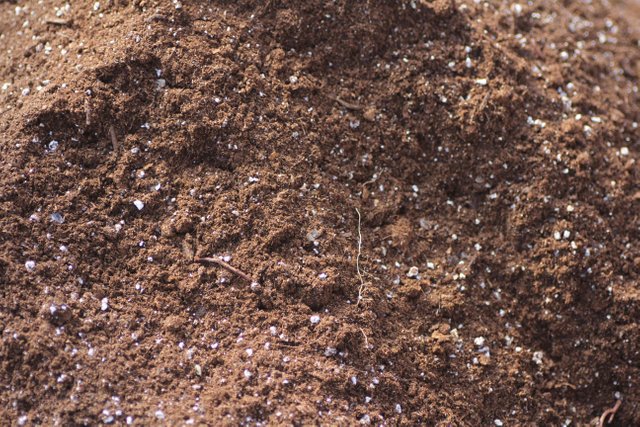
You can buy a pre-mix of seed starting mix at garden centers. You can also make your own mix. I tend to use what I have in the greenhouse, this year it was a mix of peat moss & vermiculite and a tiny bit of compost that I sifted to remove large particles from.
Containers
I've got a lot of small containers collected from garden centres. They work great and are reusable. You can also make your own biodegradable pots with newspaper and other materials. If you are using plastic be sure to wash your trays in soapy water before using so that you don't spread anything from older plants to your young seedlings. I am generally not a fan of plastics but I have to admit, they do a really good job of holding in the moisture and I've had more success with plastic than I have with paper.
Potting Up
If you use the smaller plugs (trays with 48+ individual compartments), some plants will become too large for their initial container. You can carefully transplant them to larger pots. Fill the container half way with damp soil, carefully remove the plant from it's original container and gently surround it with soil. Tamp down gently.
Grow Lights
For years I struggled with leggy seedlings due to poor lighting conditions. Moving trays around from window to window to catch the sunlight can be difficult when you have a lot of plants to grow. If you don't have enough sunlight or would like more flexibility on where you grow your seeds (basement for example), supplementary lighting is a valuable asset.
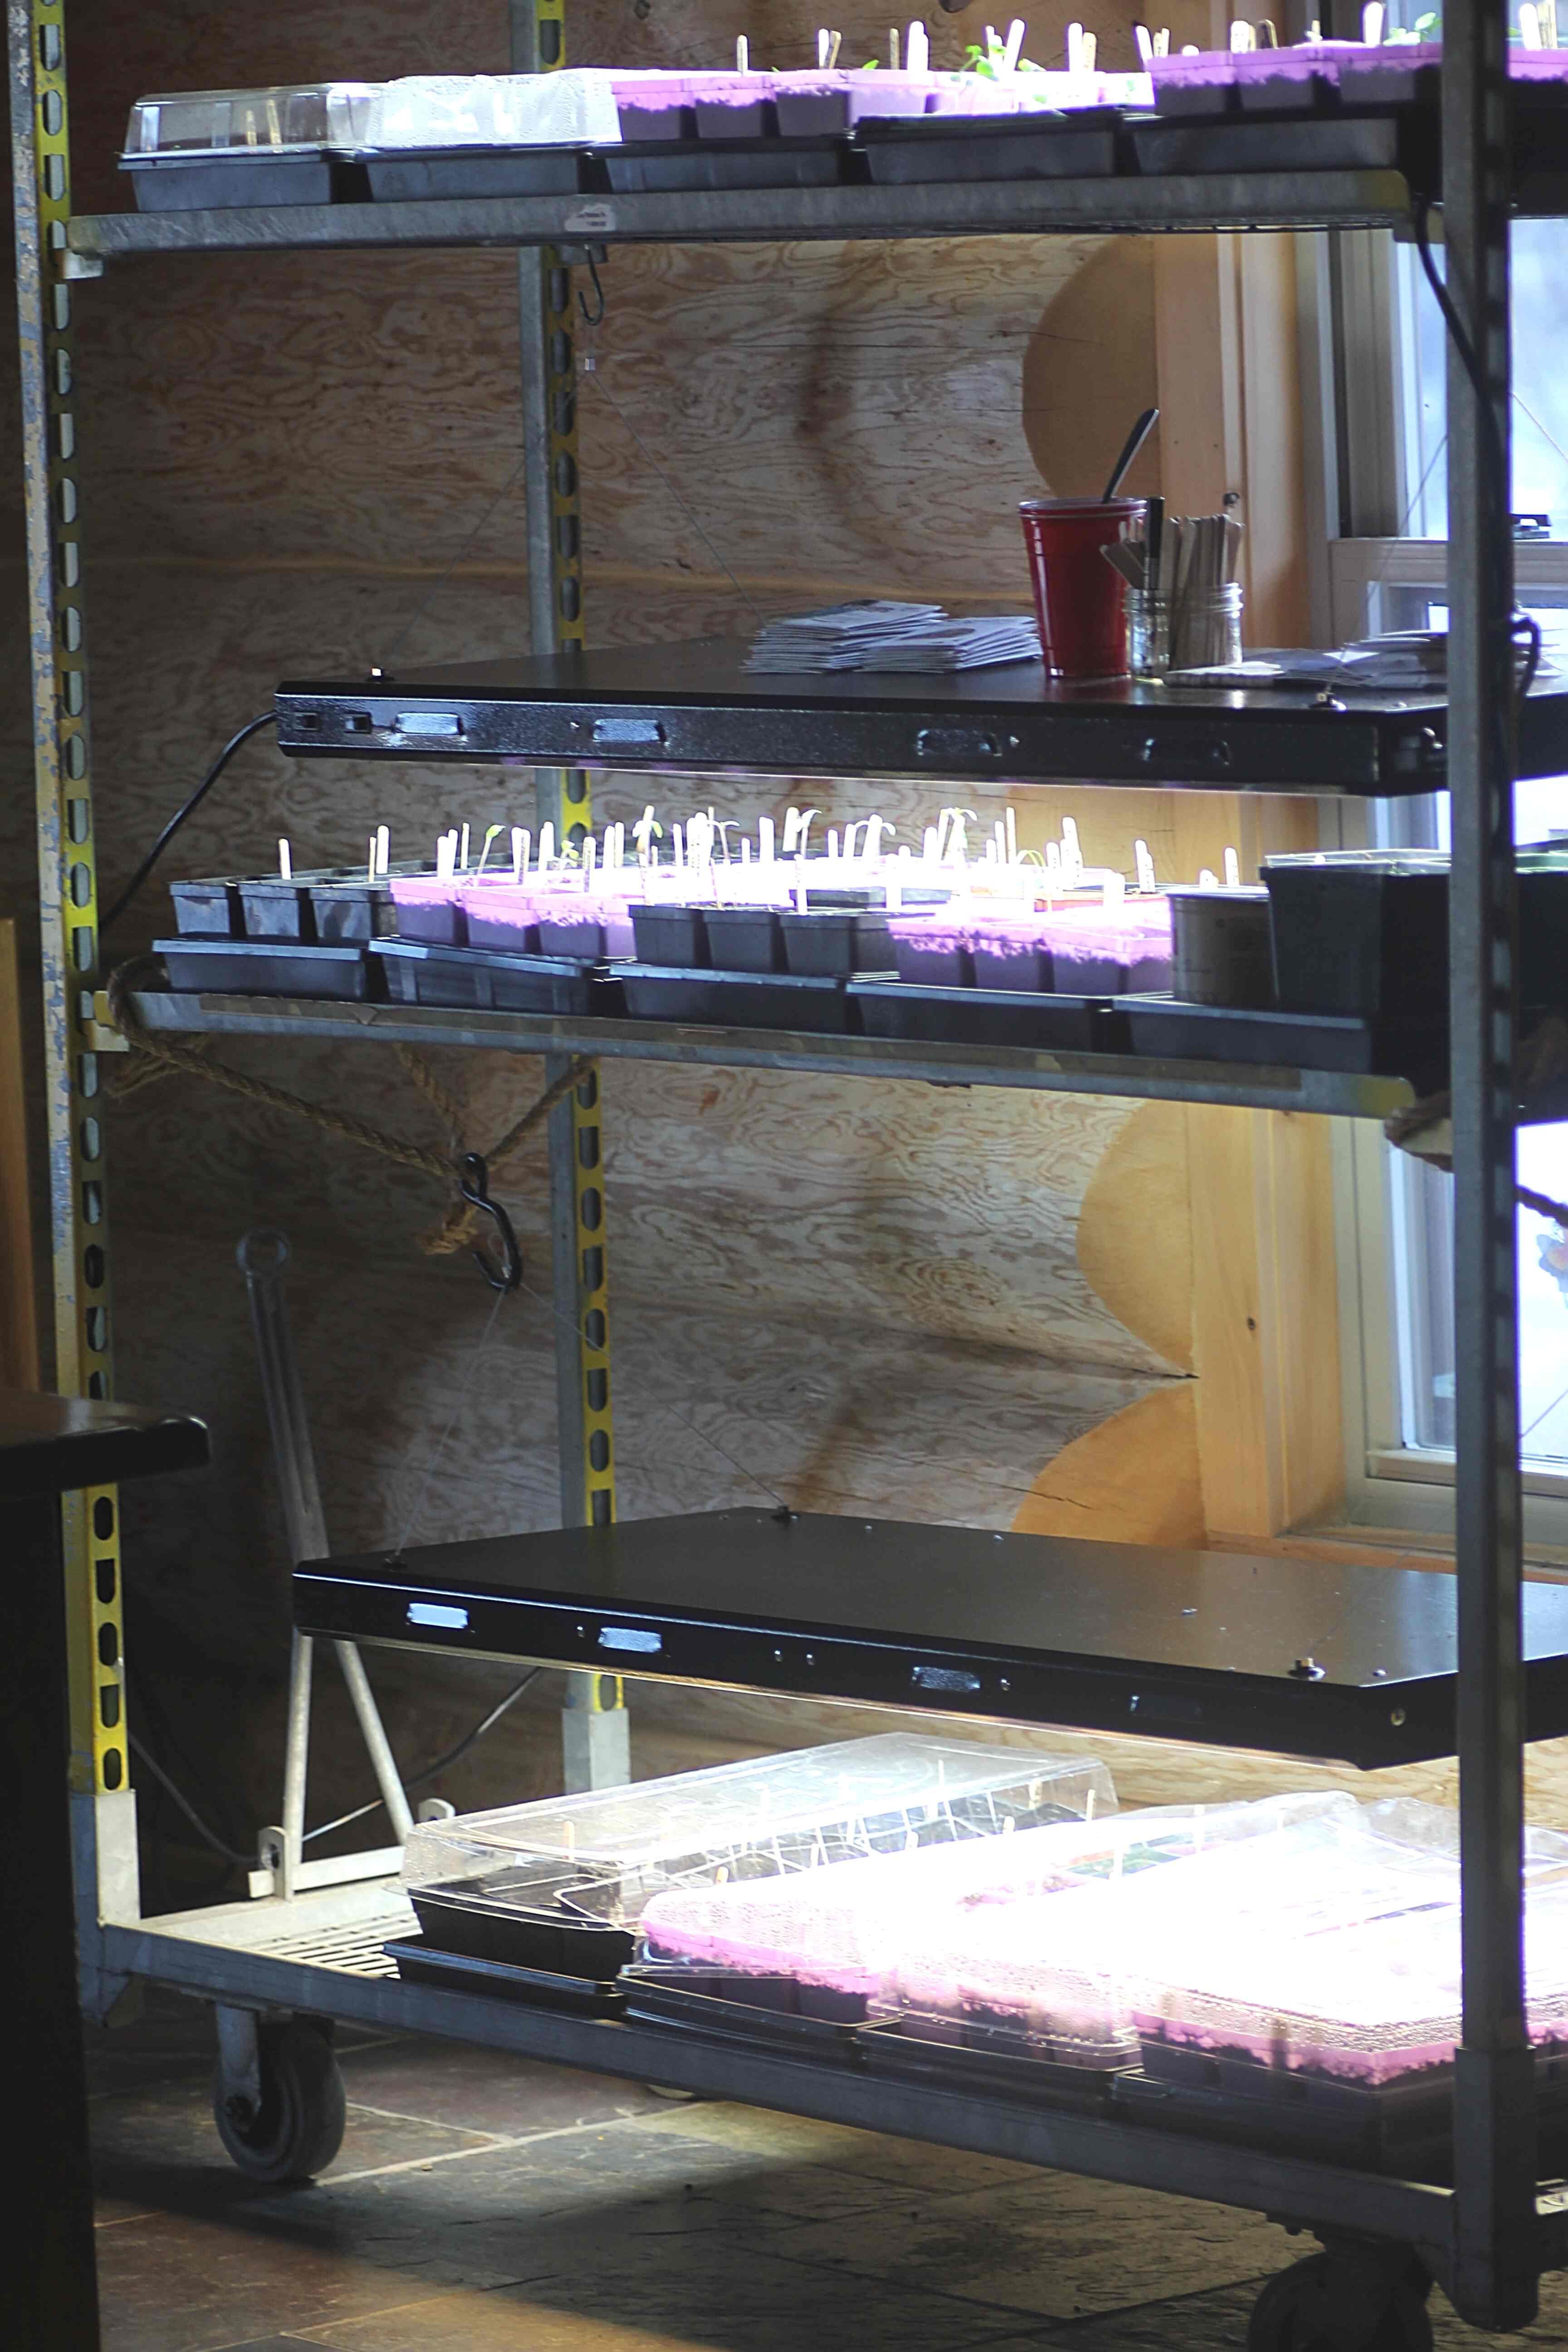
After pricing our all of the options, we decided on a used greenhouse rack and fluorescent light kits with T5 bulbs.
Our rack is comprised of
1 x Heavy duty greenhouse rack (bought used on kijiji) The shelves are 5’L x 2′ D
3 – 4’L x 2’W Florescent light kits, including 6 – T5 bulbs per light fixture
This kit cost $750 Canadian. I am able to fit fifteen trays on this rack and there is room for a fourth shelf If I decide to expand. Not pictured here are adjustable pulleys that make it easy to adjust the lighting assembly up and down.
Hardening off
Before planting out in the garden, you will want to harden off your plants. You do this by introducing the plants to the outdoors gradually. Bring the trays outside for an hour the first few days, two hours the next and so on. It can be a bit tedious bringing the trays inside and out but it's well worth the effort. This should be done over the period of one week to ten days. They'll be able to withstand a cooler evening if they've had time to adapt to varying temperatures.
Once your plants are hardened off and all signs of frost are gone, you can get in the garden and start planting!
Happy Planting!
Building a greener, more beautiful world one seed at a time.
Homesteading | Gardening | Frugal Living | Preserving Food| From Scratch Cooking|
You can also find me at: walkerland.ca
Photo copyright: @walkerland

Thank you :) Love the badge!
I love it, great info on starting seeds. I am ready to plant my seeds for spring i will be doing a post on my garden build.
Thank you for contributing your knowledge to help others! The Sotall Community has linked to your post here.. If you write any future articles with instructions on how to do any tasks related to a homestead or survival, to ensure they are added to the directory, please submit them. They will be added as soon as possible.
Fantastic, as always. Took a few tips to apply to my own seed starting techniques :)
I am at the seedling stage right now with some peppers lol. Great post. Following you now!
oooh! Lucky you. I can't wait to get the seeds started but it's still to early. Following you too :)
Very helpful! This is my first year attempting starts indoors. My concern was legginess, but this technique should avoid that issue. Thanks for another info-packed post!
I am glad to help. Feel free to ask if you need any help along the way. It took me plenty of trial and error along the way to learn what works best for me :)
The main thing I'm concerned about is the seed starting medium. In addition to the lighting, I've also read that the starting medium should a lower nutrient content to combat legginess in the sprouts. The components of that medium are where I could use help. Recommendations would be more than welcome. I have no idea where to begin...
Thanks in advance!
I used to buy the seed starting bags at the garden centre until my growing became too extensive to make that affordable. To make my own I just copied the ingredients on the package.
A medium that is light and fluffy and retains moisture will do the trick. I have sifted a bucket of soil from one of my green house beds and that's worked just fine for me and I've not had legginess.
My recipe is:
3 parts: aged compost (sifted without any big chunks)
2 parts peat moss
1 part vermiculite
Awesome and thanks for the recipe! I'll definitely give it a try.
Your post is excellent and very detailed, which I really appreciate. I have never done plant propagation from seed because I was afraid that it won't work out, but now I read your tips and it gave me the courage to try it myself. Thank you for that! I look forward to your new posts :)
I am so glad to read your comment, it makes me happy to know I've encouraged someone to give it a try. Taking a small seed and nurturing it into a beautiful plant is such a satisfying thing to experience.
Great post. Perfectly organized and well written instructions. Couldn’t ask for better information. It’s all right here. Thanks 🐓🐓
Thank you, I appreciate your kind words. Love your chicken icons :)
I had problems last year with my seedlings getting leggy while I was trying to harden them off. I’ll be starting some of my seeds this week.
Very informational
Following to keep up❗️
Oh how lucky! I can't wait to get ours started but it's still way too early. Have fun!!
Great tips. I need to watch out with my spray bottle. Didn't know squirting the seedlings is a bad idea. Is it because of fungus risk, or possibly knocking them over?
a gentle spritzing with a bottle is fine (I do it). Its watering with a watering can or jug that can harm them, drown them etc. Gentle and light actions are the key.