Audacity Tutorial: Noise Removal; Compressor; Truncate Silence for speech recordings
A quick tutorial on how to improve your recordings in audacity. Includes tips on how to use the noise reduction tool, compressor and how to truncate silence.
Today we have something a bit different going on. I have been asked by one of my friends how I make myself sound so clear in my reviews. So today I’m going to make a quick tutorial on how I personally do that.
Microphone
So the first and certainly one of the most important things if not the most important is to have a good quality microphone. I’m using one of the microphones that are already well known – specially in the youtube community – the Blue Microphones Snowball ICE. This is an USB microphone so it is incredibly easy to install to your computer. Plus you don’t need any other audio hardware – so it’s the perfect microphone for anyone just starting with recording videos.

You can buy it many different places for about fifty to sixty dollars alone or at around 80 bucks with some additional stuff like a pop-filter and a studio arm.
And since I already mentioned a pop-filter- get that thing as well, they are dirt cheap and really improve your recordings because your plosives – b, p, t, d etc. don’t completely overwhelm the microphone if you are using one.
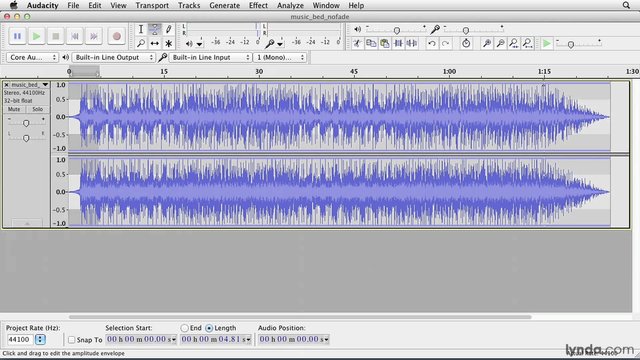
Audacity
The second thing you’ll need to get to make great recordings is Audacity (a download link is under the video). This incredible piece of completely free software allows you to edit your audio recordings. So go and download it right now! Though you probably you already have it.
The editing
So now lets look at the actually editing that I do.
I start by of course recording the audio itself. So let’s make a little testing recording – Hello guys and welcome to Kralizec Gaming!
You might have noticed something that might not be obvious to do for beginners - I start each recording with about 2 seconds of silence. Why would I do that? Because it allows me to get a good noise sample to then later remove the noise.
And removing noise is the first thing we will need to do. Start by selecting the part with the silence on the beginning. Then click effect → noise reduction → get noise profile. This tells audacity what the background noise in your video sounds like. Now select the whole audio you want to clear the noise from and again click effect → noise reduction → and ok. The default settings are okay for most users.
Now let’s make your voice really stand out. This we will do by again selecting the whole recording, clicking effect → compressor → ok. Again, the default settings work fine for most people, but you can also you the settings I use. Just pause the video to see them.
Now the last thing we want to do is to get rid of unnecessarily long pauses in the recording. Here we again want to have the whole recording selected and we will click effects → truncate silence → here you wan’t to have these setting to have the pauses sound natural: Level -20dB; Duration 0.5 seconds; Truncate Detected Silence; Truncate to 1 second. Once you have these settings inputted – click OK.
Now we are done with editing our audio and we want to export it so we can add it to our video in some video-editing software.
Just click file → export audio and select the format in which you want your file to be saved as. I use WAV 32 bit files for best quality.
And we are done. Now you have a recording in which your voice is loud and clearly understandable without background noise. There are many many more tricks you can do to improve your voice in audacity – like changing the pitch to make your voice deeper and changing to speed if you talk to quickly. But for those tutorials, you will either have go somewhere else or wait for another tutorial in the future
Thanks for the tutorial, buddy! helped a lot!
I'm glad mate :)
resteemed ;)