The Scoop on Yogurt, Part 1 (How we make our own yogurt)
Every time we buy milk from our Friends with Cows, one of my first tasks is to turn part of it into yogurt. Not only does this make our milk last longer (raw milk doesn't keep nearly as long as Storebought Deadmilk), it gives us a wonderfully versatile ingredient that finds its way into tons of my recipes. I'm astounded, every time I pull those jars out of my incubator (aka my soup pot) at how easy this process this is...and I'm also astounded by how much yogurt is sold for in the stores...
As you probably well know, yogurt has become an entity unto itself. Walk down any yogurt aisle at a grocery store (because they do fill an entire aisle) and you will see dozens upon dozens of brands shouting at you at how very Greek or drinkable or active or low-calorie they are, and commanding premium prices. Now, I absolutely love yogurt, but I have little love for single-serve plastic cups of sugary, artificially thickened and flavored milk-goo that spends tons of advertising dollars to convince you its a health food because it has SO MUCH PROTEIN.
Trust me, I used to walk down that aisle, debating if I should shell out money to buy a tub of the one that seemed healthiest (it was always the most expensive one). It never occurred to me that I could make it myself--I mean, if you glance at the ingredients, it seems like you need some sort of alchemy lab for magic milk transformation, and none of those multi-syllabic things are ever on grocery shelves anyway.
How wrong I was! I now know that the best, healthiest, tastiest, and cheapest yogurt I’ve ever had is the one I now make in my kitchen every two weeks. And you can make it too.
But I don’t have a yogurt maker, you may reply. Neither do I: you don’t need them. Yogurt is an ancient food--the people who came up with it didn’t have yogurt makers either. Everything you need is already in your kitchen, guaranteed! And don’t be intimidated by having to use your thermometer so much--after the first couple of rounds, it’s easy. You could wing it without your thermometer (obviously those ancient people did), but I find that these temperatures give me really consistent results.
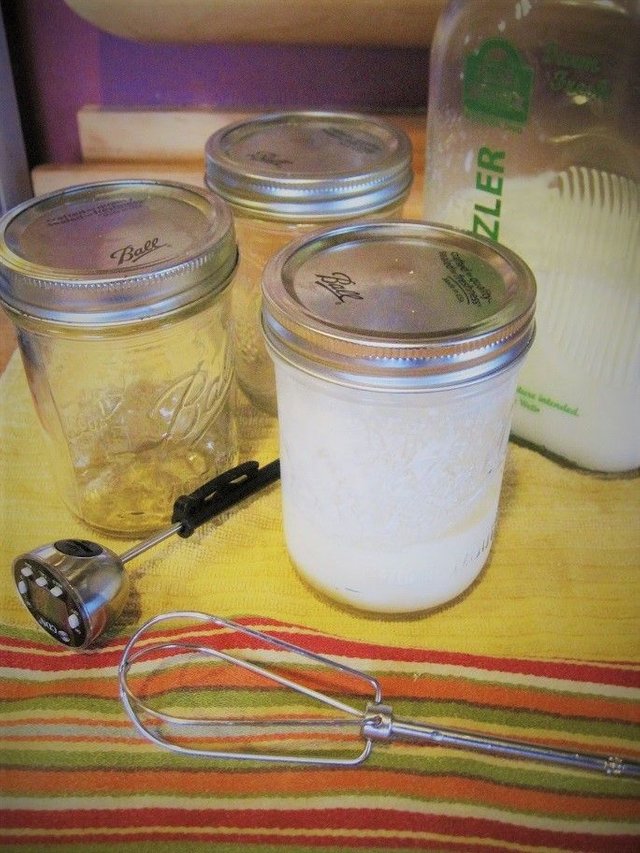
Needs:
- Two pint-sized mason jars with lids
- A small saucepan
- A pot big enough to hold said mason jars
- Meat or candy thermometer
- Whisk
- The best whole-milk you can find
- Two tablespoons of plain yogurt (see note)
Makes: a little under 4 cups of yogurt.
NOTE: If this is your first batch, get whole-milk active yogurt(you’ll only have to buy it once, so it's okay if its pricey!) Check the ingredients and avoid all sweeteners, thickeners, and preservatives. This is what was in the yogurt I used: organic whole milk, L. Acidophilus, Bifidus, and living yogurt cultures.
(whispers: that's all yogurt SHOULD have in it...)
Process:
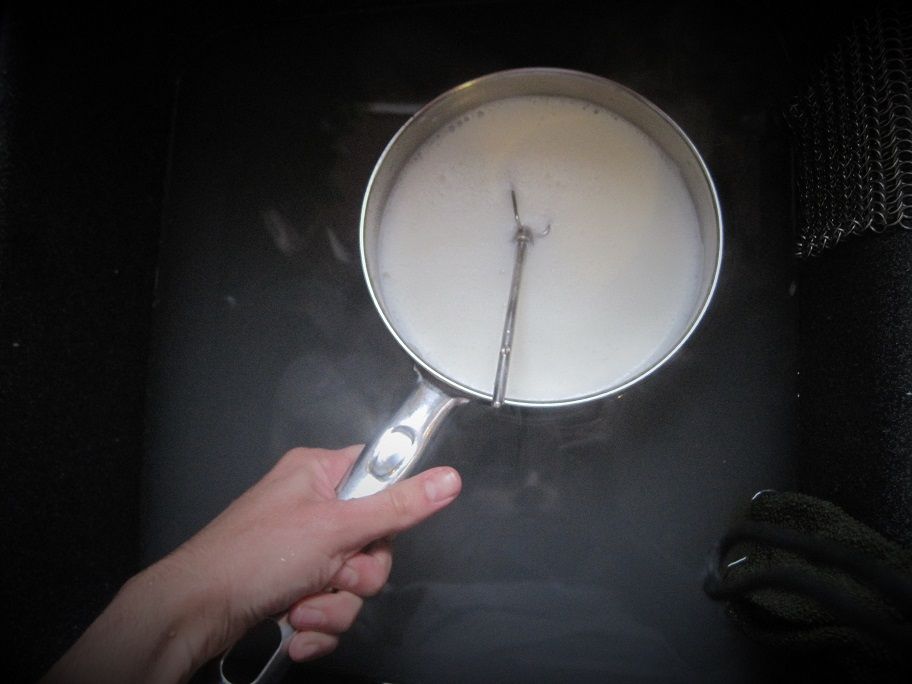
Measure two mason jars worth of whole milk into your small saucepan. Heat the milk on a gentle medium heat, whisking every so often to make sure it doesn’t scorch on the bottom of the pan.
Heat until you reach 180 ° F, then lower the heat and try to hold it there for 5 minutes, whisking as much as you need to keep the temperature from going much past 185°F. The longer you cook it at this stage, the thicker the end product. If you're a little busy, though (who on a homestead isn't??) then you can just take it off the heat once it hits that 180-ish mark.
Allow the milk to cool to 120 °F. You can either do this by letting it sit and cool slowly on the stove (it will take about 30 minutes) or submersing the bottom of the pan in cool water and whisking (it will take about 5 minutes).
 I like to use the leftover dishwater to cool my pan (less waste!)
While your milk is cooling, put enough water in your large pot to come up at least two-thirds of the sides of your mason jars. You don’t need enough to cover them. Heat this water to 110-115°F, then cover and take off heat.
Measure two tablespoons of your really good, active yogurt into one of the mason jars. Pour a little bit of the 120° milk into the yogurt and whisk it to temper it. (Since the yogurt is alive, you want to warm the bacteria before mixing it in the pot so that you don’t shock them). Mix the yogurt-milk into your pot of milk and whisk thoroughly to combine.
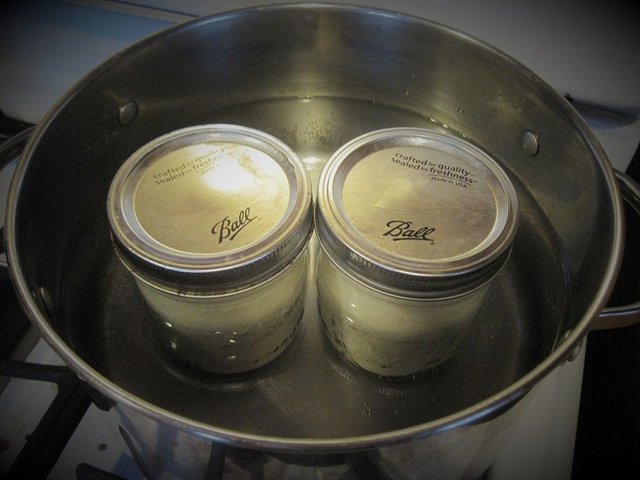
Pour the inoculated milk into your mason jars, and screw on lid tightly. Immerse the jars into your 110°F water, cover with a lid, and place the large pot in a warm place for 10-16 hours (I use the warm top of our refrigerator for this--it works well even in the winter. You could also put it near the woodstove). The longer you let it sit, the more tangy and firm it will become--the more yogurt you make, the more you'll know what you prefer.
After 8-16 hours, depending on the ambient temperature of the day, the yogurt should be firm enough that it doesn’t move when you tilt the jar. Refrigerate, and enjoy! Unopened jars can last for around 3 weeks, and opened jars last for about 1 week. I find my yogurt never lasts that long.
Now, if you plan enough to always leave around two tablespoons of yogurt left over, you can use this yogurt to culture your next batch--as long as you keep up with it, you’ll never have to buy yogurt again!
I know that some sources say that starter yogurt is only good for 3-4 rounds of yogurt, but I frankly find this a little silly (and I wonder how many of those sources are actually vendors of yogurt starter to begin with...). I have been making successful yogurt for almost two years using the same stuff, and I imagine that the yogurt-makers of the past did the same.
I love knowing that I can customize it however I want, don’t have to deal with frankengreedients, and can make it as sweet or not sweet as I want (if you allow your tastebuds to adapt, you realize that milk is actually very sweet on its own--lactose is a sugar!) While it is delicious with a drizzle of honey and fresh fruit, it is also versatile--I use it in place of sour cream in paprikas, instead of coconut milk in curry, and often substitute it whenever my baking calls for milk or buttermilk. You can also thicken it into greek yogurt by letting it strain through some cheesecloth overnight (who needs creepy thickeners??) or even turn it into a type of cheese called labneh.
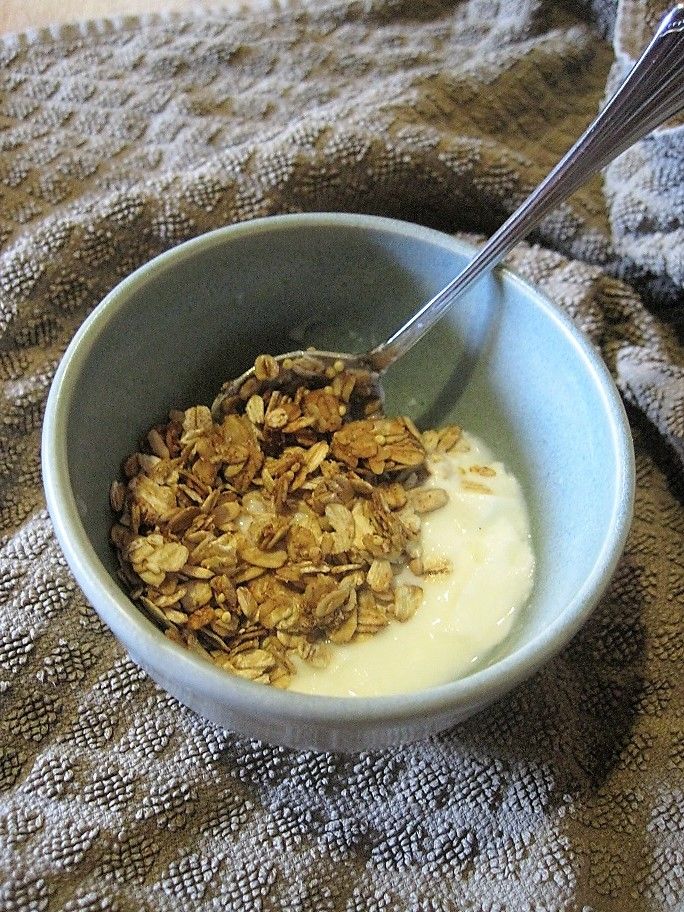
So delicious. This yogurt lasted approximately 45 seconds after being photographed.
In my next post, I plan on sharing with you all that I found during my research on how commercial yogurt is made, and why we ONLY eat homemade yogurt, now. It is a deep and rather dark rabbit hole...so stay tuned!
Also, if cheetah dings this post, it's because it is an updated repost of an article I wrote for our blog about a year ago. You can find it on our site here!

OMGosh! this is such an easy recipe! And I had heard of people who made their own yogurt and now it's on my list of skills to try!
Is this process the same for goat's milk? I plan to be making it at some point this year. Did you know you can put silver in raw milk to make it keep longer?
Hey, that's how you do it without a heating pad! I make a whole lot of yogurt (I have to make it a gallon at a time because it disappears so fast) but didn't know how you do it off-grid. I just set my giant covered glass bowl on a towel covered heating pad and cover the whole thing with another towel.
I also like straining it to make super thick Greek style yogurt, which is my favorite substitute ingredient now that I'm not buying the expensive stuff anymore. I figure my family's yogurt habit would cost us $12 per week, and that's while the kids are all toddlers.