To Sous Vide or not to Sous Vide - Is that the question? Food and Photo Blog 🍴 📷
Very excited that I received a Sous Vide cooker for Christmas. Props to my husband for doing the research and picking out a very cool unit. The Anova Precision Cooker incorporates a wifi app that lets me monitor the cooking progression wherever I am.

This will be helpful when I gain some more confidence with this cooking method and I start cooking at home, when I'm at my office 😀.
There are plenty of details about the sous vide cooking technique at the above website; here's the high level description provided by Anova:
Sous vide (pronounced “sue-veed”) is a cooking technique that makes it super simple to achieve professional-quality results at home. The technique utilizes precise temperature control to deliver super-juicy, flavor-packed results from edge to edge, every time. To cook sous vide, food is placed in a sealable bag and cooked in a water bath.
This post describes my 2nd sous vide adventure. Last weekend we enjoyed a very tasty, 24 hour cook of beef short ribs. I decided to venture to an even longer cook time - 36 hour beef brisket! For the first cook, I used a stock pot as the cooking vessel. That worked out fine but I couldn't cover it easily and I couldn't see the meat while it was cooking. With long, higher temperature cooks, you have to be mindful of evaporation in the form of steem. To that end, I purchased a polycarbonate container and a cover to minimize steem evaporation and to have a larger cooking vessel. You can check it out on Amazon. But any pot, saucepan or container that can hold water at least a couple of inches deep will work. The food must be submerged in the water to cook properly.
Not all sous vide cooking takes days but I had the short ribs and brisket in my freezer - I typically buy our meat in bulk from an organic farmer. So the freezer is initially packed with every cut of meat. As we consume the freezer's contents, the harder-to-cook cuts are usually the last to be consumed. Brisket is a long cook time in the oven or smoker and I never seem to have a full day to watch something cook. With sous vide and this great cooker and app, I can leave the brisket cooking all day and all night!
I do have a FoodSaver vacuum sealer that I used to cook the brisket. It's not necessary but it is helpful. If you have a lot of liquid in the bag, the vacuum sealing will be challenging. There are all kinds of bags you can use, even the standard zipper sealing freezer bag.
I cut the brisket in half (it was pretty large). This will allow me to cook the entire brisket and then finish a portion and save the other half for another night. Plus it would have been tricky fitting the whole thing in one bag.
I googled around for brisket seasoning suggestions and put together a rub. Mix equal parts of the spices listed below, enough to rub on both sides of the brisket. Feel free to substitute your favorite spices.
Ingredients:
- Course Ground Black Pepper
- Course Ground Pink Salt
- Garlic Powder
- Smoked Paprika
- Thyme leaves (fresh if you have it or 1/2 tsp of dried)
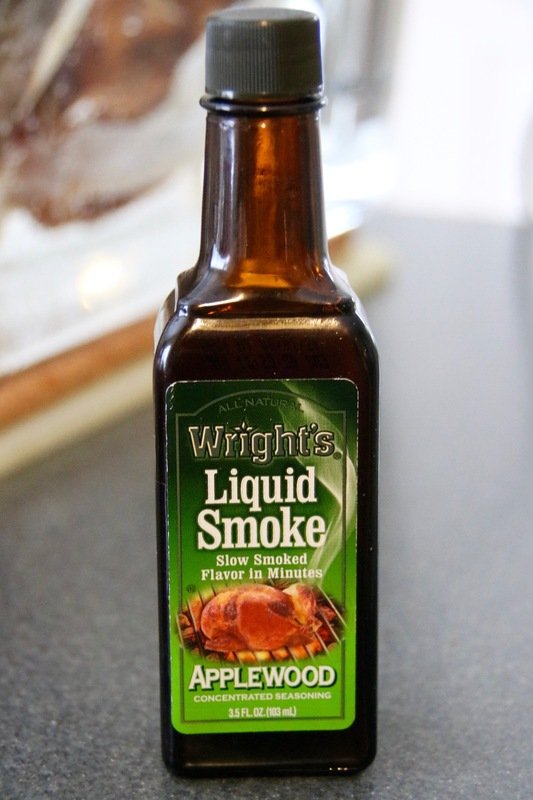
- Liquid Smoke: 4 or 5 drops (1/4 tsp)
This is the one I used:

Directions:
- Fill the cooking vessel with hot water
- Put the cooker in the cooking vessel
- Set your sous vide to 155 ℉ and the timer for 36 hours - this will start to preheat the water
- Rub both sides of the brisket with the rub
- Put in a vacuum or sealable bag
- Add a few drops of liquid smoke
- Vacuum seal (or get the air out of your zipper bag) and place in the water bath.
I put the top edges of the bag between the cover and bottom so it doesn't sink down into the water. Binder clips come in handy for this and you can also buy a rack.
Now just wait for 36 hours - keep an eye on the water level and add hot water if you have a lot of evaporation. Note: I didn't need to add water since the unit was covered
I learned that there are several opinions on how to cook a brisket but 24-36 hours at 155℉ results in what most folks expect for brisket. Take a look at Serious Eats page for a lot more information.
After the cooking is complete, you might notice the meat doesn't look seared as you might prefer. Depending on how you're using the meat you might want to finish it in the oven for a while or smoke it on your BBQ. We had a lot of snow here, so the BBQ is a bit out of reach, so I put it in the oven.
When you first start, there are a lot of air bubbles in the container.
Note: It's recommended you use cutting board or trivet to protect your countertops - it does get pretty hot.

I set the timer for 36 hours.

This was later in the day.

The next morning, you can see that the meat has shrunk. The fat breaks down along with the toughness.

Took it out of the water bath 36 hours later.

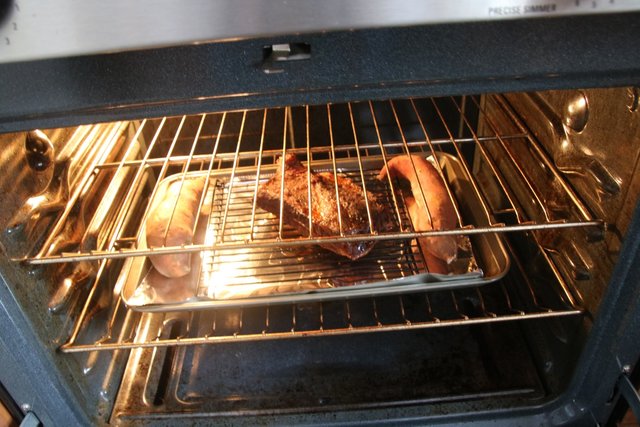
Put it in the oven @ 300℉ for 90 minutes.
I put a couple of sweet potatoes in since I had the oven on.

The oven helps get the "burnt ends" everyone loves!

Melt in your mouth tender.

Served with sautéed pirogies and greens, and fresh cucumbers. You could put BBQ or steak sauce if you like.

OK, time to eat!! Enjoy!
All cooking @lrich
All Images take 1/7/17 & 1/8/17 @lrich Canon EOS Rebel T6i with Tamron 18-250mm f/3.5-6.3 Di II LD Aspherical Macro Lens
Nice! I got an Anova for my parents, and one for my brother. Now, I think I want one for myself.
Thanks @kadavy ...Go for it , it's easy and pretty much foolproof!
Looks delicious @lrich, I'm hungry now!!!
Very interesting. Great food post!
@gringalicious - thanks!