Shooting a Car Scene With No Budget
Originally posted on my personal website - and since deleted - I wanted to begin to blog about indie filmmaking here on the Distant Signal Steemit account, since it seems like a niche that isn't well covered here. The article is updated with new images.
--
Milkshake was shot for almost nothing. Comprised of 8 episodes, it was 10 but two were destroyed when my hard drive failed mid backup, we had to do everything as cheaply as possible while maintaining high production value.
TRAILER:
The dominant aesthetic for Milkshake was that of a moving car with Los Angeles as the backdrop. I love the dynamism of the moving background and ever shifting ambient lighting, but if you’re like me, you hate processed shots, because let’s face it, even if they look amazing you can ALWAYS tell they’re fake.
Sadly, they’re also more cost effective, which is why they’re so ubiquitous in TV and low budget films. For Milkshake, this would not stand, man! So, if you want to shoot in the car at night, I have a solution. I know the upsides… and the downsides. Read on if you want to find out how I shot 10 episodes using this exact setup. What you’ll need:
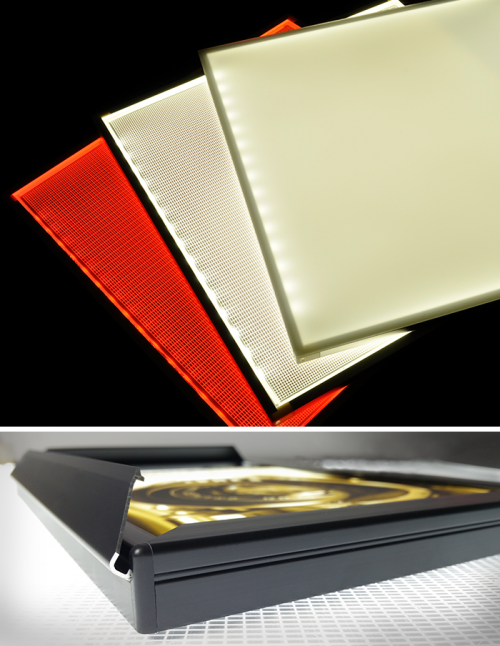
- 2 or 3, 6 x 6 inch LED light pads (Luminous Film makes pads identical to Rosco at %50 the price)
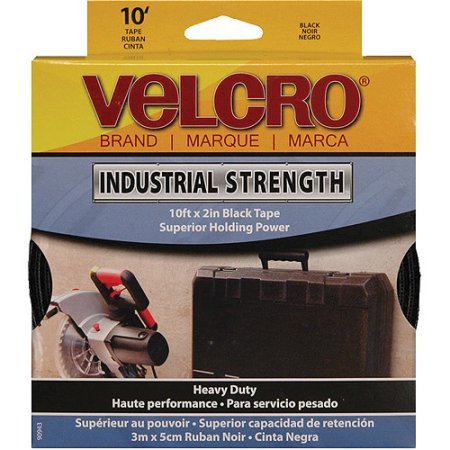
- Industrial strength Velcro
- paper tape (Rite Aid/Home Depot/Wallgreens)
- Printer paper (ultra cheap diffusion and light reduction)
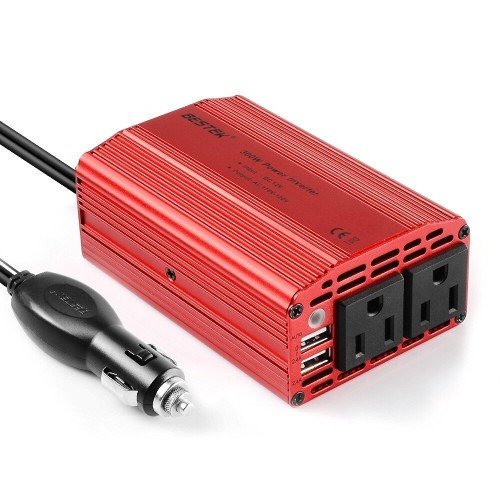
- Power inverter
- Plug strip (Rite Aid/Home Depot/Wallgreens)
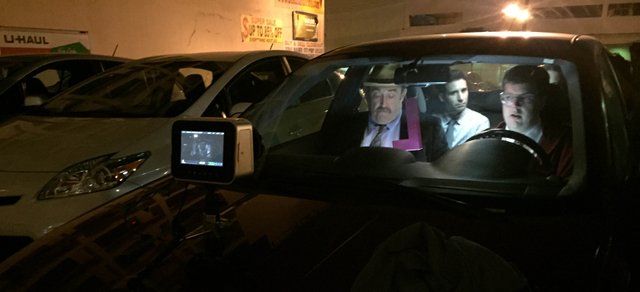
I used two different methods for lighting the interiors of cars because of time and man power constraints. If I had a dedicated lighting crew, things would be very different. Since milkshake is a comedy, I chose high key lighting on the whole, lit from above as though the dome lights were always on. If you have a sun roof with a sliding, net diffuser, you can simply place your LED light in between the sun roof and that net.
If that isn’t an option, the industrial strength velcro should do the trick on most car fabric interiors. Now when you change angles, a subject sometimes becomes underlit because they might be turning to look into the back seat. Instead of throwing more light overhead, I would fill in the shadows with a new key light with the source coming from the direction of the lens, usually resting it on my lap, or if I had an actor hanging about, using them to hold it.
My DP friend who helped out one night taught me that by using the lens to help guide your source, you get better, well rounded lighting on faces. By not moving the first overhead light, I merely had to add the new key when looking from the back seat to the front (because our two main characters are always in the front). That’s only one light that needed changing. The overhead, which was sort of a key light, now becomes a rim/back/fill light. As you can imagine, it doesn’t produce the most flattering light.
As the series progressed, I picked up a couple of more tricks to improve the lighting. This brings me to the second method. I began taping the LED lights to the inside of the windshield when shooting the driver, off angle from the subject’s face. If I had to do a two shot from outside the car, I would tape it to the dashboard. The tricky part is lighting and shooting the passenger in a similar fashion. Because the car is almost ALWAYS moving in Milkshake and I could not afford a process car, I would usually cover the driver in a traditional close up from the passenger seat, but when I needed the close up of the passenger, I would hop into the driver’s side back seat for a French OTS (an over the shoulder where you see the subjects from behind rather than from the front).
I can hear text book filmmakers screaming, “but that deviates from the 180 degree rule!” In a later post I’ll talk about why the 180 doesn’t matter as much as you think when you’re in a car, but Zeus help you if you break it elsewhere. The other reason relying on the French OTS for the driver wasn’t going to work is because the driver could never take his eyes off the road.
Remember, there is no process car to shoot close ups and I was trying to be as safe as possible. SO, if I desperately needed to shoot the passenger in a close up, and because I could not sit in the driver’s lap, I would throw on a longer lens, put the passenger in the back seat and cheat the shot with the correct eye line to hide the fact that he was in the back seat. I also tried to make sure that the moment called for a tight CU, because it can be jarring to do it in a car. It feels like it breaks geography until you cut to what or who he is looking at. I could then replicate similar lighting on the passenger. When it comes to lighting, I’m an amateur for sure, but It did begin to look more “natural”. I use quotes because the term natural is nebulous and not an argument, but I think you know what I mean. Anyway… The back seat is always lit from above. When you’re the director/camera/DP, you have to know when to quit lighting and just shoot the damn thing. My other suggestions are to:
- Go handheld… it’s faster
- Operate your own camera
- Avoid shooting the “attached to the windshield” shot. It’s boring and overdone. I dropped it almost entirely after the first episode.
- Plan for the scenes taking 3 times longer than if you weren’t driving. Trust me.
- Don’t use manual transmission if you can avoid it
- Stick with the equivalent of a 35mm lens. It’s not too wide, not too tight and can usually focus very close to subjects.
- Use a handheld rig of some kind to stabilize your shot. It makes a huge difference and doesn’t have to be expensive.
That’s it for now. When I cover the 180 Degree Fudging I’ll talk about my experience shooting car to car.
Thanks,
Phil
IMAGE CREDITS:
Luminous Films
Amazon