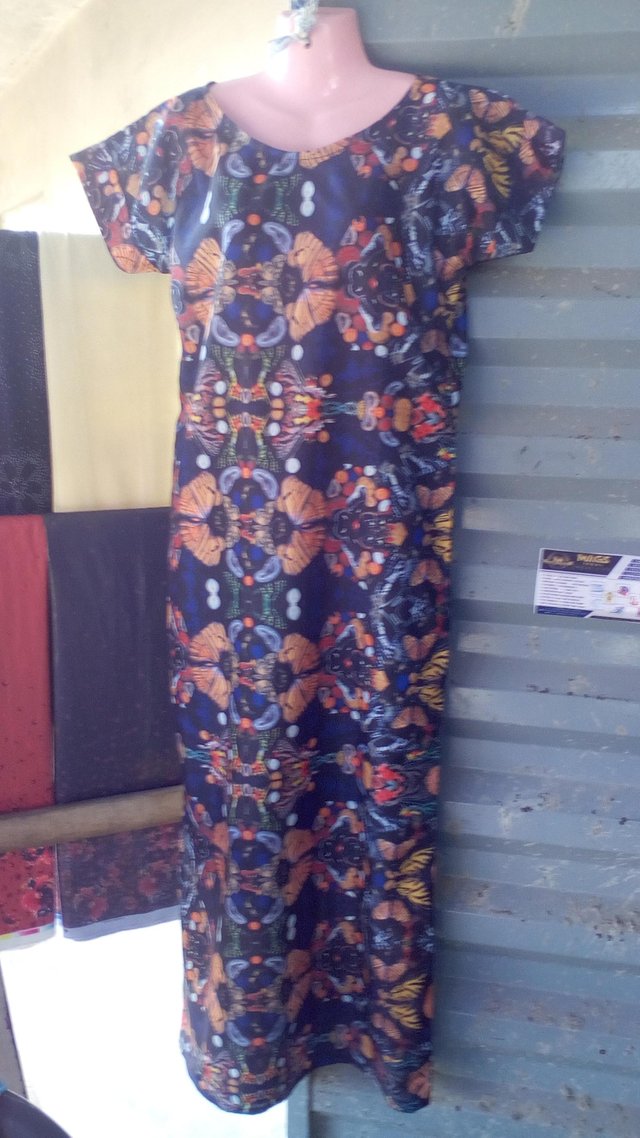
TUTORIAL ON LONG STRAIGHT GOWN CUT WITH FOLDED HAND
It a great privilege to be on this great community once again. Today I will be taking you through another tutorial on how you can make your long straight gown cut with folded hand, and trust me by the time you finish this tutorial with me you will be able to design any type of straight gown you desire.
Talking of straight gown, it is what most ladies prefer to put on due to the simplicity and it is very easy to wear and you feel comfortable in it. Just make sure to avoid rough work because
finishing they say is what makes your work perfect and neat.
Firstly, get your material needed ready. You will need your:
Fabric
Measurement
measurement to be taken are;full-length
burst
waist
hip
back/shoulder
sleeve
- Chalk
- Scissors
- Machine to sew
The measurement used are;
Full-length = 57inches
Burst = 36inches
Waist = 27inches
Hip = 38inches
Back = 14
Sleeve = 8inches
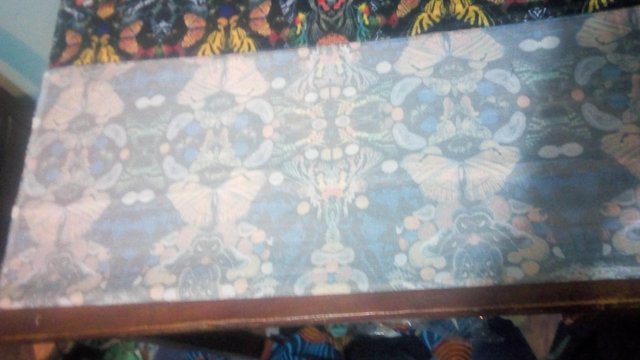
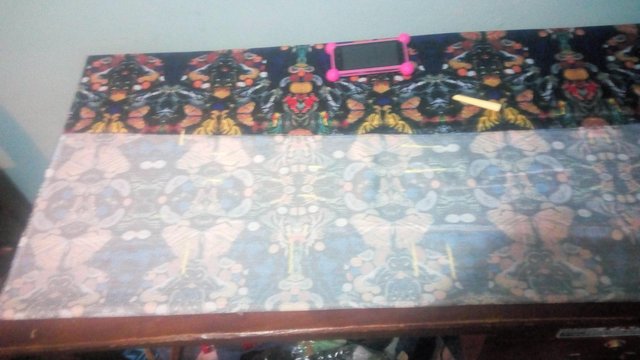
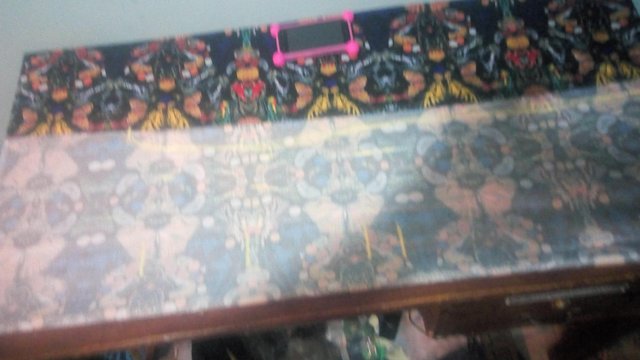
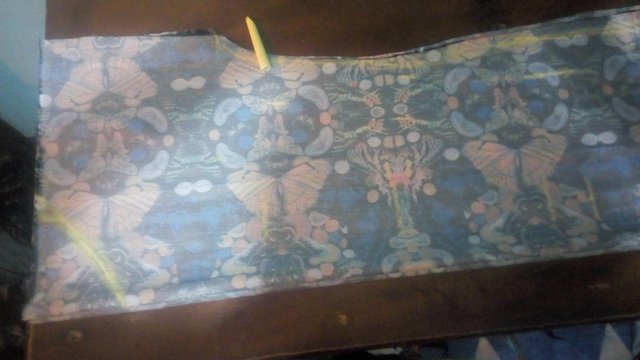
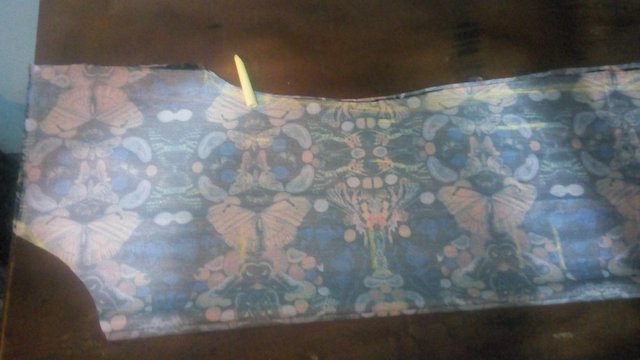
Secondly, after you have taken all the measurement needed the next thing to do is to cut the fabric.
To cut the front side
STEP 1
Lay your material on the table and fold it into two using your shoulder and sleeve measurement to determine how wide you will fold it. i.e. shoulder is 14inches divided by 2 it will give us 7inches add to the 8inches sleeve, that is 15 inches altogether. So the wideness of the folding will be 15inches.
STEP 2
After the folding, locate your burst on 10inches from the shoulder, your waist on 16inches from the shoulder, your hip on 25inches from the shoulder and your full length on the 57 inches from the shoulder
STEP 3
Measure the width of the burst by dividing your burst measurement by 4 since you are cutting the front first. i.e. 36inches divided by 4 it will give you 9inches. So your burst will be 9inches plus 2inches for the allowance. Your waist will be 27inches divided by 4 which is 6.75inches plus 2inches allowance. Your hip is 38inches divided by 4 which is 9.5inches add another 2inches for the allowance.
The full length is 57inches plus 2inches for the sewing allowance.
STEP 4
Locate the shoulder by dividing 14inches into two which is 7inches plus the 8inches for the sleeve which gives us 15inches for the shoulder.
STEP 5
After making out all the necessary measurement on the fabric, shape it out well and cut it out appropriately.
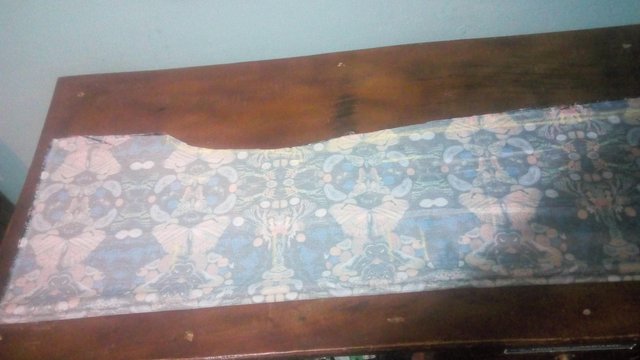
To cut the back side
Fold the cloth into two as folded for the front side, and then place the front side on it after which you can now cut it out gently. In this case, there is no need for extra 2inches allowance because zip is no needed.
After cutting out both the front and back sides place it well equally on each other and make your canoe neck, 4inches to the side and 3.5inches downward. Mark it, shape it well and then cut it out.
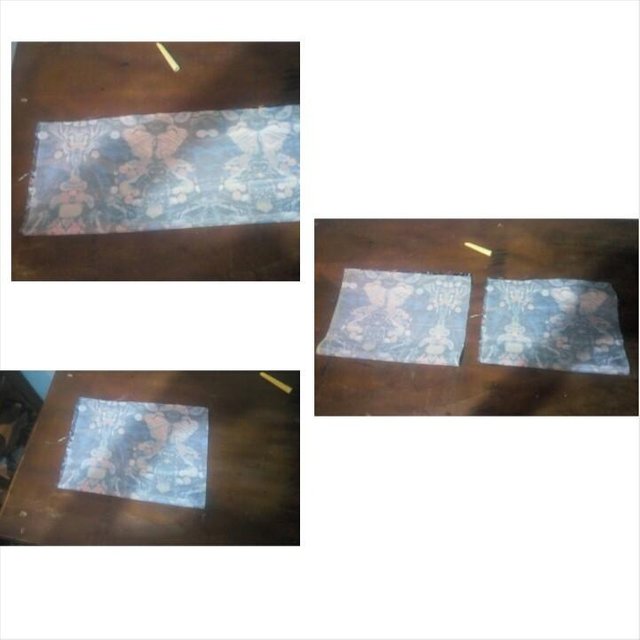
Cutting of the folded sleeve
Fold the material into two into about 18inches long and 4inches wide and then cut it out. After which you will now divide into two equal parts.

To cut the pocket
Fold the material to be 7inches wide and 12inches long and cut it out. Refold the material and place the first one on it to cut out the second pocket.
After going through all this process, the next thing is to get your sewing machine ready and put the pieces cloth together making it one.
If you find the post interesting, please upvote, comment and resteem.
Yours sincerely @fashionlink.