Replacing the cable of a blender - Post original from jose27117 for steemit.
Replacing the cable of a blender.
Hello my dear steemians.
In today's post dedicated to curious people and repair professionals, I will show you how to replace a blender cable.
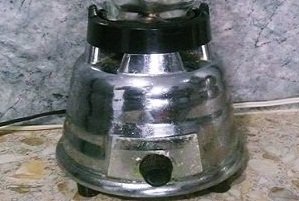
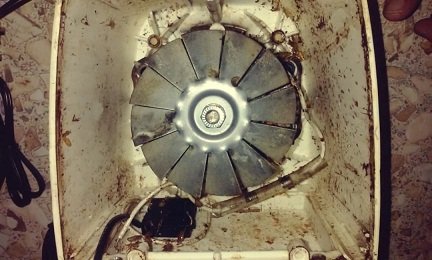
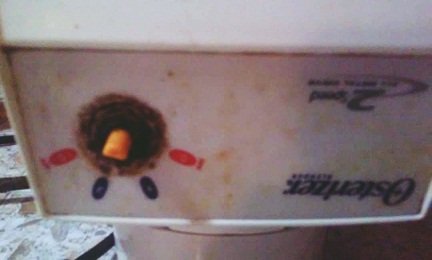
On Saturday a customer brought me his blender for revision. Immediately after showing the product I noticed that the cable was broken, so it needs to be replaced.
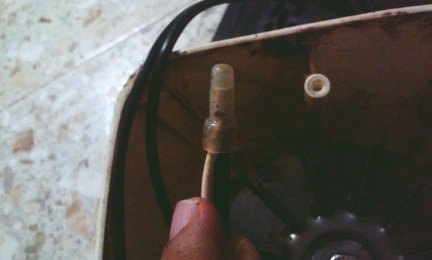
First I want to comment about the cable.

All of us know that the main function of any cable is to conduct current from the power socket to the product components.
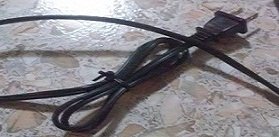
Mixer cable:
The characteristics of this piece is that its terminals allow a better internal connection. This cable also has a resistance of 300 volts and 105° for greater durability.
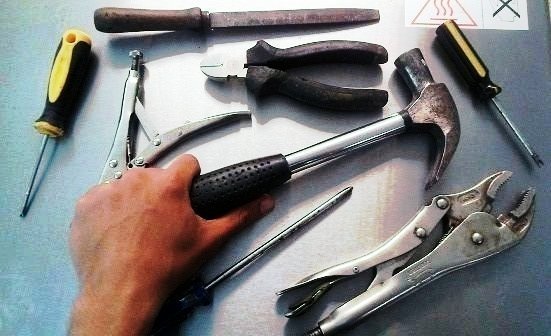
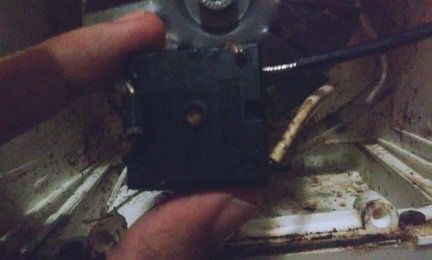
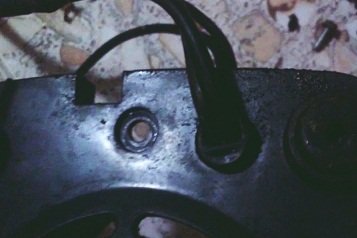
Now the repair process.
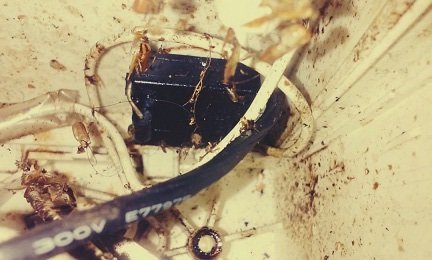
(Some images are not suitable for people with entomophobia)
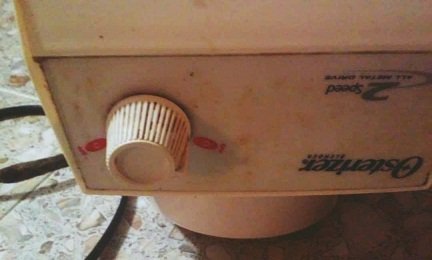

- A fairly simple repair process. The customer can use your blender without any problem.
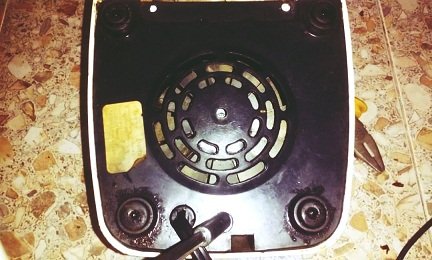
- The cable must be bent very carefully to prevent any cuts in the internal filaments.
- It is important to keep the areas of the blender clean and thus prevent any unwanted insects from entering the product.

Congratulations! This post has been upvoted from the communal account, @minnowsupport, by jose27117 from the Minnow Support Project. It's a witness project run by aggroed, ausbitbank, teamsteem, someguy123, neoxian, followbtcnews, and netuoso. The goal is to help Steemit grow by supporting Minnows. Please find us at the Peace, Abundance, and Liberty Network (PALnet) Discord Channel. It's a completely public and open space to all members of the Steemit community who voluntarily choose to be there.
If you would like to delegate to the Minnow Support Project you can do so by clicking on the following links: 50SP, 100SP, 250SP, 500SP, 1000SP, 5000SP.
Be sure to leave at least 50SP undelegated on your account.