How to create a blinking LED’s using Arduino Uno with Step- by-step procedure

Good day Steemians! Here’s my second tutorial post about engineering . In this tutorial I will show you how to make multiple LED’s (Light –emitting Diode) blink using Arduino Uno. Arduino Uno is a microcontroller based on ATmega328.
LED’s are small, powerful lights that are used in many different applications. We will work on blinking an LED’s, the Hello World of Microcontrollers. Its is simple as turning a light on and off. It might not seem like much, but establishing this important baseline will give you a solid foundation as we work toward more complex experiments. I hope it will be useful to you.
In this tutorial I will give a step by step procedure on doing this project and before we start we will be needed this following materials.
Materials:
• Arduino Uno Board
• 8x LED’s
• 8x Resistors (330 ohms)
• Connecting wires
• Breadboard
• Computer with Arduino Software
• USB Cable
Arduino Uno Board
LED's

Resistors

Connecting wire

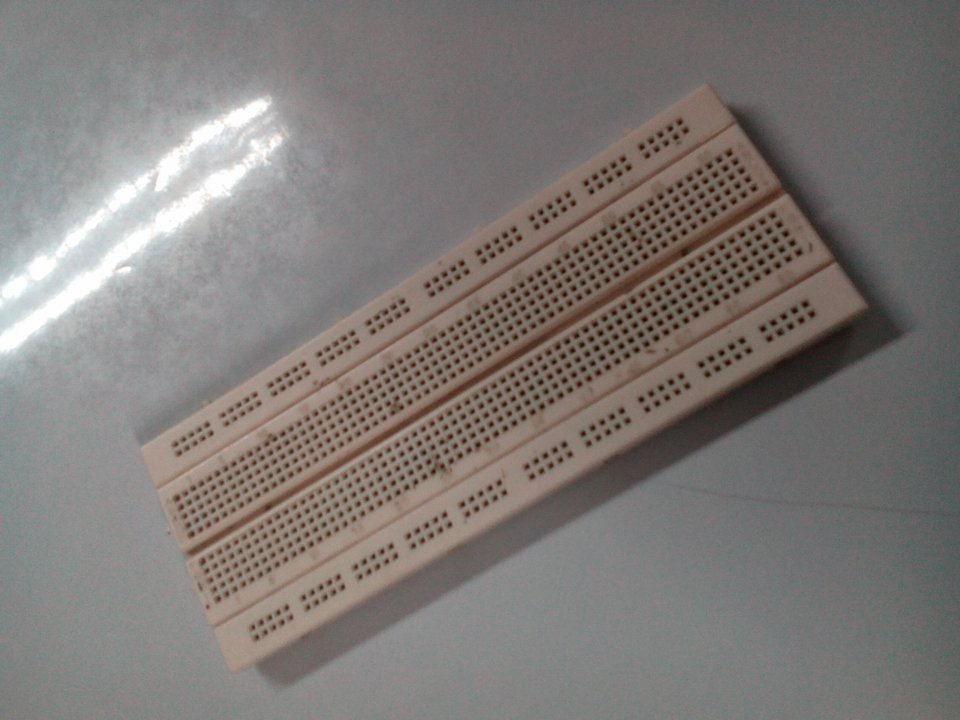
Breadboard
Now, lets get started!
Step-by- step Procedure
- First, Attached the LED’s on the breadboard. LED’s are polarized, meaning they have a certain way that they need to be connected

Polarity of LED

Note: You can also cut the legs shorter to make them easier to work with on the breadboard.
- Connect the positive lead (long leg) of the LED to the resistor

and run a wire from the ground lead to GND pin on the Arduino. Be warned that it will not do anything until you have uploaded the code to the board which is done at a later stage.

- Open up your Arduino software on your computer. Coding in the Arduino language will control your circuit.
.jpg)
Copy the following code into the Arduino IDE below.


- After we encode our program we can now verify the program. See the arrow

- We can now upload the program to Arduino board by using USB cable and connect it the computer and by uploading the program click this arrow button.

- Once the code is uploaded, if you have done everything right, the LED’s should flash. You should see your LED Blink on and off. If it isn’t, make sure you have assembled the circuit correctly and verified and uploaded the code to your board. It will do that for as long as the device is plugged in.

Note: if the Arduino is unplugged, then plugged in again, it will still work.
Thank you for reading! Hope it will be useful to you :).