Building Your Own LAN Cable/ All Step-by-step Procedure
Good day Steemians! This is my first time to post a step by step procedure about engineering. I hope you will appreciate it. In this tutorial, I will guide you on how to build a LAN/Ethernet Cable. LAN stands for Local Area Network or it is also known as Ethernet cable. it is used to connect the computers together using HUB/SWITCH/ROUTER. I hope it will be useful to you.
In this tutorial I will give a step by step process but before we start here are the materials that will be needed in this project.
Materials:
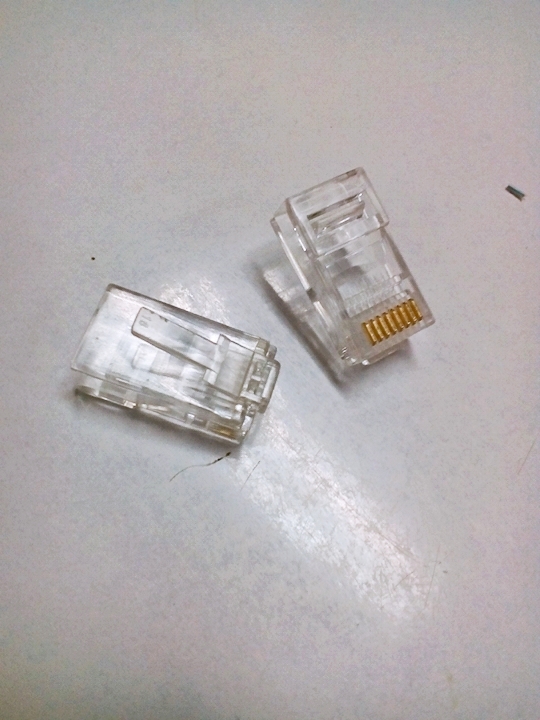
• RJ45 Connector
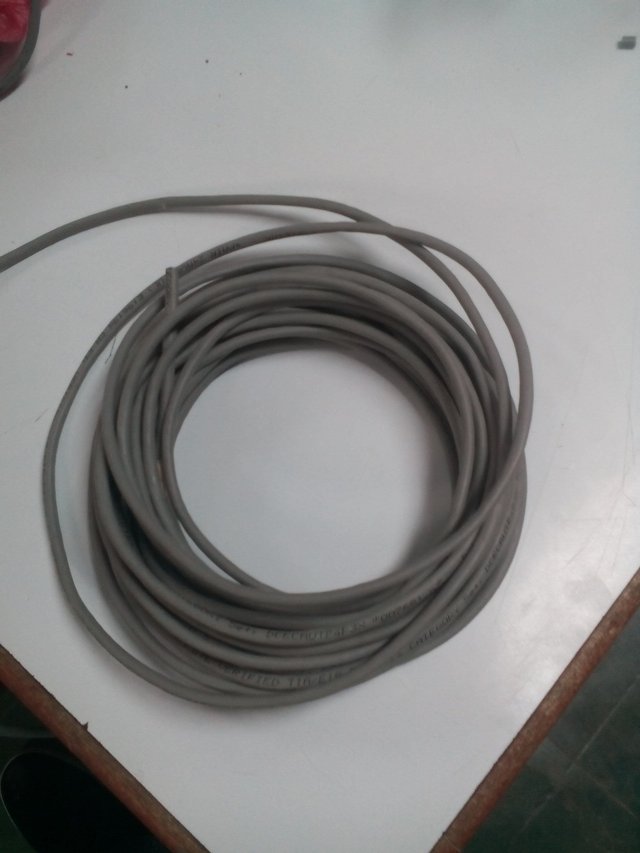
• LAN/Ethernet Cable wire
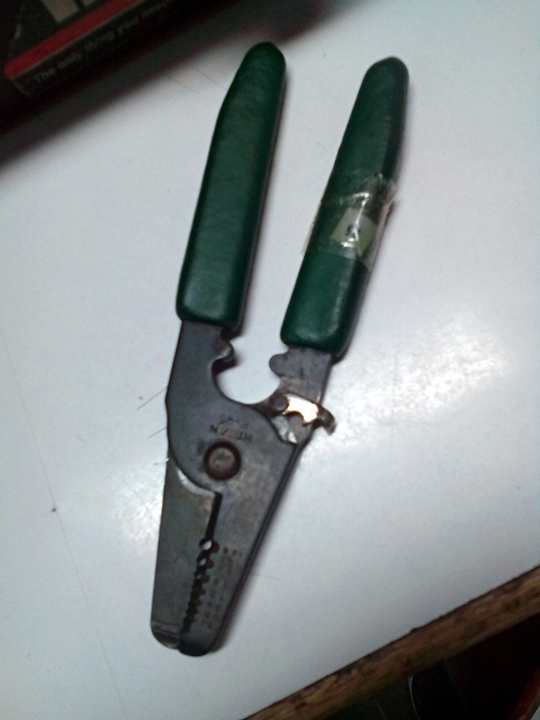
• Wire Stripper
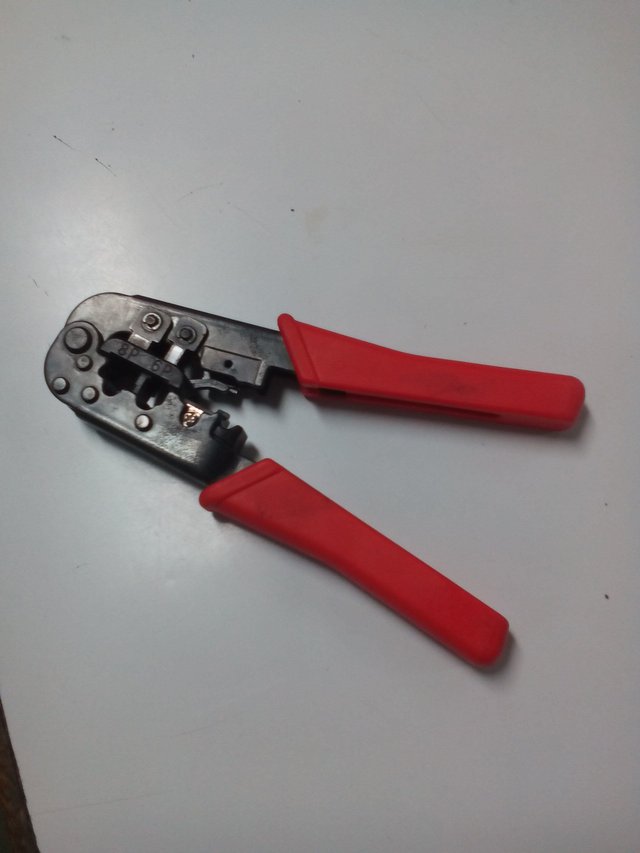
• Crimper
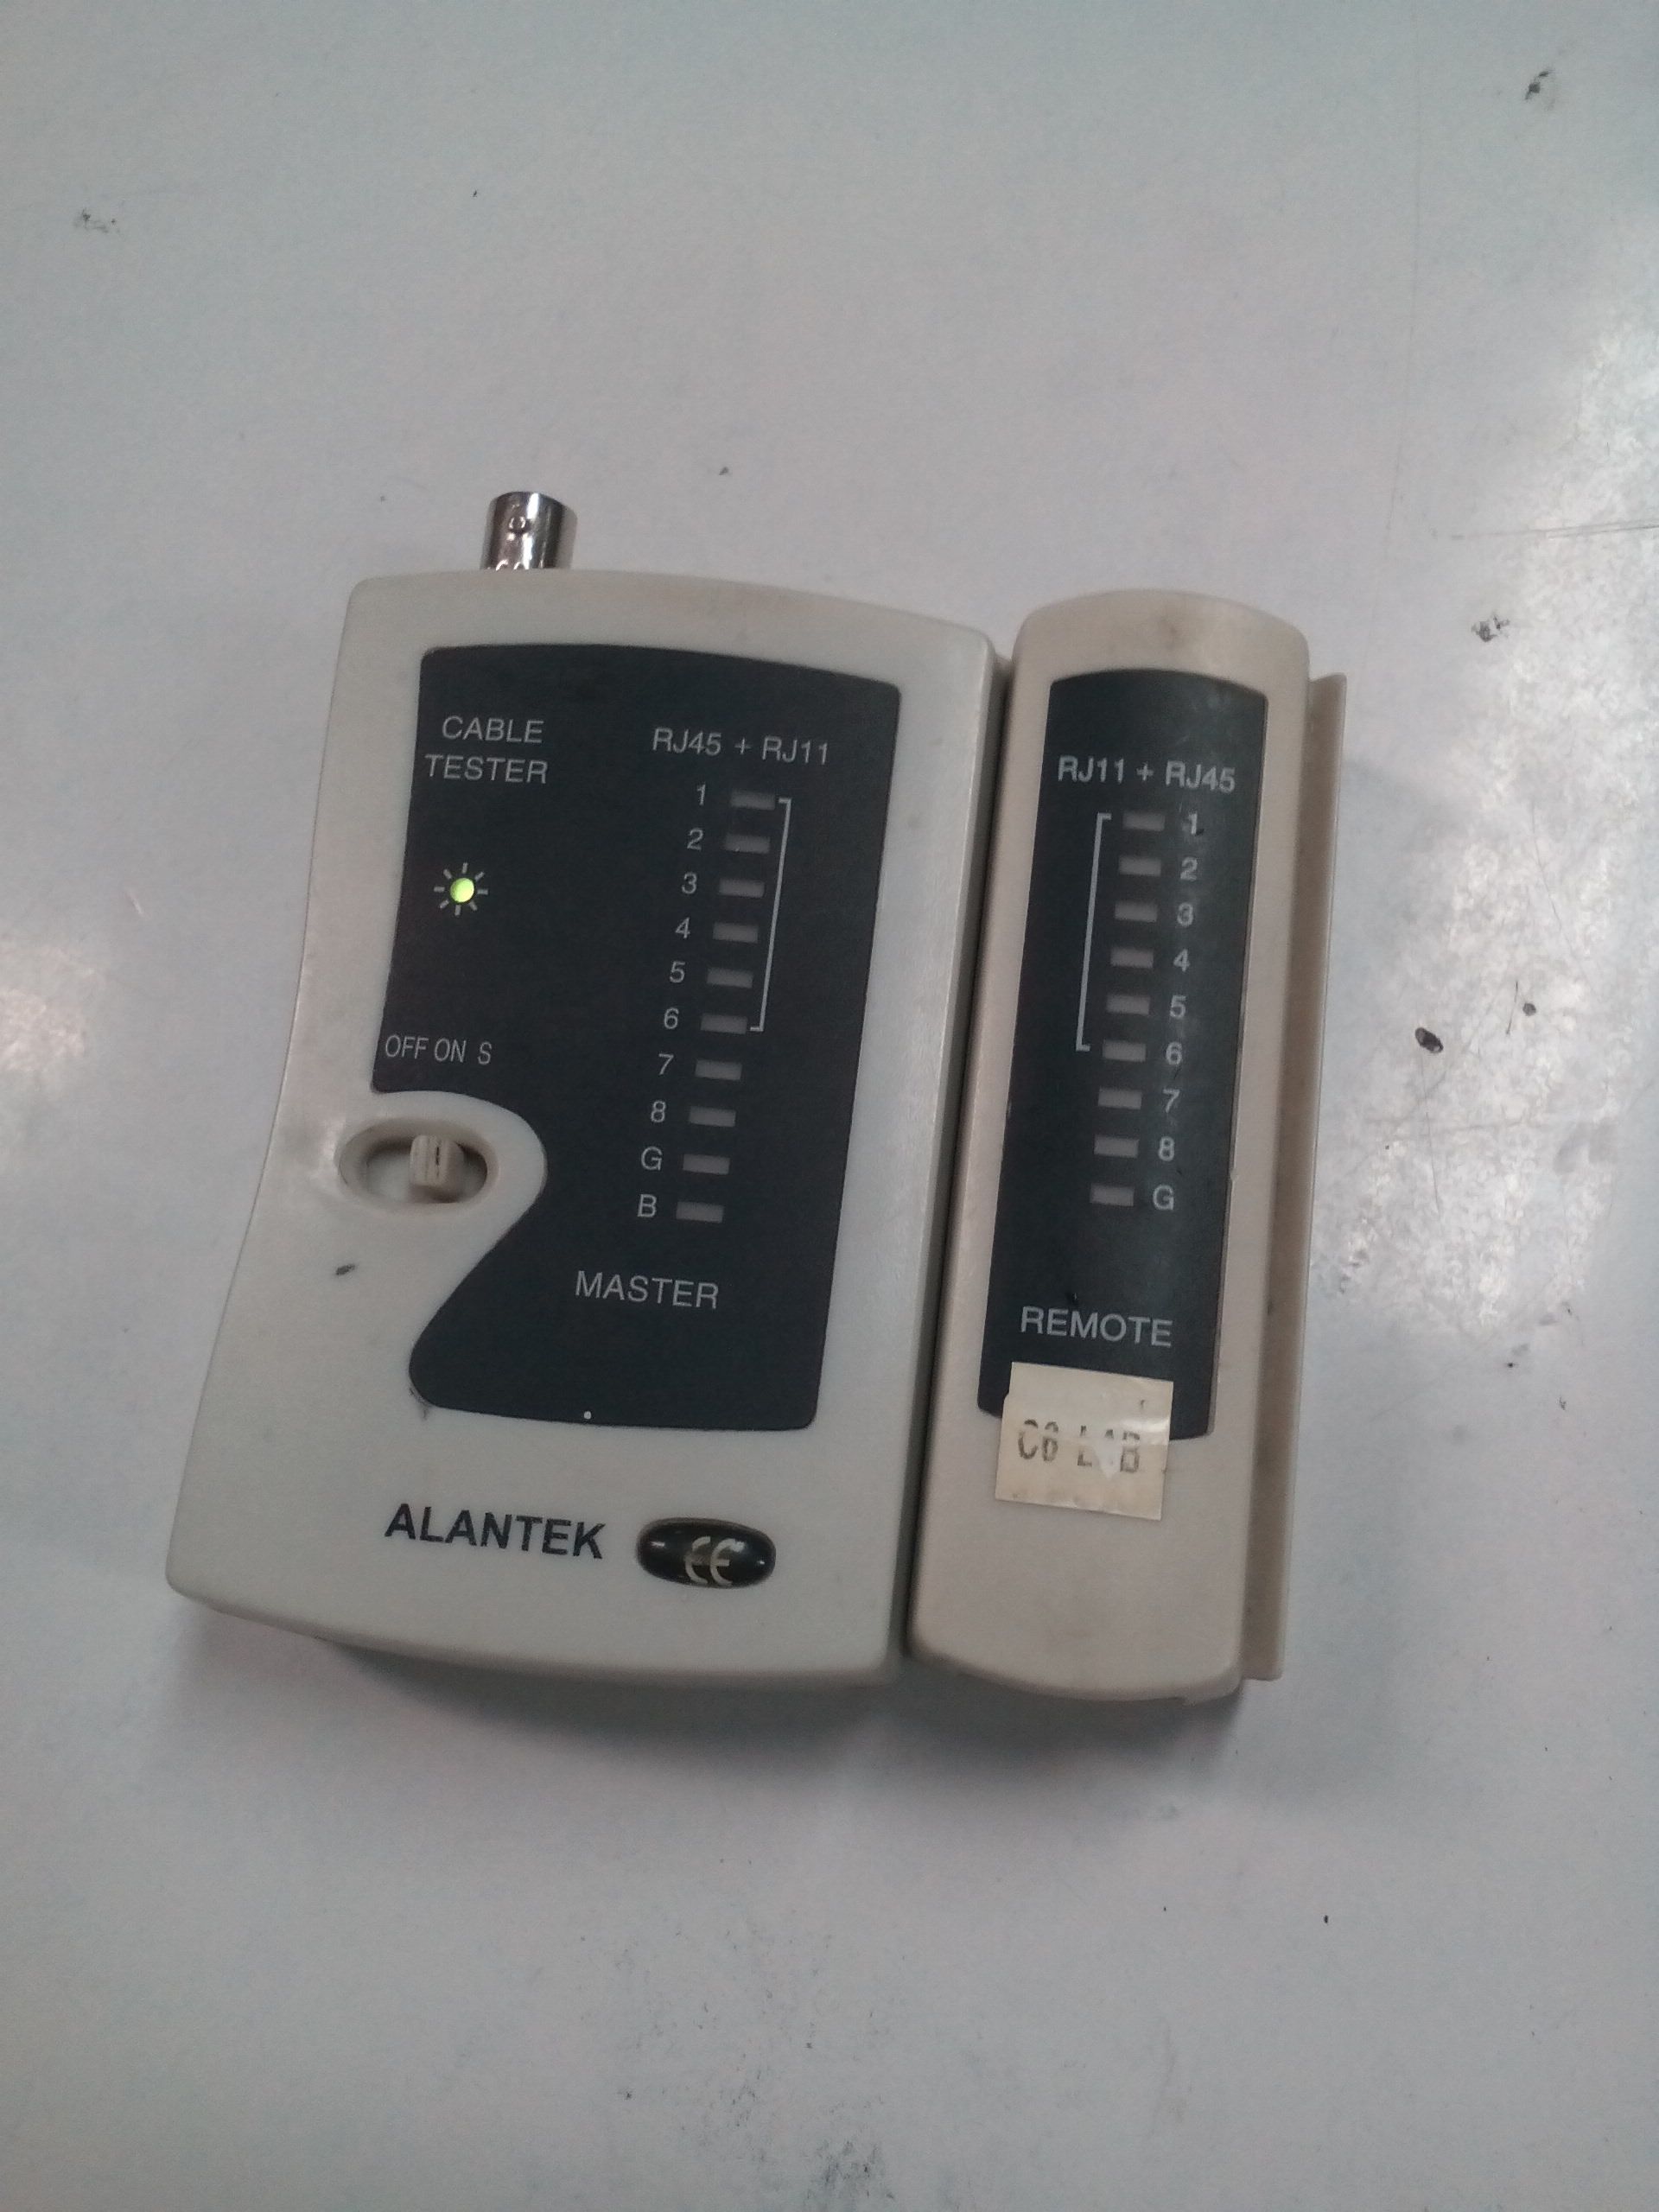
• LAN Tester
• Cutter
The Step by step procedure:
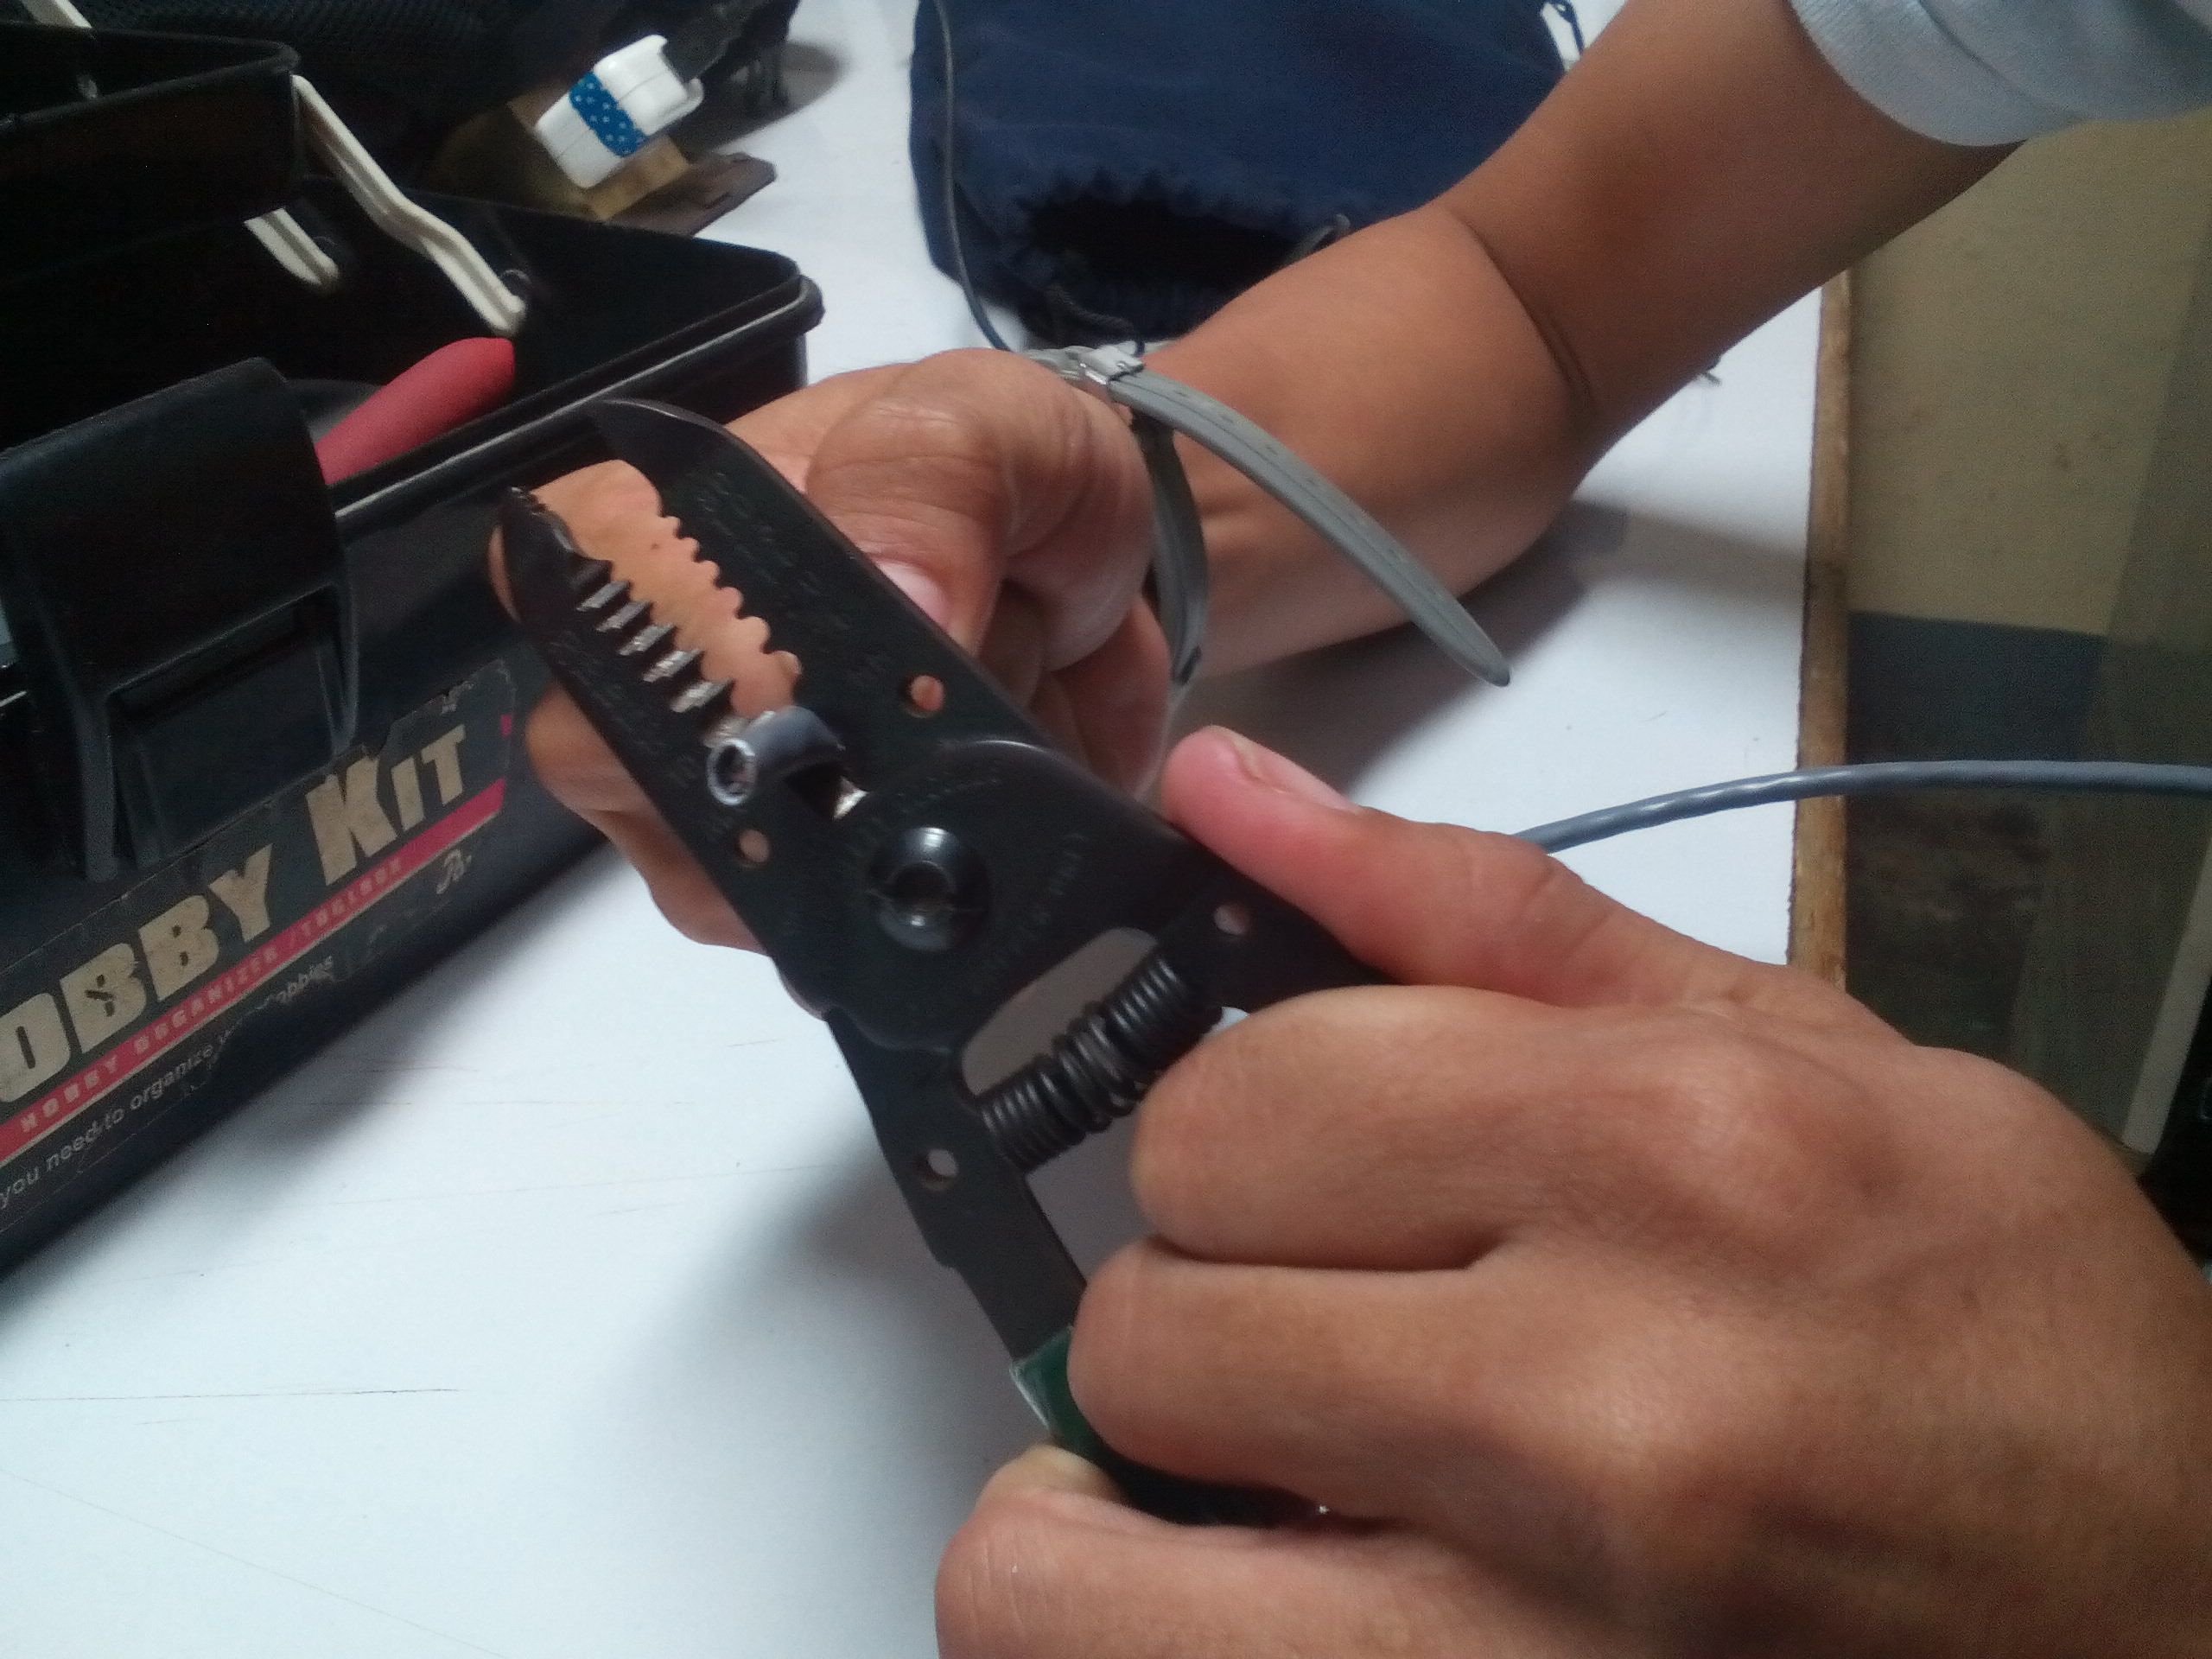
Using a wire stripper, cutter or any cutting materials cut a desired length of your LAN cable wire.
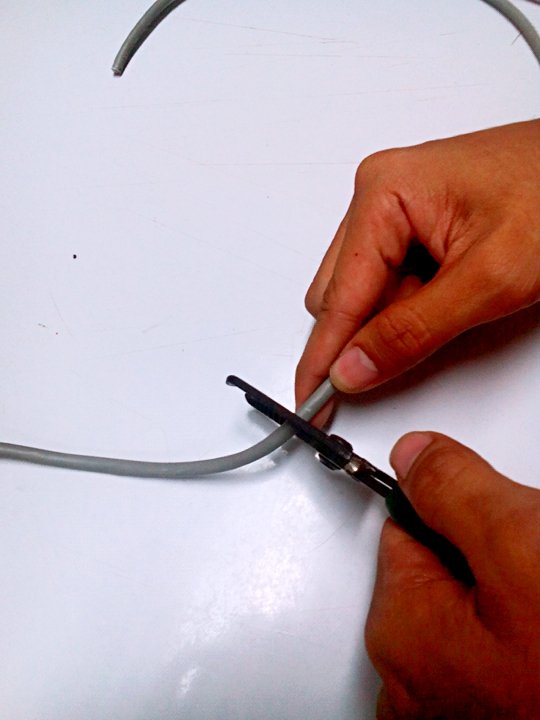
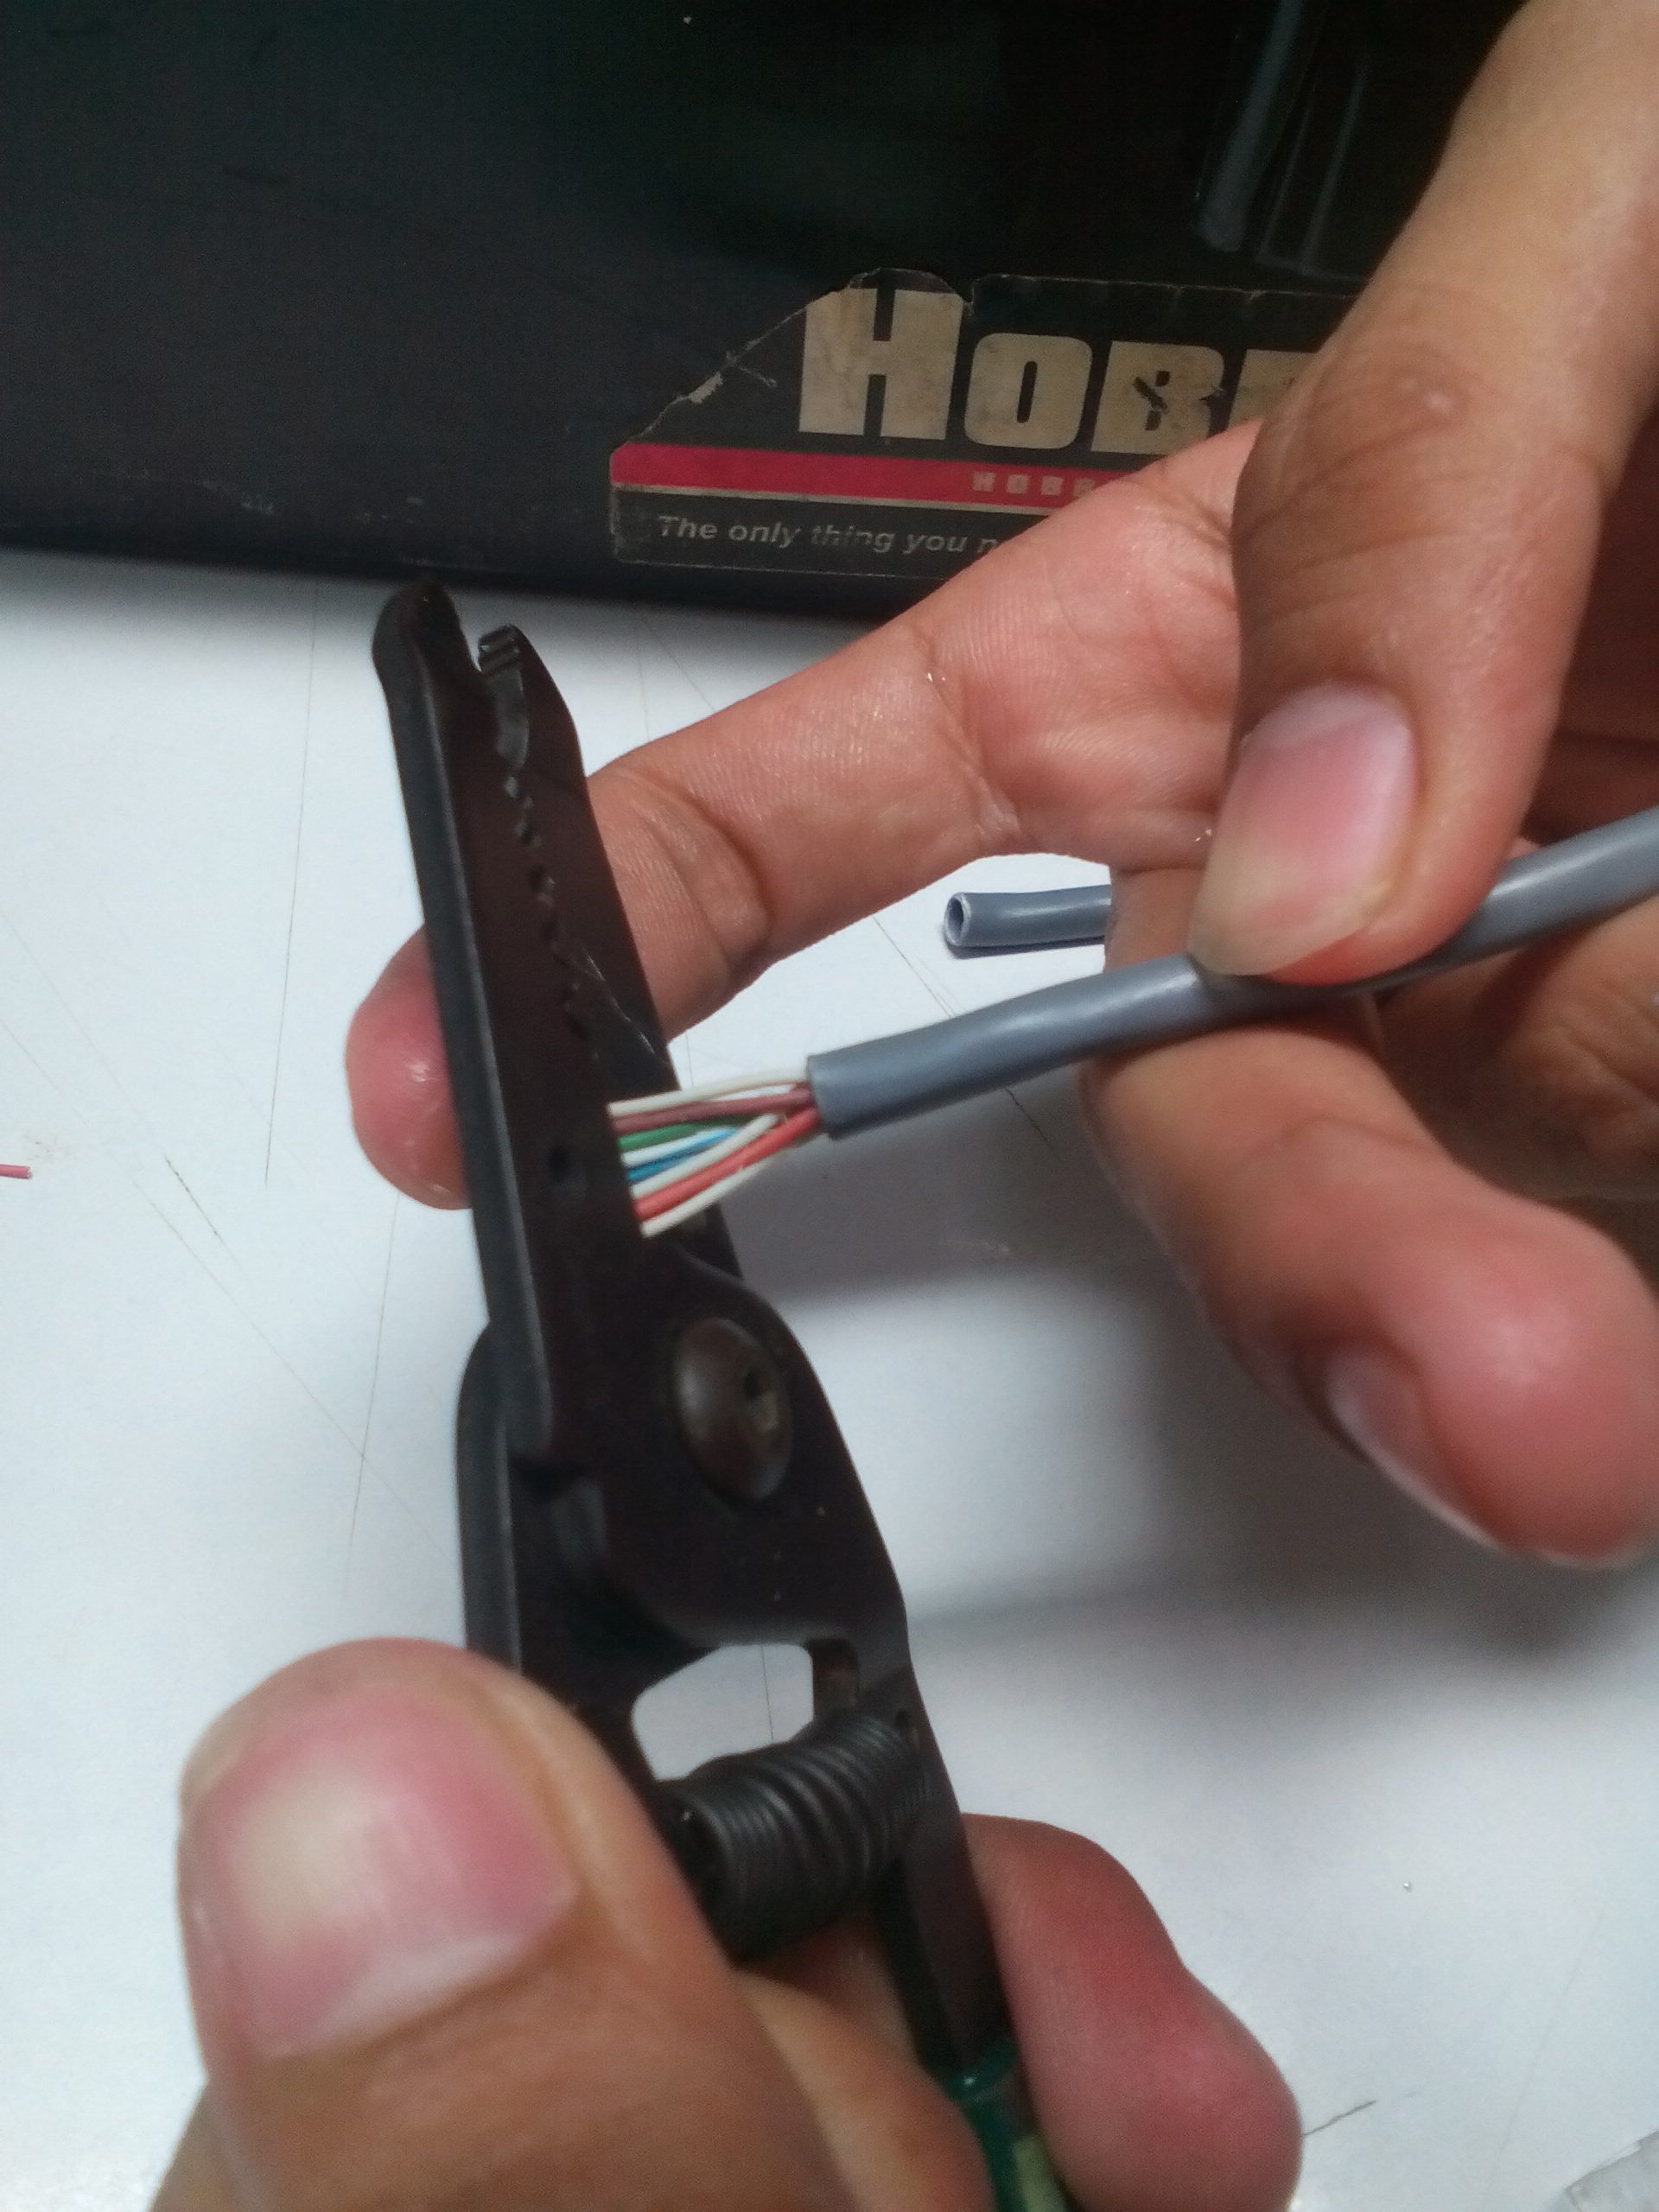
Remove the plastic coat of the cable about 2/3 cm from the cables end which protect the cable wires.
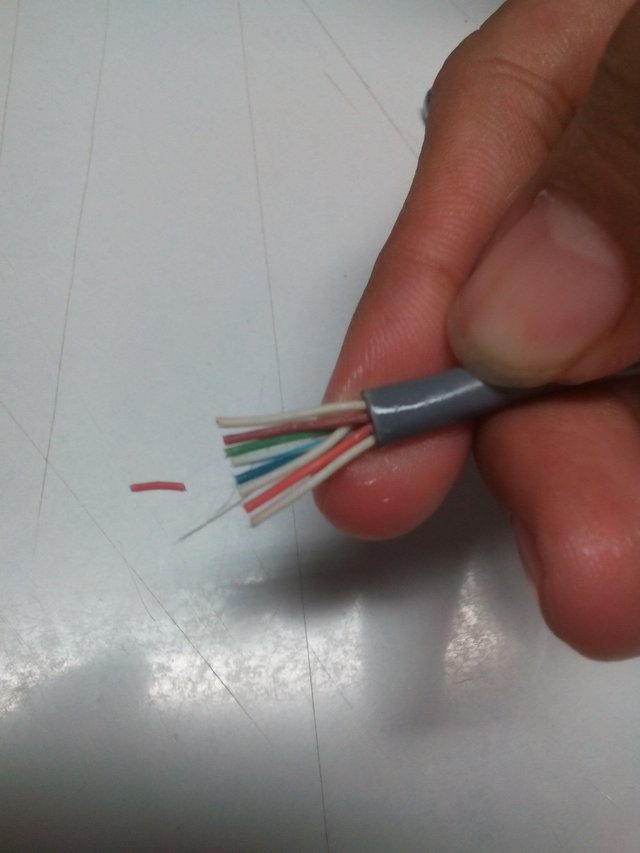
- Arrange the wires of the two ends of the cable according to there color. The two ends will be our Transmitter and our Reciever connector
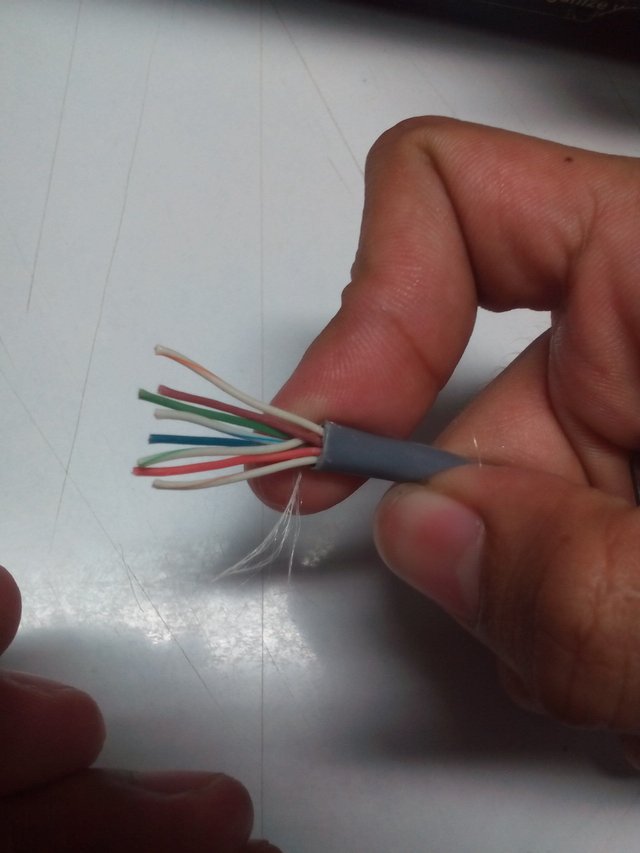
Their are two types of connections of the transmitters and the reciever the (1) Straight Thru Connections and the (2)Cross over connections.
Straight Thru Connections
Tx Rx
White Orange - White Orange
Orange - Orange
White Green - White Green
Blue - Blue
White Blue - White Blue
Green - Green
White Brown - White Brown
Brown - Brown
Cross-Over Connections
Tx Rx
White Orange - White Green
Orange - Green
White Green - White Orange
Blue - Blue
White Blue - White Blue
Green - Orange
White Brown - White Brown
Brown - Brown
- Cut the wires about 1/2 inch from end of the plastic coat.
Note: Cut carefully the wires, make sure that the wires are cut with the same length so that it will fit to the connector
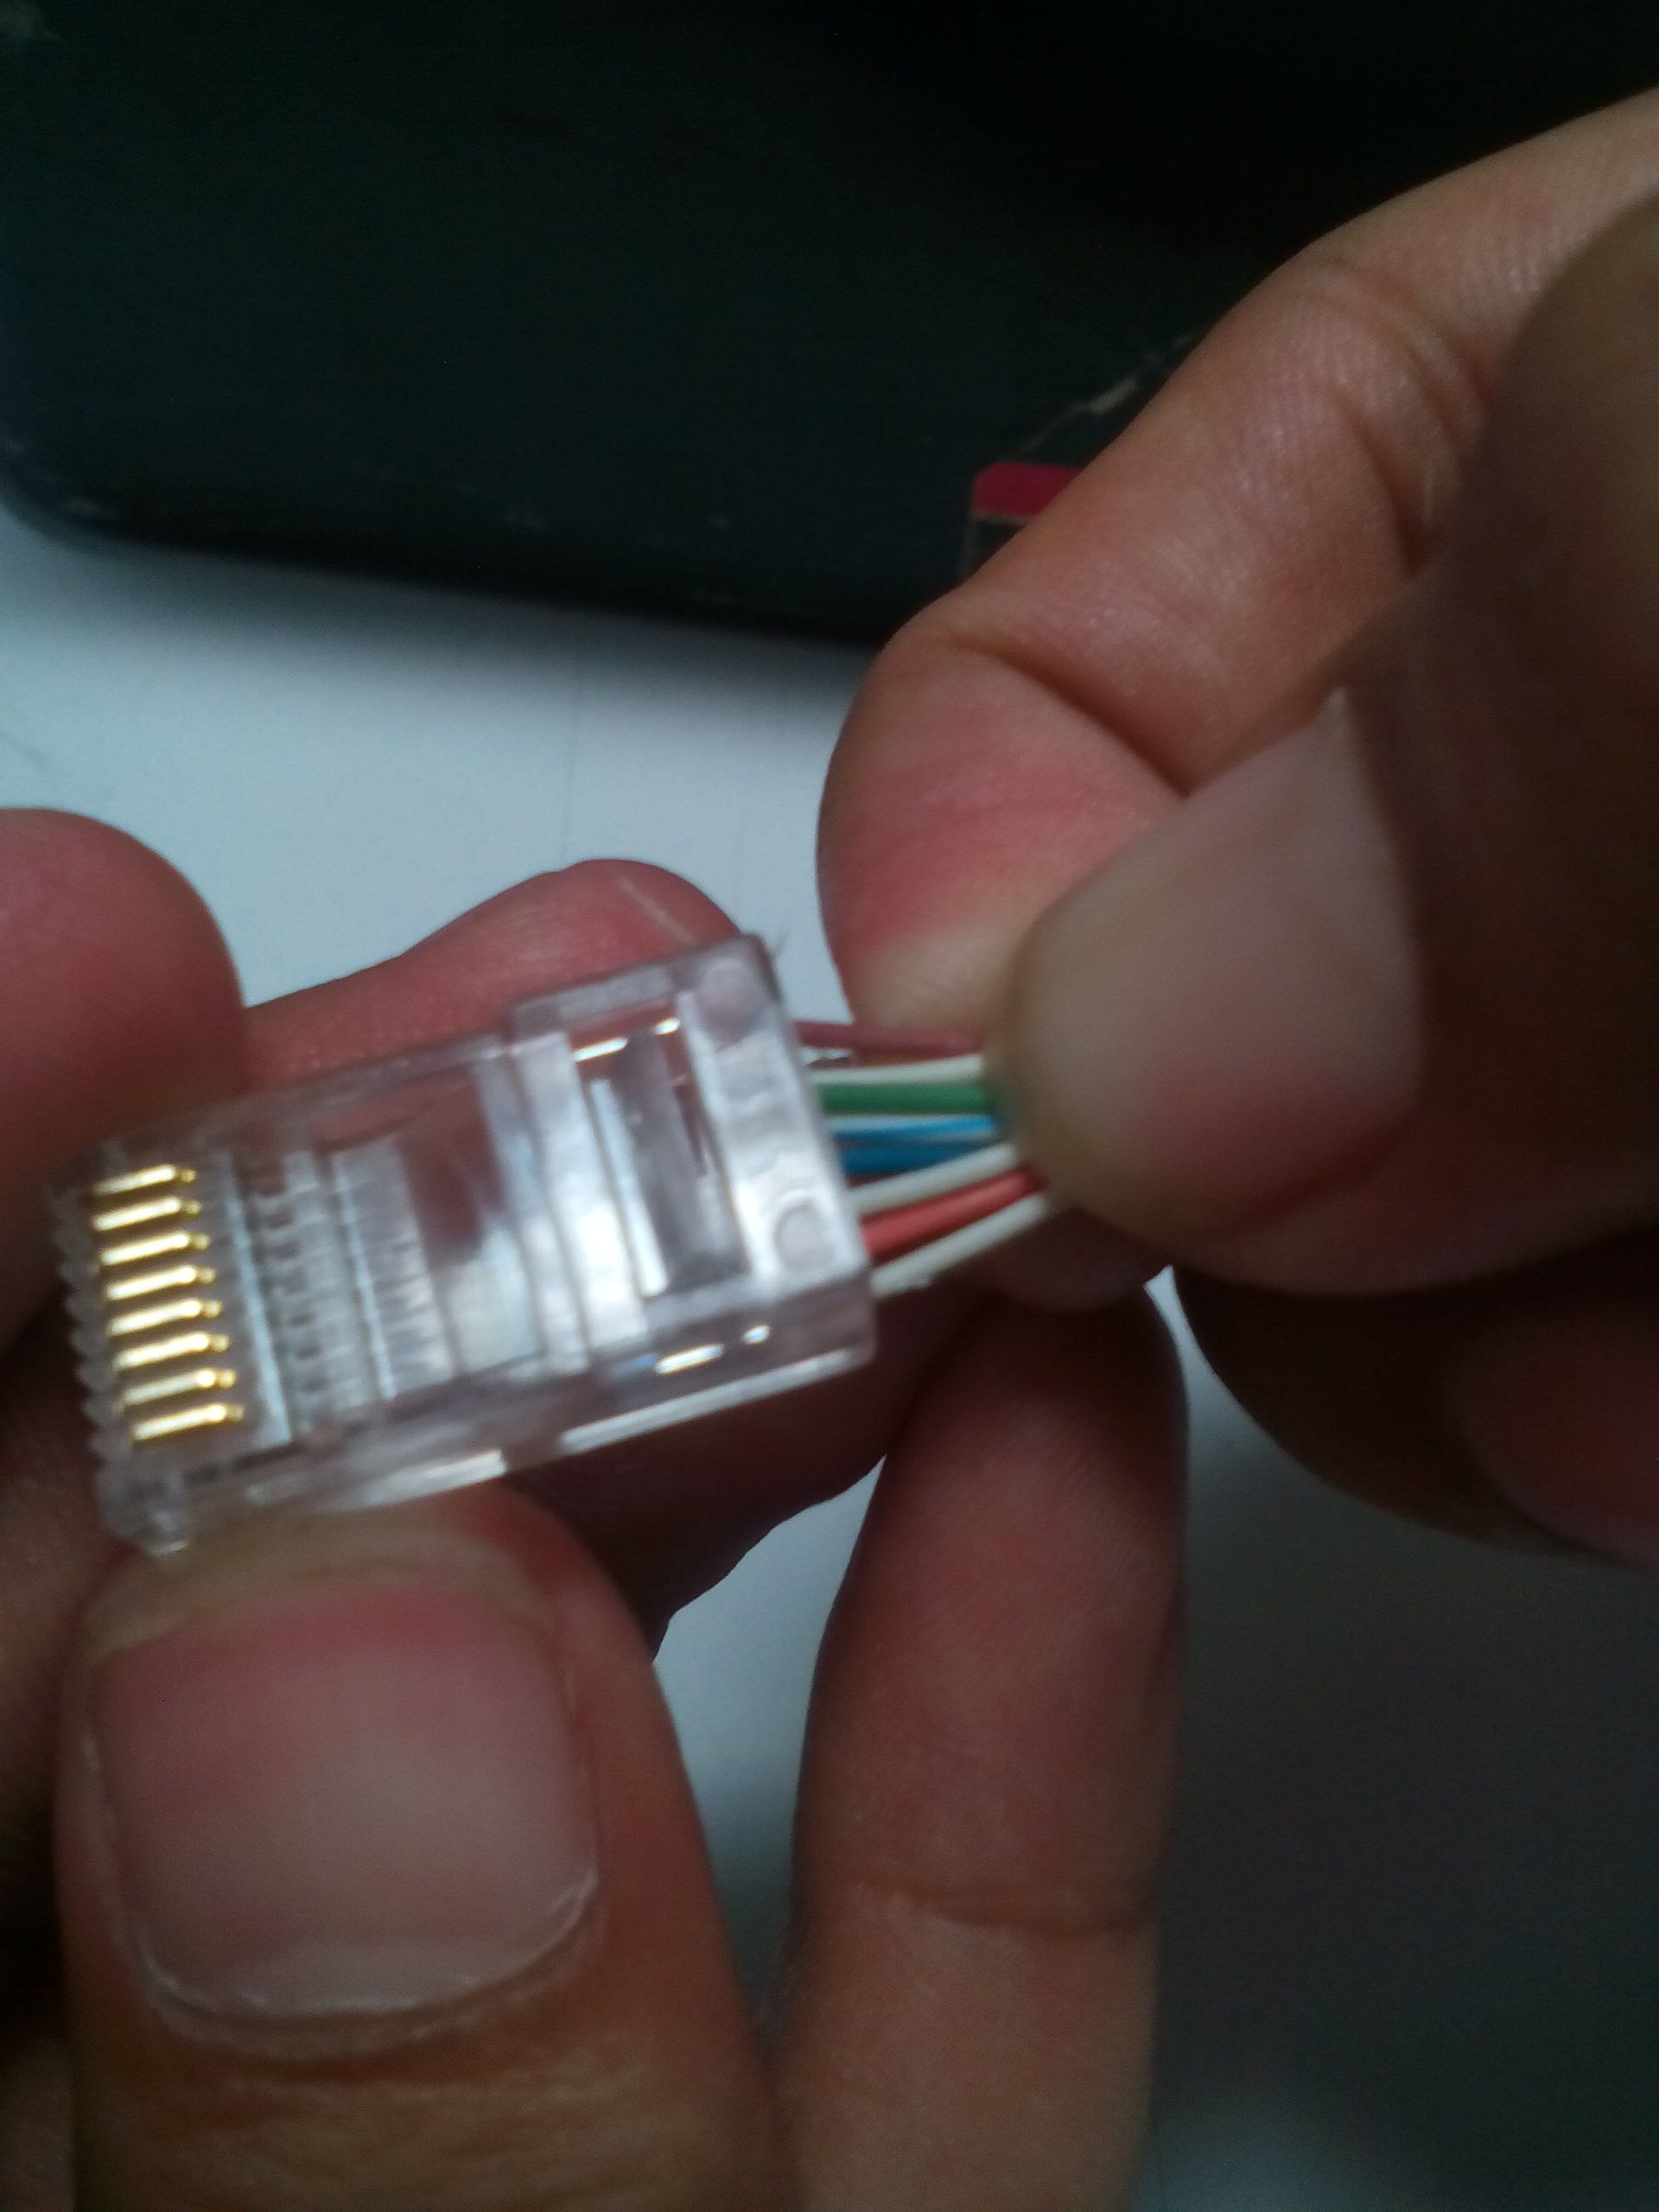
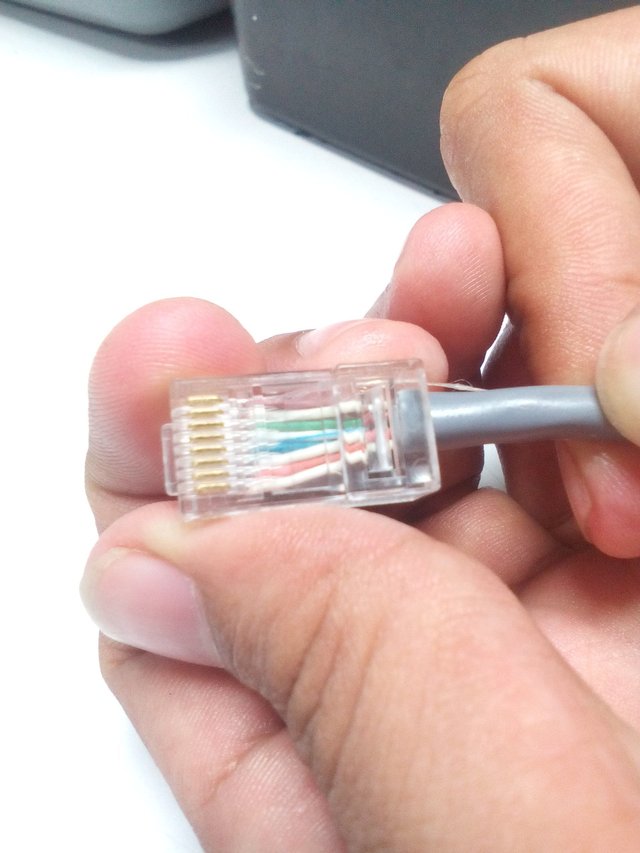
- After cutting the wires, insert them into connector...
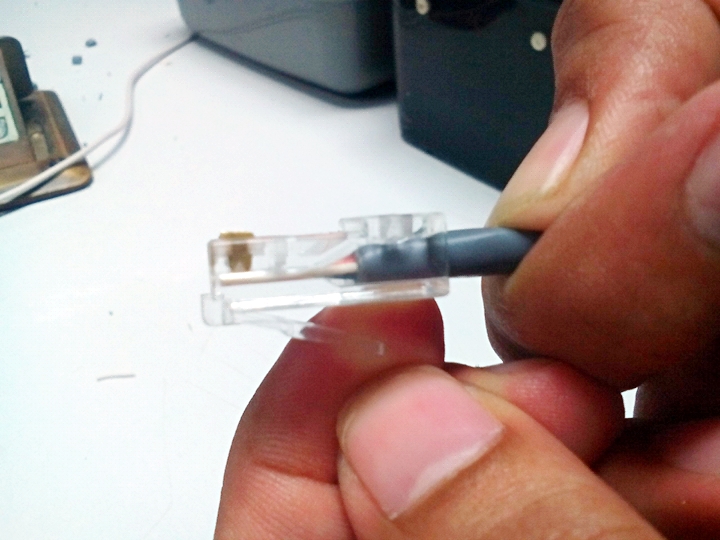
..up to pins at the end of the connector and push the girdle firmly...
..up to metallic pins.
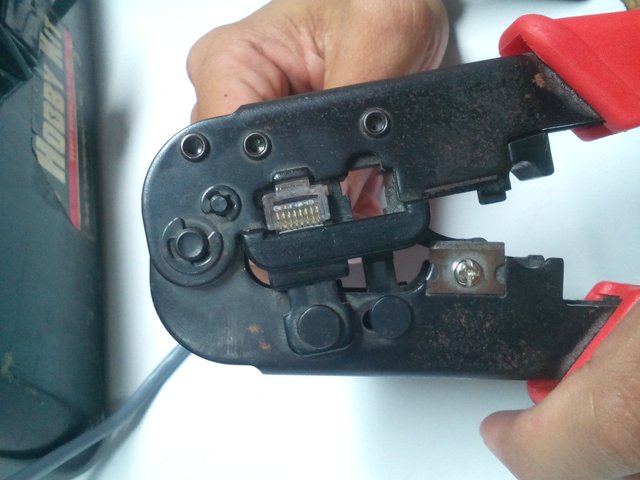
- Plug the connector into the crimper and check that the cable and the girdle are well placed before crimping them.
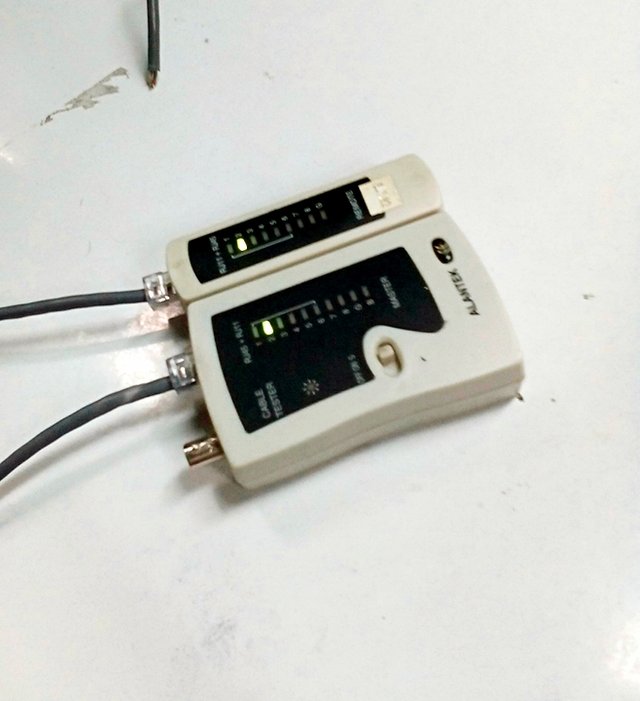
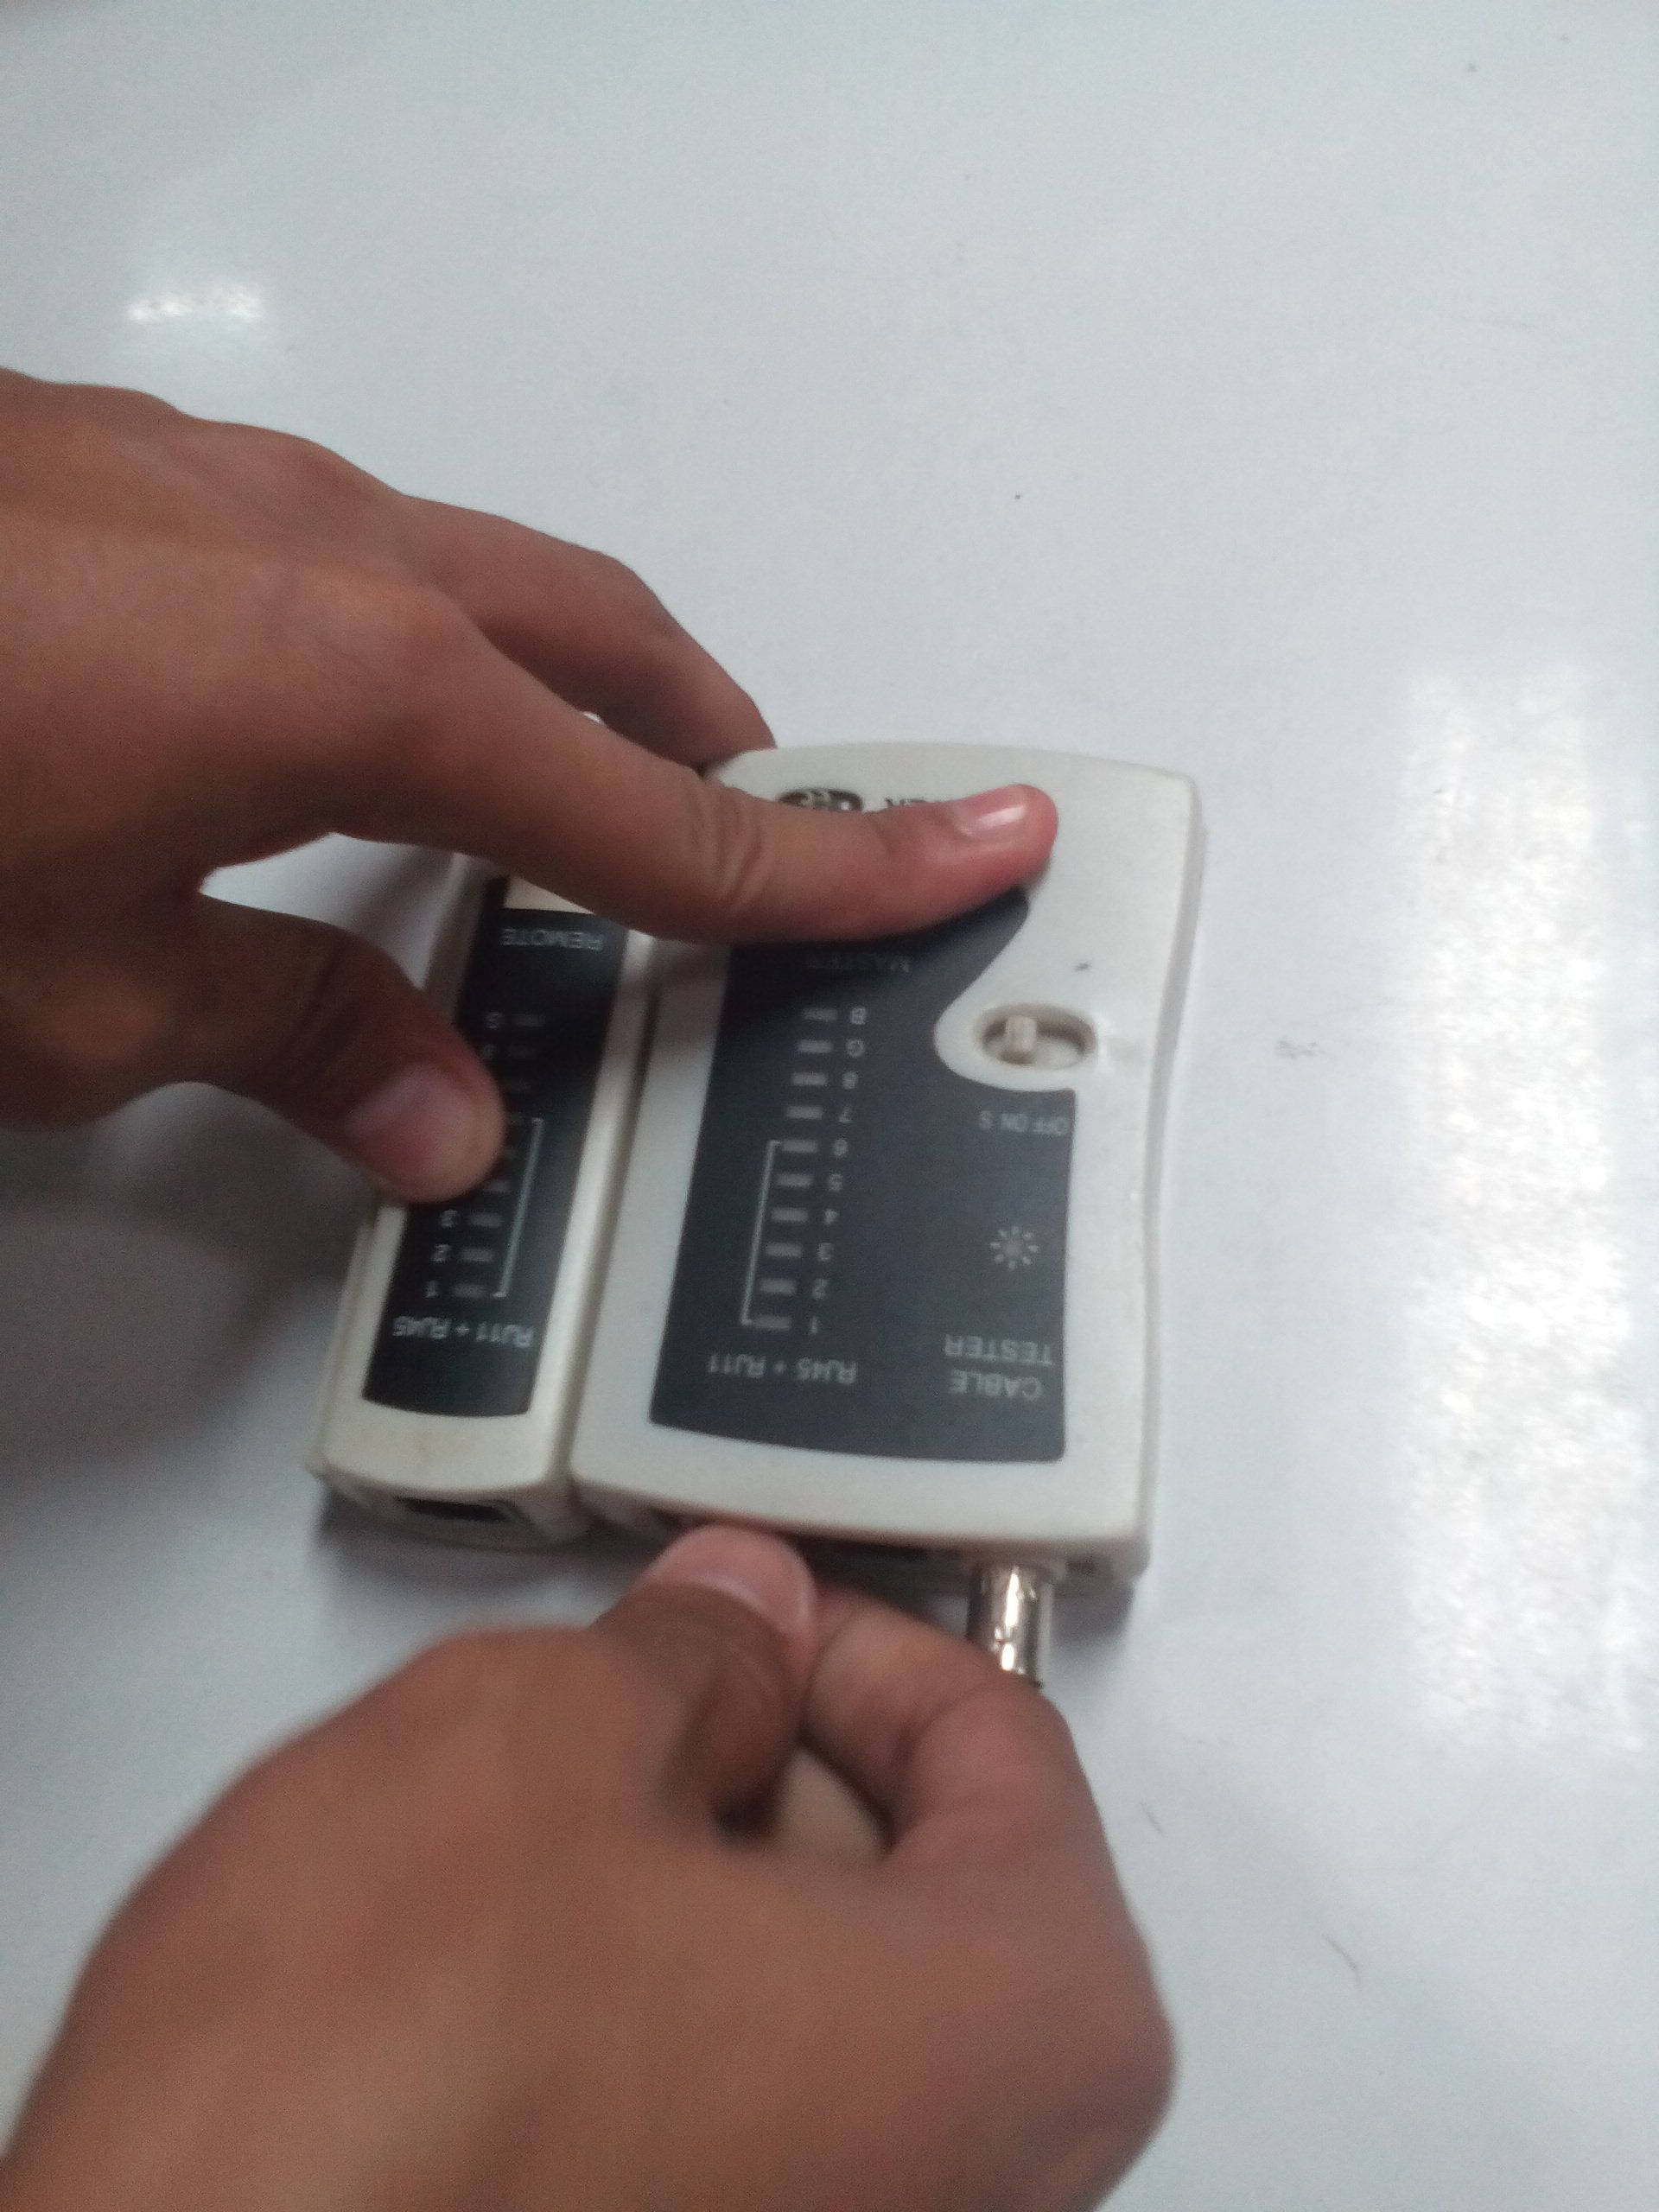
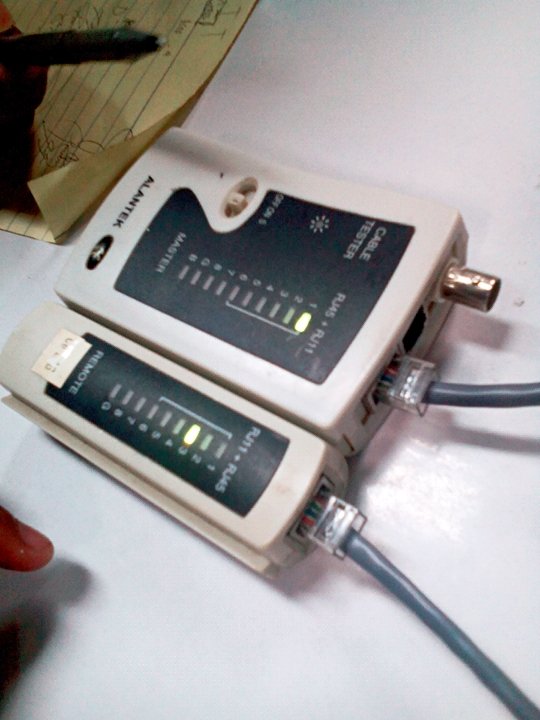
- To check the LAN Cable if it is properly attached and functionable use a LAN Tester.
The LED lighs will indicate if it is functionable.
The LAN Cable is ready to use.
Thank you for reading this tutorial! I hope it helps you, Godbless :)
This is very good article. I hope whales will see this article. This is really helpful.
Upvoted.
Thanks! @philiparniebinag. Hoping and praying also :)