Learning R3 Uno
Igor Smars Bot
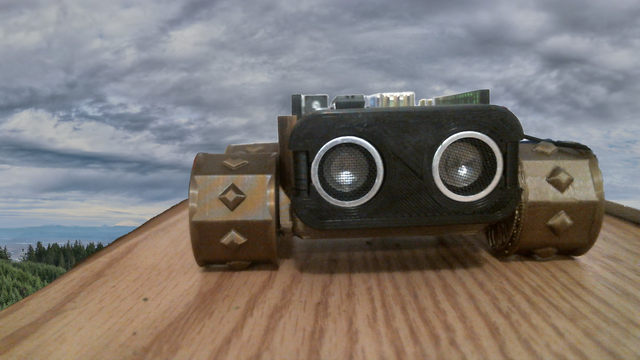
I am working on building a smars robot this blog post will help me remember what I learned as I build the robot. Today we will be setting up the ultrasonic sensor for Igor. That is the name I have given it for no real reason than I must name things. Note this is my first time doing anything with Arduino.
What have I done
I have 3d printed all the parts I will need to set up the basic bot. I used this link to print the parts. Now I am putting it all together.
I did follow the basic setup of the Arduino drivers using files I downloaded from here before I started the lesson below. If anyone has an issue and would like a step-by-step of what I did just leave a note in the comments and I will put one together.
Ultrasonic Sensor Lesson
I will be watching a video named, "Using the HC-SR04 Ultrasonic Distance Sensor with Arduino - Everything you need to know!", to learn everything I need to know to use the ultrasonic sensor to help Igor move around. I will be making notes in this blog of what I learned from performing the task in the video and getting it all to work.
Getting Started
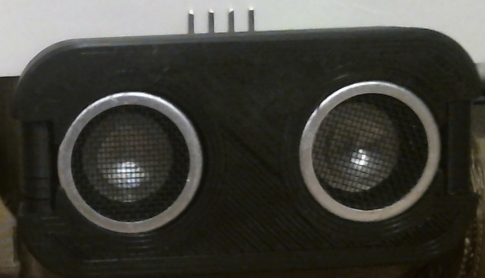
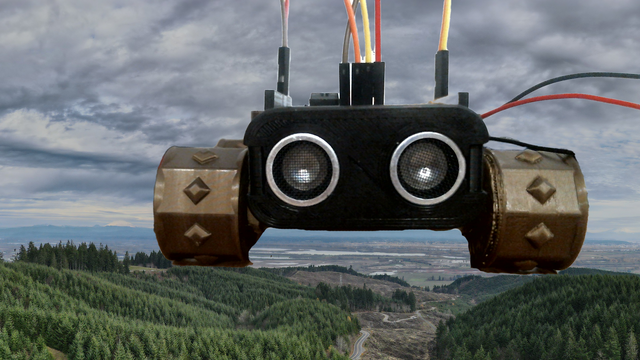
The video above does a good job of explaining how the senor works. It has pictures and everything. If you do not know how the ultrasonic sensor works. I would recommend watching the video. It is very educational, but I will do my best to paraphrase. The HC-SR04 sensor has two sensors. One sensor transmits a burst of 8 ultrasonic waves at 40 kHz and the other sensor receives the ultrasonic waves. Ultrasonic waves must have a surface to bounce off of if we want to receive a signal that we transmit out. If there is a surface to bounce the sound back then depending on how long it takes for the sound to return will tell us how far away the object is from Igor.
Setup
Now that I won't forget how it works let's get everything set up. This section will cover what I did to get Igor missing those objects.
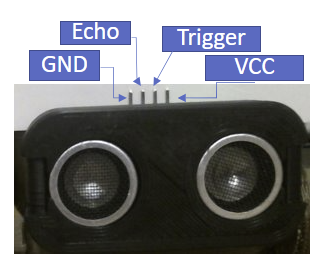
- VCC - The power pin
- TRIG - The transmit pin sends a burst of 8 ultrasonic waves at 40 kHz
- ECHO - The output pin is the pin that will let us know if an object is detected or not. So the pin sends a pulse of 150uS to 25MS if no object is detected then it will send a pulse of 38mS.
- GND - The ground pin
So above is a lot of technobabble that means basically we need to give the sucker power and it will then send out a magic wave and return a value that will help Igor to decide to do something and we know a very important value the value of no object in his way.
The video goes on to describe in detail how to use the output values sent by the echo pin to determine the distance of an object from the sensor. I will not describe both methods here. I will say for Igor we will use the second method which uses the pace of sound to find the distance. The video tells us that the pace of the sound variable is 29.154 or 343 meters per second.
The first variable in the formula is the time delay variable (TD) which is the amount of time that the sound traveled divided by two and Divided by the pace of sound. The distance traveled will be shown as D.
- D = (TD/2)/29.154
I do want to point out that the pace of sound may change if the temperature is a lot cooler or warmer than 20 degrees Celsius.
Wiring it Up
Since this was my first time wiring it up I was happy to see I did not fry the board. The next images show how I did it.
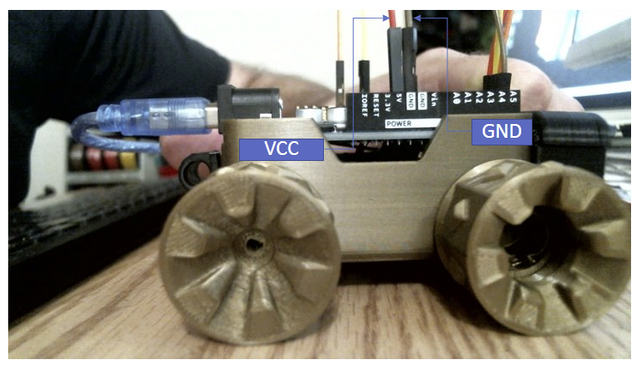
- VCC - red wire
- GRD - brown wire
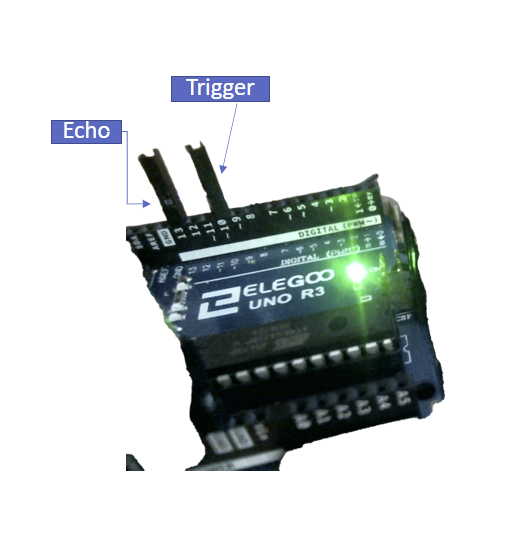
- TRIG - yellow wire
- ECHO - orange wire
Coding
This section covers coding the first test for the range finder. I used thecode from the video.
In Progress
I am not finished will edit more tomorrow need sleep...