HP Home Printer Cleaning and Cartridges after being Recharged
Many times it happens that reloading cartridges whether it is oneself, a friend or a service provider in a store leaves us with the result that testing the printer is now worse because not only does not mark anything on the sheets but it does not even make the attempt to print, indicating an error with one or more cartridges.
The solution could be simpler than you could imagine when looking at the problem, you just need to have very common implements and materials at hand, which are:
- Isopropyl alcohol
- Swabs
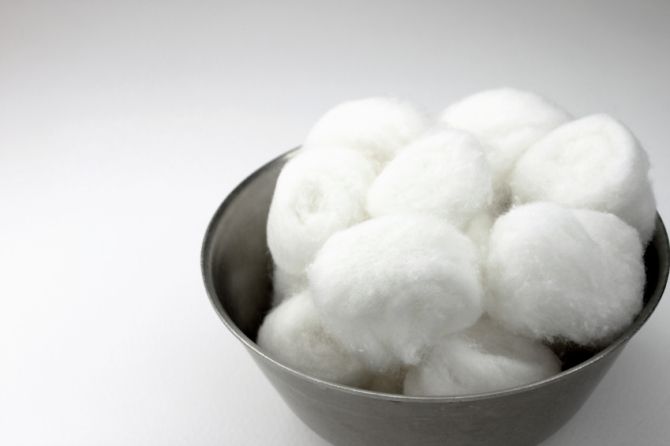
- Cotton for wounds
- Napkins
- Eraser rubber
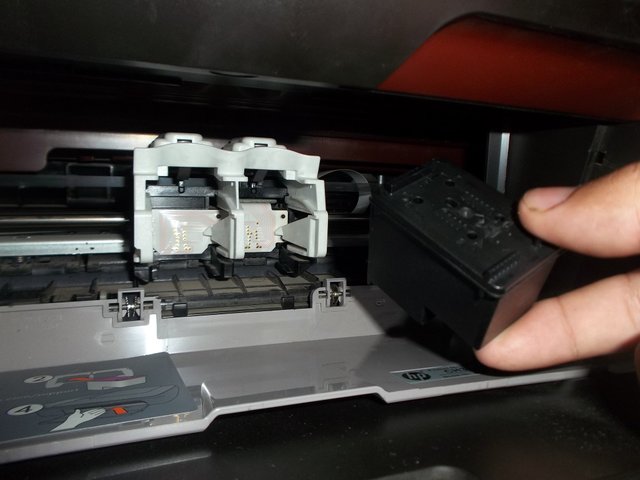
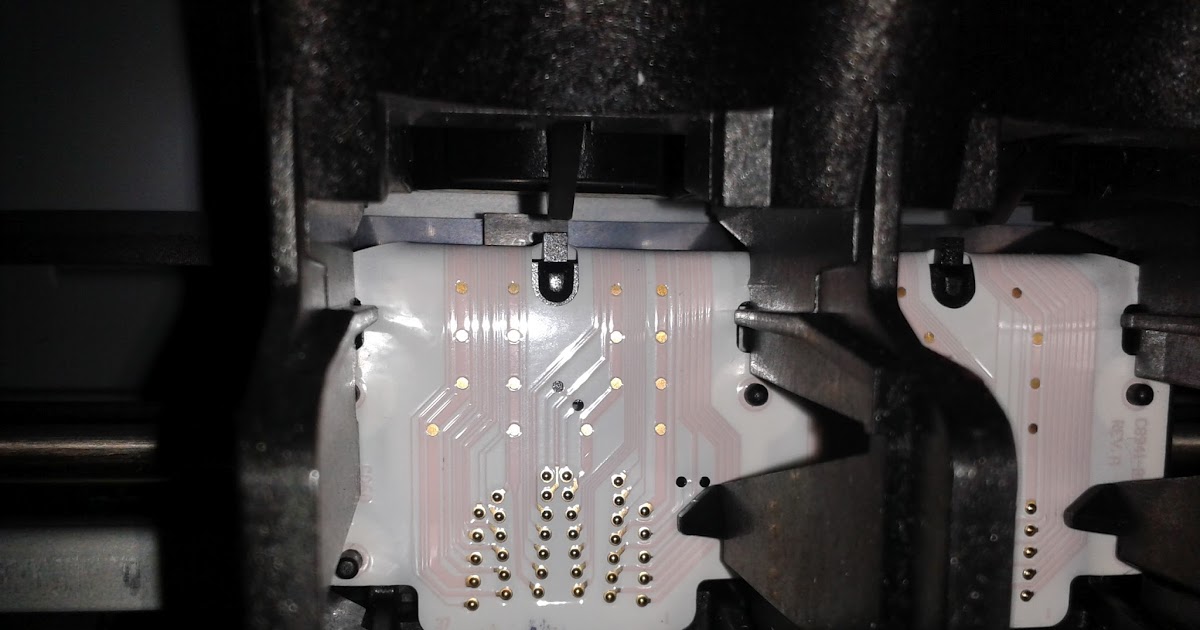
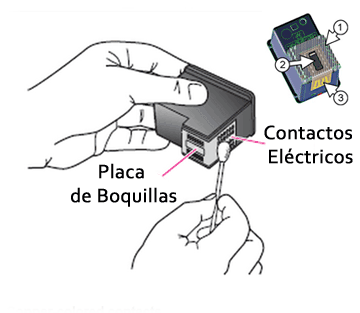
The first thing to do with the printer on do the procedure to remove the cartridge, open the lid where they are, once ready to take off the printer. Then remove both cartridges and observe well with adequate light the state of dirt by ink in the electronic contacts in both cases, both in the cartridges and inside the printer. If they are not bright golden color, but they are darkened or worse still clearly stained by ink must be cleaned.

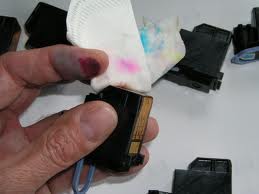
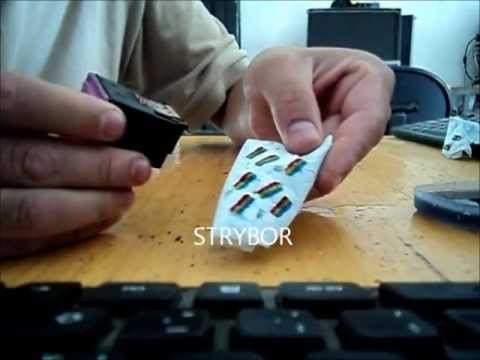
You proceed to take a small amount of cotton manageable by a finger, moisten a little with alcohol and rubbed in the internal electronic contacts of the printer, remember that we want the printer to print, if you see much dirt by ink in other parts I recommend that you do not overdo cleaning other areas not indicated in this tutorial because you could damage some mechanism in the printer, if it is not much it may affect in no way the operation or the result of the printing, if it is much I recommend taking it to specialized service, but it is It is rare to find a catastrophe of ink stains that requires it. Once rubbed one or several wet cottons with alcohol we will use a napkin but this time without wetting to accelerate the drying process and try to remove any residue left by the cotton. Again we observe well, if there is one that another difficult spot may be due to lack of precision, in that case we will repeat the process but using moistened swabs, then dry a little with another dry swab and with the napkin.
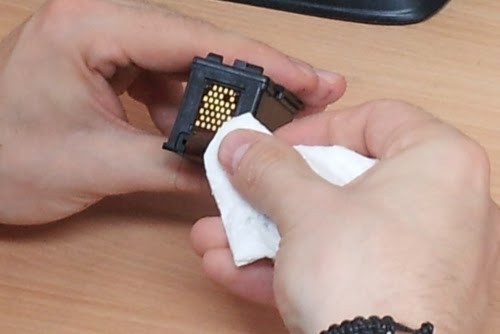
Now the cartridges that are dismantled, we locate their contacts and do the same, we will only clean the contacts will not apply the procedure where the ink comes out, if you need to clean a little there just clean the edges with dry napkin preferably. If in the case of the cartridges the stains are difficult as a last resort we will use a common eraser for sheet of paper and graphite text, we will rub dry and carefully in those points that are still a little dirty, at the end we clean the residues of eraser rubber
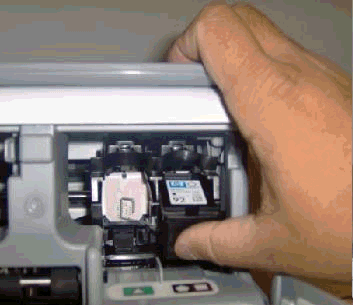
We enter the final stage, now with all the clean contacts we proceed to install again in the printer as always (assuming that the adjustment and fall of them is already dominated without problems), we light it because we leave it off and wait for it to do its process of recognition, if the printer is multifunctional it could be that it prints a sheet of calibration which we must place in the scanner and scan as the same sheet would indicate to do. Finally, if we no longer reflect any cartridge error is to proceed to try a normal printing from office software for example.
It may happen that the printer does the printing process but does not mark anything on the sheet, in this case the cartridge is clogged by dry ink, this could be because nothing was printed with that cartridge after several days of recharging or even of having been used normally. If you want to know what to do in this case indicate me in the comments and I will make a new post dedicated to that.
English-speaking people did not like this topic at all, or at least so far it seems that it is
I hope this information is useful for many people in the community