Hello friends of steemit today I will leave an information of desserts since I will give the information of desserts to you friends of steemit
Easy desserts without oven
Easy desserts without oven
Occasionally, the oven is a great help in cooking, but at other times is a real nuisance. For the energy you consume, for the heat it gives off or simply because if you are going to prepare a roast lamb for a celebration, you need the rest of the menu does not require this appliance. For whatever reason. Here we bring you our collection of easy desserts without oven!
Some people think that there is no homemade dessert - other than a piece of fruit and yogurt - that does not need the oven. Of course, especially in the making of biscuits and other sweet masses, we need it. But there are many other popular cold dessert desserts that do not need it, such as: flan, meringue milk, chocolate mousse, cheesecake, ice cream, custard, rice pudding, tiramisu, Fruit or Macedonian. And absolutely everyone is ready to suck their fingers!
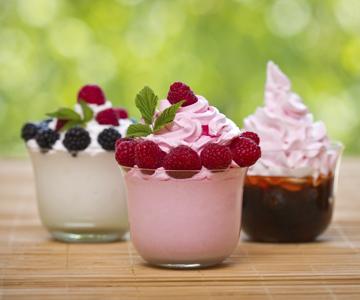
You can always opt for the cold cakes, like the classic cheesecake with its endless varieties, or for a gelatin with fruits. You can also prepare these desserts in glasses to distribute them comfortably. An innovative recipe that will leave everyone with their mouths open!
If you are looking for desserts without an oven and do not require more than 10 minutes, prepare a glass of cream with caramelized walnuts or an exquisite lemon cream with yogurt, lemon and condensed milk. Do you want more? Well here are more than 100 easy dessert recipes so you do not get bored or sweet.
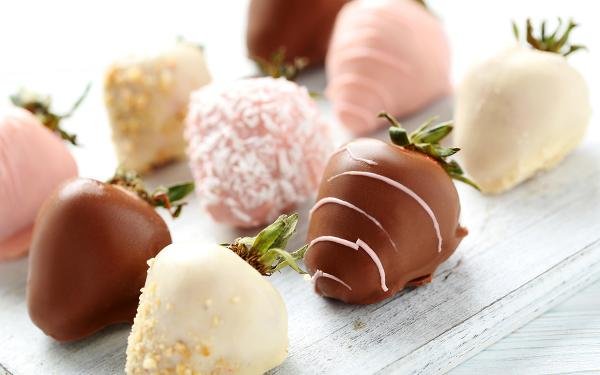
Chocolate strawberry chocolates
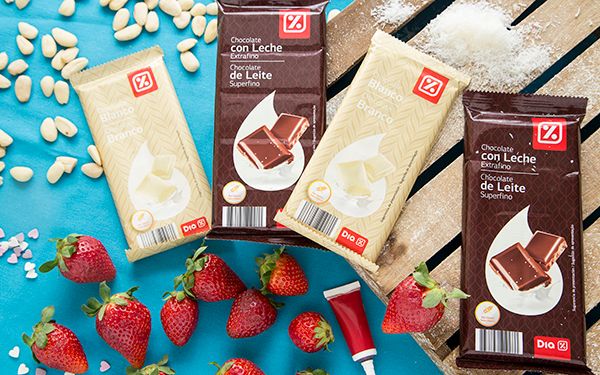
ingredients
Strawberries (300 gr)
Milk chocolate (50 gr)
White chocolate (100 gr)
Food coloring (red / pink for chocolate)
Chopped almond
grated coconut )
Step 1:
Wash the strawberries and dry very carefully. This last step is essential since a single drop of water can ruin the melted chocolate mixture. Chop the almonds in very small cubes and dispose next to the coconut grated in two plates.
Step 2:
You have to work the chocolates one by one, so set an order. In total you will have to repeat the process three times (and more, if one fails): one for milk chocolate, another for white chocolate and another for white chocolate tinted pink. You can melt the chocolate in the microwave or the water bath, but never by direct heat. If you do it in the microwave, put the chopped chocolate in a suitable container to that appliance and warm it in intervals of 20 seconds, stirring in each pause. You have to be very careful since the chocolate burns very easily in the microwave. For the water bath, place a larger pot than the bowl for the chocolate with water on the fire and wait for it to warm. You should watch that the chocolate does not have any contact with the water since it will be damaged. In both cases, it often checks the temperature of the chocolate until it reaches 40-45 ° C in the case of milk chocolate and 30-35 ° C in the case of white chocolate.
Step 3:
If you are working with white chocolate that you are going to dye pink, it is time to pour the indicated amount of red dye. Remove until the color is evenly distributed and continue the process.
Step 4:
Now chill the chocolate. The traditional method is to pour two thirds of the hot chocolate on a marble or refrigerated surface and move it continuously with two chocolate spatulas until it falls to 27-28 ° C (chocolate milk) or 26-27 ° C (white chocolate ) To return it to the container where the remaining one-third is waiting and mix until it rises to 29-30 ° C (milk chocolate) or 28-29 ° C (white chocolate). The other method is a little simpler: remove the chocolate container from the heat source when it reaches the maximum temperature indicated above, put it on the ice water container and stir until it falls to the minimum temperature previously mentioned and reheat very Gently until you reach that degree or pair of extra degrees. In either method, the last temperature should be exceeded or it would have to start again. Nor should it drop significantly, so that while you are working with it, you should reheat it from time to time a few seconds in the microwave taking great care.
Step 5:
Once you have your chocolates ready, start the fun! Submerge the strawberries in them and let them harden without more or quickly throw them of shredded coconut or chopped almond so that they adhere. Put the tempered chocolate in a pastry bag and decorate the smooth layers of hardened chocolate; This way you can even mix the colors. As you like!
Presentation:
Serve your strawberry chocolates with chocolate once the chocolate has hardened and has a smooth and shiny appearance. You're going to get them out of your hands!
Suggestion:
Black chocolate and DIA milk chocolate are the best options to get beautiful and crunchy coverage for your chocolate strawberry chocolates.
In Demos round the day: The 5 best chocolate friends

@gokuuvrz
Good content
Keep sharing good posts!