DIY: Fixing laptop keyboards (HP i3 Model: 14-n039TU)
DISCLAIMER: DOING REPAIR ON YOUR LAPTOP WITHOUT PROPER TRAINING MIGHT RESULT TO DAMAGE TO YOUR LAPTOP. PLEASE PROCEED WITH CAUTION.
One of the things that I do for a living is buying and selling computer parts, laptops and computers. I buy and sell most of my items online in TIPID PC or OLX.PH. I like buying broken laptops and computers for a cheap price and resell them after replacing the broken parts or fixing them. One of the most easily damaged part of the laptop is the keyboard. The expense and hassles of having them replaced in service centers and waiting for the the parts to be sourced is one of the primary reason why many people just sells their laptop and buys a new one.
In reality most of the damage in keyboards can be easily be fixed just by cleaning them or if there is water damage, you can fix them just by drying them out in the sun. In this blog I will share with you how I manage to fix the keyboard of one of my laptops without having to replace the keys.
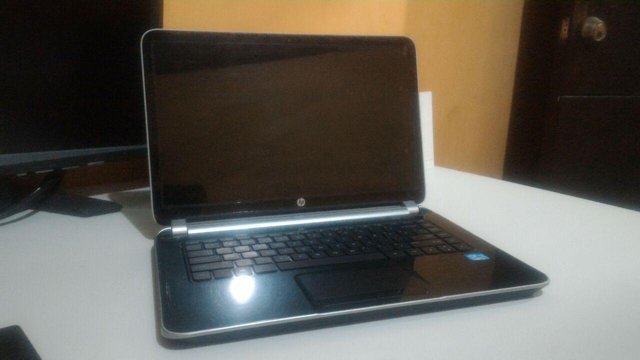
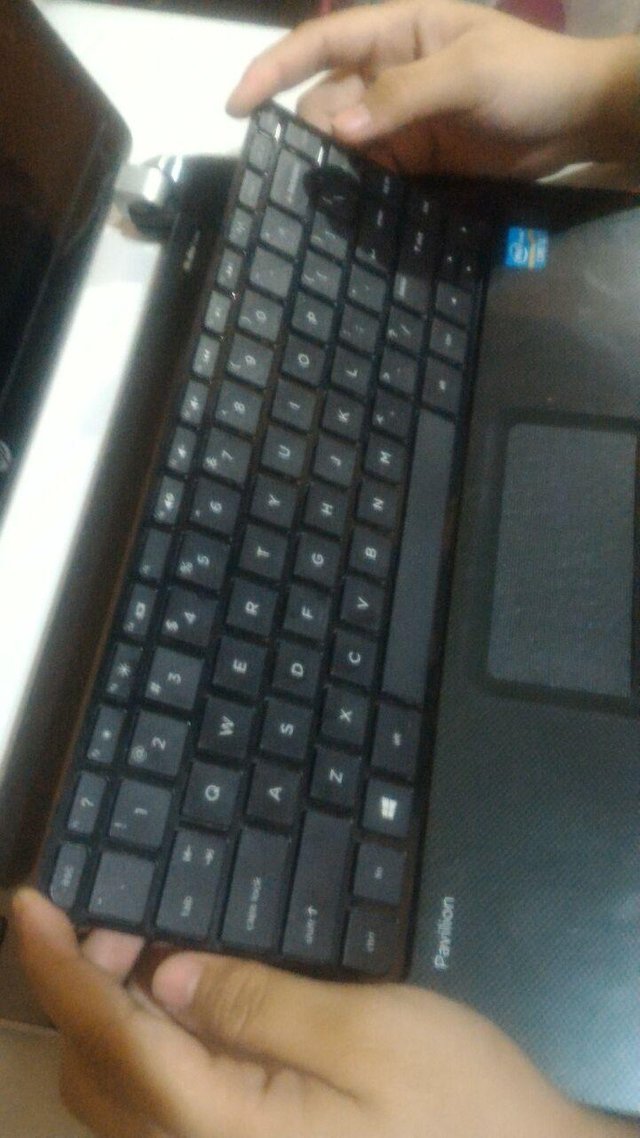
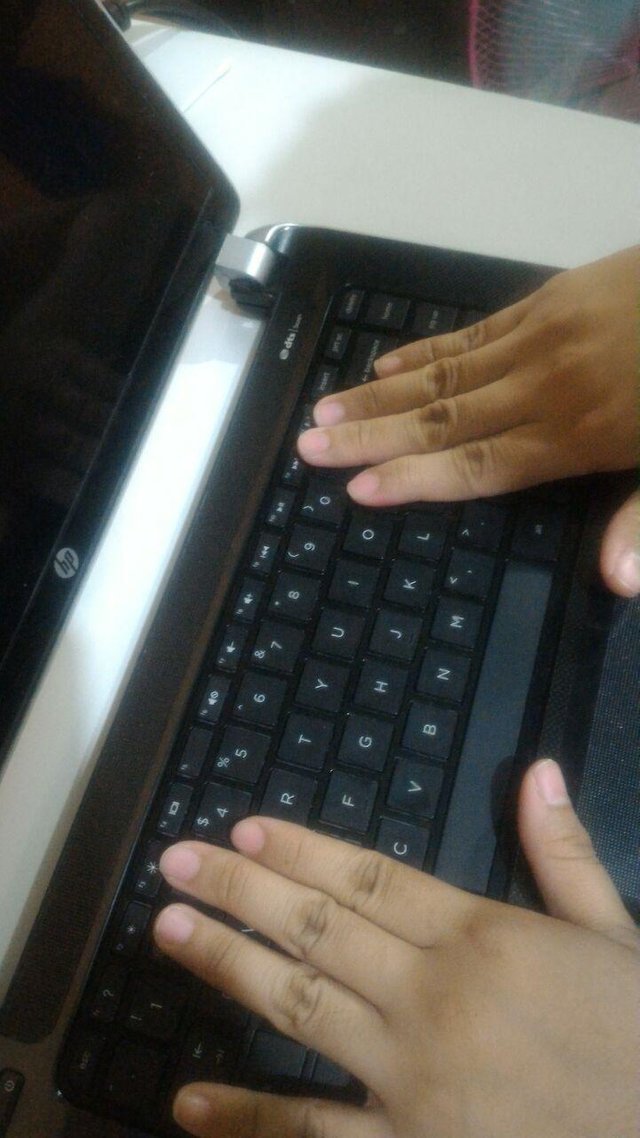
The laptop shown above is a Hewlett-Packard Pavilion TouchSmart 14-n039tu Notebook PC. You can see its specification in HP's official site here.
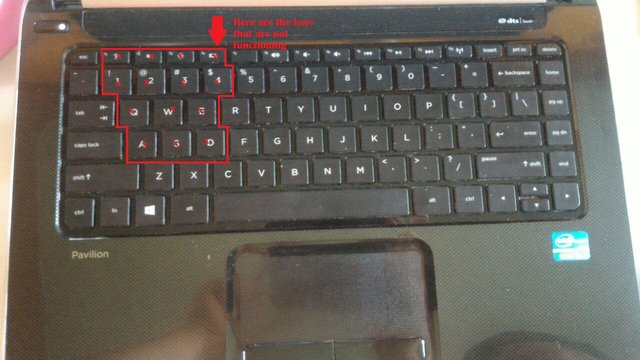
The laptop is working properly however some time ago some of the keys in my laptop started to stop functioning. These are the keys that stopped functioning:
Procedure of repair
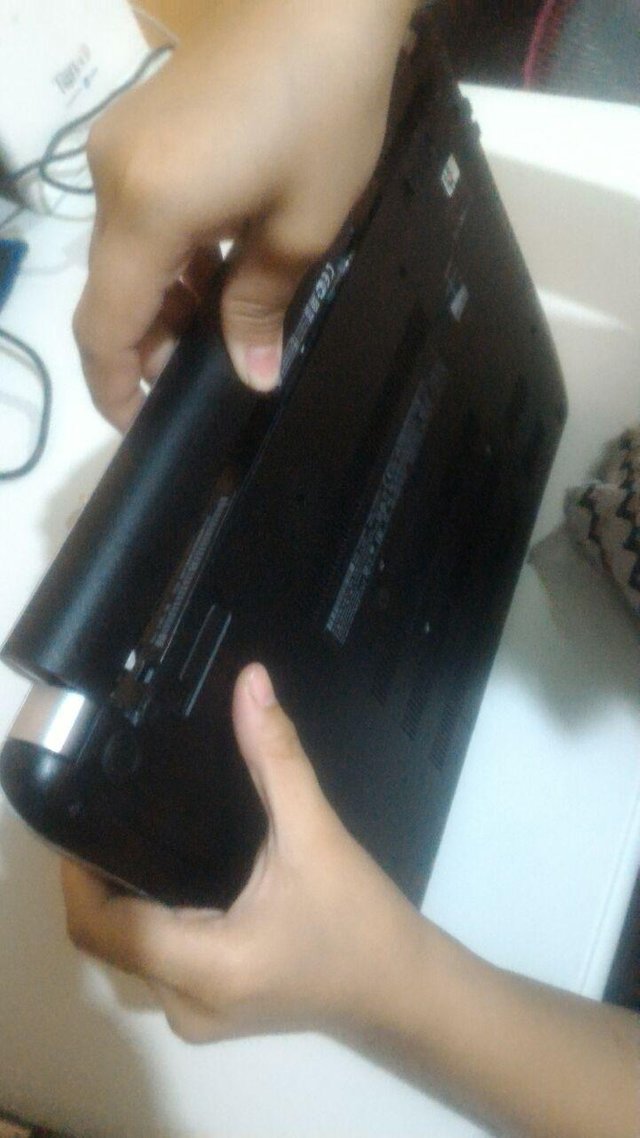
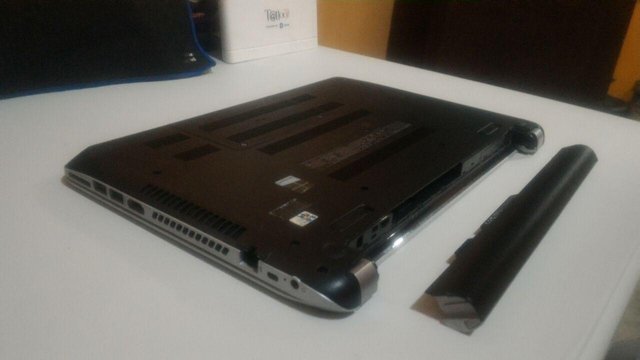
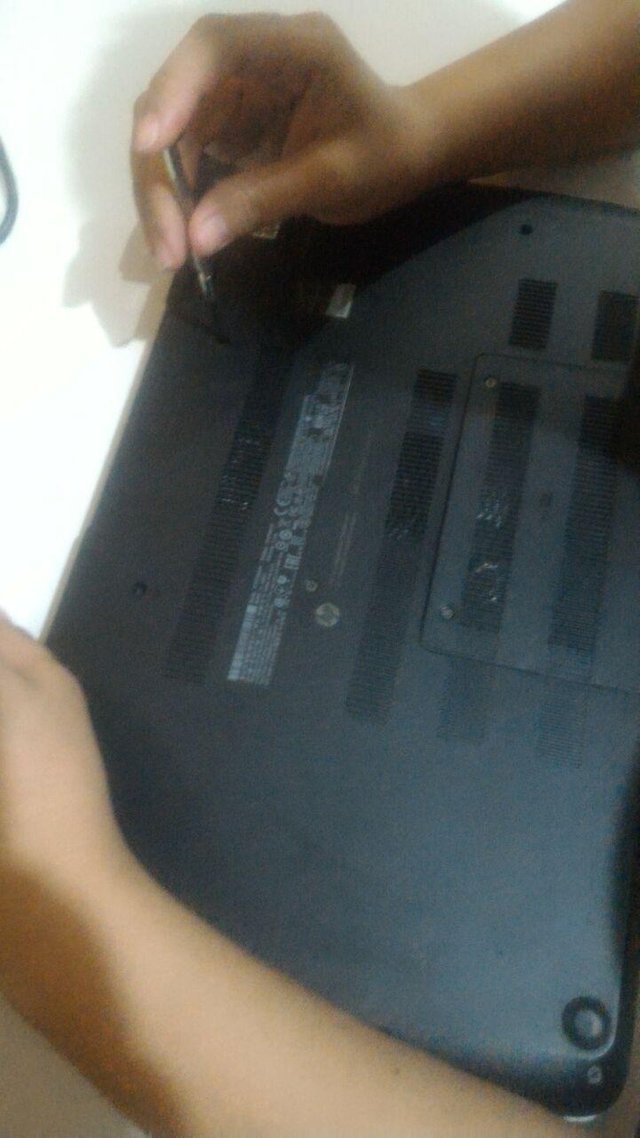
First Step: Removal of the Battery
The very first step is to make sure that there is no electricity running in the laptop. Shutdown the laptop properly then remove the battery to ensure that it has no electricity running in it.
Second Step: Removal of the keyboard
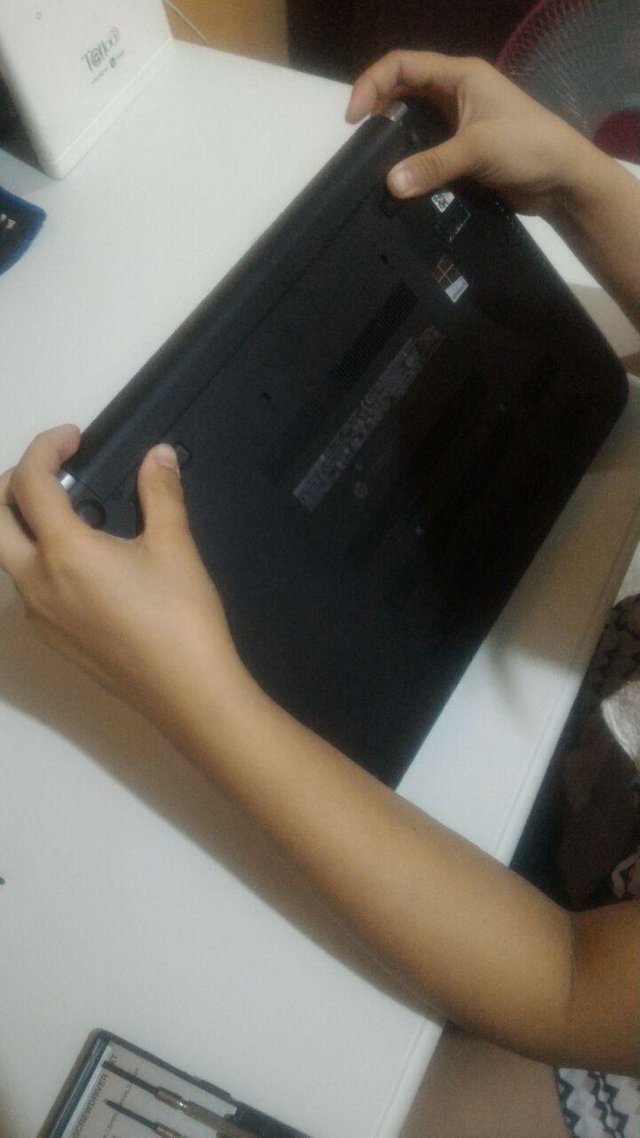
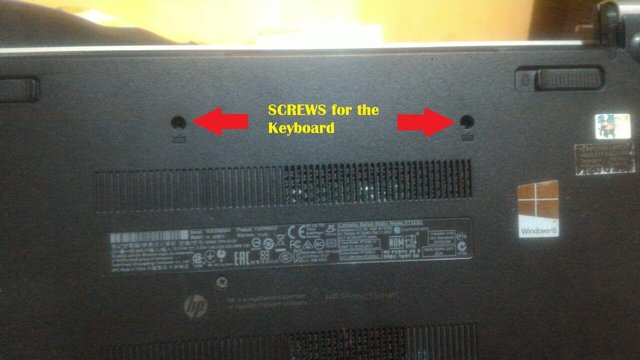
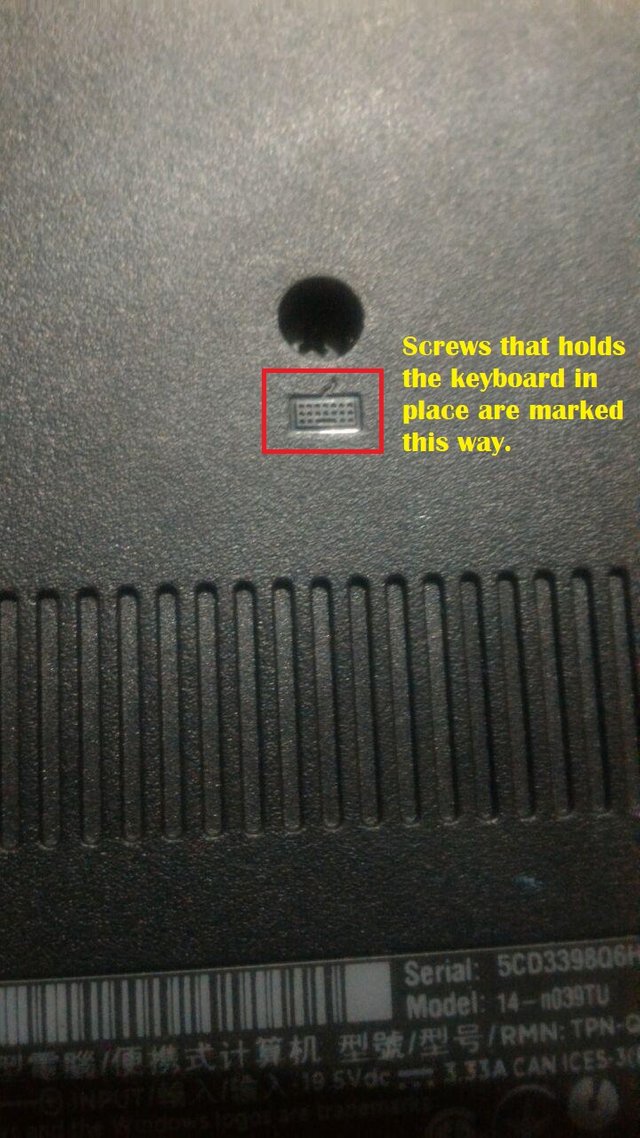
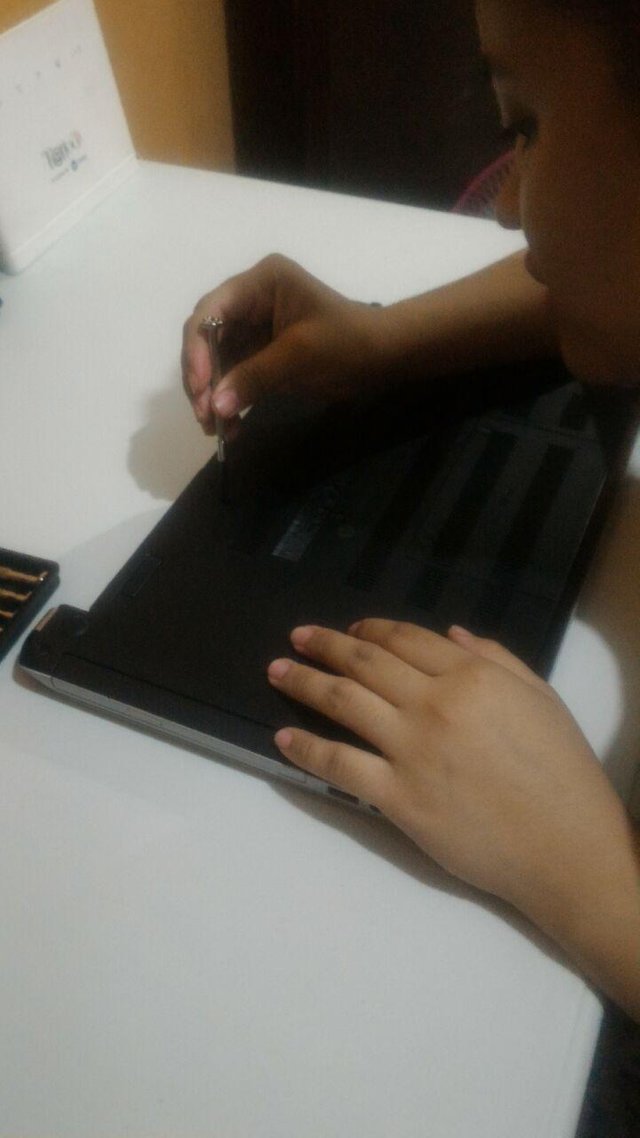
Once the battery is removed we locate the screws that holds the keyboard in place. Usually it is located at the bottom of the laptop or inside memory or hard drive covers. To make sure you are removing the proper screws you may search google for the repair or service manuals or disassembly videos in Youtube.
For this specific model there are only two screws that is holding the keyboard in place. Which is conveniently located in the middle of the laptop's bottom.
We use a small Phillips screwdriver. You can usually by this in any local hardware store of electronics store. I bought mine in Pavilion mall in a shop selling tools for DIY repairs.
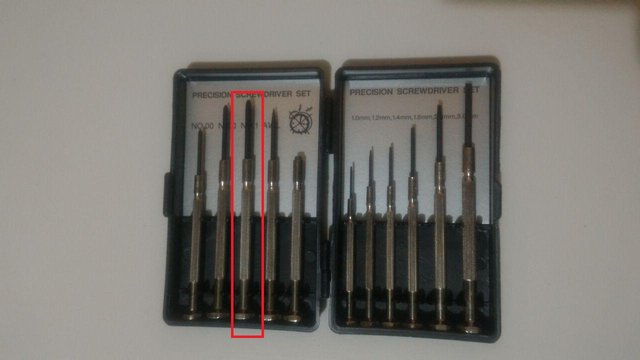
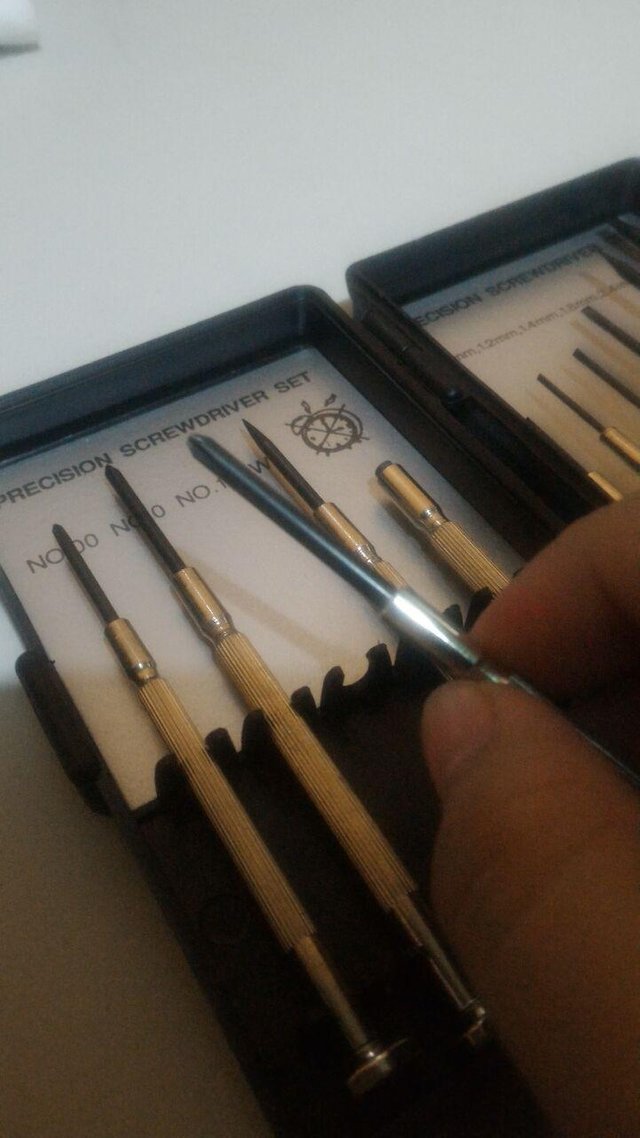
Once you have selected the proper Phillips screwdriver that fits the screws, lay down the laptop on a flat surface and carefully remove the screws. Be careful not to force the screws as it easily gets damaged. It is important that you use the proper screwdriver or end up damaging the head of the screws.
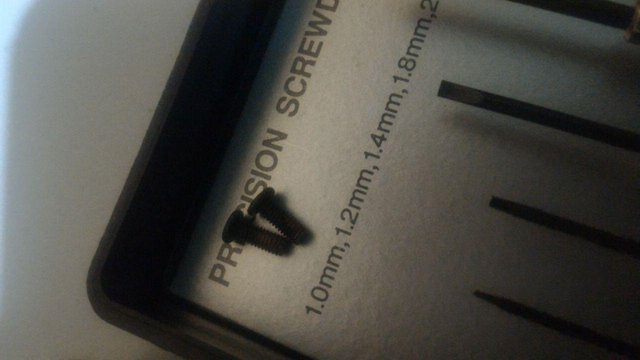
The screws are so small that it is a good idea to secure them in a container easily accessible to you. I used the small tool box of the screwdrivers. They are so small that it will be very hard to look for them if I misplaced them it will be a pain to find them.
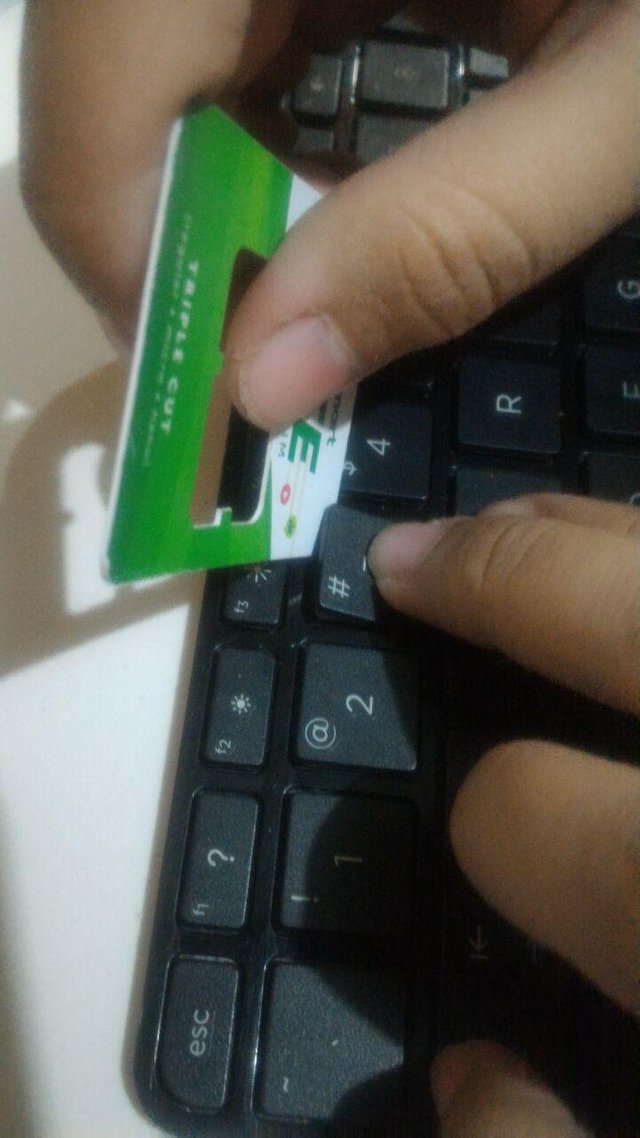
Now that the keyboard's screws that locks it in place we need a wedge that we can use to remove the keyboard as it is wedged in the laptops keyboard frame. Any wedge will do but I prefer using a hard plastic card as it will not damage the plastic keyboard frame.

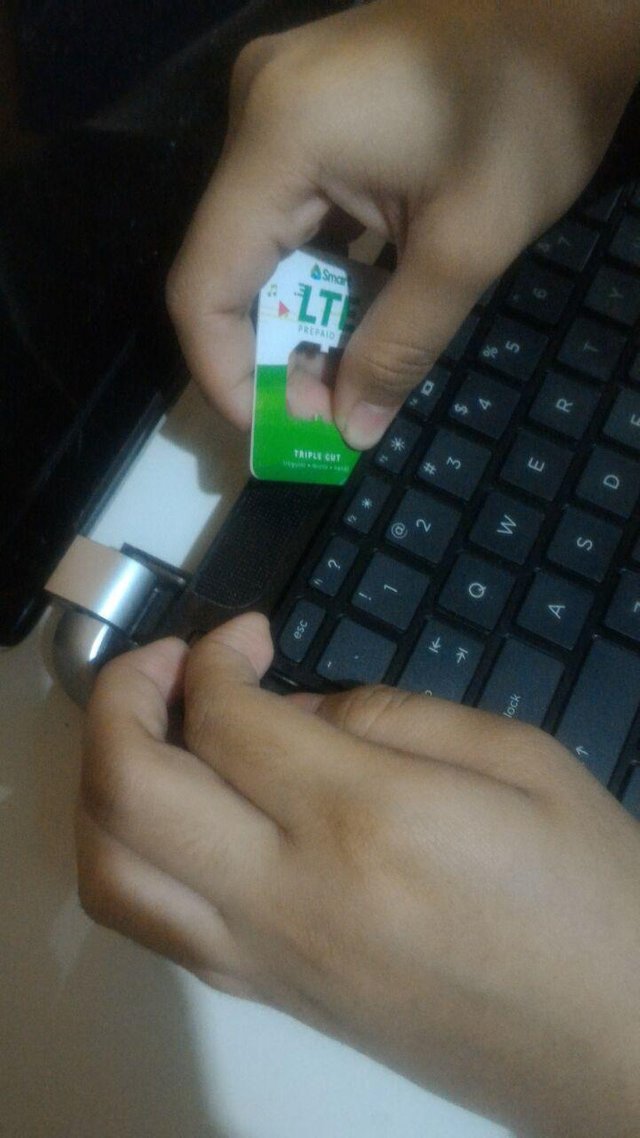

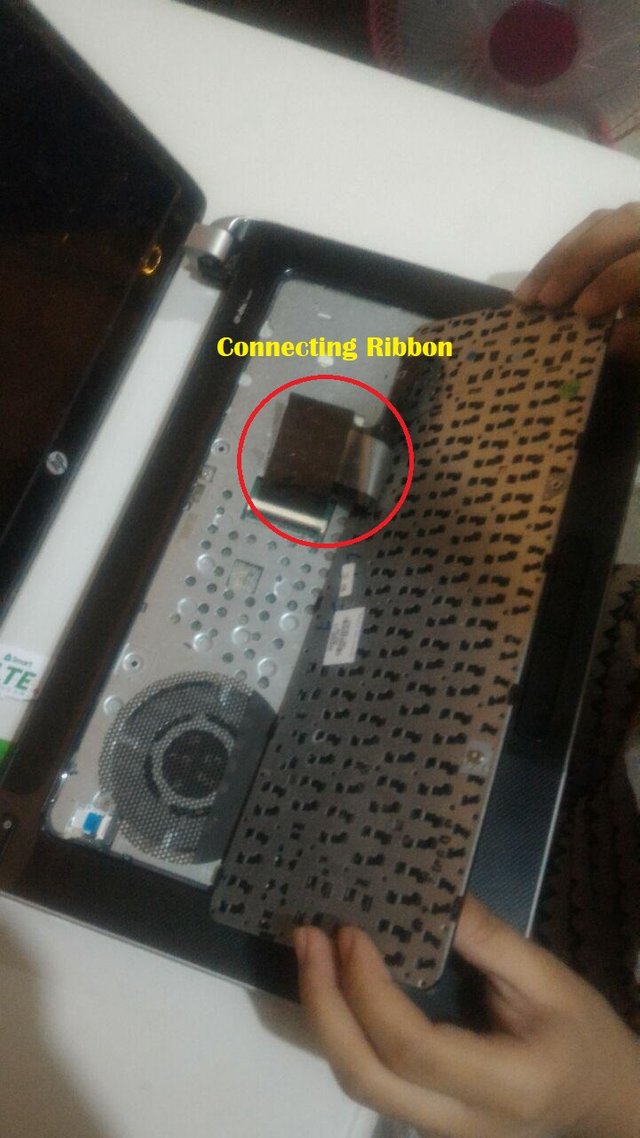
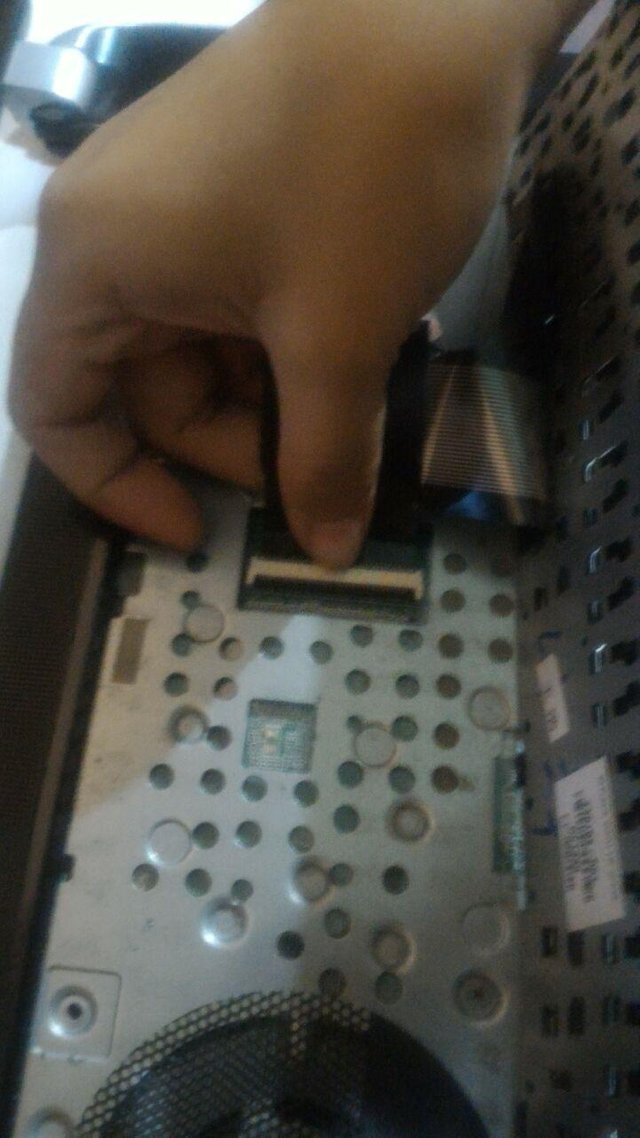
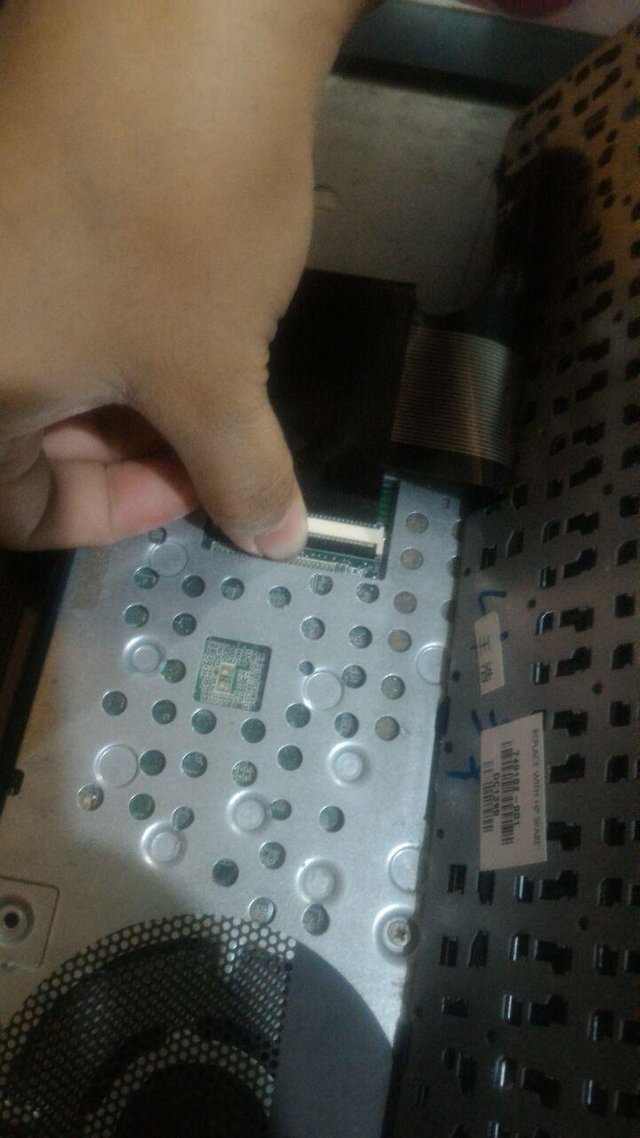
When you have successfully removed one side carefully lift one side of the keyboard. You must be careful in doing this as the connecting ribbon of keyboard to the motherboard of the laptop is still connected. This ribbon is very fragile and easily tears off so be careful in lifting the keyboard.
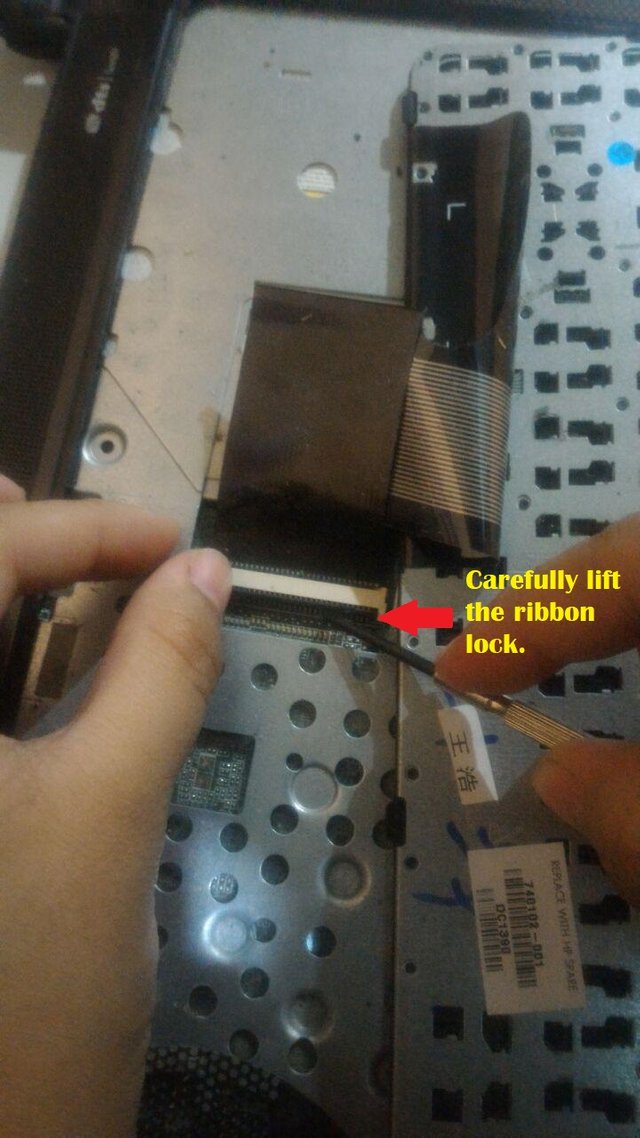
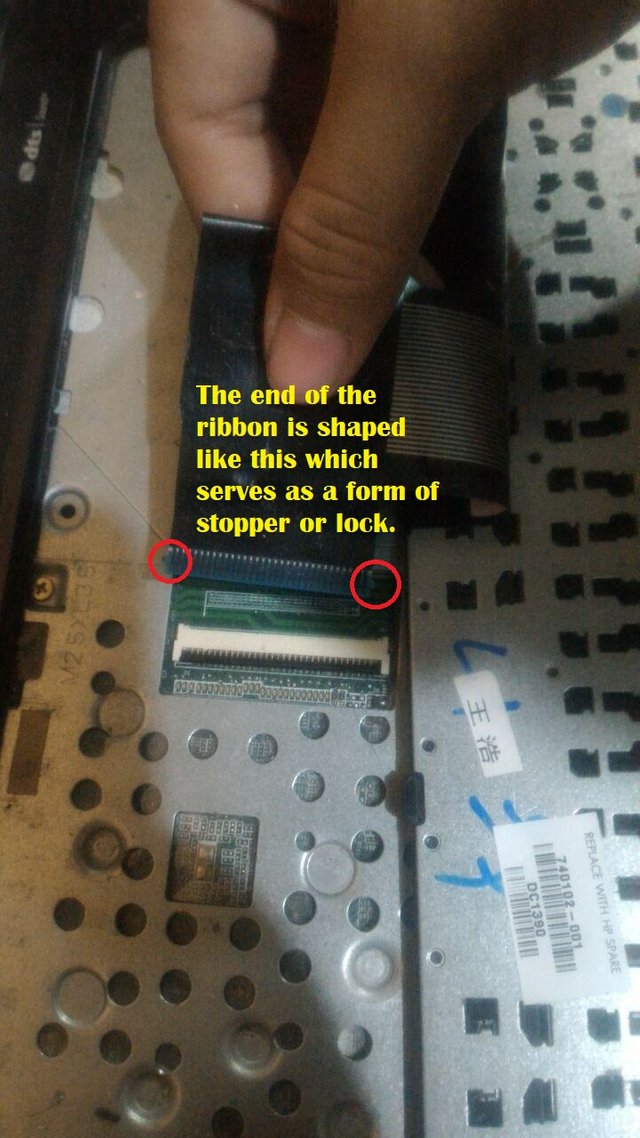
When the ribbon is exposed loosen the lock using a small flat screw. Do not pull the ribbon right away as the ends of the ribbon is formed in such a way that it sits on top of a notch on both sides which serves as additional lock so that it cannot be easily be removed accidentally. When removing the ribbon slightly move it away from the board removing it from the notches.
Third Step: Cleaning the keyboard
Now that we have removed the keyboard clean the dust of buy using a small brush and clean cloth at the bottom. If I had air compressor I would have also use that to blast the dust and dirt that has accumulated in inside the laptop keyboard. Since I don't have an air compressor I just did the following please watch the gif below.
In doing so we loosen the dirt and dust that was trap inside the keyboard. I did this a couple of times until such time that there are no more dust and dirt coming out of the keyboard.

Fourth step: Putting back the keyboard
Now we are ready to put back the keyboard.
fifth step: Testing the keyboard
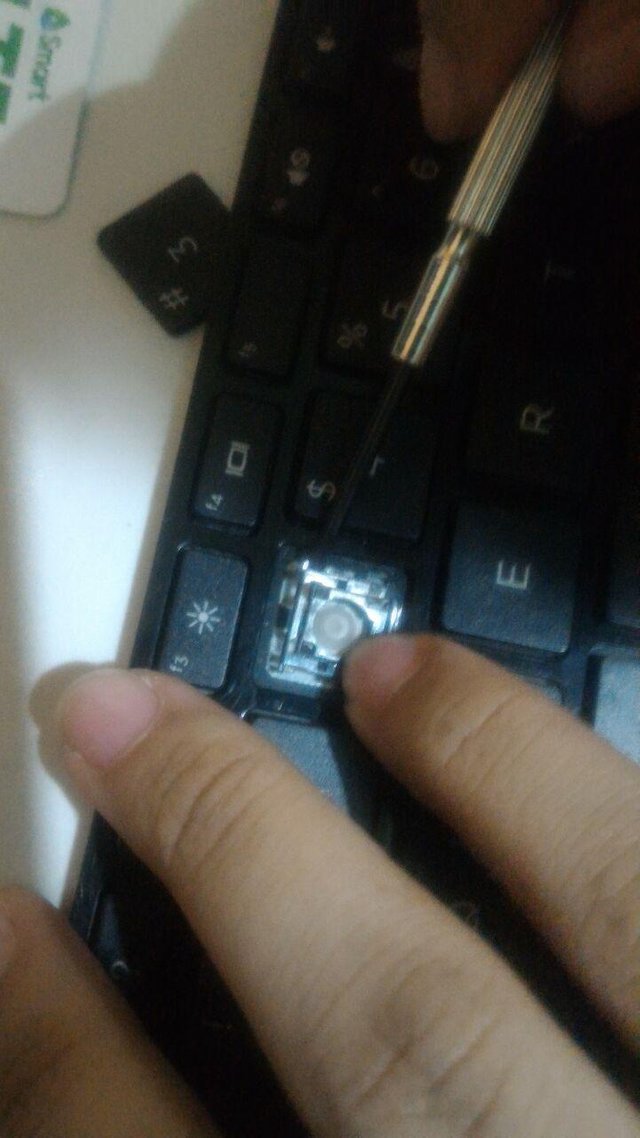
Once it is assemble it is a good idea to test if the keys are working now. Upon inspection of the the key all the keys is not working. My hunch that the contacts of the keys were just dirty was correct. However there was one key that wasn't working. Key "3" I am pretty sure that I have cleaned all keys of all dust and dirt there it might must be something else. I am worried that it might be a broken connection in which i need a conductive paint but nevertheless i need to check it out.
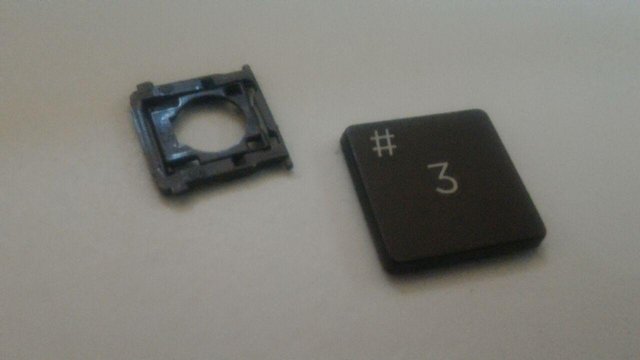
Upon closer inspection the "3" key has some small amount of oil which was weird I might have accidentally put some cooking oil ( I had the tendency on keeping on looking in my laptop even though I was cooking lol). I cleaned the oil out with some clean cloth and tested the key. It was working again. The last step is to screw back the screws that locks the keyboard in place.
Done! Thank you for reading my DIY blog. Hope you guys liked it :) more to follow. If you have any laptop related problem hardware or software you may comment your questions below.
Each day i see a strong woman in you not a just a female ....
Girl... you will reach one day the stars....
Keep on
Thumps up.
Resteemed
Hello red how are you today? nice for you to stop by :)
WOW! This is wonderful guide. It needs a bit technicality and knowledge how to deal with your laptop. I have HP Core i5 Probook but I feel fear to touch without knowing anything so I usually send my laptop to repairing shop.
I'm impressed that you did so perfectly. Thumbs Up and Upvoted You!! :)
Thanks for stopping by sister. Yes at first I was afraid but when I started fixing my own stuff I get more confidence overtime.
That's great! Following you
Awesome article lots of information and learning thanks for sharing :)
Who said girl can't do what boys does? Awesome job! I have a laptop, core i5 acer, 2014 model. Sadly it is not working now, I brought it it to Acer service center, they found out that the defect is the main board. Buying a new 'Main Board" will cost almost half of the laptop's price. So sad. Just sharing my sad story, hehe.
Awesome! its very informative article @ankalie its best technique to sicure in laptop. i think this is the best laptop thankyou for your guid I'll be purchase it in future ;)
Must be done by expert hands hahaha!
Wow..you are something else ma'am ani.. 😍
You're pretty awesome doing things that most girls don't normally do.
It's amazing to see a lady computer technician that really knows what she's doing. You're a certified geek.
Hahha yes I am more to awesome stuff to come! ;)
Wow thank you for sharing this will be a big help.
You are really an IT student. Keep it up @ankarlie 😉😘
Yes ate kahit online lang thanks for stopping by :)