How I draw my Digital Portraits
Hi friends! I know I’ve been MIA for awhile so let me just say its good to be back after a rough semester at school. I did my final exam yesterday so now I have some more time for art so let’s go.
First I begin with selecting my model. Today’s portrait will be of one of my fabulous friends.
The application I will be using is Adobe Illustrator. This is my personal favorite to use when it comes to digital drawing as it is versatile and easy to use.
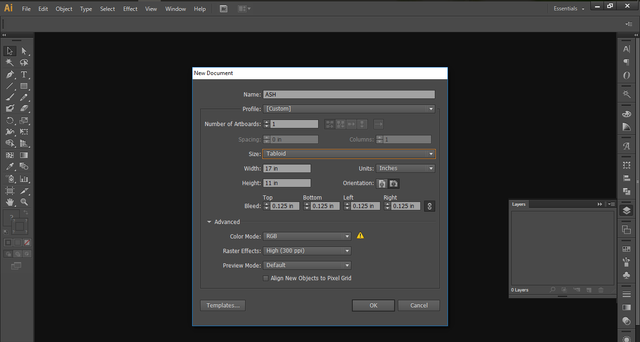
After opening the program go to “File” then “New” to set up a new document. These are the specifications that I will be using for this project but you can set your custom size to whatever you want for your own drawings.
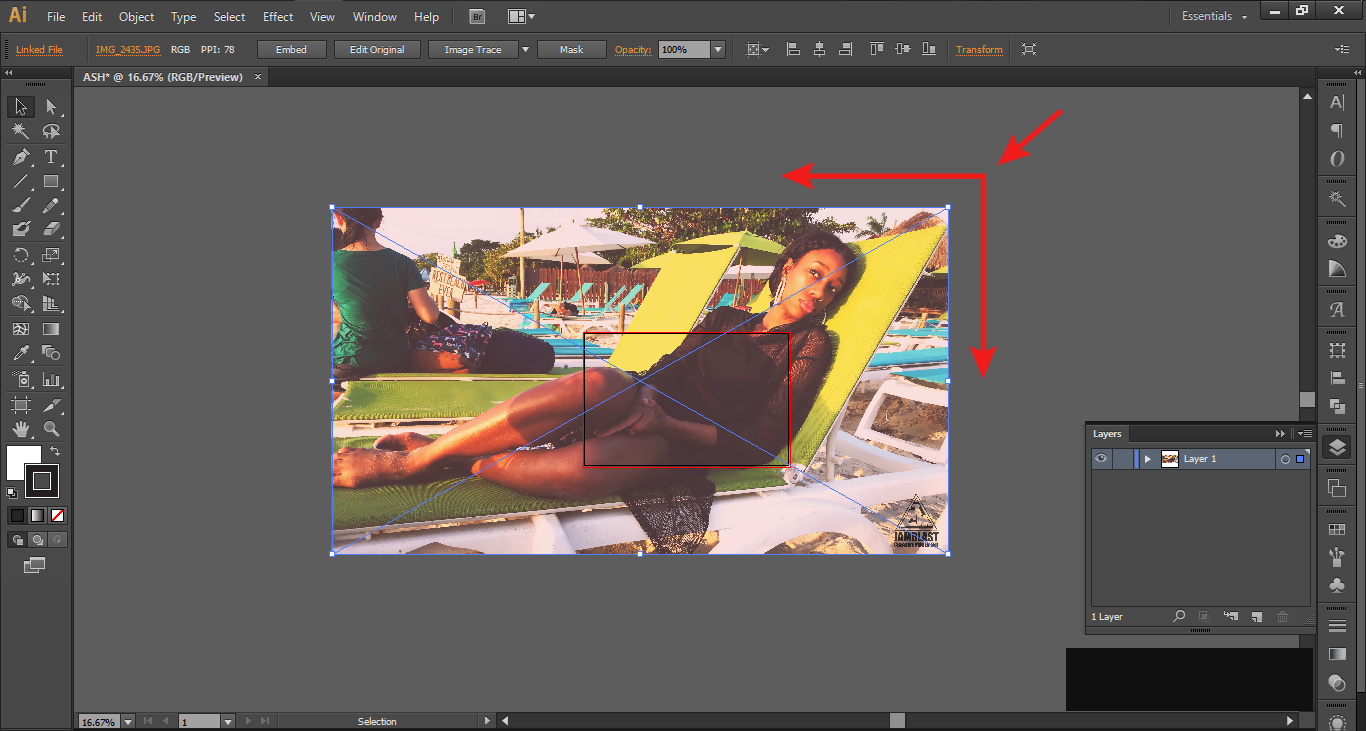
I then use my cursor to grab a corner and drag it in so the picture fits into my artboard the way I want it to. Hold CTRL for Windows or Shift+Command on Mac to maintain the right proportions while you do this your image may become distorted if you are not careful.
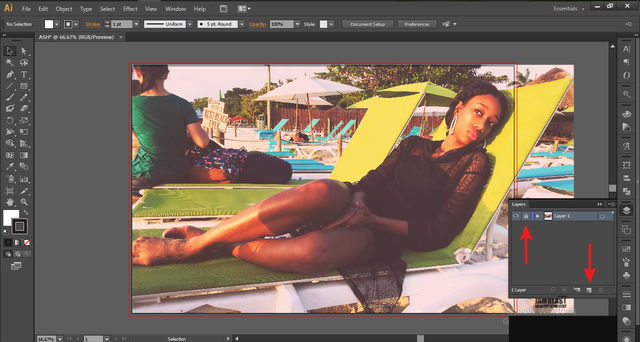
Now after the image is at the size that you want you are now going to lock it in place so you can work more easily on your drawing. You do this by heading over to your layers panel and clicking in the space just right of the icon that looks like an eye after which a lock icon will appear to sow that the layer is now locked in place.
While still in your layers tab look to the bottom right and create a new layer above the one that’s holding your image. This is the layer that you will begin drawing on.
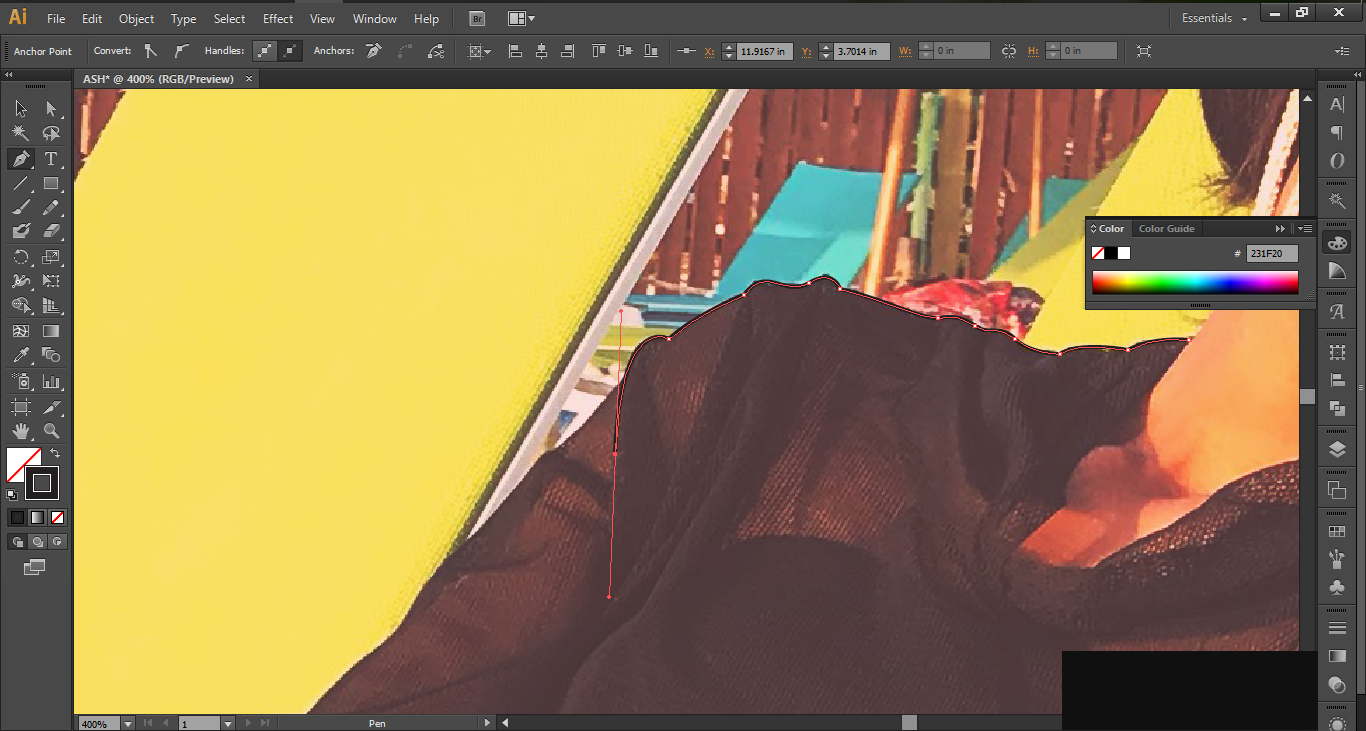
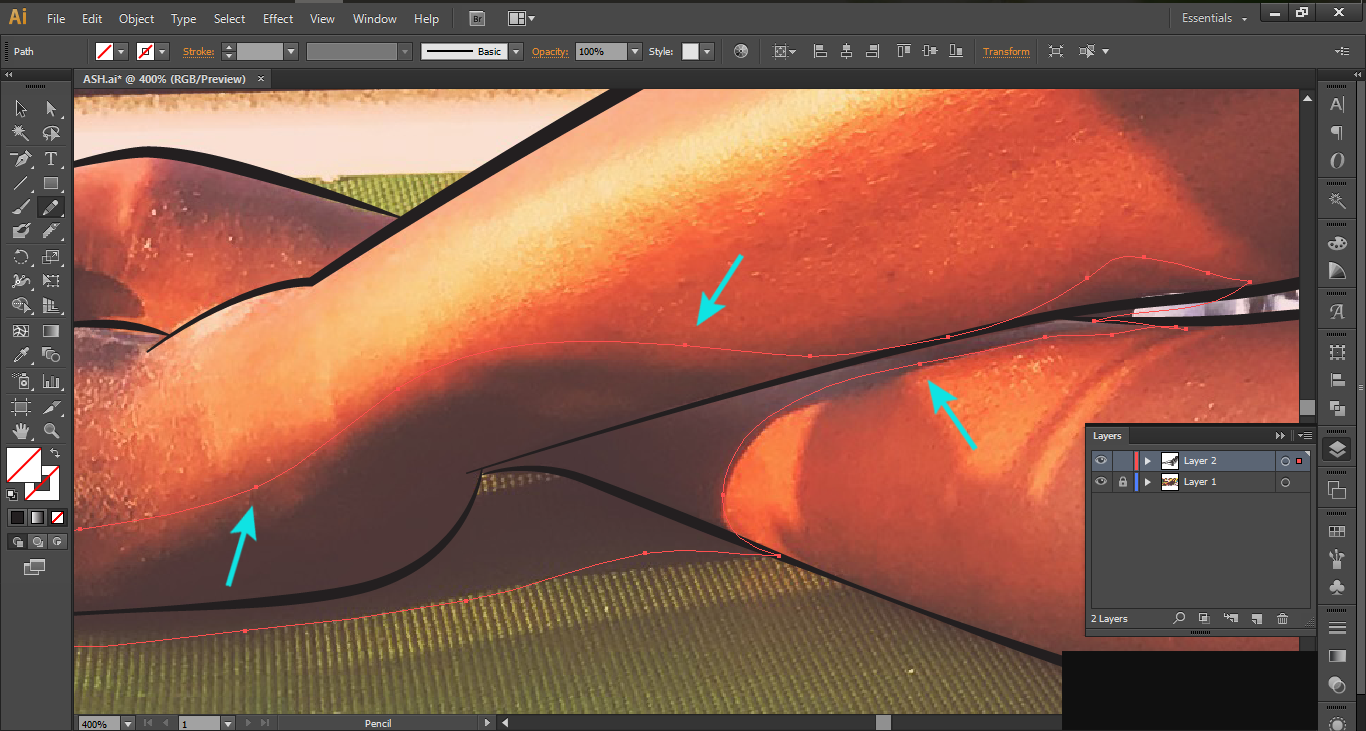
You can begin making your strokes by picking somewhere on the image to start from. If you do not have a drawing tablet then you will have to draw using your mouse. This is less of a challenge when you know how to use your pen tool and through practice improved technique is a must. This tool allows you to make points by clicking different areas on the image thus creating strokes or paths between these points.
If you’re using a drawing tablet then the pencil tool can be used to trace over your strokes.
The shape of these strokes can be manipulated with the handles on the points you make.
You can stop a path from curving at a point by left clicking on it after creating on it to remove the editing handles.
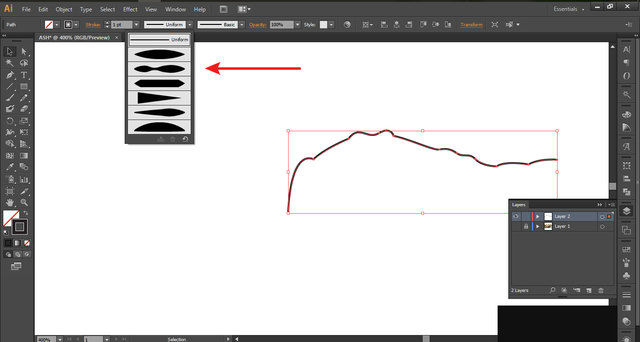
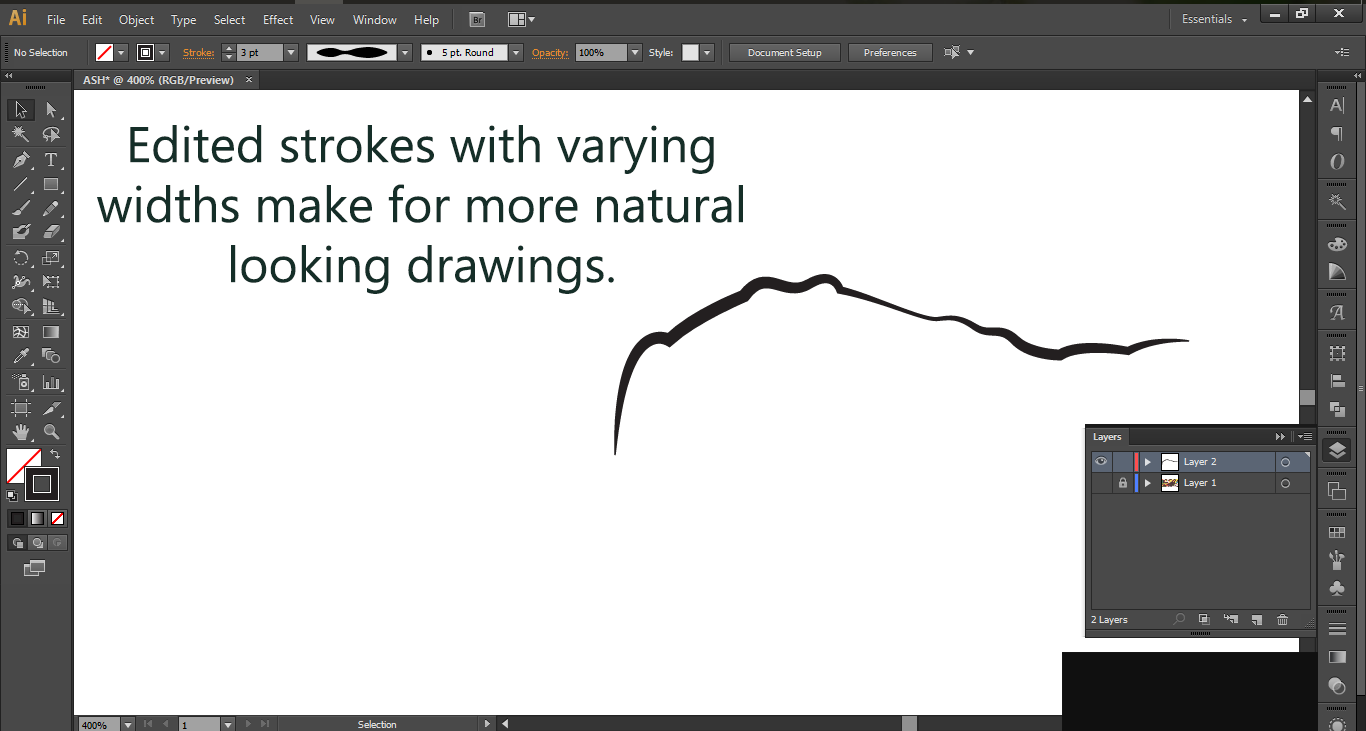
Strokes can be edited from your taskbar at the top. You can change the stroke style and size to suit your drawing preference. You can do this after you are finished tracing all your like work but I prefer to do it as I go along.
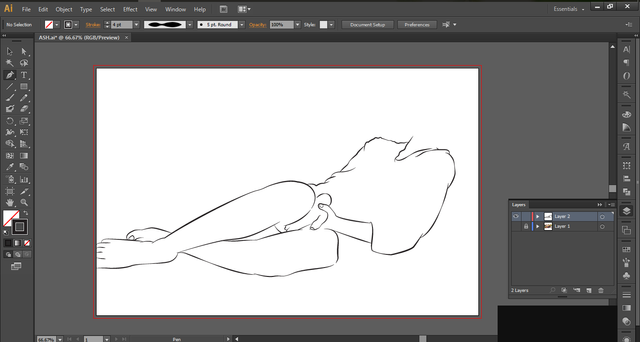
Now it’s a matter of tracing the image over until you get the look that you want.
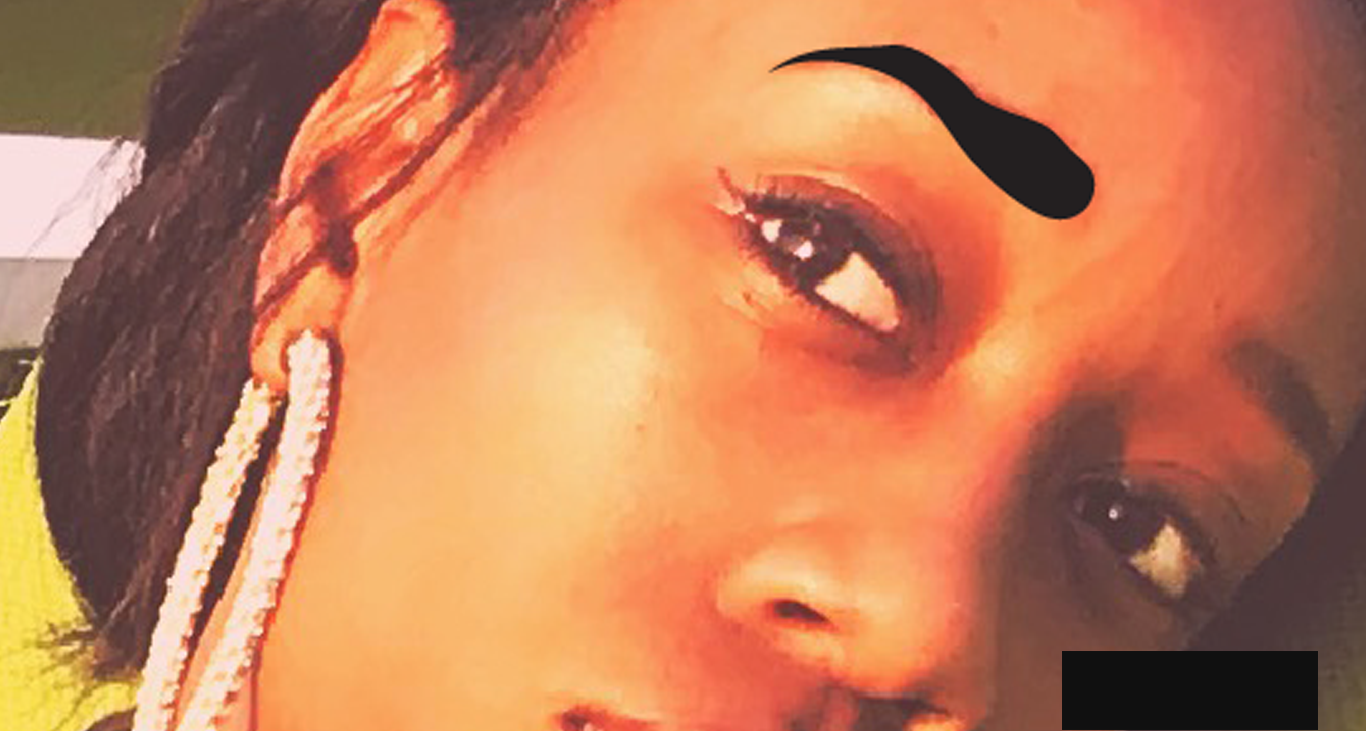
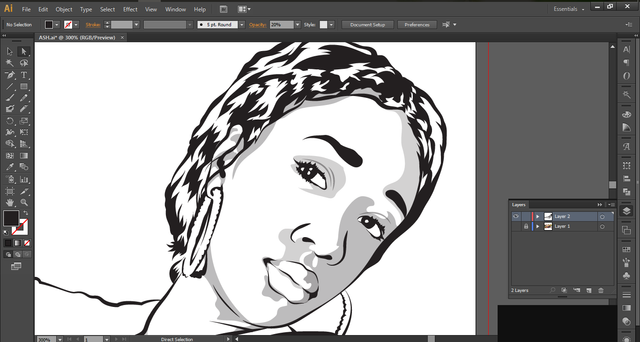
In addition to using your pen and pencil to make strokes you can also make filled path to do areas of solid color or shapes as you can see here for the eyebrows.
After you get your line work done you can move on to drawing in the shadows to give more detail and definition to your drawing. You can follow the natural shadows of the image or do your own styles to make your work more original.
When doing your details you don’t have to worry about drawing your shapes perfectly the first time around. The points along the path can be edited to further fine tune your shadows or other details.
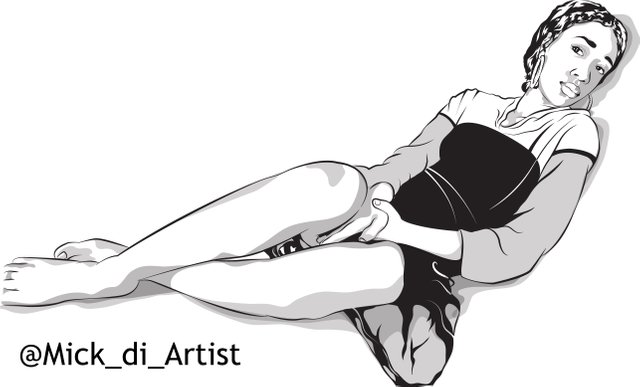
And that’s pretty much it for now. I might color this piece at a later date and do a tutorial for this but this is basically the process of how I draw my digital portraits. I hope you enjoyed this and will share it with any artists who might appreciate it.
Thank you for reading!


👍👍👍👍awesome work mick!!!
Thank you... More posts coming soon, I need to start taking Steemit seriously again...lol