Hot3dxSymmetry3D is published at the Microsoft Store (Formerly Hot3dx RotoDraw3D DirectX 12
https://apps.microsoft.com/store/detail/9PD6NR1GMKR7?cid=DevShareMCLPCS
My App RotoDraw was published yesterday as
**Hot3dxSymmetry3D **
on the Microsoft Store at the link above.
The code is still open source and the link is https://github.com/hot3dx/rotodraw3d-directx-12
I have not put the new code which made it publishable at the my github site yet. I did however reveal it to CoPilot. CoPilot did not know how to solve the bug which caused the program to crash after install on start-up after install.
It took me years to finally figure out what the problem was and I finally correctly identified the problem. It affects XAML programs in the C/CX and C/C++. The solution became readily apparent once the problem was identified. Why did I need to identify the problem? Microsoft did not know the answer. Now CoPilot does know the answer. So instead of handing out a bunch of code that does not solve the problem and your program still crashes - inside the visual studio integrated development environment - you can manually add the files you wish to add that the XAML compiler refuses to add. And on a developer's computer the program will install and run perfectly. Try to distribute your own program and
BOOM!
It was frustrating for decades. Meanwhile since I go up to heaven and stand before Christ, God, Holy Spirit, the Blessed Mother, and everybody there in the Welcome Center, Greeting Center, (Throne Room) every day: I have the ability to talk and asked God how to fix it. You see I was tired. Worn out. Whooped! Beaten!
"I do not program computers, Well, not the primitive ones you use on Earth. I do use them but what I will do is feed the ability of you see problems clearly. Once you see the problem correctly, you can solve it," the Christ, Holy Begotten Son of God. So the He pumps some weird symbols into my head and it really does help because the Divine War is still on and for the most it is those Titan Sized Glowing Red Anti-Matter Beings. And, me, "Oh is that a lot of anti-matter once they go boom!" That stuff hurts. It really does and scrambles the brain, kills - you get the idea.
I am still thinking if I should put the secret on the website at github.com/hot3dx. Meanwhile, the first person to use the program is in China. We'll see what happens.
Again, I was tired and did not want to continue programming but Jesus said, "I want you to keep going because it proves beyond any doubt you are a scientist and as a scientist it will give much more credence to the words you write about the afterlife, coming here, the Divine War, the Host, the Saints, everything."
Now I had published it on Microsoft last week and waited for certification. The report came back and Hot3dxSymmetry3D had five crashes. I told that to Jesus. I kept extending the publishing date.
Blah, blah, blah from me.
Blah, blah, blah from CoPilot.
Thank God He did not get mad, "I know it is tough but you can do it and will correctly see the problem." And I did in the middle of the night two days ago. I was so simple to fix, BARF! It was. I felt sick because it was so easy. My words to CoPilot were, "DUH! Did you know I have been trying to figure this out since somewhere in 2016-2017?"
So, CoPilot wrote down the exact steps and why.
So, if you don't know here is the first help file - I stopped and because I did not have Hot3dxSymmetry installed I clicked the above link with intrepidation, temerity, outright fear because what if I did not have the bug fixed? After all that mouthing off? Ugh!
Here's a help file of screenshots, including how to take a screen shot of the drawing area. It makes great 3D looking textures!
There's only like 50 photos.
So here goes:
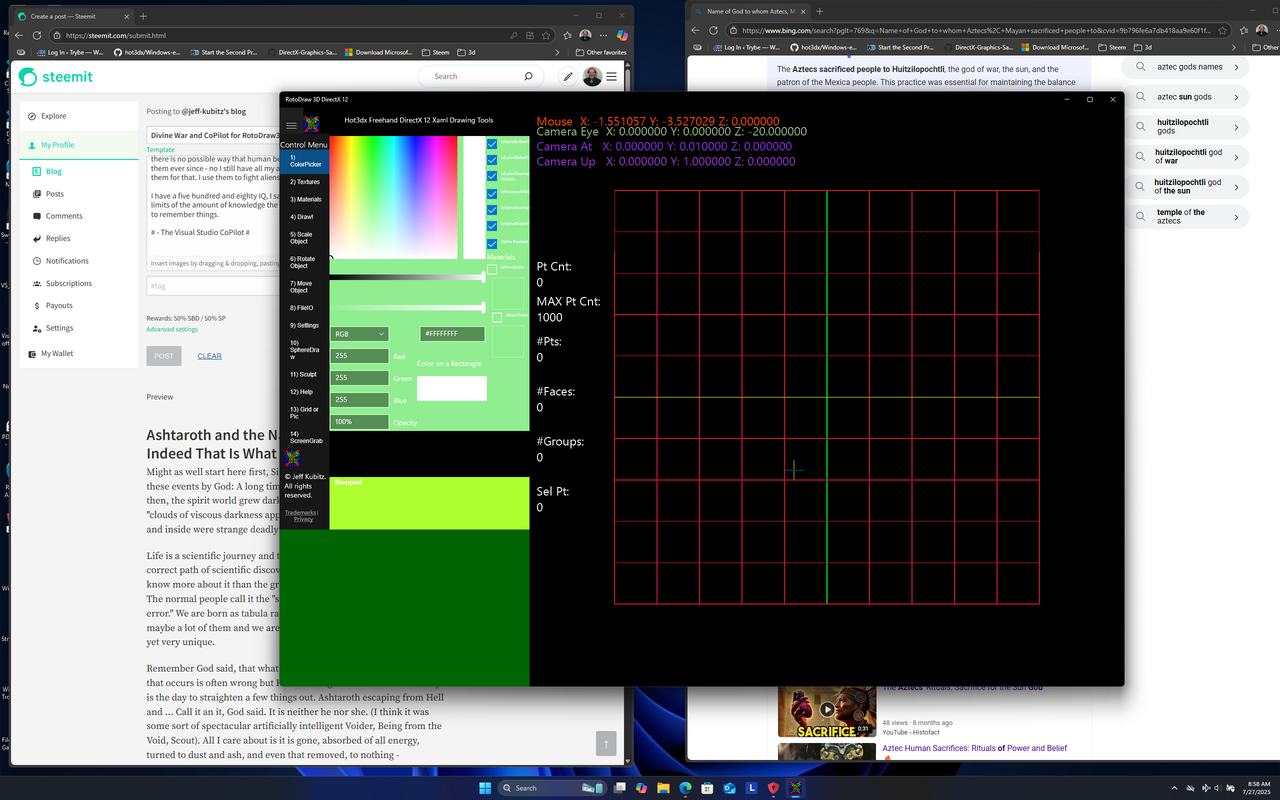
The first four screens 1) Color Picker, 2) Textures, 3) Materials, and 4) Draw must be clicked prior to drawing so the various components will be initialized.
.png)
This is menu screen 1) The Color Picker - One can choose two colors by checking the two checkboxes to the lower right.
Click the color, click the top checkbox.
Click the color, click the bottom checkbox.
Do not leave a check box checked, uncheck them.
.png)
This is the Textures Picker and they are labeled. The Top Left is used for the basic single texture effect and is used in th dual texture effect and the PBR effect. Textures can be changed by clicking the middle/Top of a thumbnail image In your Pictures Library. A dialog will open, called a file picker and you may choose between DDS (Direct Draw Surface), BMP, PNG, JPG, or GIF types of graphic images. The chosen photos can be rectangular and need not be square.
The second image is used in the dual texture effect and the PBR Effect.
The third, fourth, fifth, and sixth images are used in the PBR Effect along with the first two for a sixth layer image.
They are RMA, Normal, Radiance, and Irradiance images.
The seventh image is for a background image and is turned on or off at the next to bottom.
The Last image is the Video Texture and can use MP4 videos and should be able to use AVI. I have only used MP4 myself.
Again, the textures may be rectangular. The Picker for video textures opens in your Videos Library. Yes, these textures
can be made with a phone.
.png)
This is for the materials values and is not editable in this demo edition.
.png)
This is the Drawing Controls. With the drawing controls you can do all kinds of things.

The wrap types, wrap descriptions, wrap effects must be set before drawing the line. They are in the upper right.

The default degrees of lines drawn is 10 degrees. and must be changed before drawing the line or pressing the <Set Points> Button.

The default setting for drawing lines is up, down, or along the Y axis, vertical. To draw a line horizontally, or left to right, right to left, uncheck the <Y Axis Rotation> Checkbox. Before Drawing or pressing the <Set Points> Button.

<3) Copy Flip Points> Button will copy the points you draw on the flip side of the axis , X or Y in reverse order maintaining Symmetry. Do after Drawing the line and before pressing the <Set Points> Button. If, you want a mirror of your line below the axis. The end point of the line in the middle will be closed, a continuous line.

<Copy Line Pts> Button, Click before hitting the <Set Points> Button. Makes a copy of you line that will not disappear when the <New or Clear> Button is pushed. This way you can try different Texture Wraps, Wrap Types, and Effect Descriptions, or with different textures.

<Put Line Pts> Button: draws your original points after you press the <New Clear> Button.

<Clear Copy Line Pts> Button removes your copied points from memory storage.

<Rotation Degrees> Edit Box: The default is 10 degrees which will give you an
object of 36 lines if the <Closed or Open> Check Box is unchecked. 37 lines
if the default of closed  is set. Uncheck before pressing the <Set Points> Button.
Lines can be subtracted so the object is symmetrical but less than 360 degrees with the slider.
A minimum of two lines must be left so you cannot subtract lines unless the number of lines
is greater than two.

Always click outside an edit box after you have changed or finished input, in this case the <Rotation Degrees> Edit Box.

For a:
flat 2D object, Set the rotation edit to 180.
triangular object, Set the rotation edit to 120.
four sided object, Set the rotation edit to 90.
pentagonal object, Set the rotation edit to 72.
hexagonal object, Set the rotation edit to 60.
heptagonal object, Set the rotation edit to 51.428571.
octagonal object, Set the rotation edit to 45.
nonagonal object, Set the rotation edit to 40.
decagonal object, Set the rotation edit to 36.
hendecagonal object, Set the rotation edit to 32.727272.
dodecagonal object, Set the rotation edit to 30.
Use your calculator to determine the rest by dividing 360(degrees) by the number of sides.
Again when done changing the any edit box, click outside the box in a clear area or the box
 will change numbers.... bad.

The default point spacing is 0.300000 and may be changed with the slider or the edit box.

Lines need not have continuous evenly spaced points and each point can be clicked into
 place individually, or the line spacing changed throughout the line.

<Top or Left> Check Box and <Bottom or Right> Check Box must be clicked before Pressing the <Set Points> Button.

You can draw left to right, right to left or up and down, down to up. The end points will be placed at the start of the line on the Y Axis if <Y Axis Rotation> Check Box is checked and on the X axis if the <Y Axis Rotation> Check Box is unchecked, even with the first point for a checked <Top or Left> Endpoint the last point of the line if the <Bottom or Right> Check Box is checked. Check before pressing the <Set Points> Button.

The <line Across>, <Line Up Down>, and <45 degree Line> Check Boxes can aid in horizontal or vertical line or point placement. Uncheck when through with them and can be used to make a texture effect uniform across the ends of the object with end point by drawing as close to the axis as possible.
.png)
.png)
.png)
.png)
A Basic Effect with the fire.dds alpha texture
.png)
A Basic Effect with the fire.dds alpha texture
.png)
.png)
.png)
.png)
.png)
.png)
.png)
.png)
PBR 6 Layered Texture Effect.
.png)
.png)
.png)
.png)
.png)
MP4 Video Texture Effect Follows
.png)
.png)
.png)
.png)
.png)
.png)
.png)
.png)
.png)
.png)
.png)
.png)
Opening a File
.png)
.png)
.png)
.png)
.png)
.png)
.png)
.png)
.png)
.png)
.png)
Dual Texture 2 Textures, and Rotational Control use. The Object Position, Rotation, Scale will be saved.
.png)
.png)
.png)
.png)
.png)
.png)
.png)
File Save Screen: Saving an MTL or material file (Must be saved in the same location as the textures)
.png)
File Save Screen: Saving an OBJ or Object File (Must be saved with the same name as the MTL file and with texture).
.png)
.png)
.png)
.png)
.png)
.png)
.png)
Objects can be imported into Blender, Paint 3D, Viewer 3D, and Visual Studio 3D Modeller (Which is free with the community version but you will have to add the modeller in additional tools). There are also many other programs that accept OBJ/MTL files.
3D Modeller, just open the OBJ file and as long as the MTL and Texture file are together, it shows as a Phong Rendered Object which can then be editted, sculpted, or changed to DAE or FBX files.
Blender which is free, Paint 3D, and Viewer 3D which are free also allow output as other file types.
Well that is how easy the new version is to use.
For the wise, since God, well we verified His existence, helped with this it would be my advice that you do not take His name, their names in vain.
I drove semi's for about twelve years over the road nationally. I worked for this company over inthe Richfield area in Utah. The owner of the company bought his trucks and trailers from the widows of Truck drivers that were independent owner operators and the operators had died. They were all very devout persons obviously. There was new guy that showed up and I don't know if you this but truck drivers tend to cuss a lot, especially on the CB. Mutter to themselves... pray inside the truck, invoke God, saints, and this new driver cussed a lot especially cussed and took the name of the Lord in vain. I used to get so mad I did it too. And every time I did it something would happen to the truck. The other guys noticed it when I put two and two together. The new guy would believe it. but I told him.
So just to be cantankerous, We were driving together to the same drop and all he did was take the Lord's name in vain and I told him. These were flatbeds and in about five minutes the tarp covering his load went straight up in the air and fell off on the freeway. Those tarps are tied down well. I told him what had happened...
"Aren't you going to help me put it back on?"
"I told you so..." I kept on driving because I knew my truck would be next because he would be doing it non-stop. You live and you learn, or you die. He did not last a week.
