DIY Wine Stained Live Edge Charcuterie Board
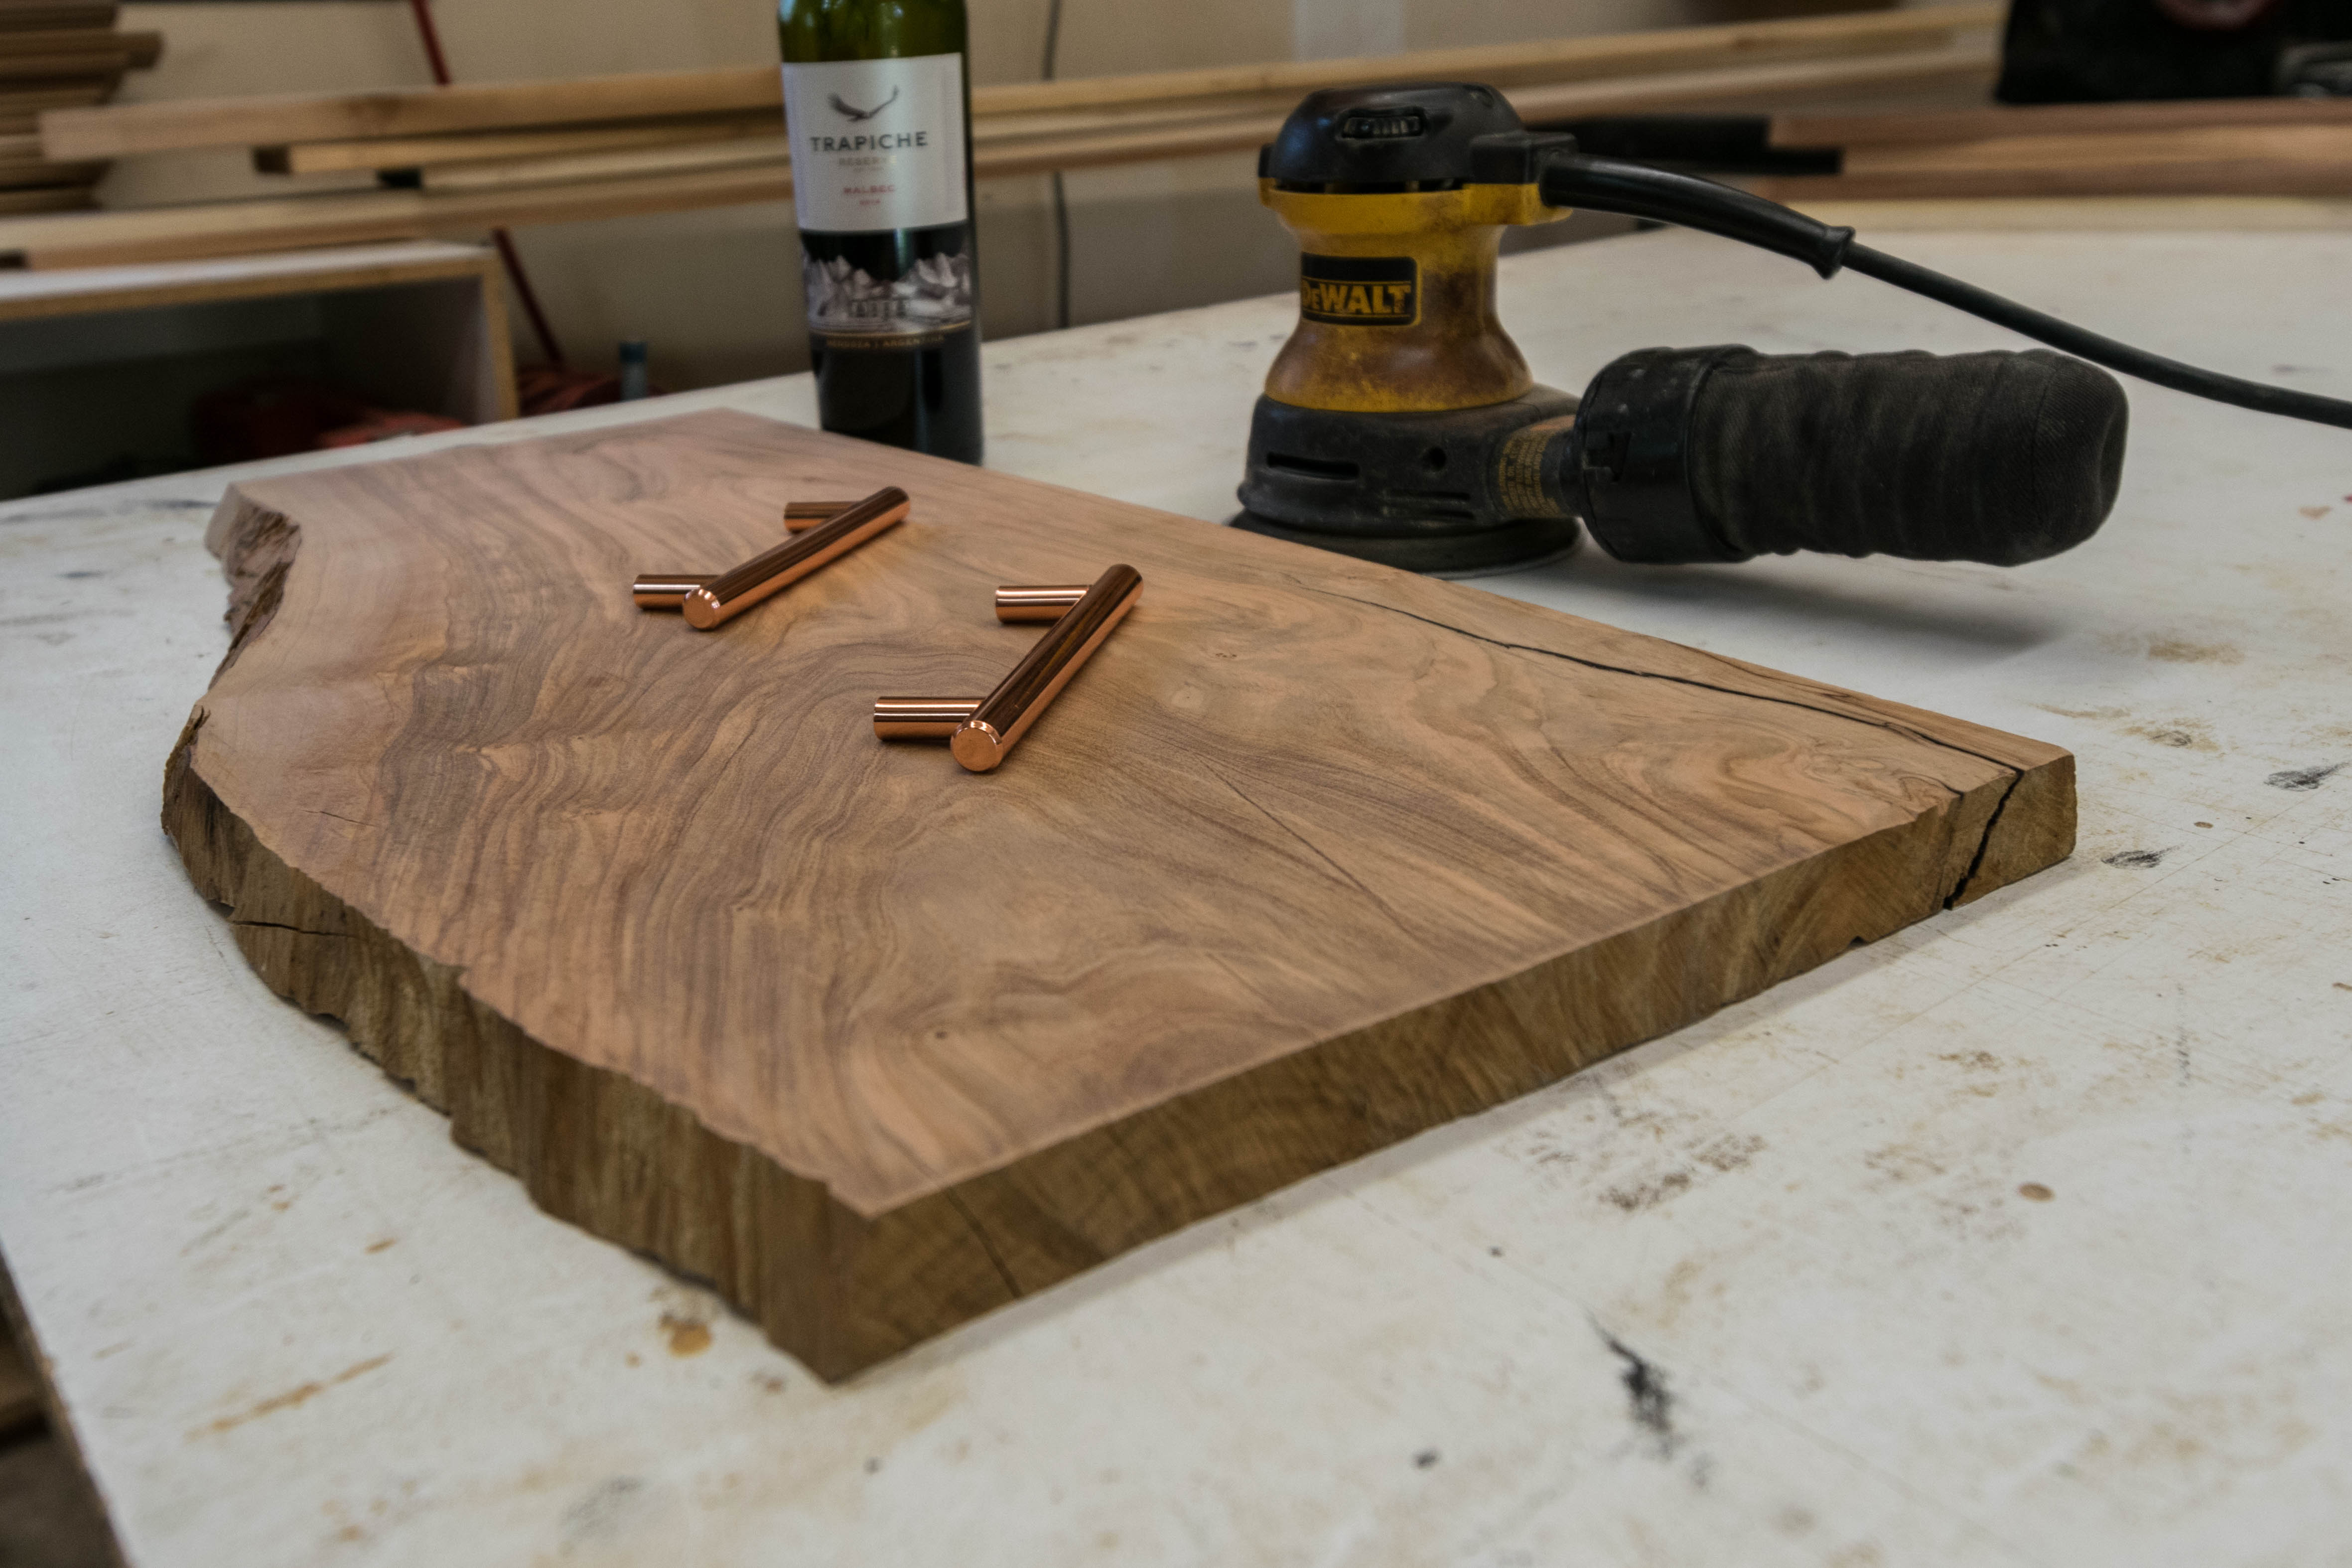
Welcome! Recently I decided to make live edge cutting/serving board with my girlfriend. I've made a couple in the past but ended up giving most of them away and she wanted one to keep. She had the good idea to stain it with red wine and picked out the handles to match.
.jpg)
The wood is olive wood and I picked it up from a local lumber mill where I buy specialty woods. They had a big pile of these pre-cut pieces. Each one was about 20 bucks if I remember correctly. The handles we grabbed at lowes for about $5 each. We had the old wine left over from a dinner party. So total investment was about 30-40 dollars.
.jpg)
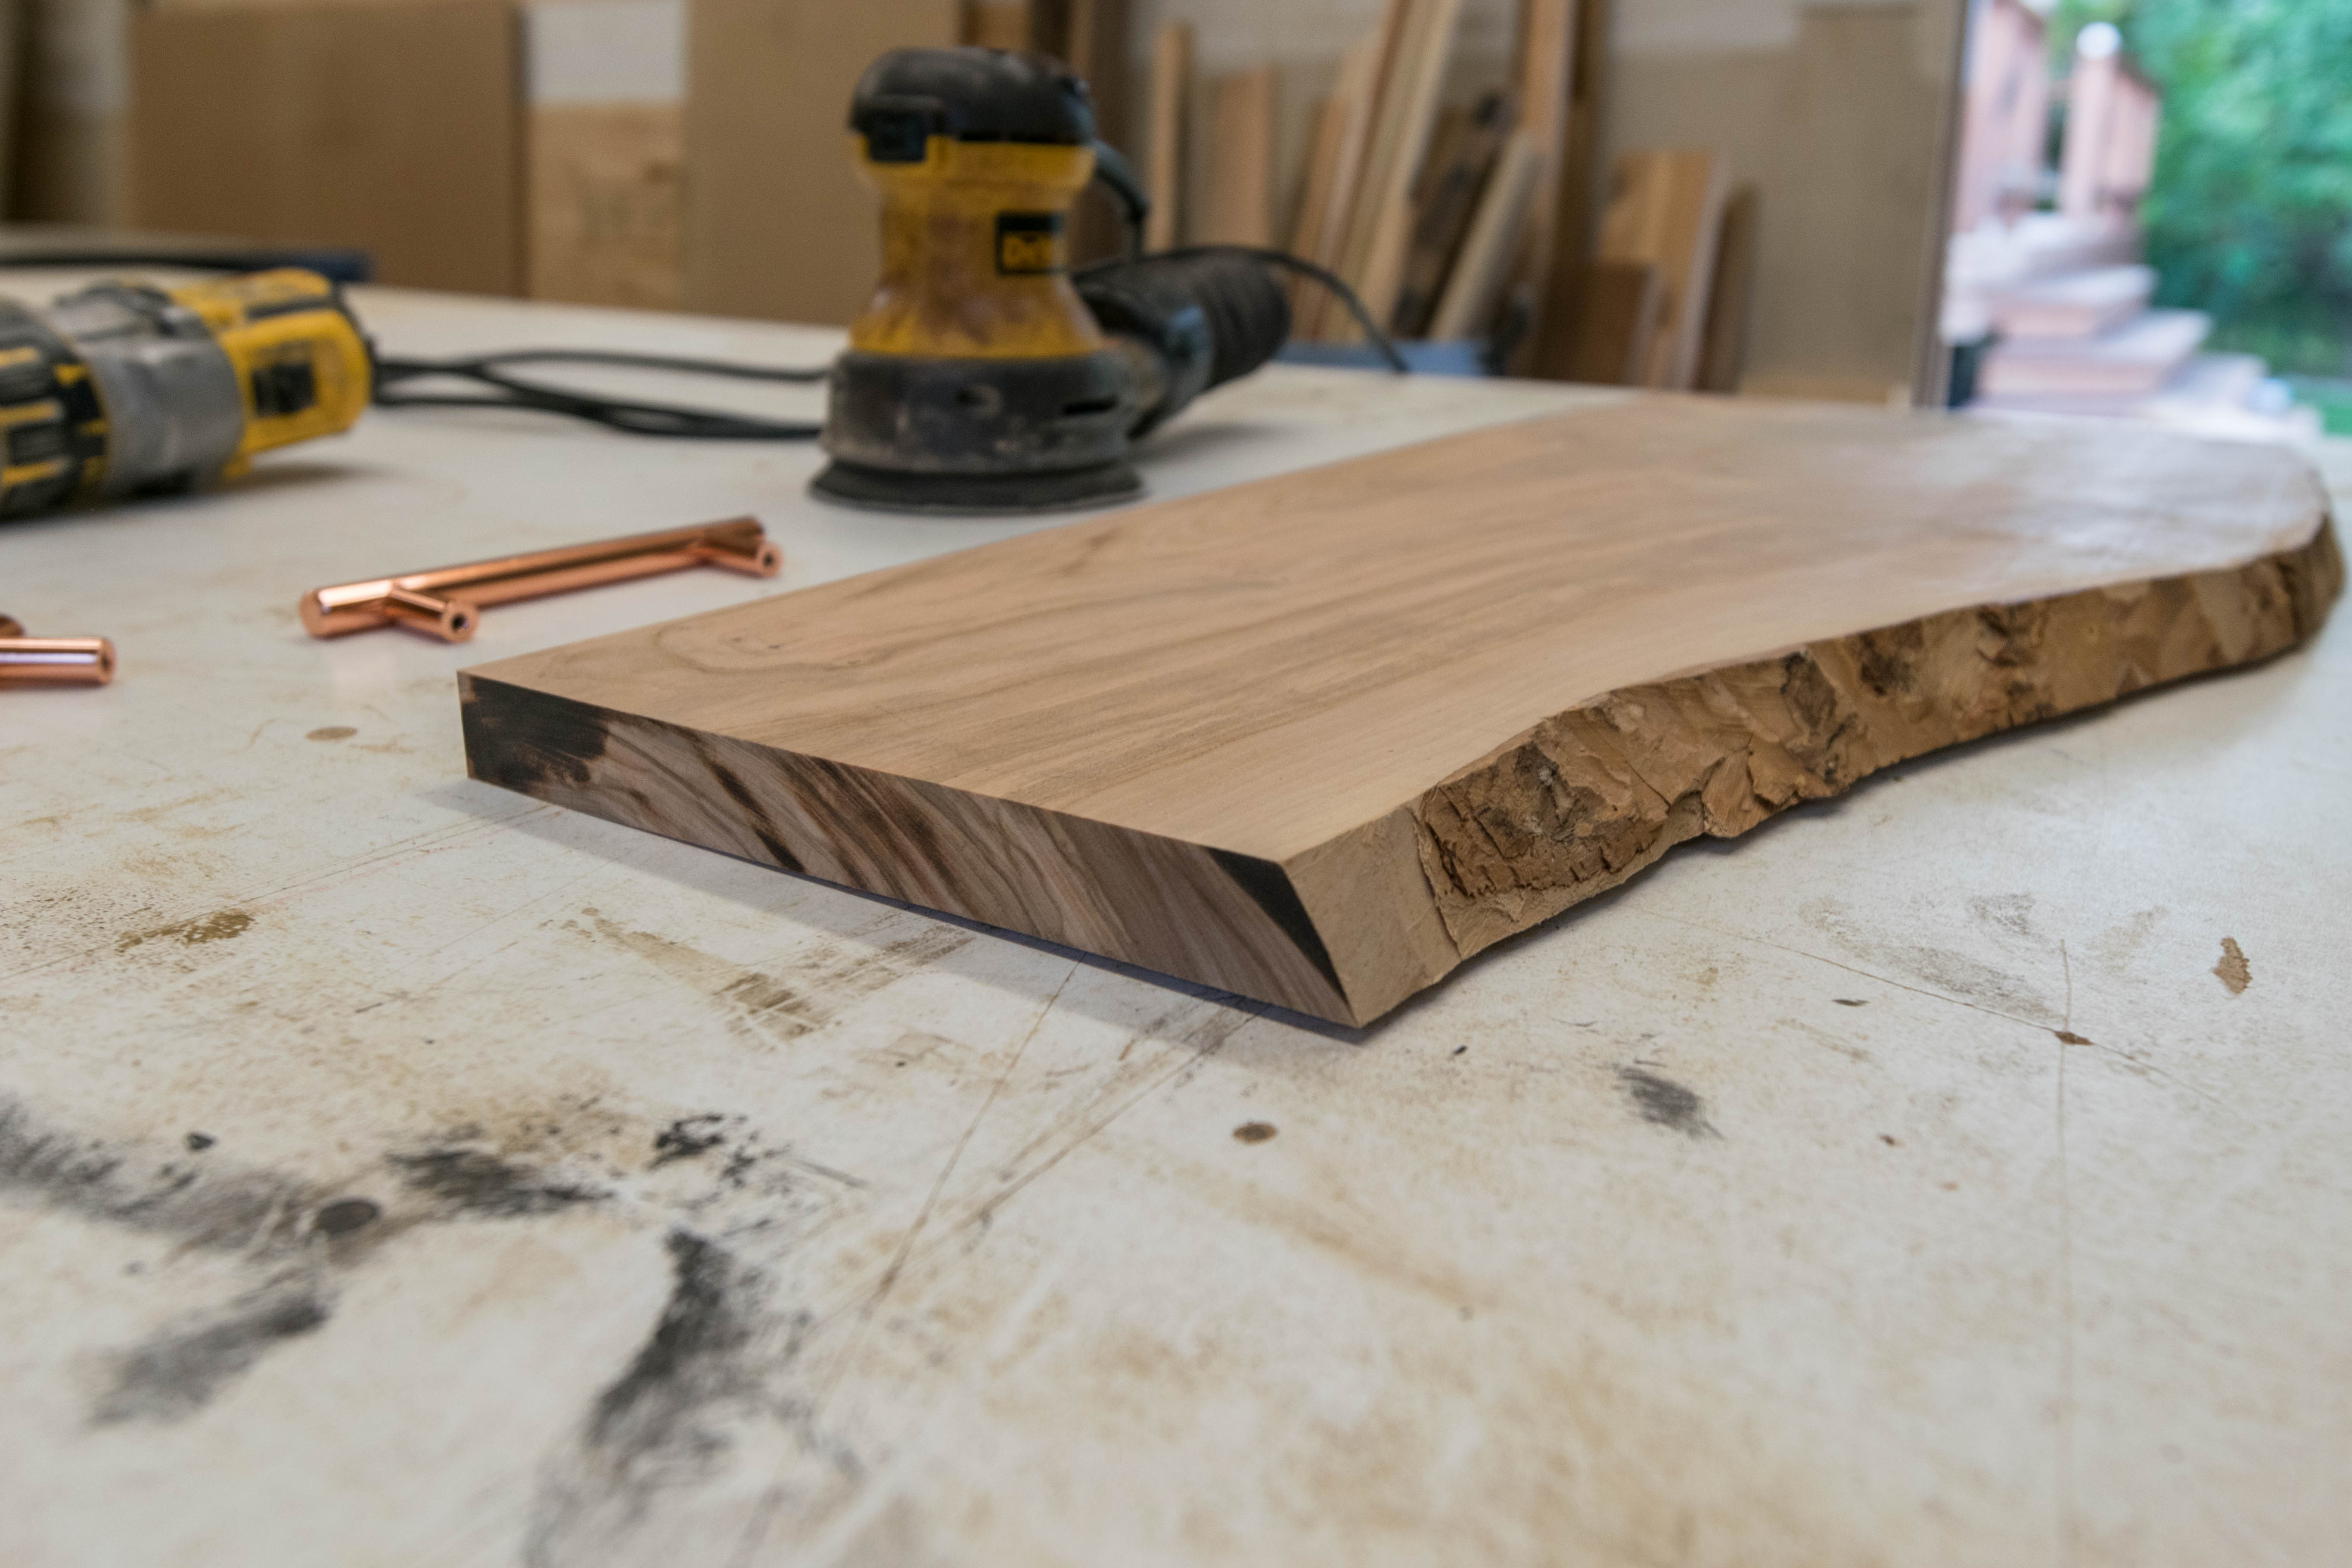
I cut the board so that 3 sides of it were square with one another and left the front edge natural. I used a pencil and framing square to establish my lines and then I free-handed it through a table saw. I've used track saws in the past for this part but free handing it worked out pretty well. Also if you look closely in this picture you can see I filled a small crack with wood filler.
.jpg)
Again just another angle of the cut. Here you can see the signature olive wood bark that I removed with a chisel.
.jpg)
Here's how it looked after having its first rub with red wine. I sanded the board to smooth it out and open up the pores of the wood (not pictured), Then I poured some red wine onto a rag and wiped it on. Pretty simple.
.jpg)
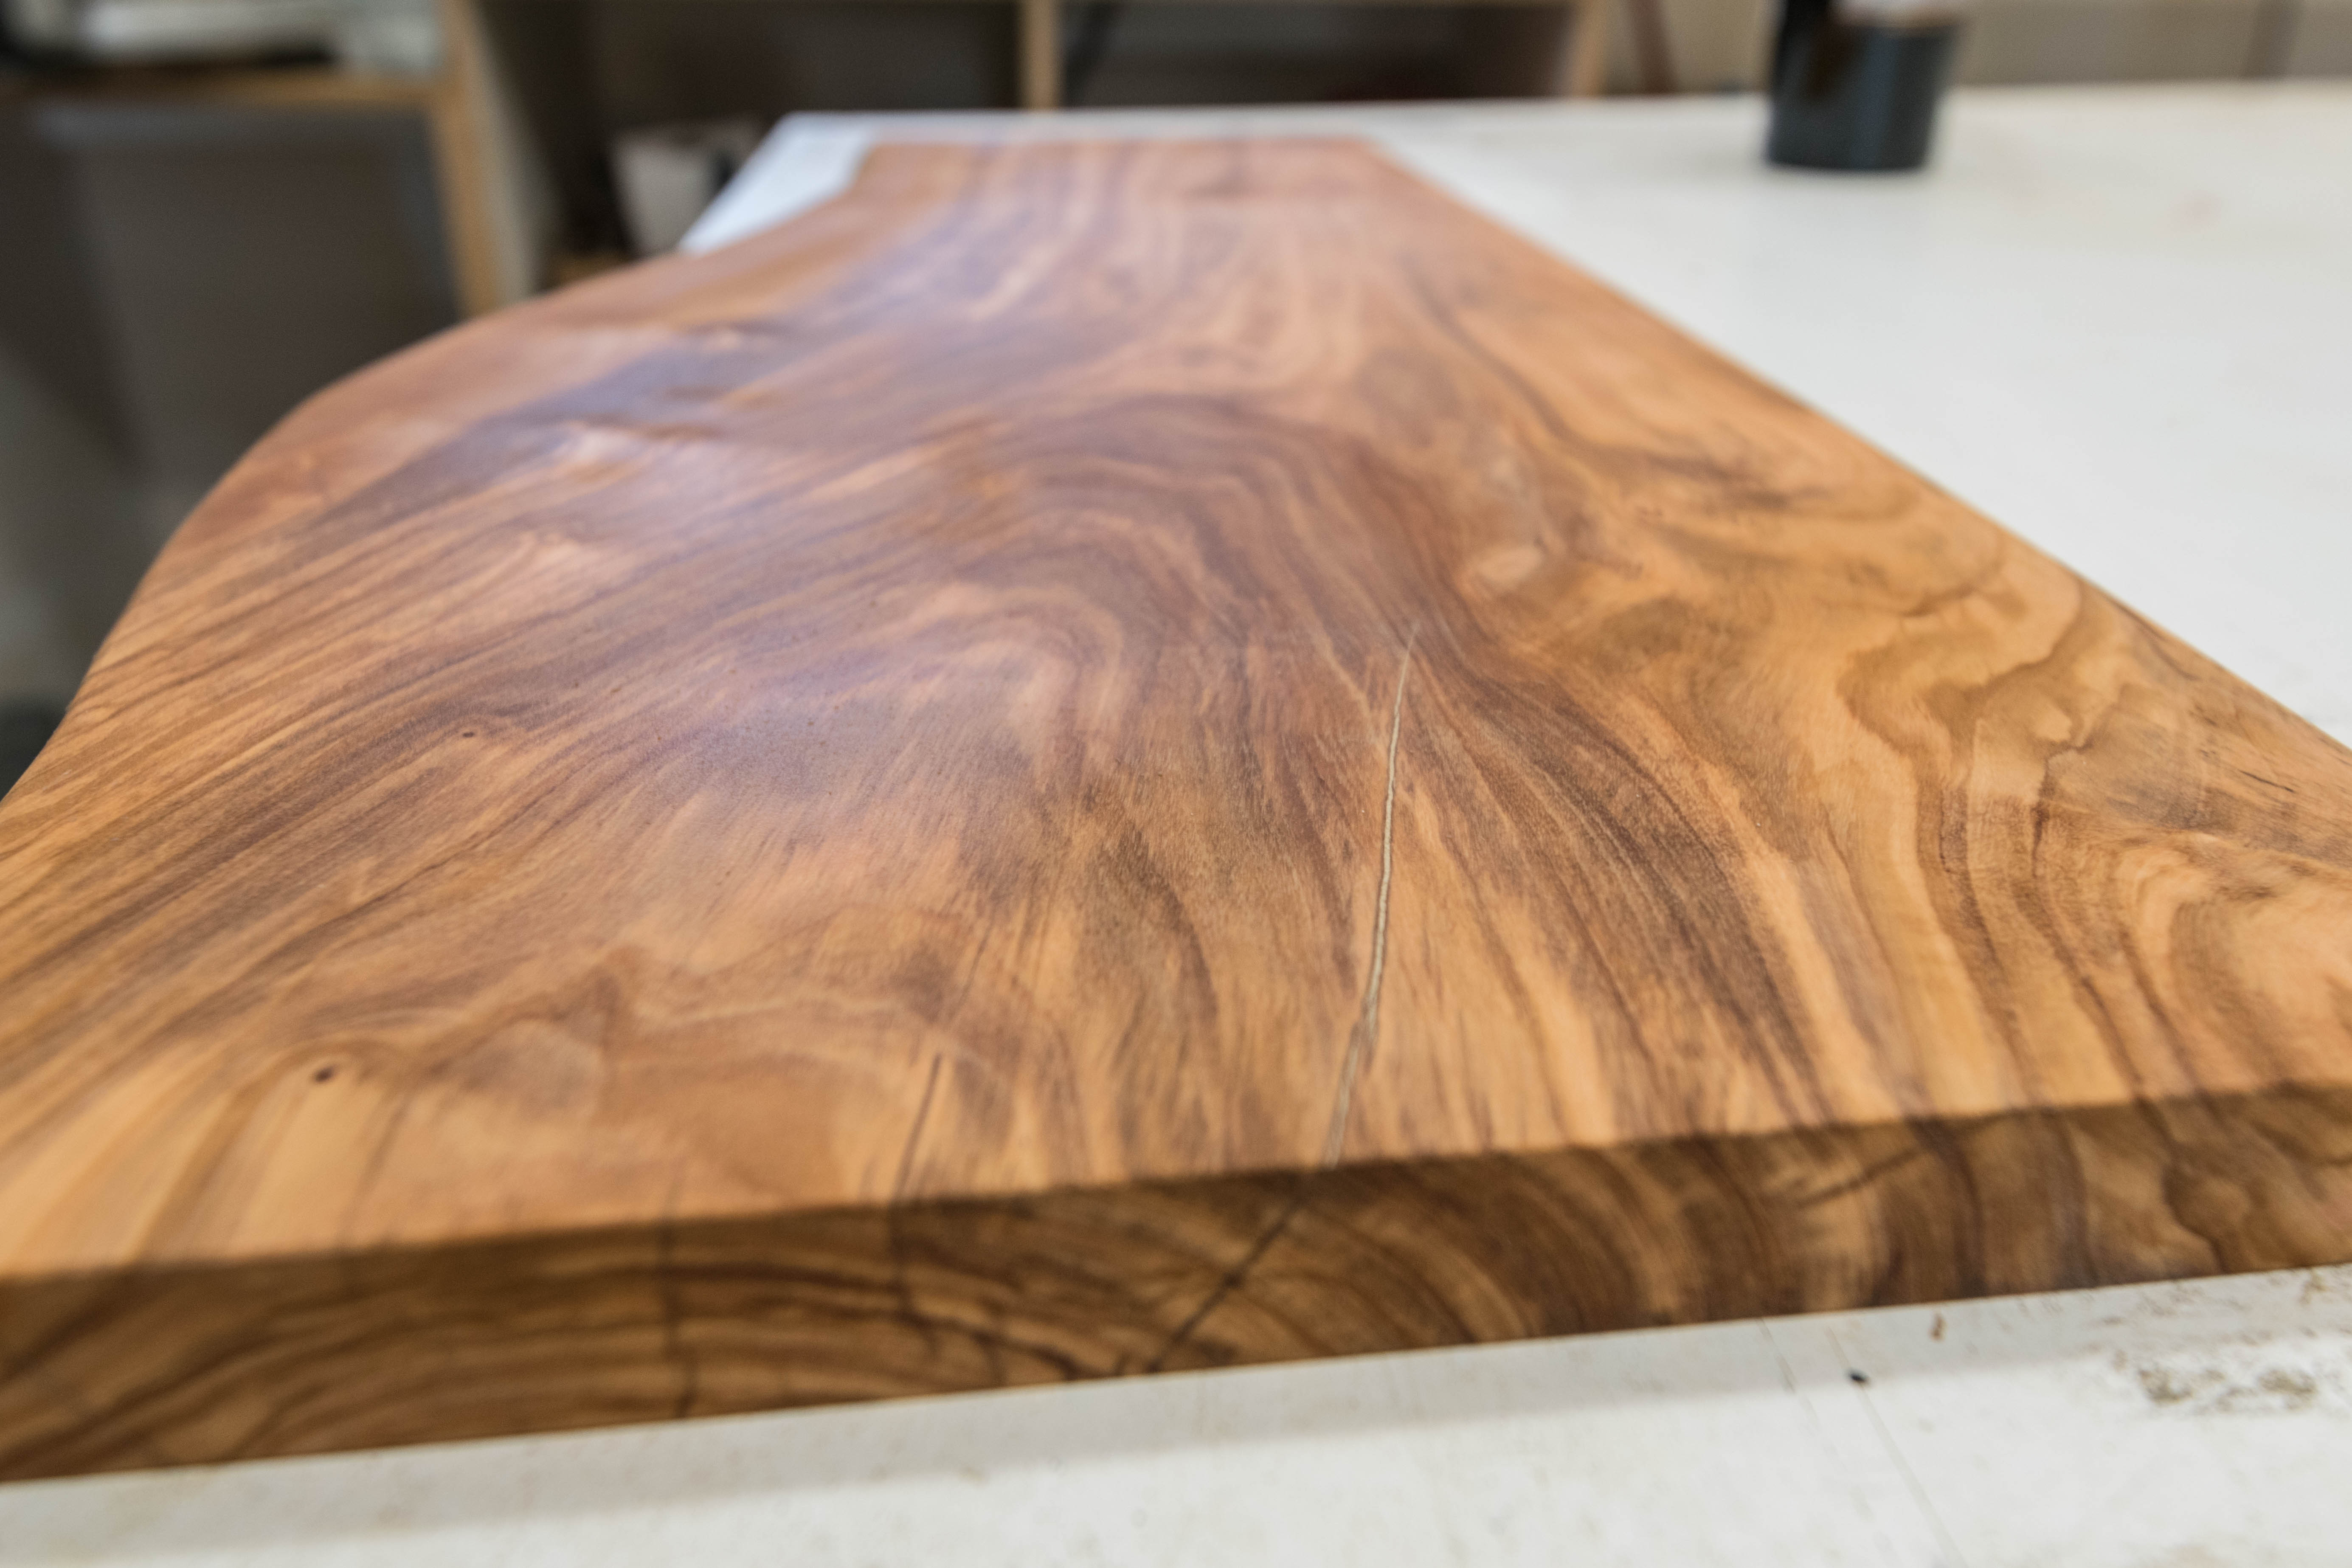
Here's a close up of how it looked after being stained twice with red wine. Not as red as I had expected but there was definitely a red hue that was added to the wood. Overall I really liked it. Maybe in the future I might try to distill the red wine down a little bit more so its a more powerful stain. I also considered soaking the board in a container filled with red wine.
.jpg)
As you saw in the earlier picture I wanted to include handles on this project. So I measured and drilled four holes for the handles. Here you can see how the board looked after the wine dried. Don't worry we'll bring back the wet look soon enough.
.jpg)
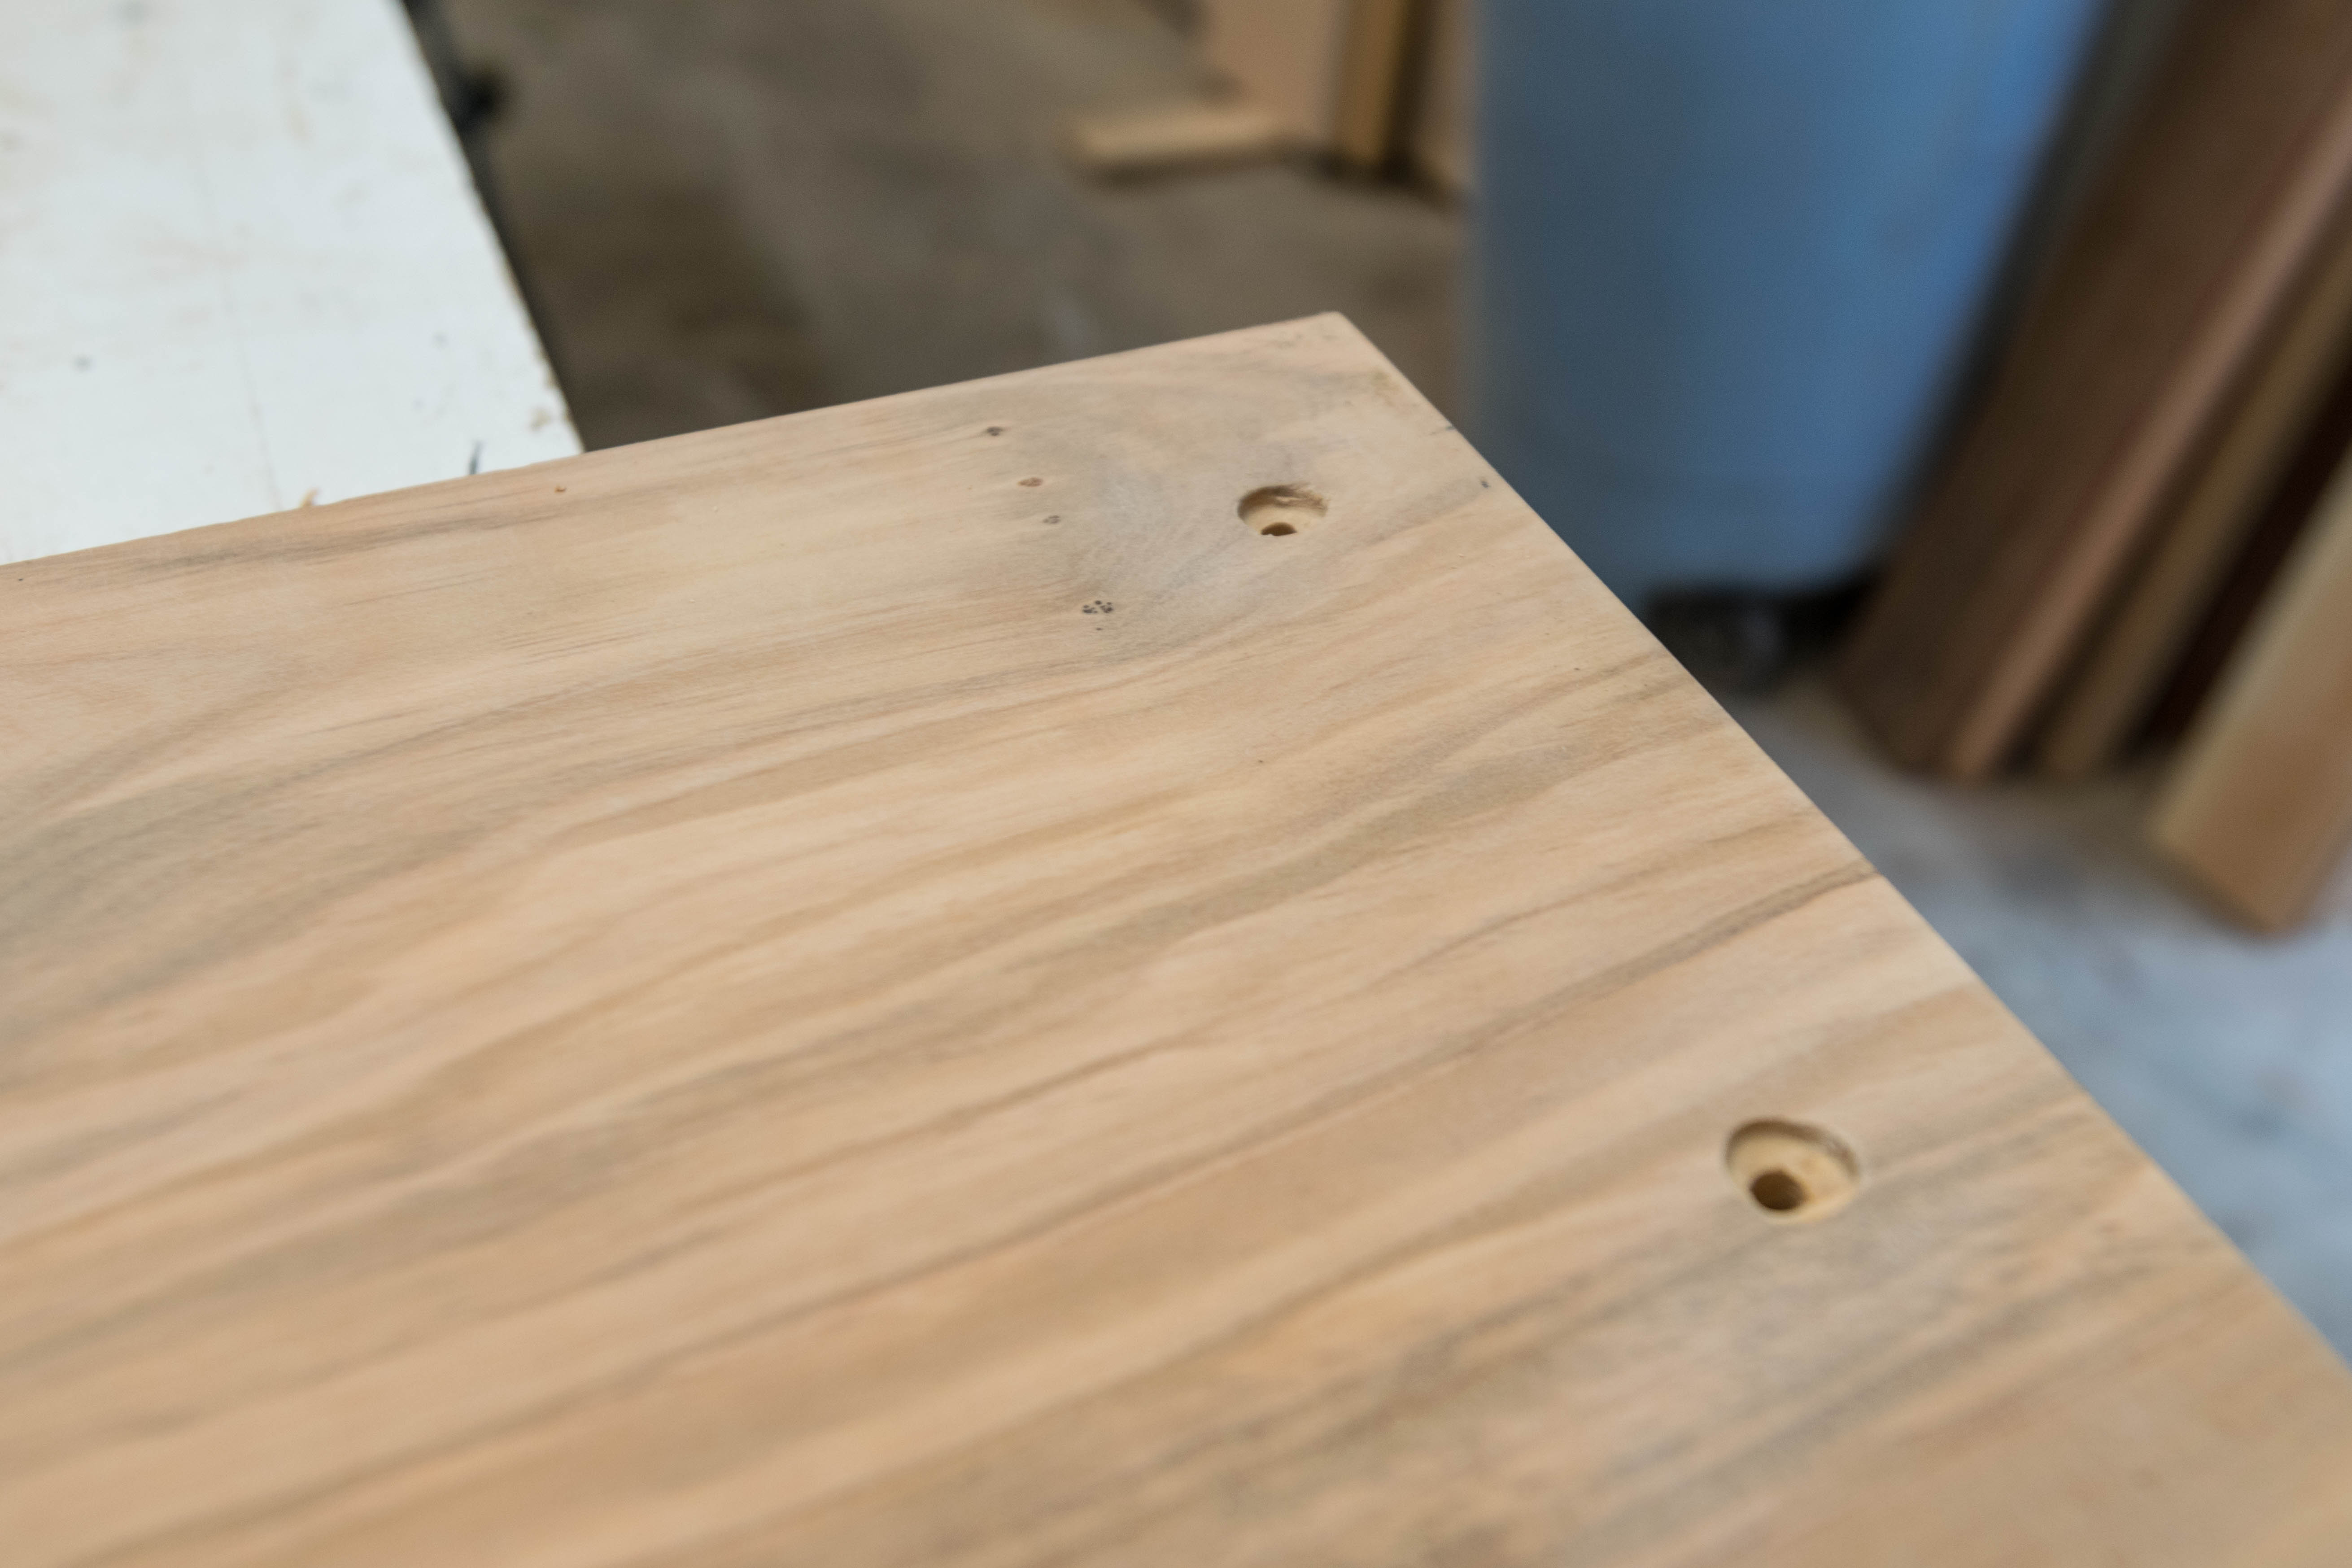
Since the provided screws are pan heads I had to counter sink the backside of the board so that the screw heads wouldn't scratch whatever surface the board was placed on.
.jpg)
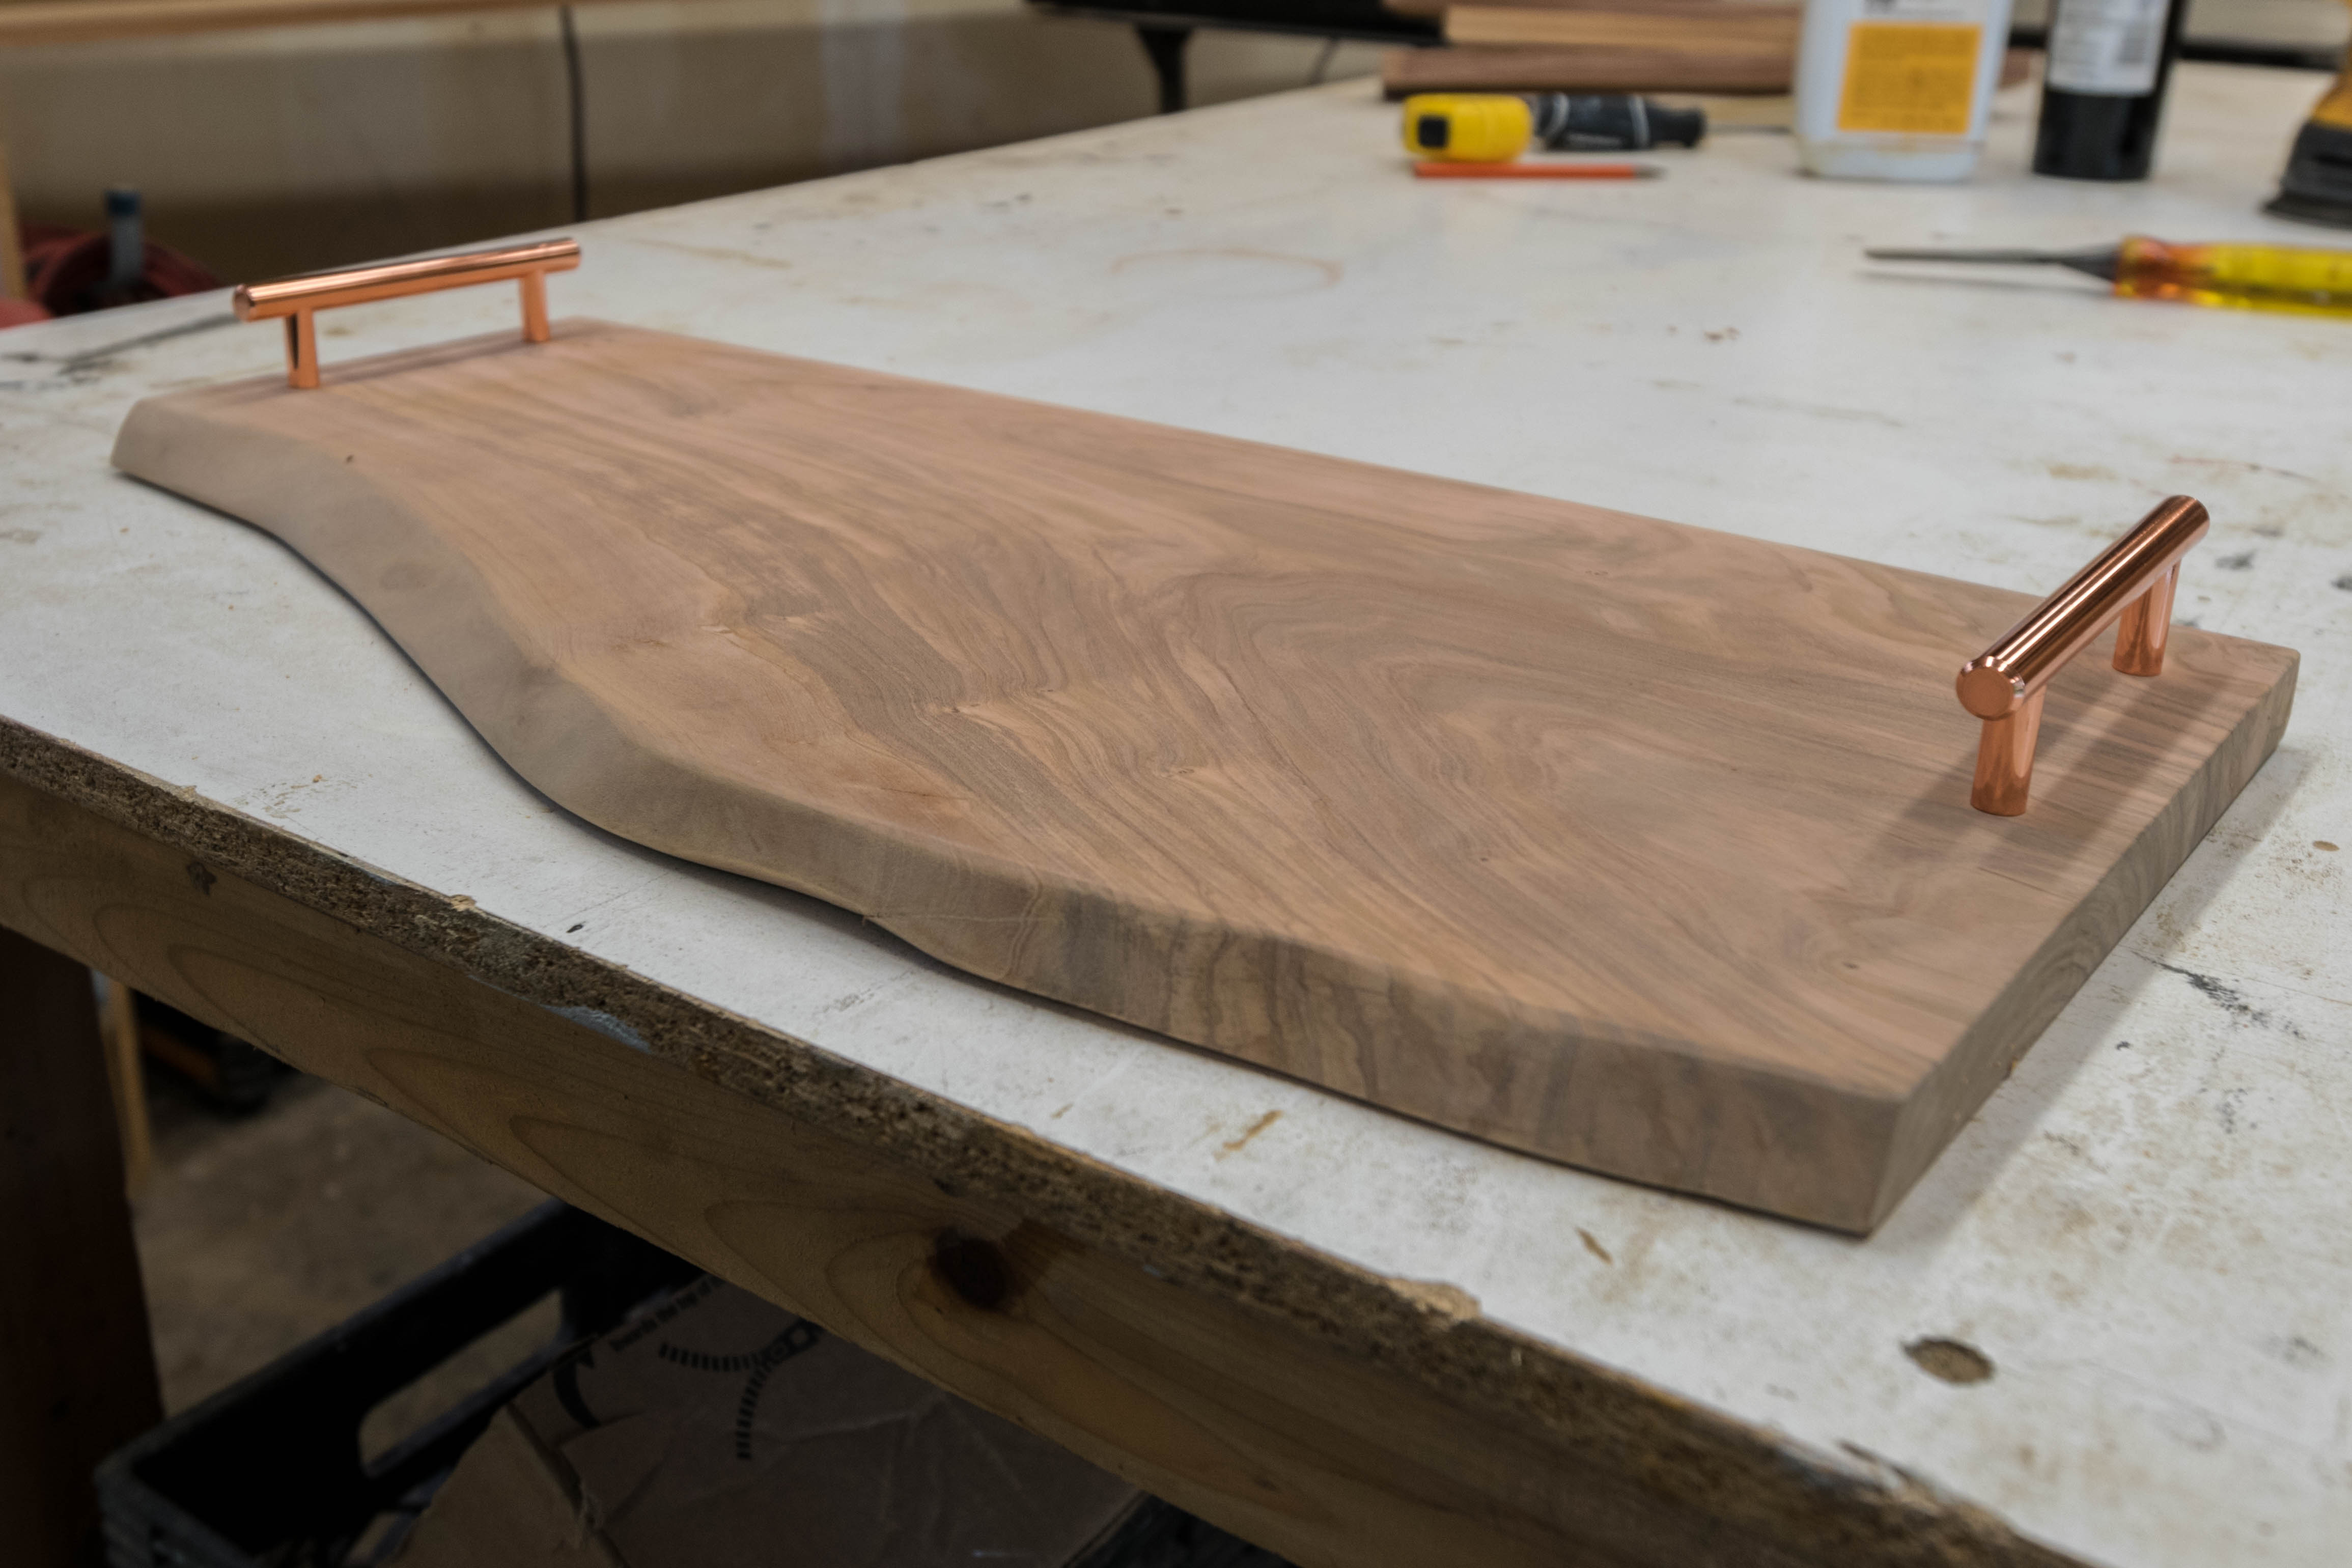
Test fitting the handles here. I think they look really good. Just regular kitchen cabinet handles, any home improvement should have something similar.
.jpg)
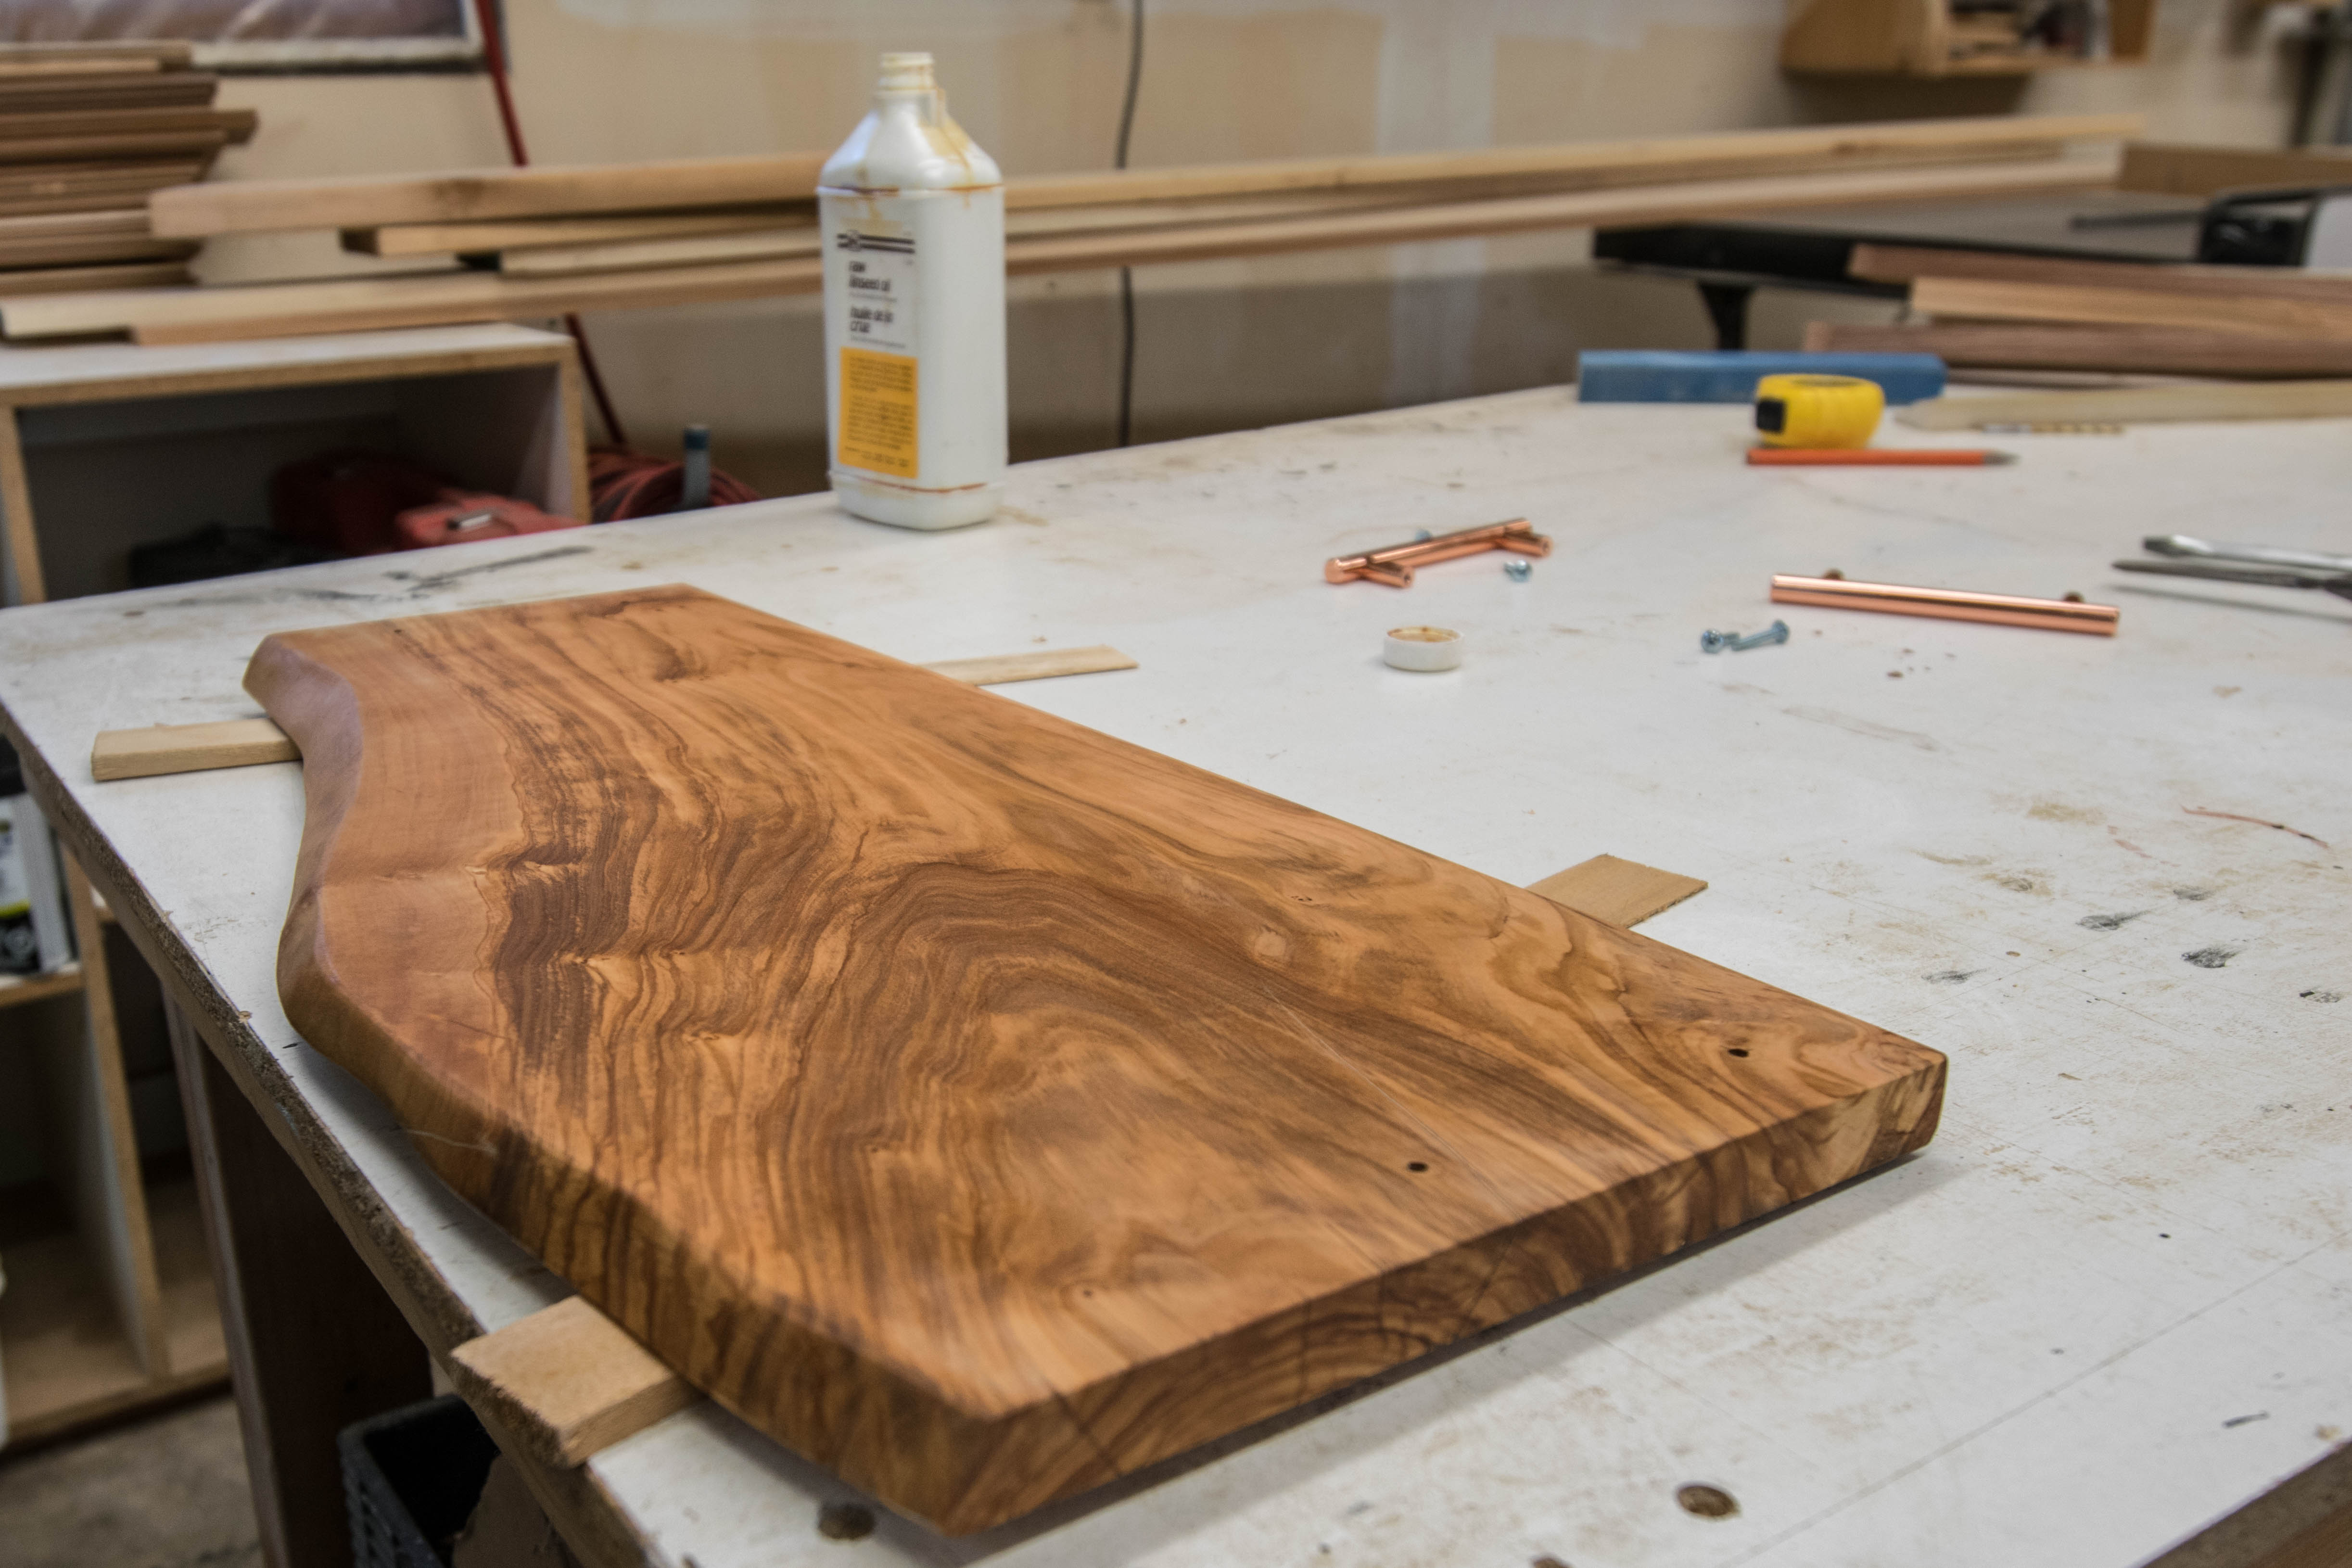
Here's how the whole thing looked just before it got oiled. All of the bark removed. All of the corners rounded off. At this point I think we wiped it down with red wine 3 times. We figured it probably wasn't going to get much more stained than this.
.jpg)
Next up we wiped it down with linseed oil. This adds a layer of water resistance and helps seal the wood. It also gives the wood a nice dark and wet look which I really enjoy. Make sure you use raw linseed oil, as I learned from some redditors boiled linseed oil can be toxic. Not great for a serving board.
.jpg)
Here's another shot just after the linseed oil was wiped onto the board. It really brings out the variation in the grain of the wood.
.jpg)
After giving it a few hours to dry it was time to put the handles back on.
.jpg)
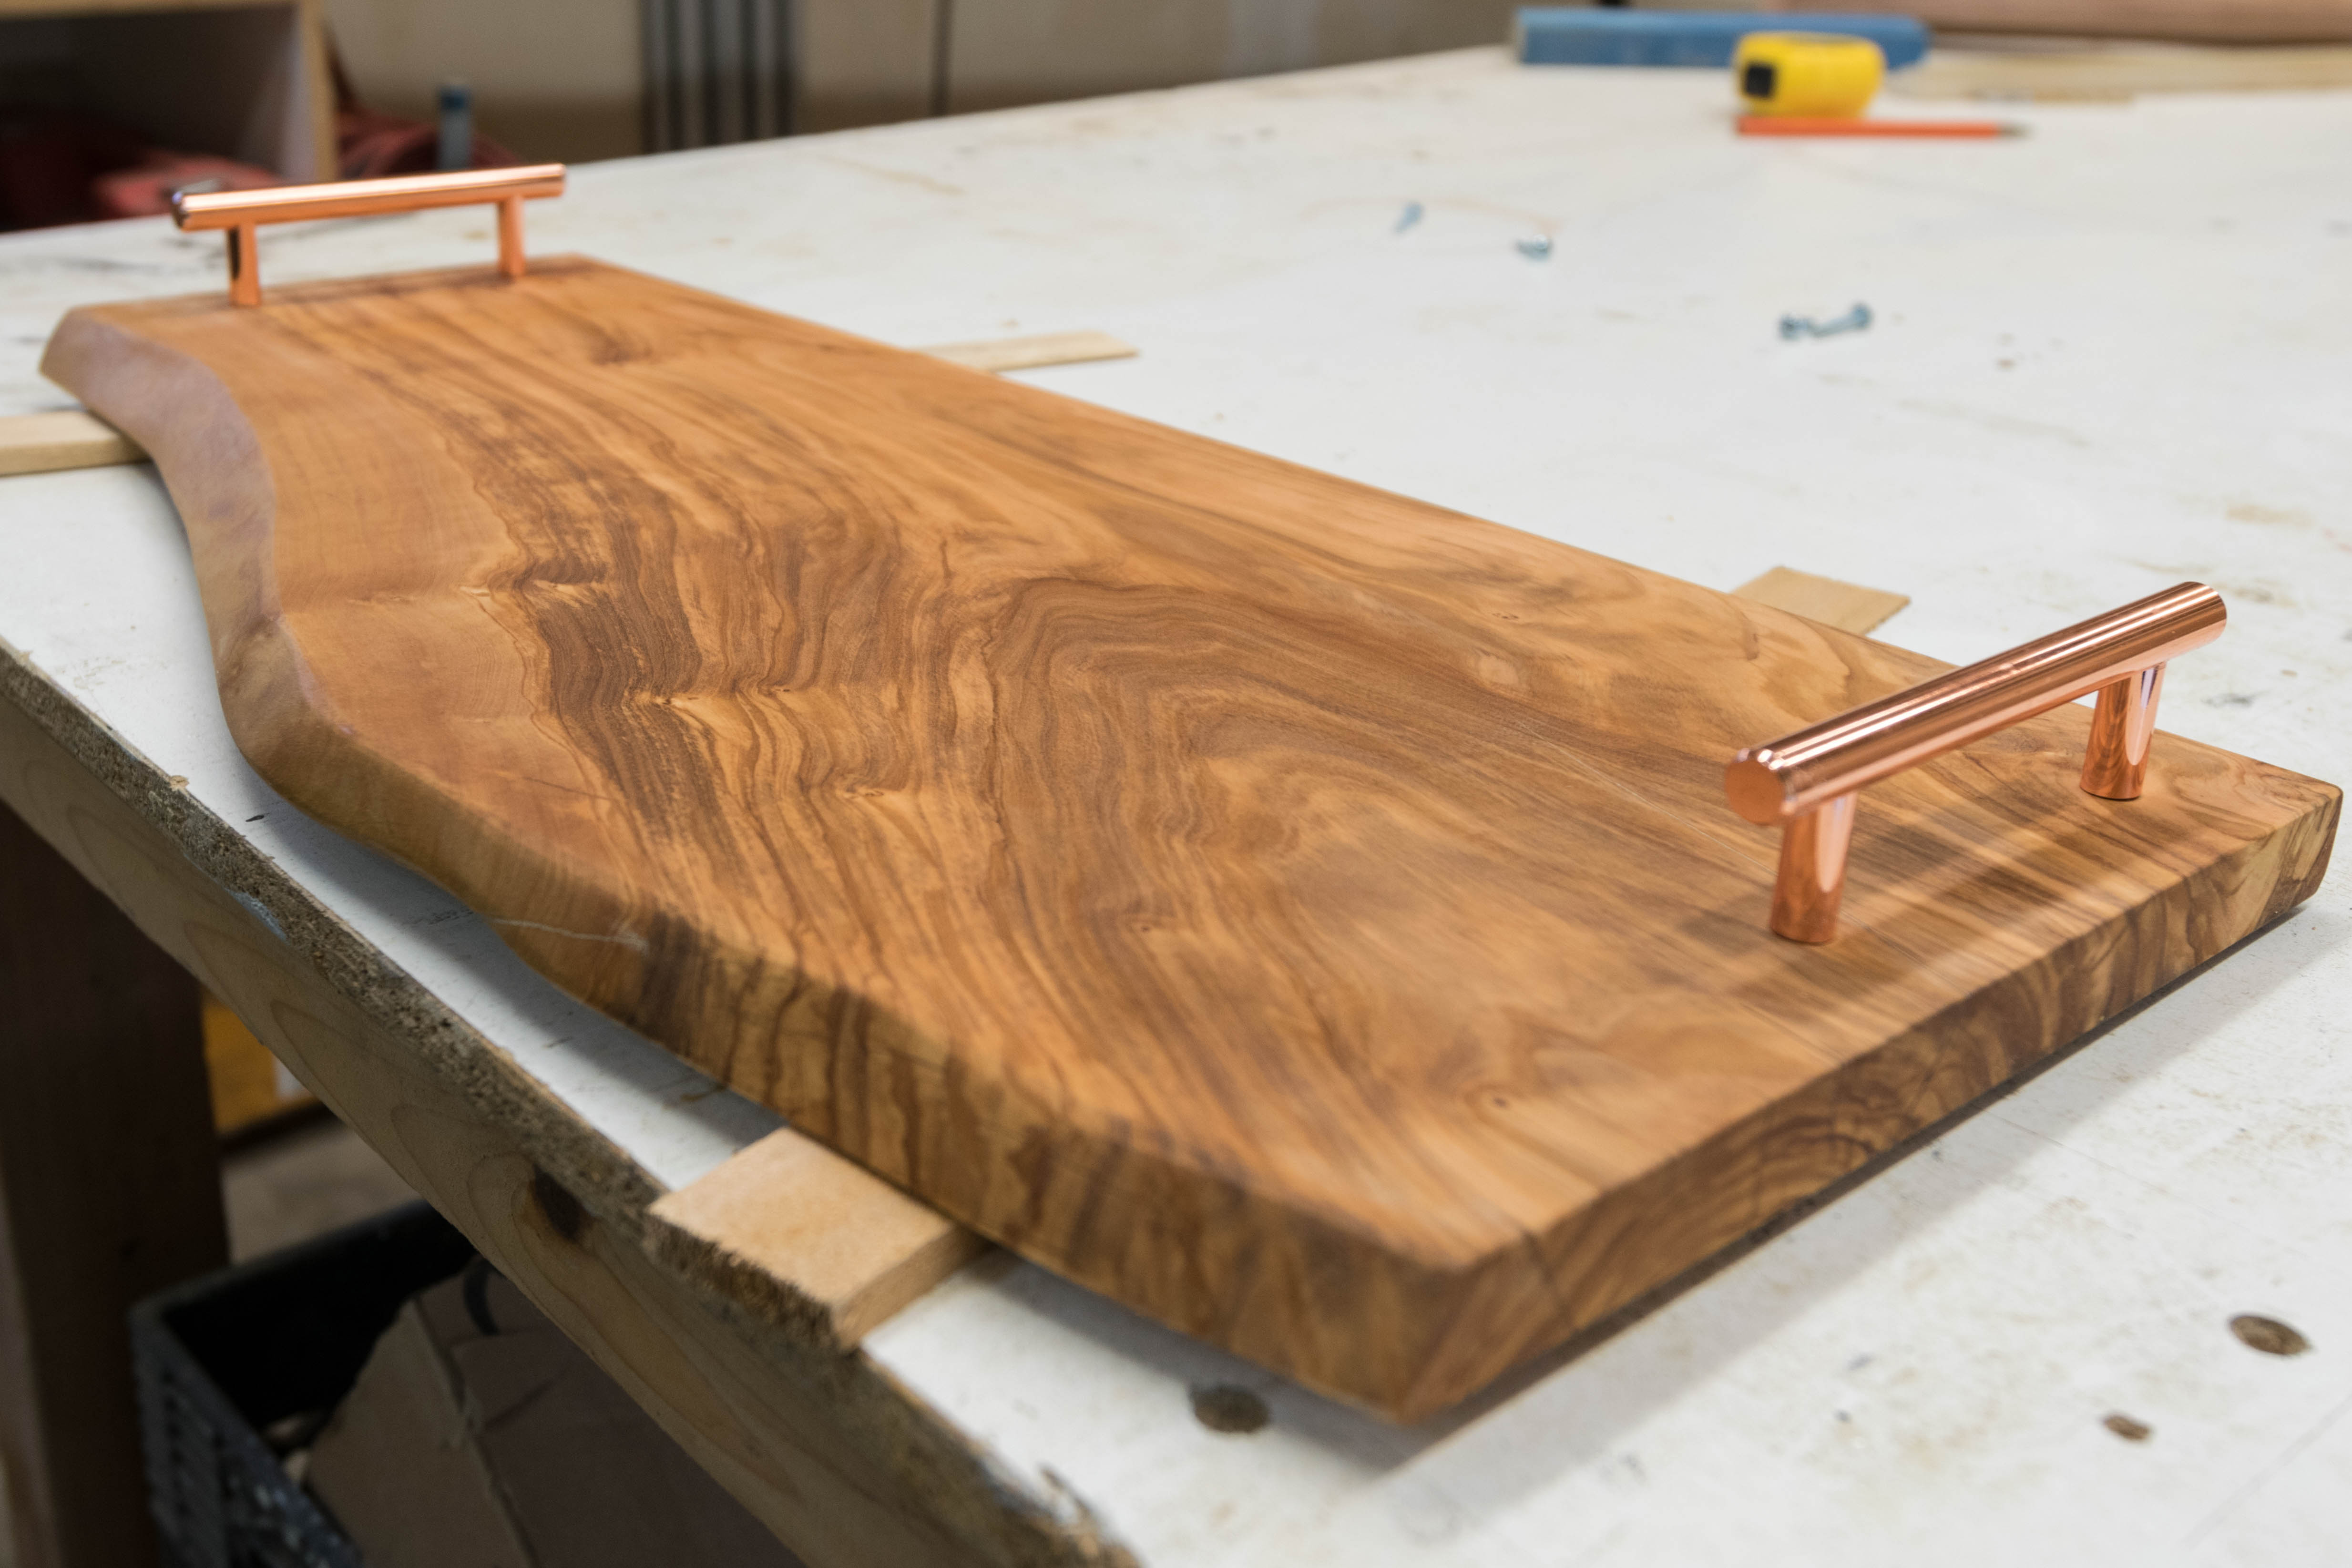
Here's a close up with the handles back on. This is pretty much the finished product. Though I think just to be safe I'll give it another layer of linseed oil in a few days once it's nice and dry.
.jpg)
One more glamour shot. Thanks for checking it out. Feel free to ask any questions. I'll answer what I can.
.jpg)
Partition is bad. But whatever is past is past. We have only to look to the future.
- Mahatma Gandhi
Congratulations @zacms! You have completed some achievement on Steemit and have been rewarded with new badge(s) :
Click on any badge to view your own Board of Honor on SteemitBoard.
For more information about SteemitBoard, click here
If you no longer want to receive notifications, reply to this comment with the word
STOPThis is a beautiful project, and pretty simple but clever. Very nice. I am thinking of doing a serving tray with recovered wood lime pallets etc. If you check my blog, I make stuff from wood that I pull out of the construction dumpsters. Anyway, I am going to follow you and watch your work!
Nice post! I will follow you from now on. I give you a vote!
Congratulations @zacms! You received a personal award!
You can view your badges on your Steem Board and compare to others on the Steem Ranking
Vote for @Steemitboard as a witness to get one more award and increased upvotes!