Easy DIY Doily Dream Catcher
Hi Everyone!
It's getting closer to Christmas, so I will try to post a few more DIY's, because they make wonderful gifts. They are inexpensive and easy to personalize.
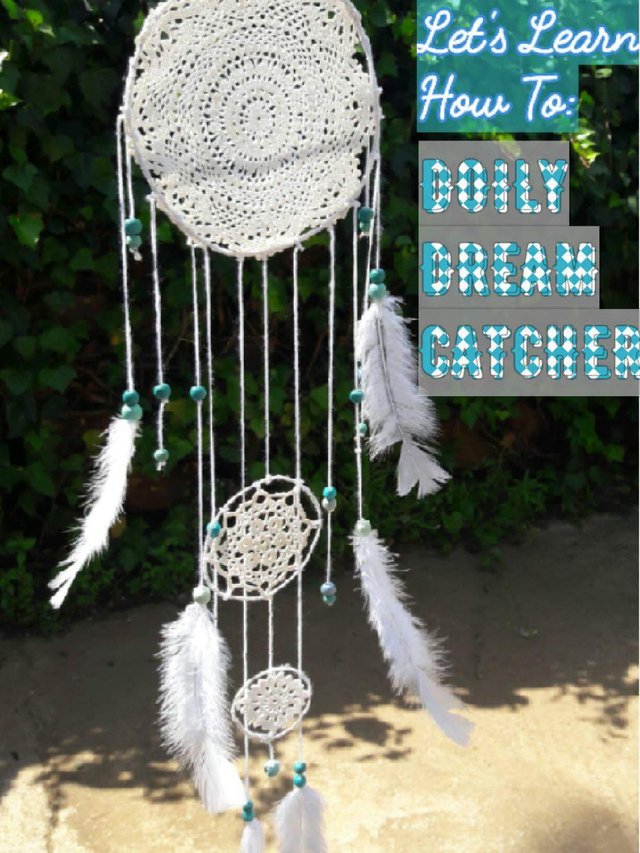
Today I will be showing you how to make this beautiful doily dream catcher. One of the best things about it, is you can use mostly recycled materials.
My parents own a second-hand shop, and they get all kinds of interesting things from auctions; so I take the bits and pieces they don't sell and make crafts out of them.
Without further ado, let's get into it!
What You Need:
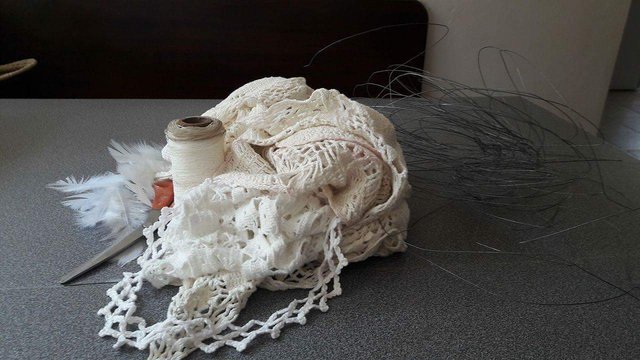
* Some old (preferably round) doilies.
* Thin yarn or wool.
* string in the same colour.
* Bendable but strong wire.
* Beads.
* Feathers.
* A pair of scissors.
* A cat (optional)
How To Do It:
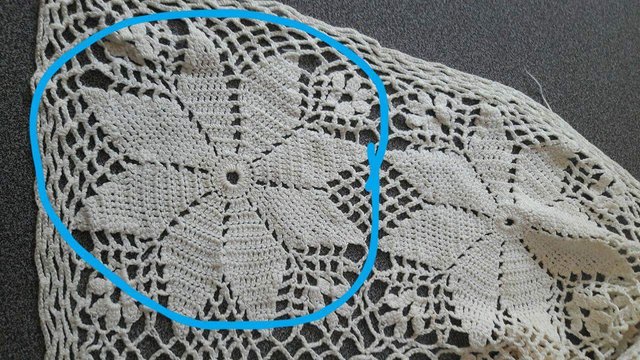
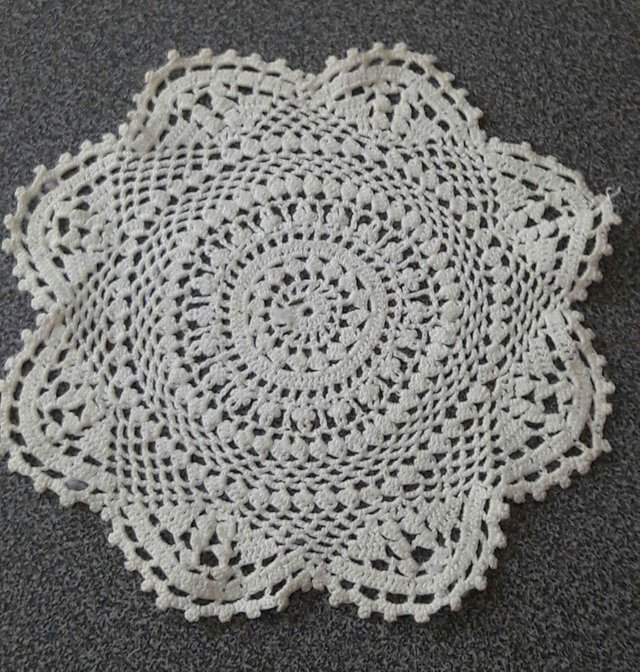
* To begin, lay your doilies out on a flat surface. Choose a part of the doily that you want to use, and cut it out.
Repeat this with three different pieces. One large, one medium and one small.
* Next, take your wire and measure out three different pieces that will fit around each of the doilies, with a little extra so that you have enough wire to wrap it around to make a circle. It doesn't have to be perfect, we will fix it later.
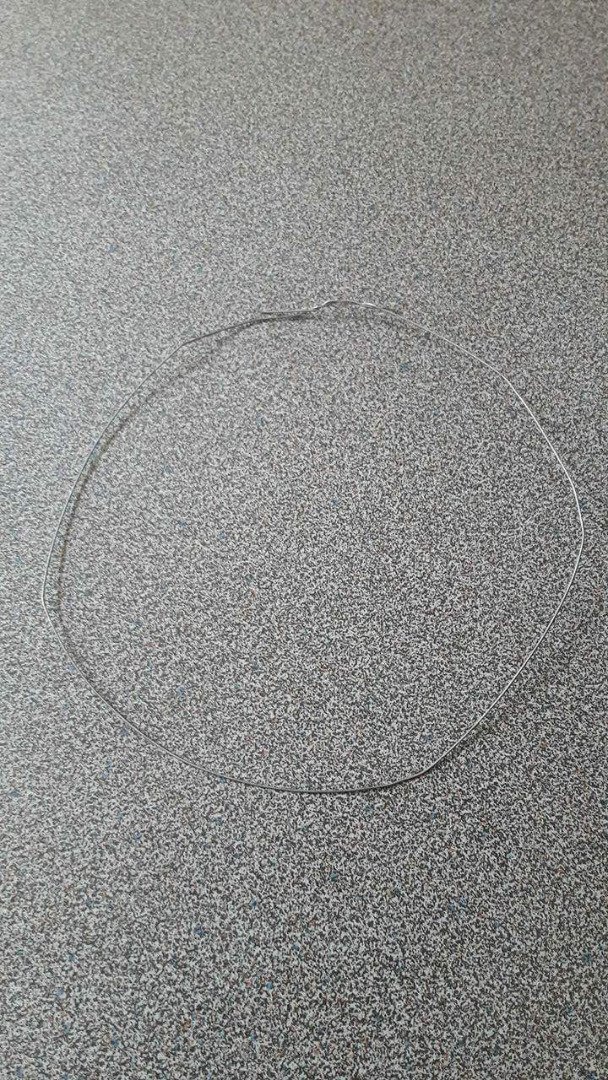
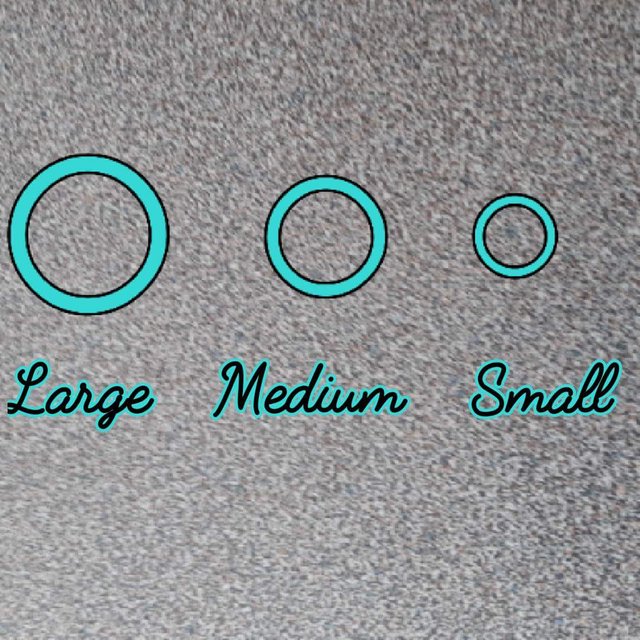
At this point, Gary walked in with a leaf on her butt; should I be concerned?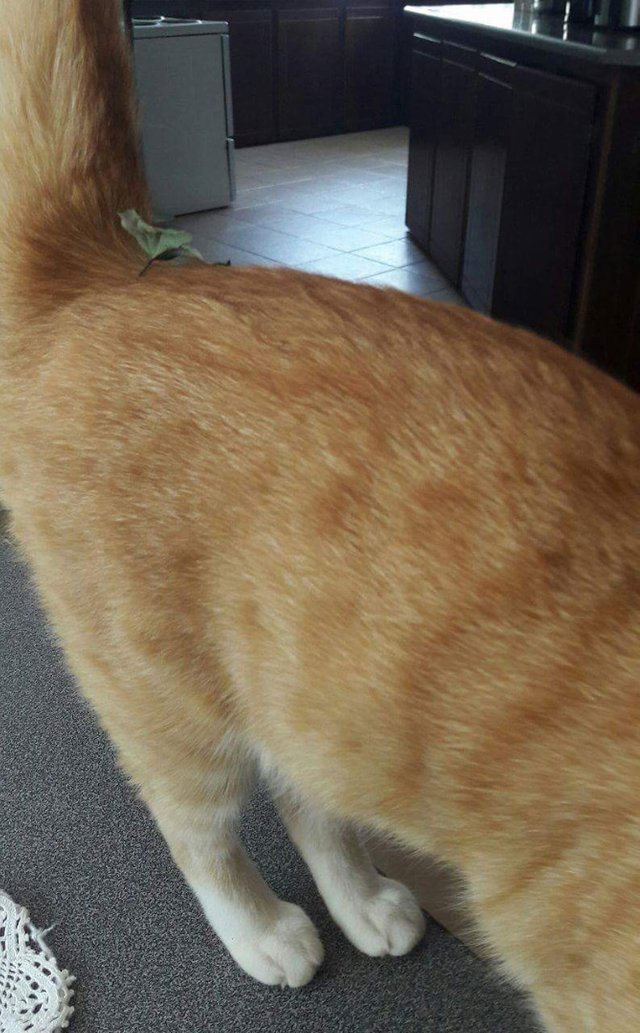
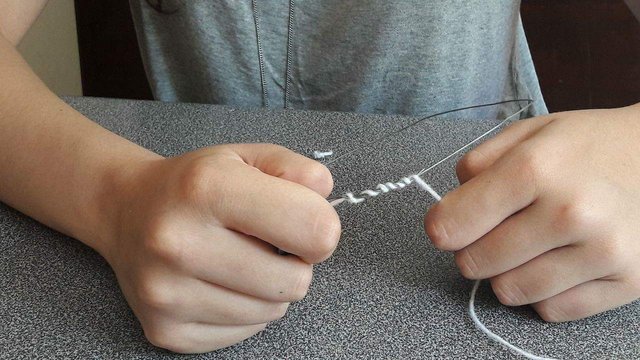
* Take the yarn or wool, and tie a knot around the wire ring. Wind it around loosely a few times. Pull the yarn tighter and push it together to cover up the wire. Repeat this all the way around the three rings. With the string around, it is a lot easier to bend the rings into rounded circles, so fix them up as needed.
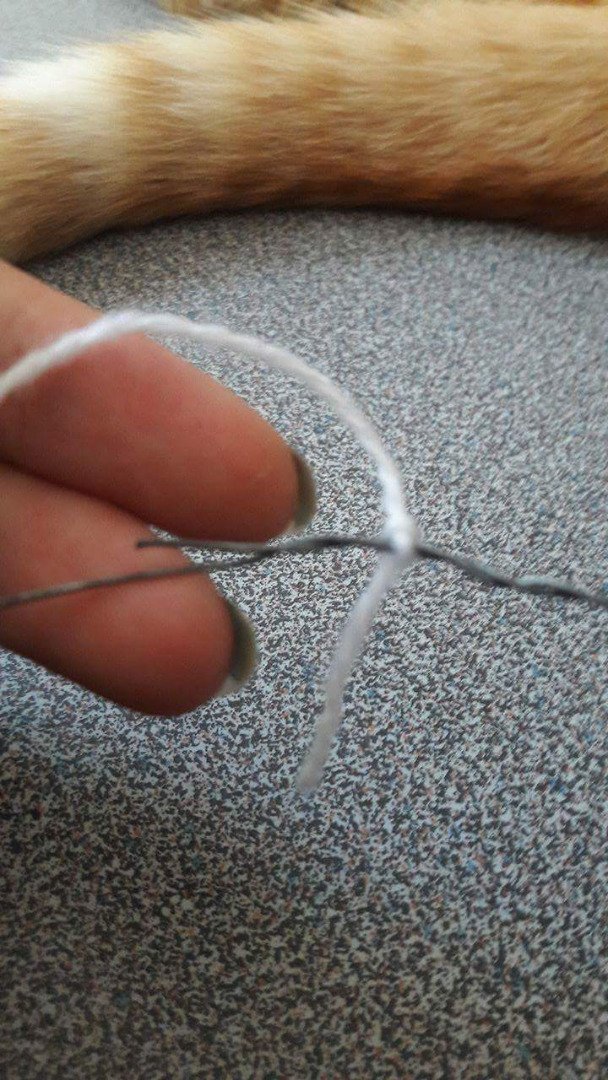
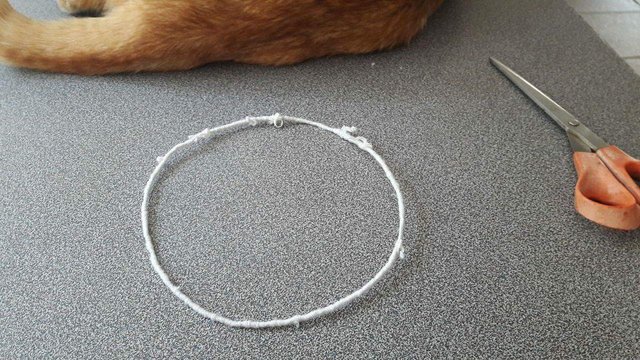
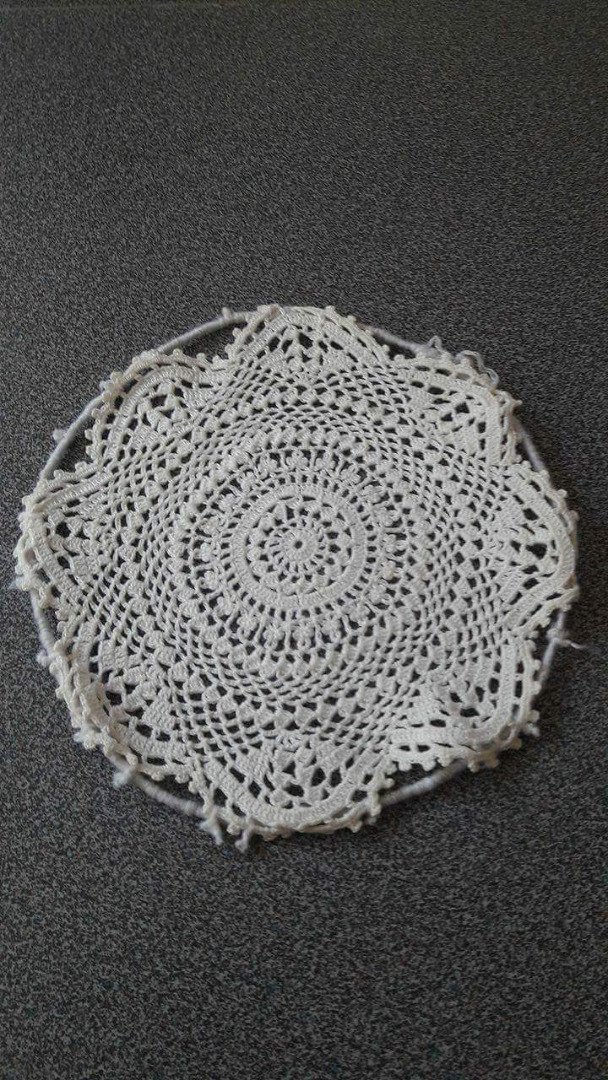
* Place the Doily on the wire, and tie it to the ring at as many points as you would like. My doily was slightly too big, but that's okay.
* Repeat this with the other two rings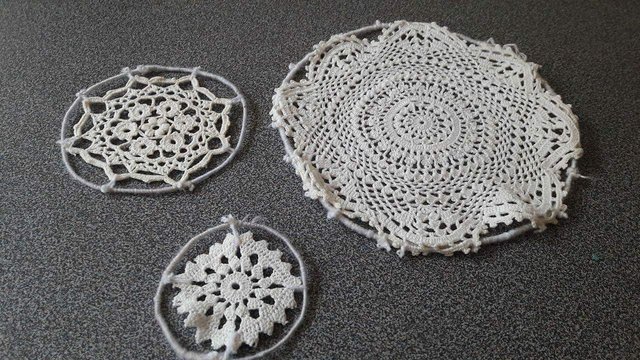
* Tie the rings together with two pieces of yarn or string. 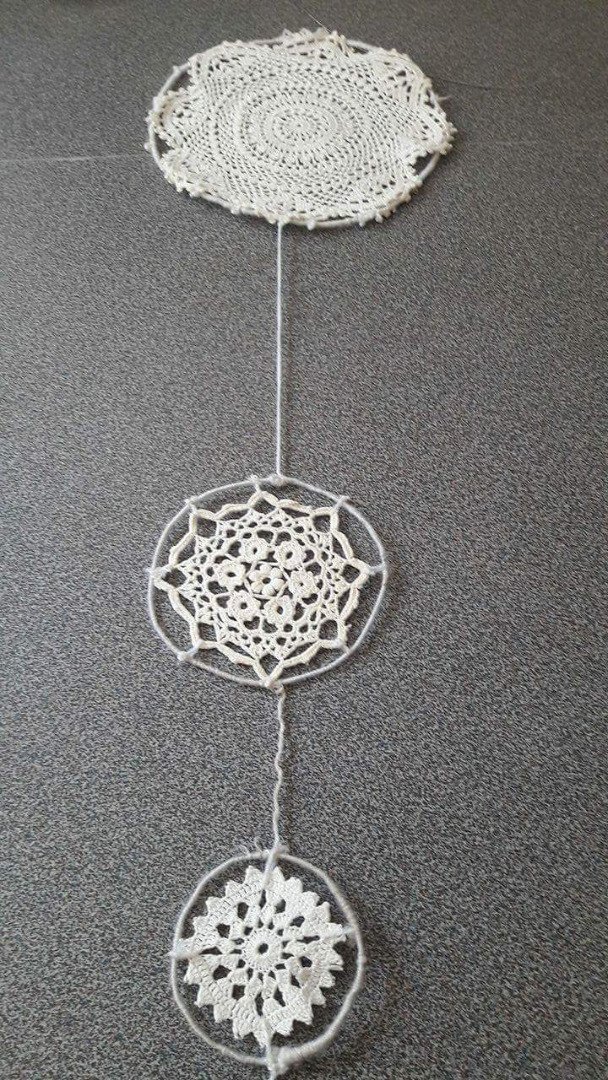
* Tie 4-6 strings on each side of the doily, depending on the look you're going for. The strings right at the top should be the shortest and the strings at the bottom should be the longest. Attach a string to the bottom of the smallest loop as well. 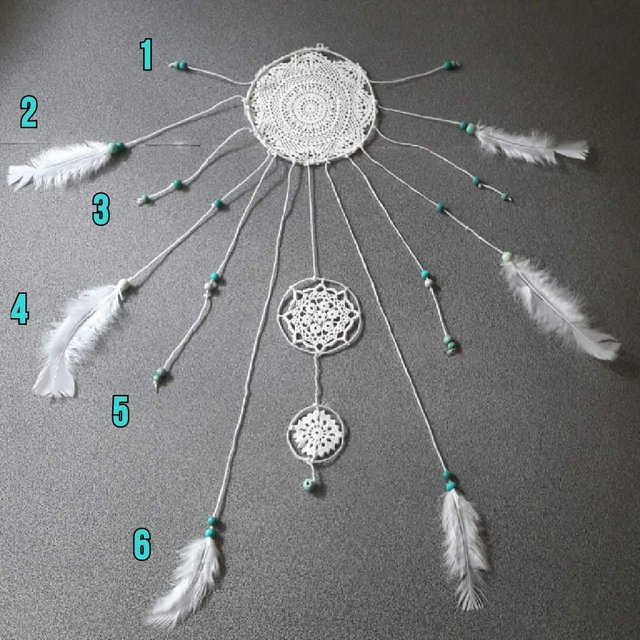
* The beads and feathers can be placed on however you like. I did not put feathers on the end of every string, but you can if you'd like.
* Burning the end of the yarn with a lighter makes it easier to thread the beads through.
* The easiest way to attach the feathers, is to take a large bead, thread it onto the string, and then tie the feather onto the end. Push the bead down and over the feather. This will hide the knot and give a more finished look.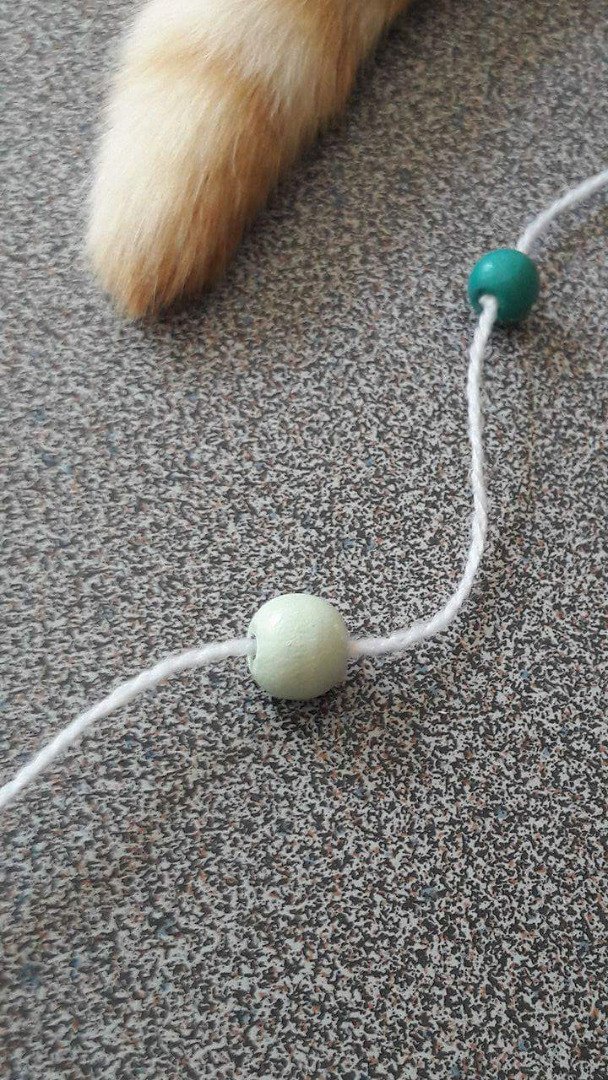
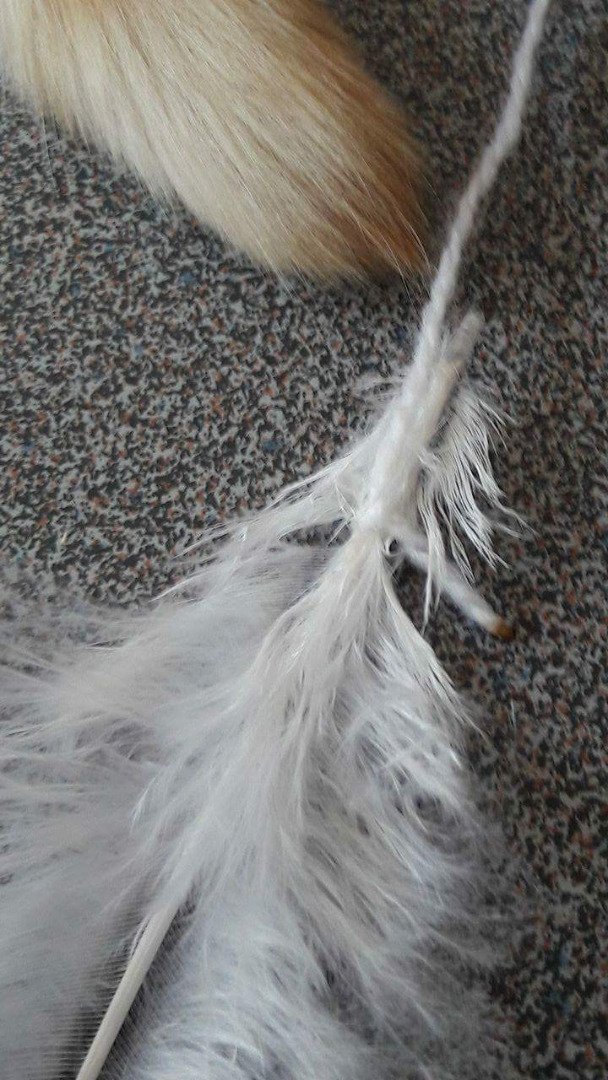
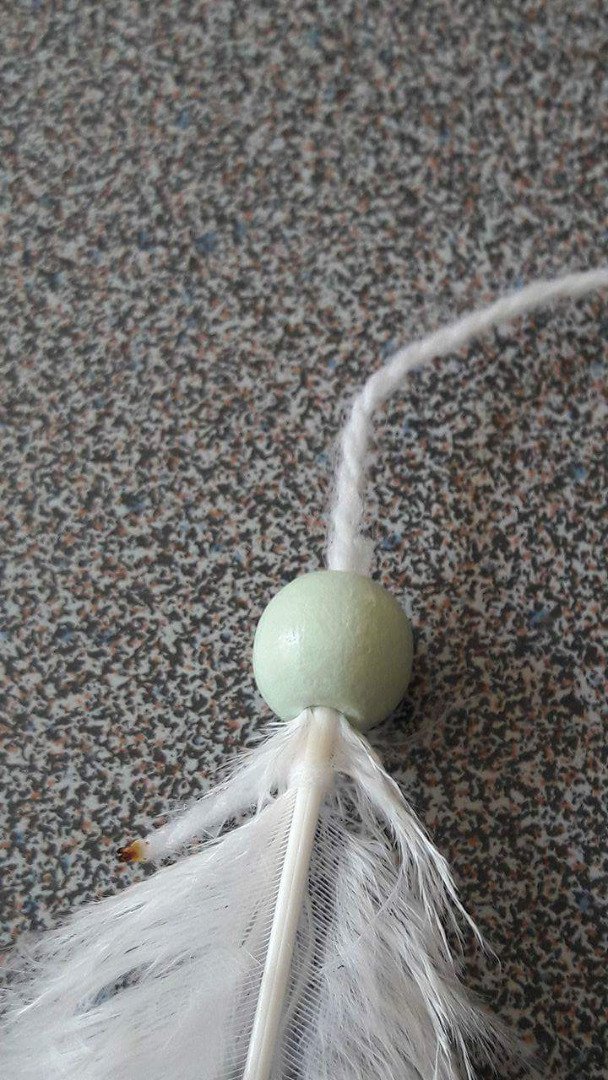
* Thread beads and feathers onto all of the hanging strings, as well as the string hanging off of the bottom ring. And there you have it! Simple as that.
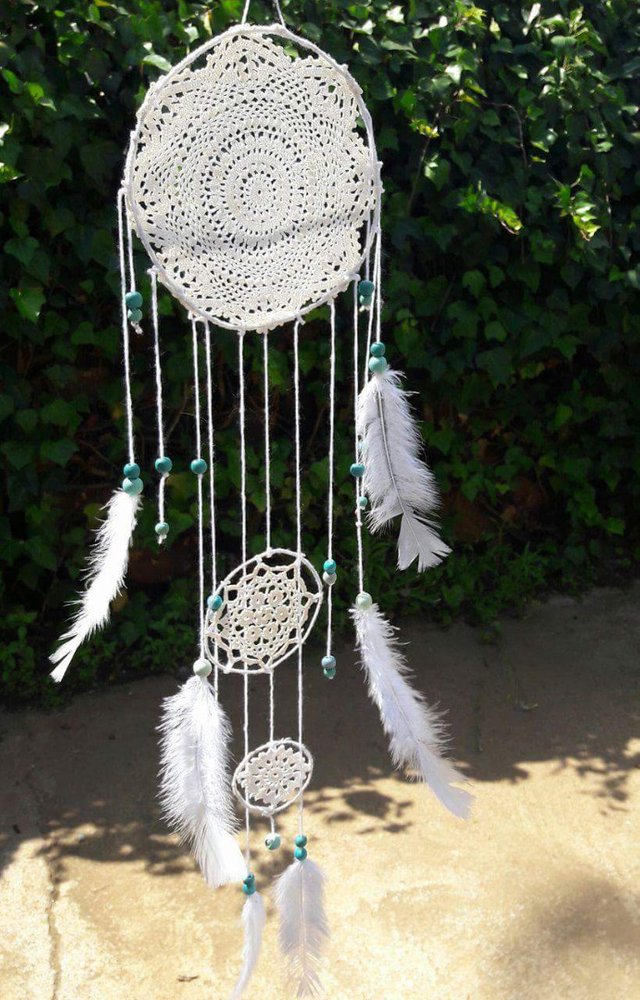
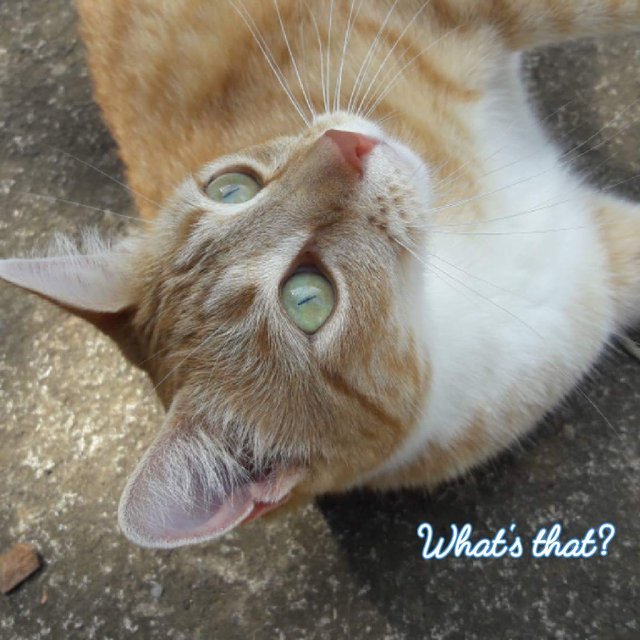
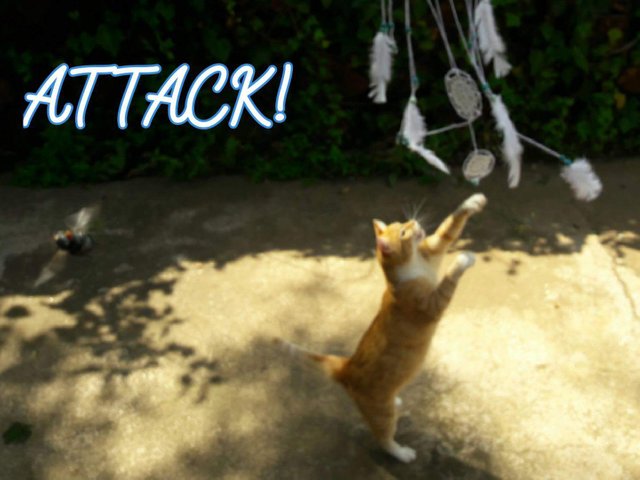
Note: Avoid hanging it within reach of any cats.
Here are some of the other ones I made that are in my mom's shop. You can use any colour and style, and really make it your own.
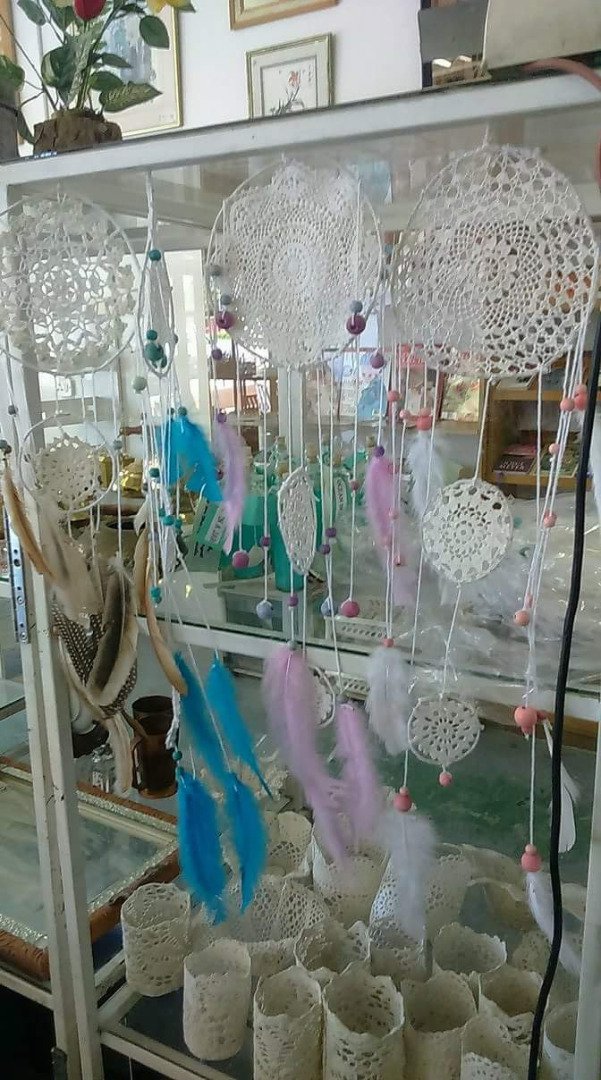
I hope you enjoyed this DIY, let me know if you are going to try it, and if you have any questions, feel free to ask. As always, have a great day!
Photos by @thatguyjono, who takes the majority of my pictures.
